

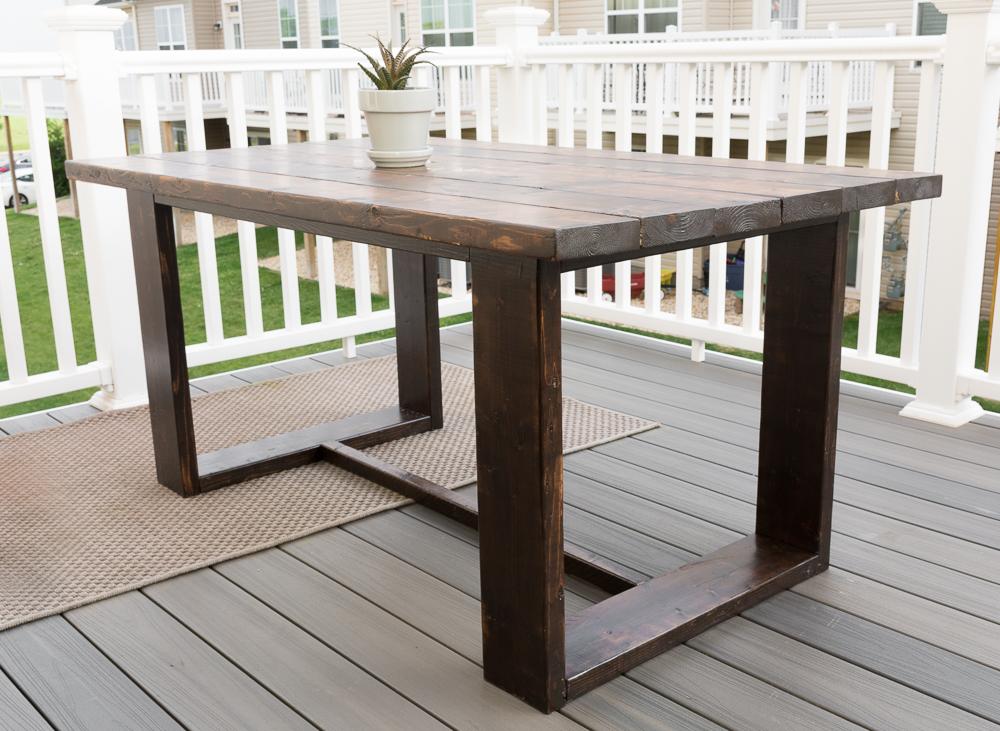
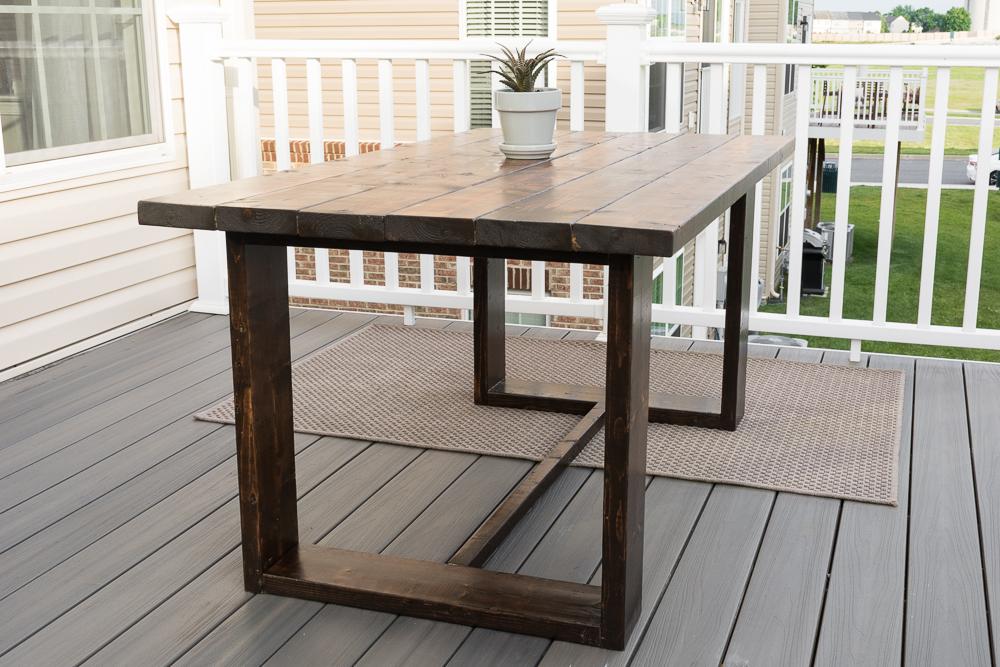


These plans will teach you how to make a simple, modern table. I've finished my table using an indoor/outdoor spar urethane to make it suitable for outdoor use.
Tools
Kreg Tools

Other Tools
-
Miter Saw

-
Clamps
-
Drill (cordless)
-
Sander
-
Workbench
Materials
Wood Products
- 4 Board , 2x6 , 120"
- 1 Board , 2x6 , 96"
- 1 Board , 2x4 , 96"
- 1 Board , 2x4 , 72"
- 1 Board , 2x2 , 48"
Hardware & Supplies
- 51 2.5" pocket hole screws
- 14 2.5" wood screws
- 1 Liquid Nails heavy duty construction adhesive
Directions
-
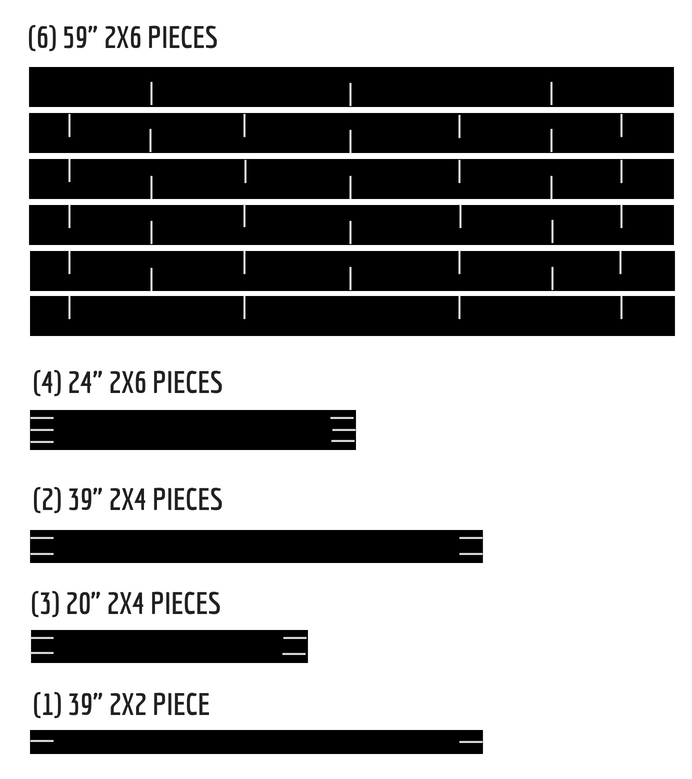
Cut Pieces
Cut all pieces according to the cut list. Use sandpaper or an electric sander to smooth out any rough or splintered spots. Then wipe down each piece thoroughly with a dry rag or tack cloth.
-
Drill Pocket Holes
Drill pocket holes as outlined in the pocket hole guide to the right.
(There will be no pocket holes drilled in the 27.5" 2x6 pieces.)
-
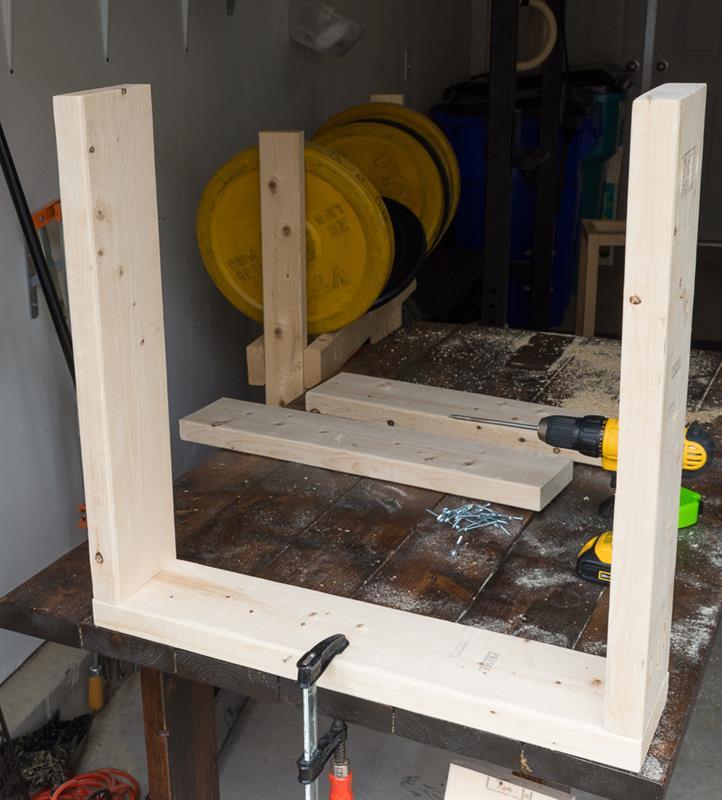
Begin Assembling the Legs
To begin assembling the legs, clamp a 27.5" piece to your workbench. Then, using your drill, drive 2.5" Kreg screws through the bottom two pocket holes on two of the 24" pieces. Make sure the pocket hole sides on the 24" pieces are each facing out, away from each other (not facing one another).
When you are done, you will have a rectangular shape with one missing side.
-
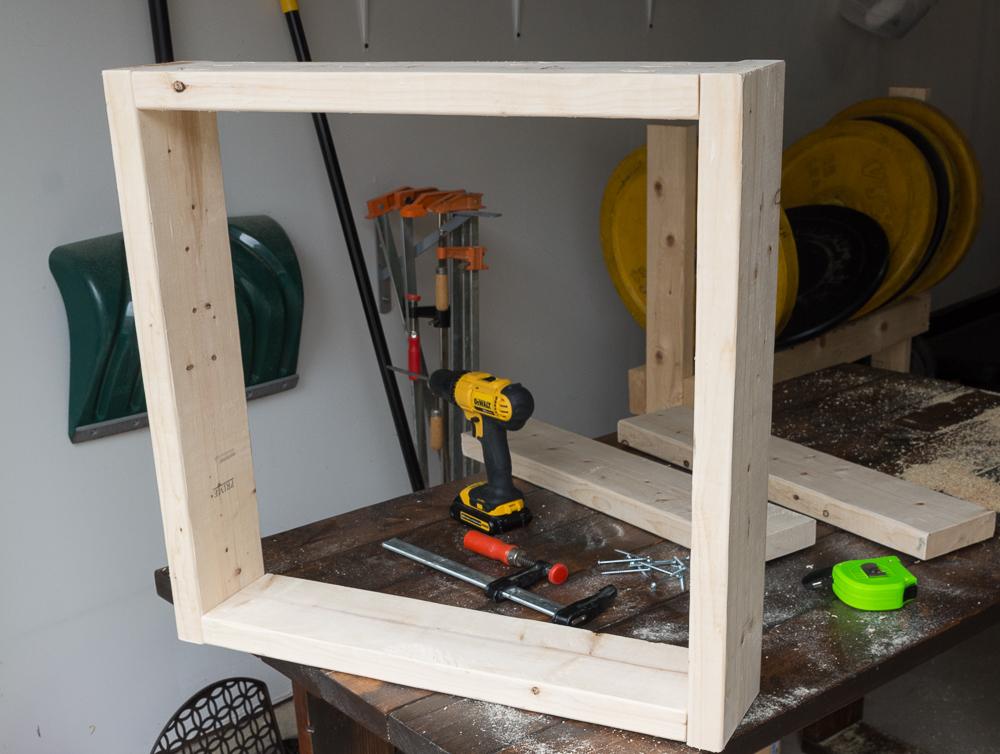
Finish Assembling Legs
To finish assembling this leg, clamp another 27.5" piece down, flip the piece you made in step 4 over, and repeat step 3. Once you are done, you will have a rectangular shape. Repeat with the remaining 27.5" and 24" pieces to build the other leg.
-
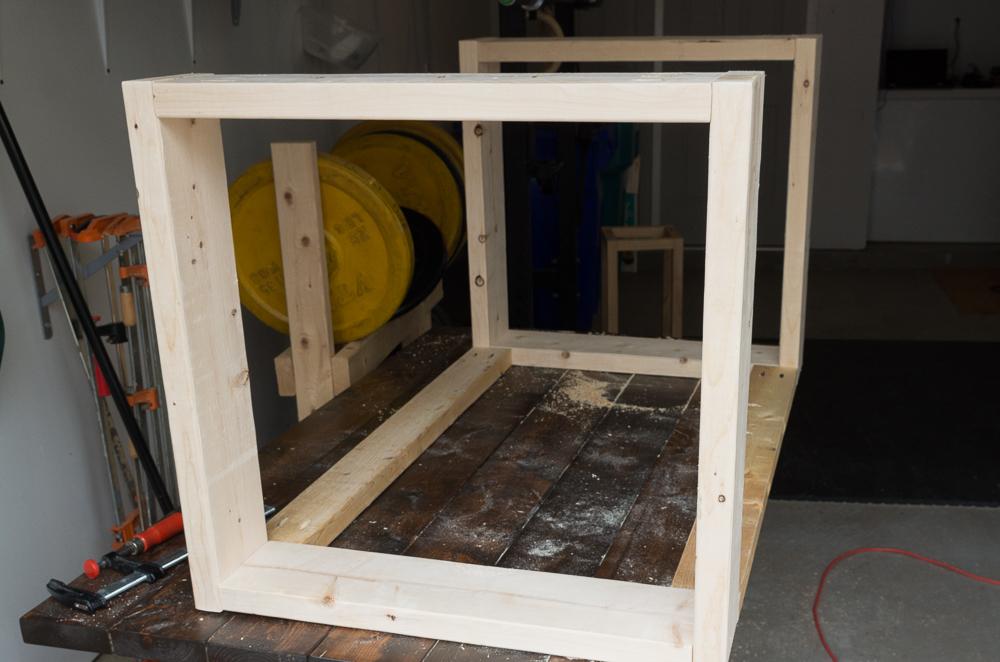
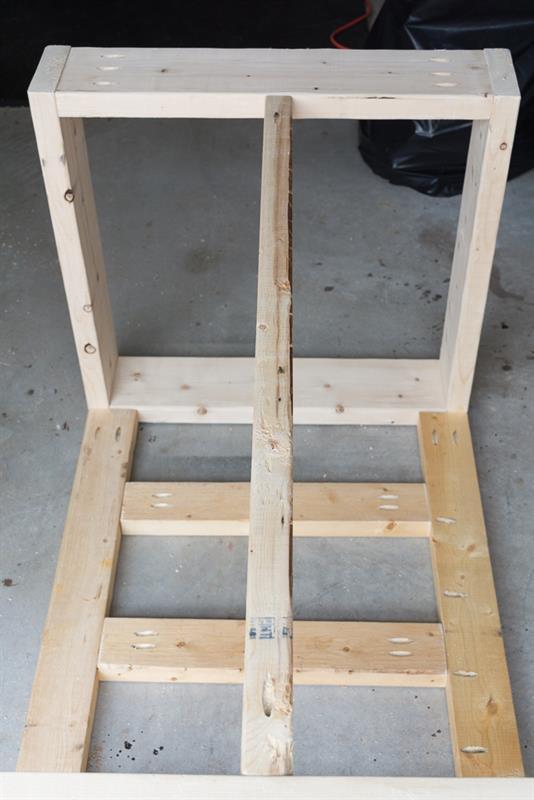
Attach Length-Wise Support
Flip each of the legs you built in steps 4 and 5 upside down. Make sure the sides with the pocket holes are facing up and down, NOT out to the sides. Then, attach the two length-wise support pieces to each leg by driving 2.5" pocket hole screws through the pocket holes. Clamps or a second set of hands will help with this step. Your project will now look like this.
-
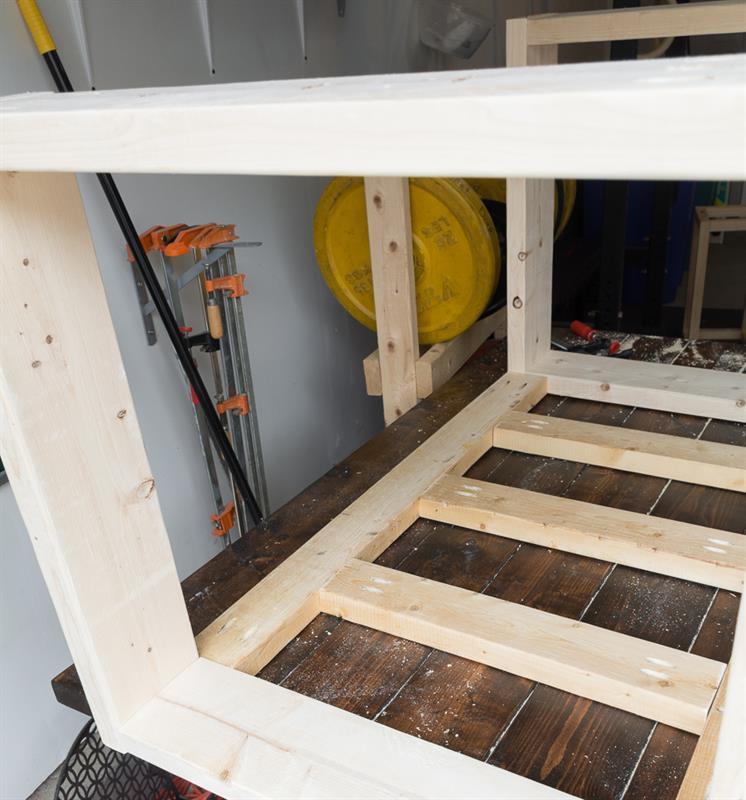
Attach Width-Wise Support
Attach the 20" width-wise support pieces to further support the table top by evenly spacing them and driving 2.5" pocket hole screws through the pocket holes.
-
Attach Length-Wise Base Piece
While the table base is still upside down, attach the 39" length-wise base piece by centering it on the bottom of the legs and driving 2.5" pocket hole screws through the two pocket holes.
-
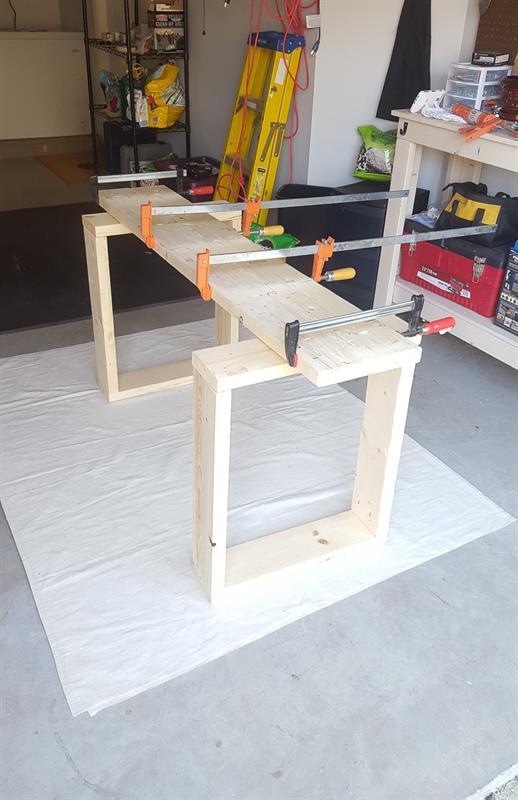
Begin Assembling Table Top
(Tip: Before assembling the table top, arrange your boards to see which ones line up most evenly with one another. Sometimes wood that has not been planed will not line up perfectly. Then, once you have your desired order, number the pieces on the bottom of each to keep them straight!)
Begin assembling the table top by ensuring the sides with the pocket holes are facing up. Then glue and clamp two pieces together and drive 2.5" pocket hole screws through the pocket holes.
-
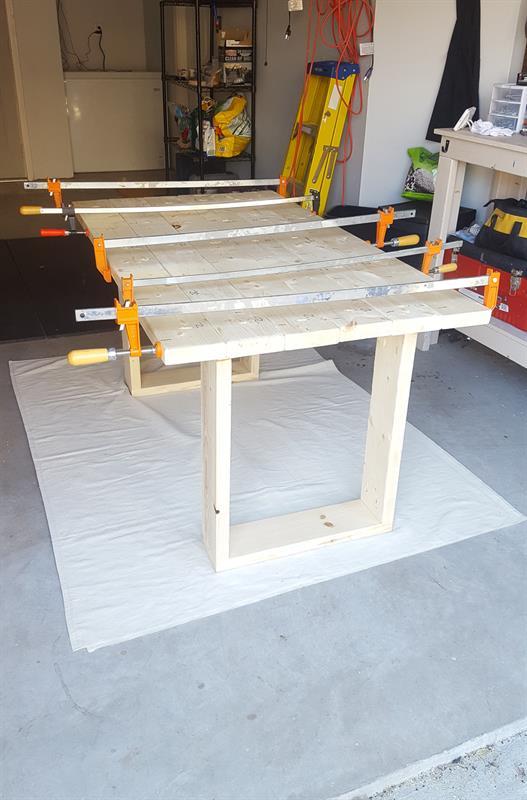
Finish Assembling Table Top
Repeat step 8 until you have three sets of boards glued and screwed together (two boards in each set). Finish assembling the table top by gluing and screwing the three sets you assembled together to make one big set. (Numbering the boards as suggested earlier comes in handy at this stage, too.)
-
Attach Table Top to Base
Measure and mark on the bottom of the table top to ensure it is centered. We ran Liquid Nails heavy duty construction adhesive along the top of the base, set the table top in place, and clamped to ensure a strong bond. Then we ran 2.5" screws (these do not have to be pocket hole screws) up through the bottom of the base and into the bottom of the table top. We simply followed the perimeter of the base, using (4) screws along the two length-wise support pieces and (3) screws up through the tops of each leg.
-
Stain and Seal
Once the adhesive sets, remove the clamps and finish your table as desired. I stained mine using a dark indoor stain I love, but I finished it with three coats of indoor/outdoor spar urethane for outdoor use.
