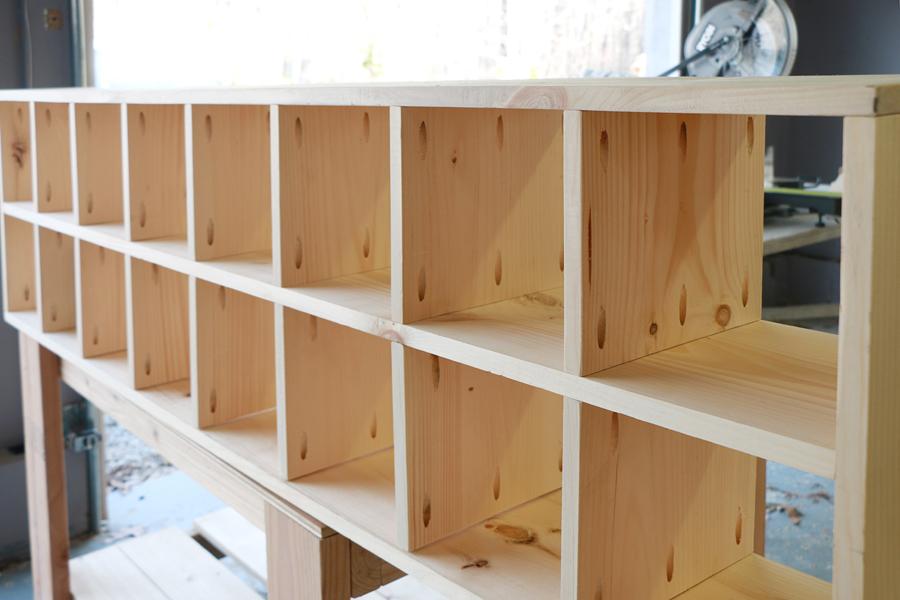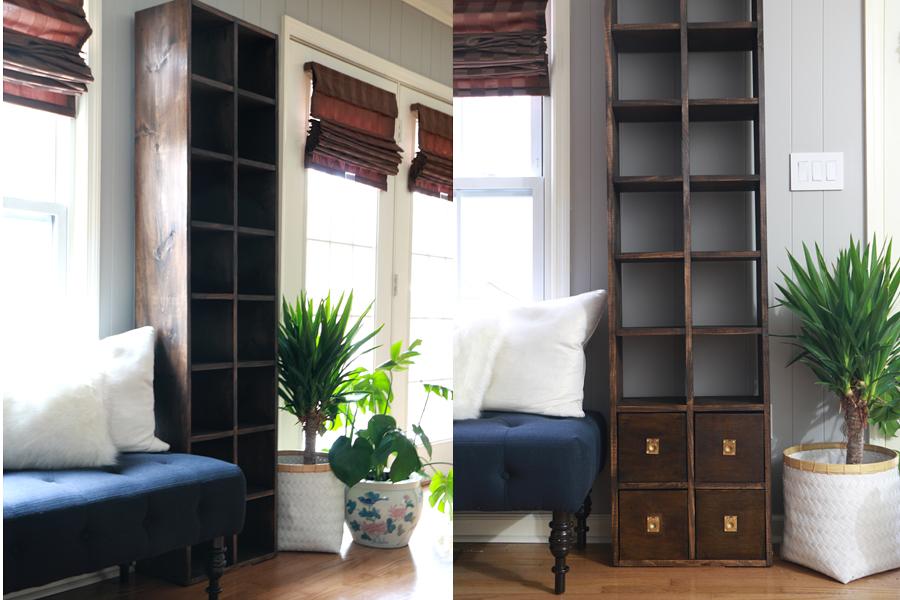


Use these simple plans to create a custom Cube Organizer, or follow these dimensions exactly and pair with my DIY Storage Box for a campaign styled furniture piece(link to tutorial found under "extras" tab)! Use this furniture piece horizontally as a shoe cubby, or even attach legs for a side board!
Tools
Kreg Tools


Other Tools
-
Miter Saw

-
Square
-
Tape Measure
-
Drill (cordless)
-
Sander
Materials
Wood Products
- 4 Board , 1x10 , 96"
Hardware & Supplies
- 81 1" Kreg Screws
- 21 1-1/4" Kreg Screws
- 1 Wood Filler
- 1 Stain + Sealer
Cut List & Parts
- 2 Long Sides , 1"x10"x72-3/4
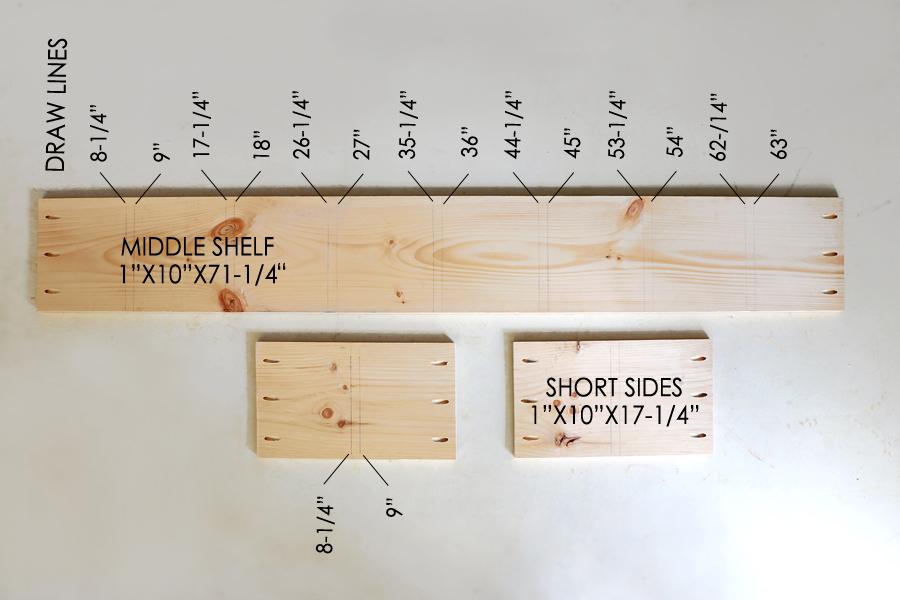
- 1 Middle Shelf , 1"x10"x71-1/4
- 2 Short Sides , 1"x10"x17-1/4
- 14 Shelves , 1"x10"x8-1/4"
Directions
-
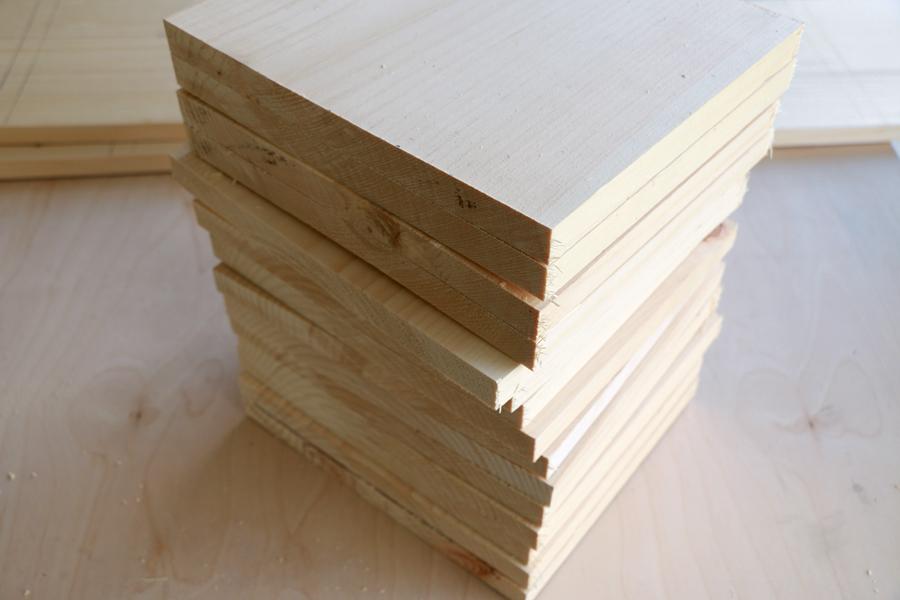
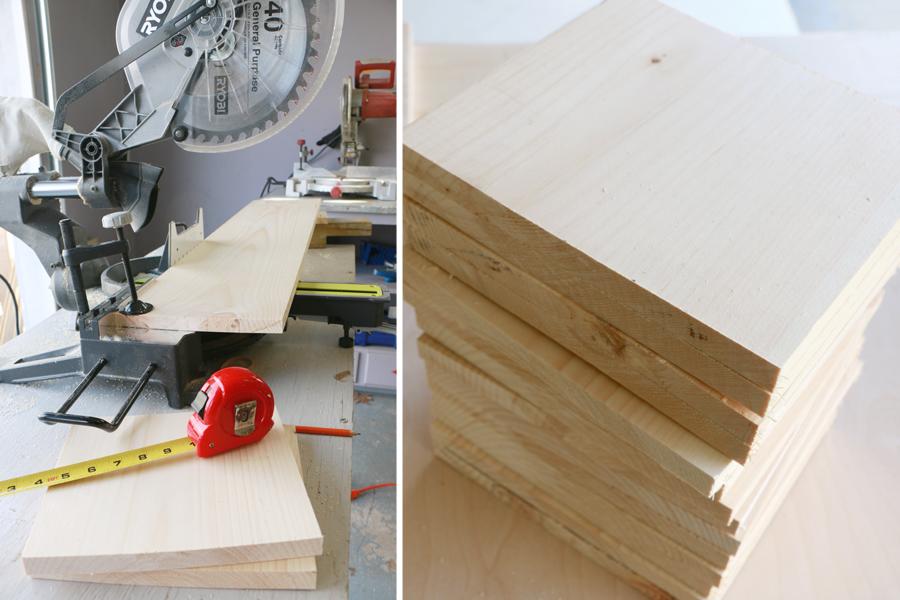
Cut Wood To Size
Follow the cut list to get all pieces to size using a miter saw, then sand any rough edges. An optional (and slightly cheaper but more difficult) alternative to 1"x10"x8' boards is to cut pieces from a 3/4"x4'x8' sheet.
-
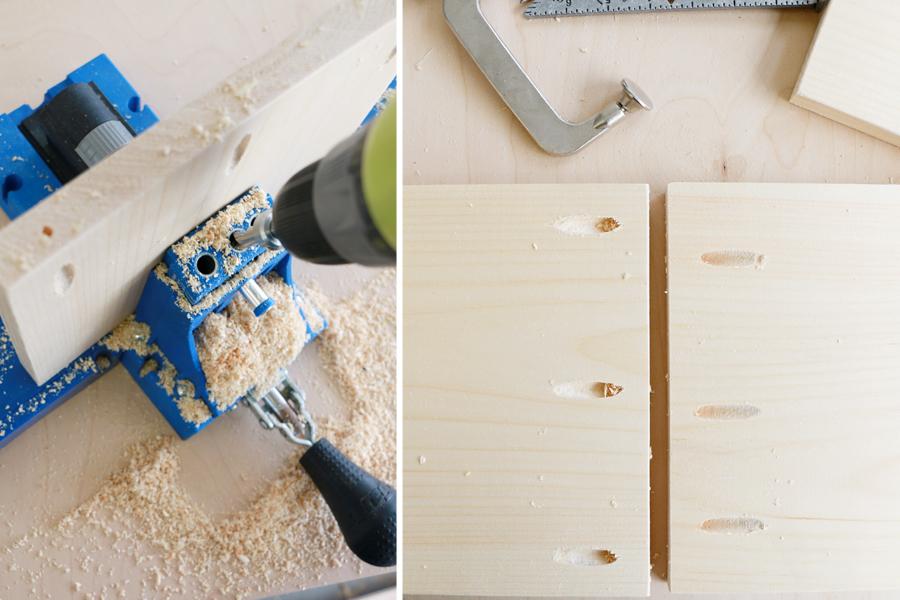
Drill Pocket Holes & Mark Lines
Drill three pocket holes into either end of the Middle Shelf (1"x10"71-1/4"), and the two Short Side boards (1"x10"x17-1/4"). Draw lines where the shelves will be placed at the intervals pictured (equates to 8-1/4" intervals with 3/4" between). Place lines on the back and front of the middle shelf, and one side of each short side board.
-
Drill Pocket Holes in Shelves
Next drill three pocket holes into either end of each 1"x10"x8-1/4" shelf. 7 shelves should have consistent pocket holes in the center and edges, the next 7 shelves should be staggered so that the holes are just off center from the first set of 7 pocket holes. This is so screws don't overlap and hit each other.
-
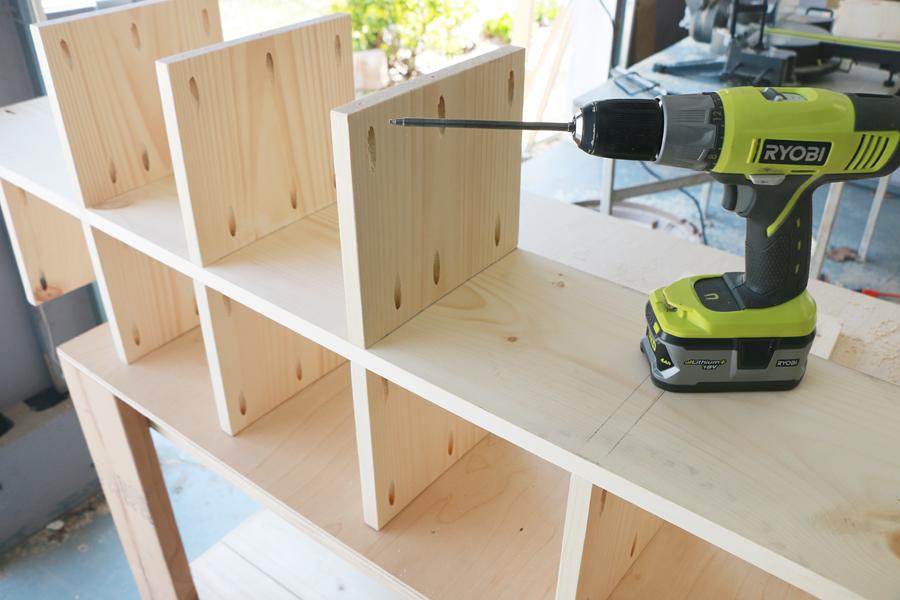
Attach the first 7 Shelves
Attach the first seven 8-1/4" shelves to the 71-1/4" middle shelf. Use the guide lines you drew.

-
Attach the Next 7 Shelves
Flip over the middle shelf piece you just worked on. Attach the next seven 8-1/4" shelves (the ones with off-set pocket holes) to the opposite side of the 71-1/4" middle shelf, using the guide lines you drew. Use the longer 1-1/4" Kreg screws for this step...this is why it is important that the pocket holes don't line up, you don't want screws running into each other.
-
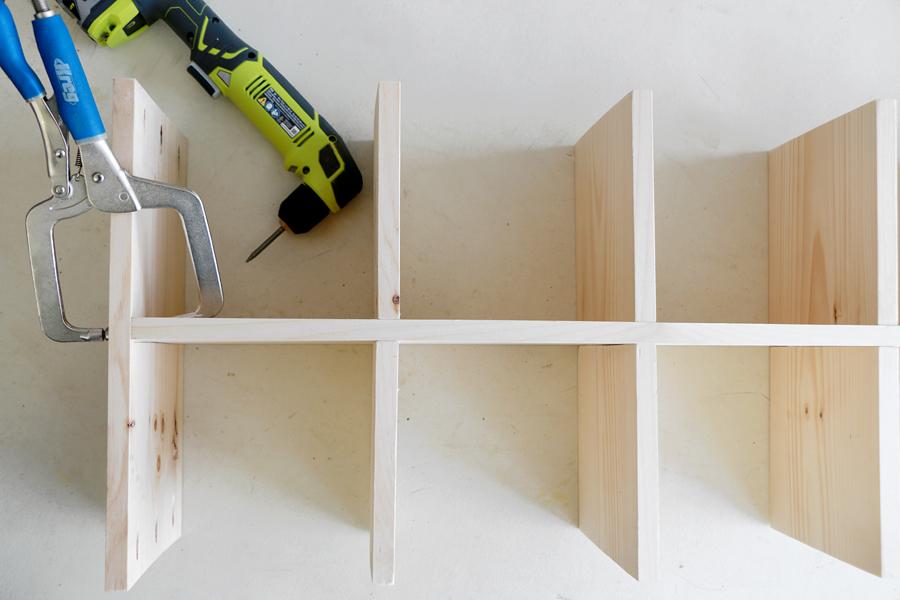
Attach Short Sides
Attach the two short sides (1"x10"x17-1/4")to either end of the unit you have been building. Use the guide lines to center the pieces.
-
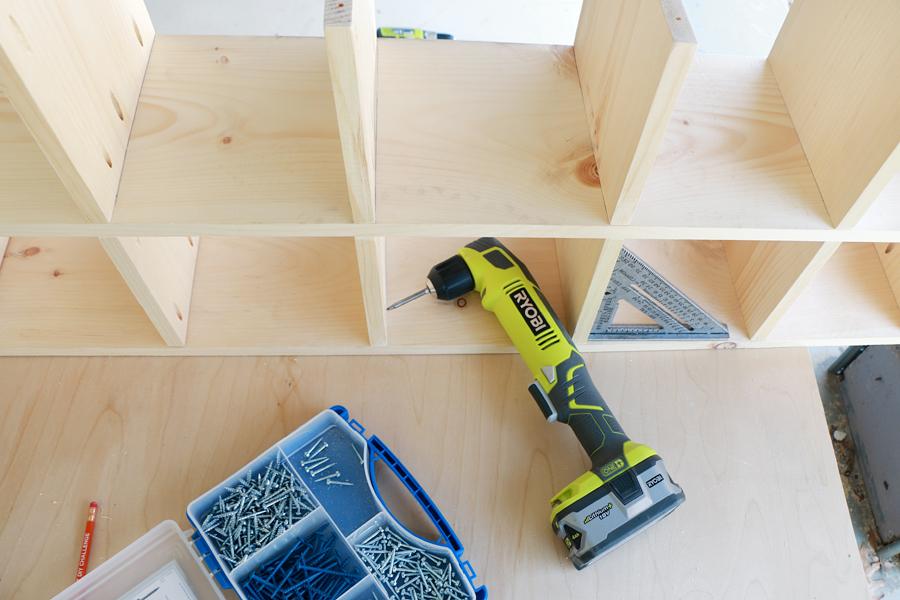
Attach Long Side
In order to attach the long sides (1"x10"72-3/4") place it on a flat work surface and place the unit you just assembled on top. Using a right angle screw driver attach both outside ends first, then use a square to ensure each 8-14" shelf is straight and attach those to the long side board below.
-
Attach Final Long Side
Place the final long side on a flat work surface, and just as before place the unit atop. Attach via either end first, then the 8-14" shelves. Optionally fill holes and paint or stain.