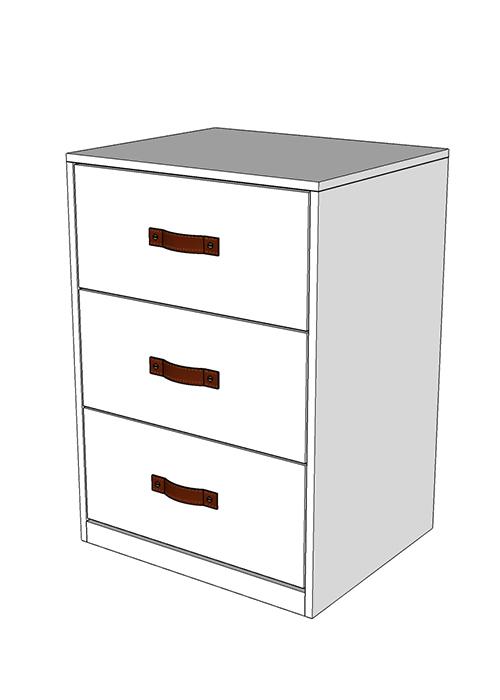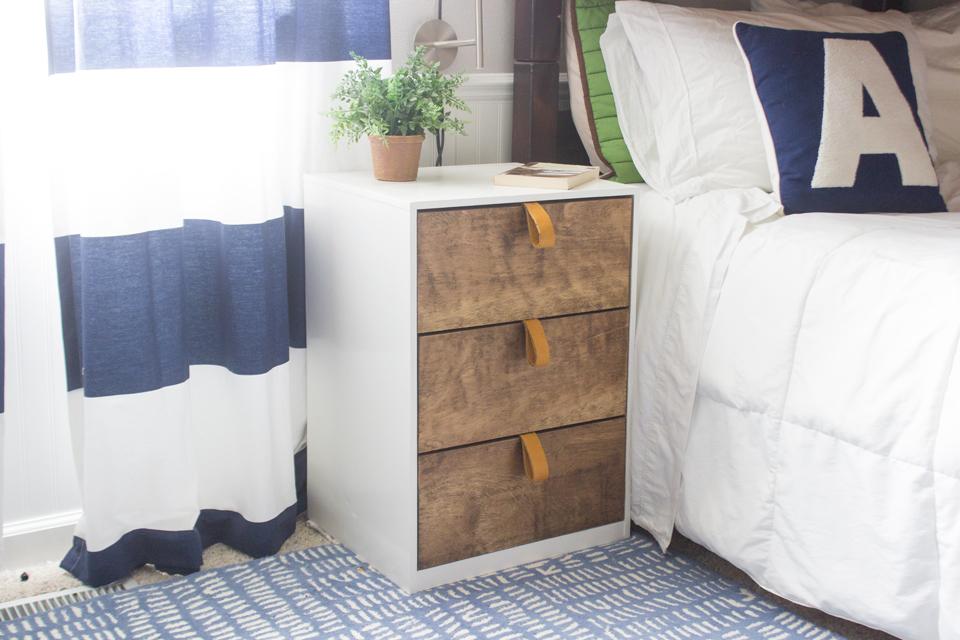


How to make a 3 drawer nightstand using only 1 sheet of plywood. Perfect way to add more storage and style to any bedroom. Customizable with stain or paint, as well as unique drawer pulls. Dimensions: 25 1/2″ tall x 18″ wide x 15″ deep
Tools
Kreg Tools


Other Tools
-
Circular Saw (cordless)

-
Tape Measure
-
Drill (cordless)
-
Nail Gun
-
Sander
Materials
Wood Products
- 1 Plywood , 1/2" Thick , Full Sheet
Hardware & Supplies
- 1 Wood veneer roll
- 1 Wood veneer trimmer
- 75 1" pocket hole screws
- 20 2" nails, 18 gauge
- 10 1" nails, 18 gauge
- 3 14" Ball-bearing drawer slides
- 1 220 grit sandpaper
- 1 Wood filler
- 1 Wood glue
- 1 Semi-gloss latex paint
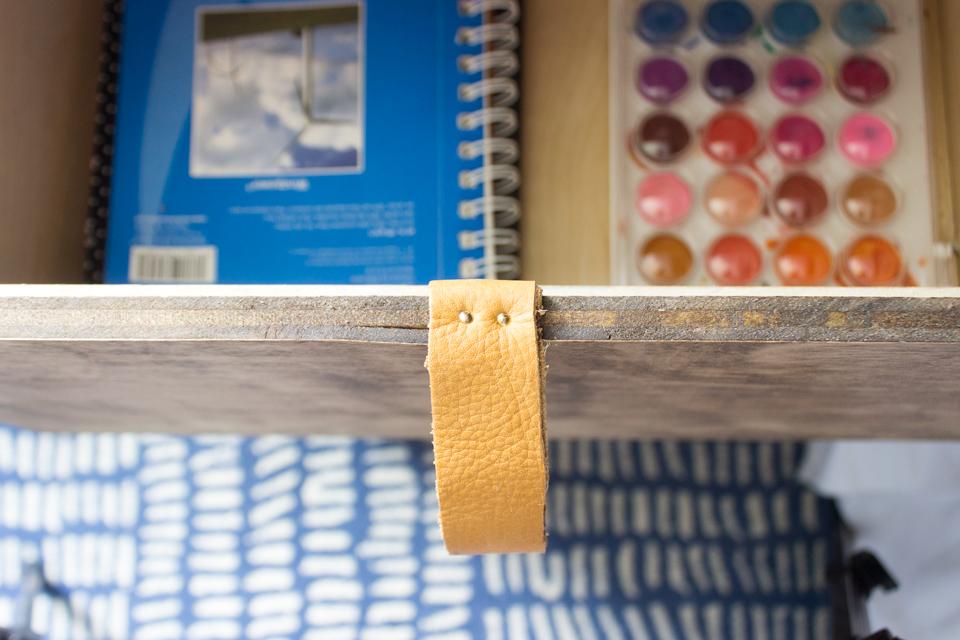
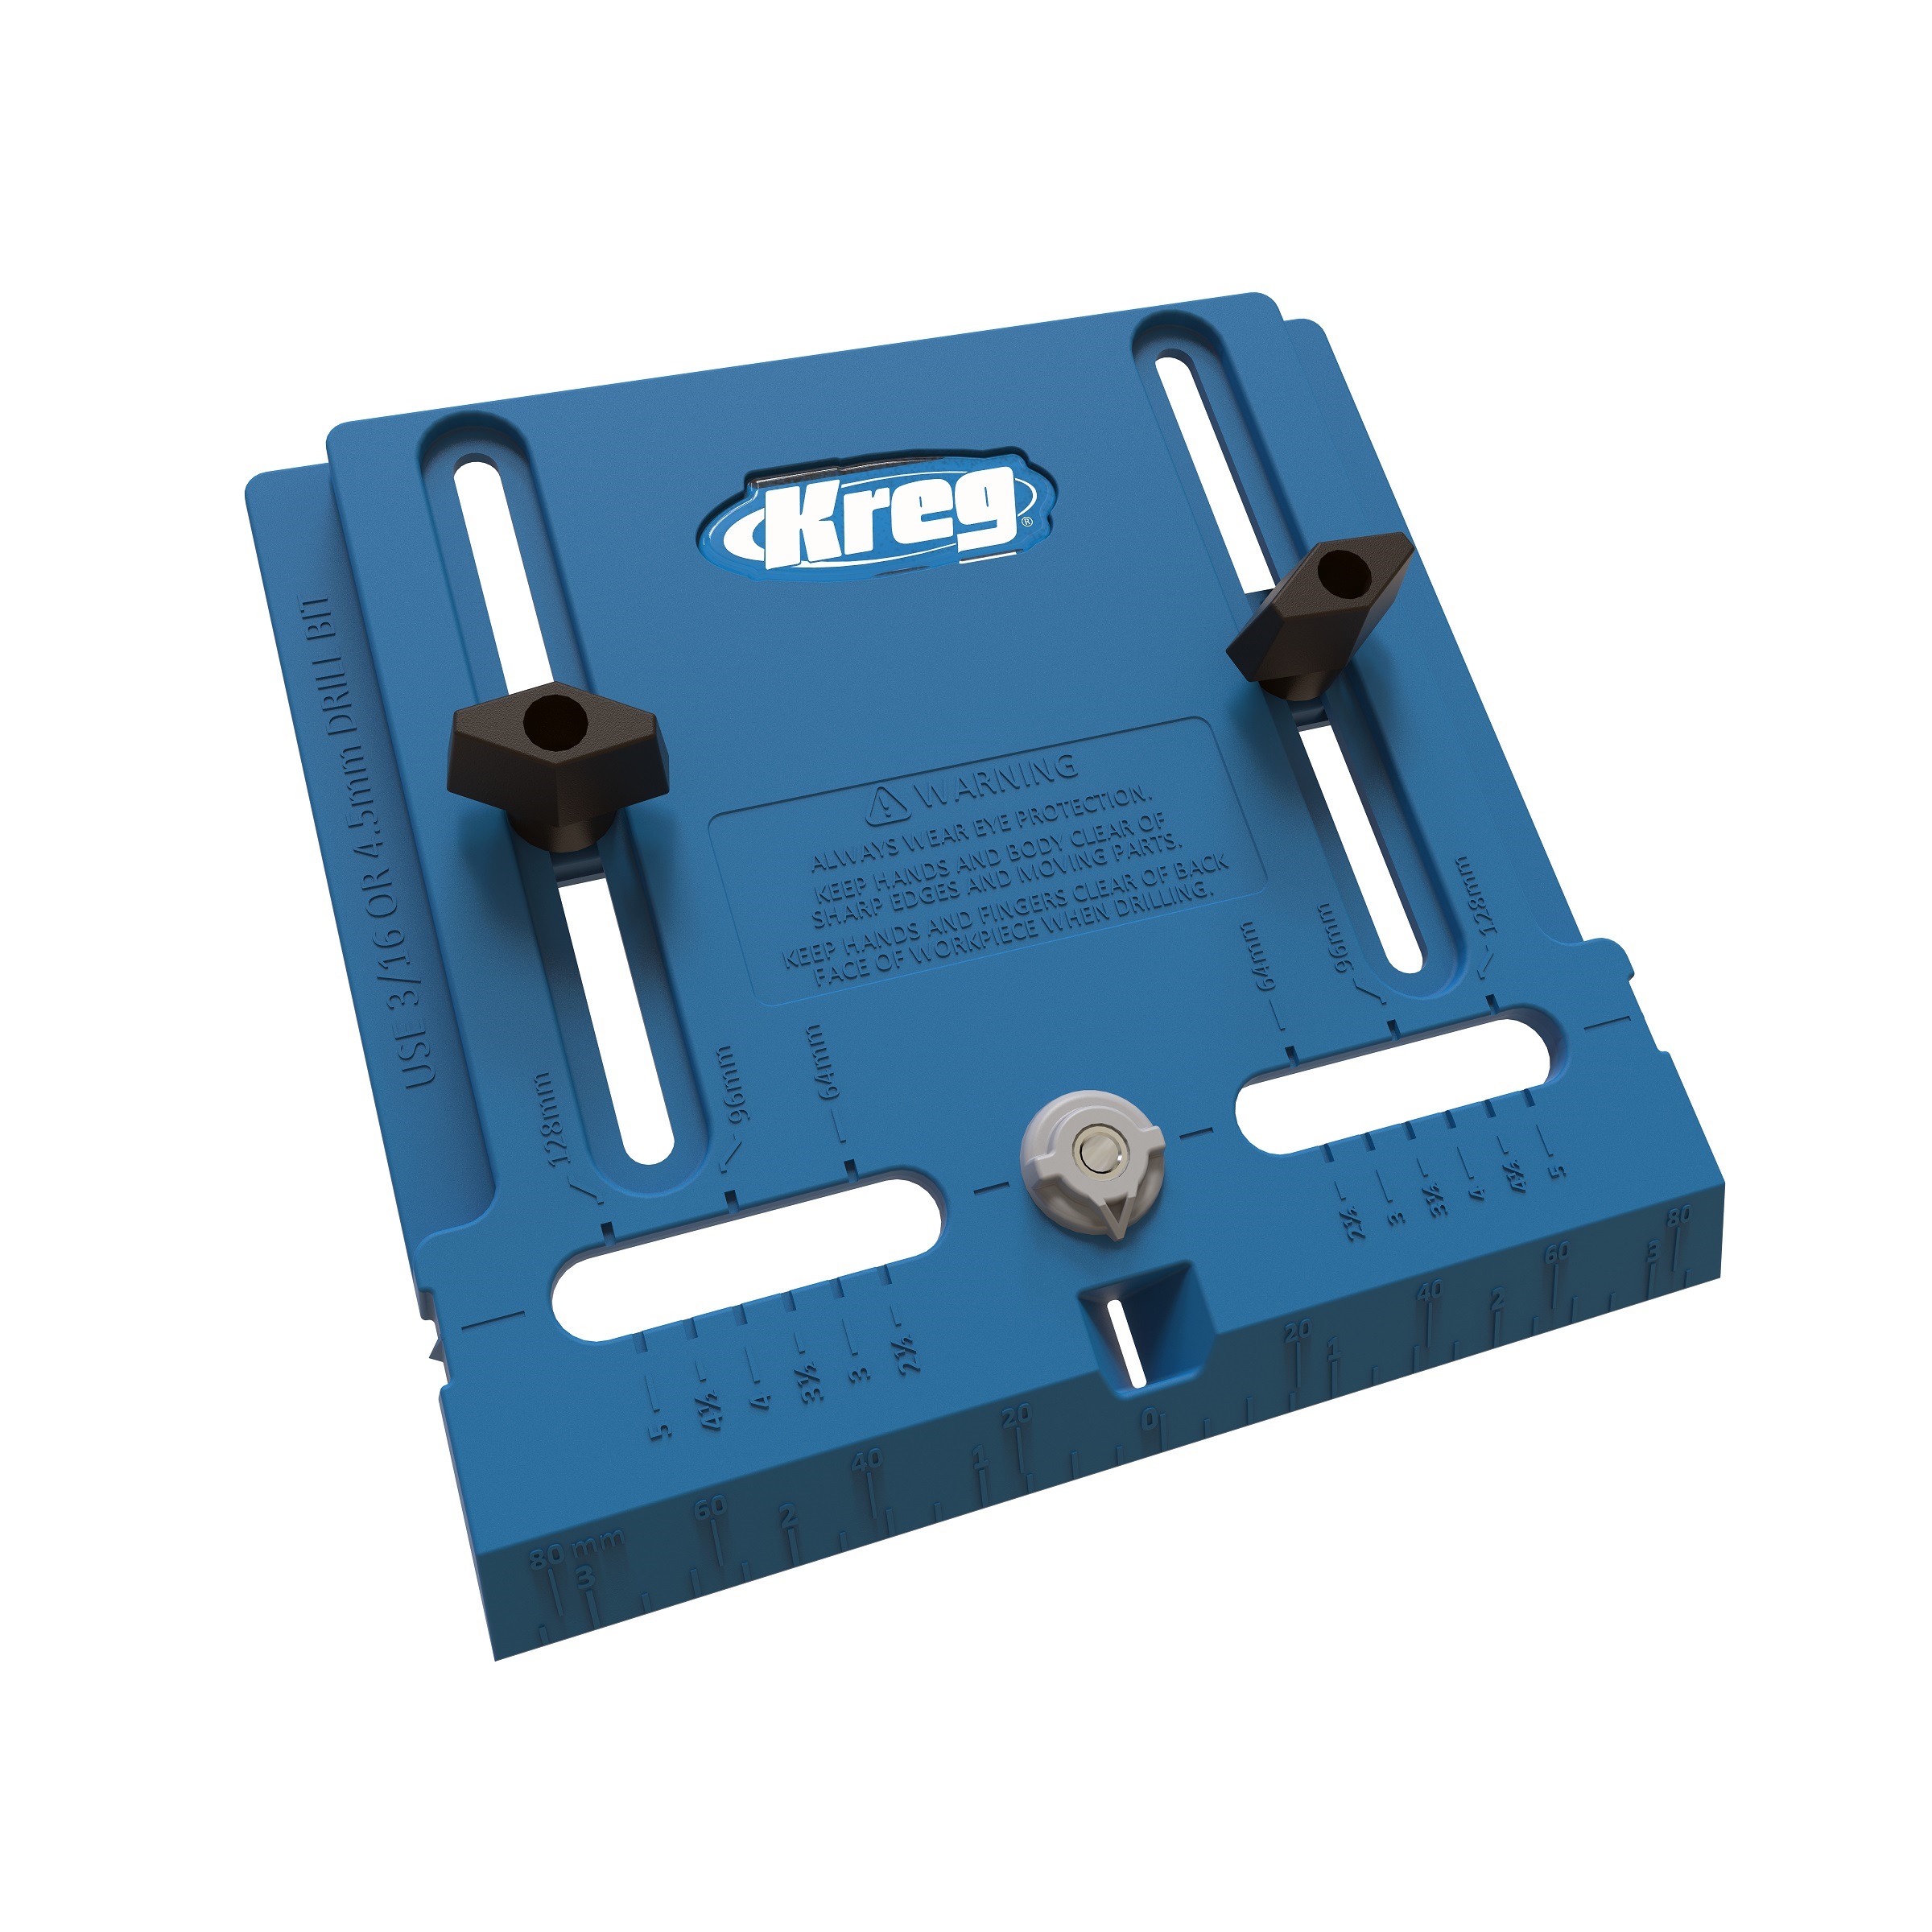
- 3 Drawer pulls
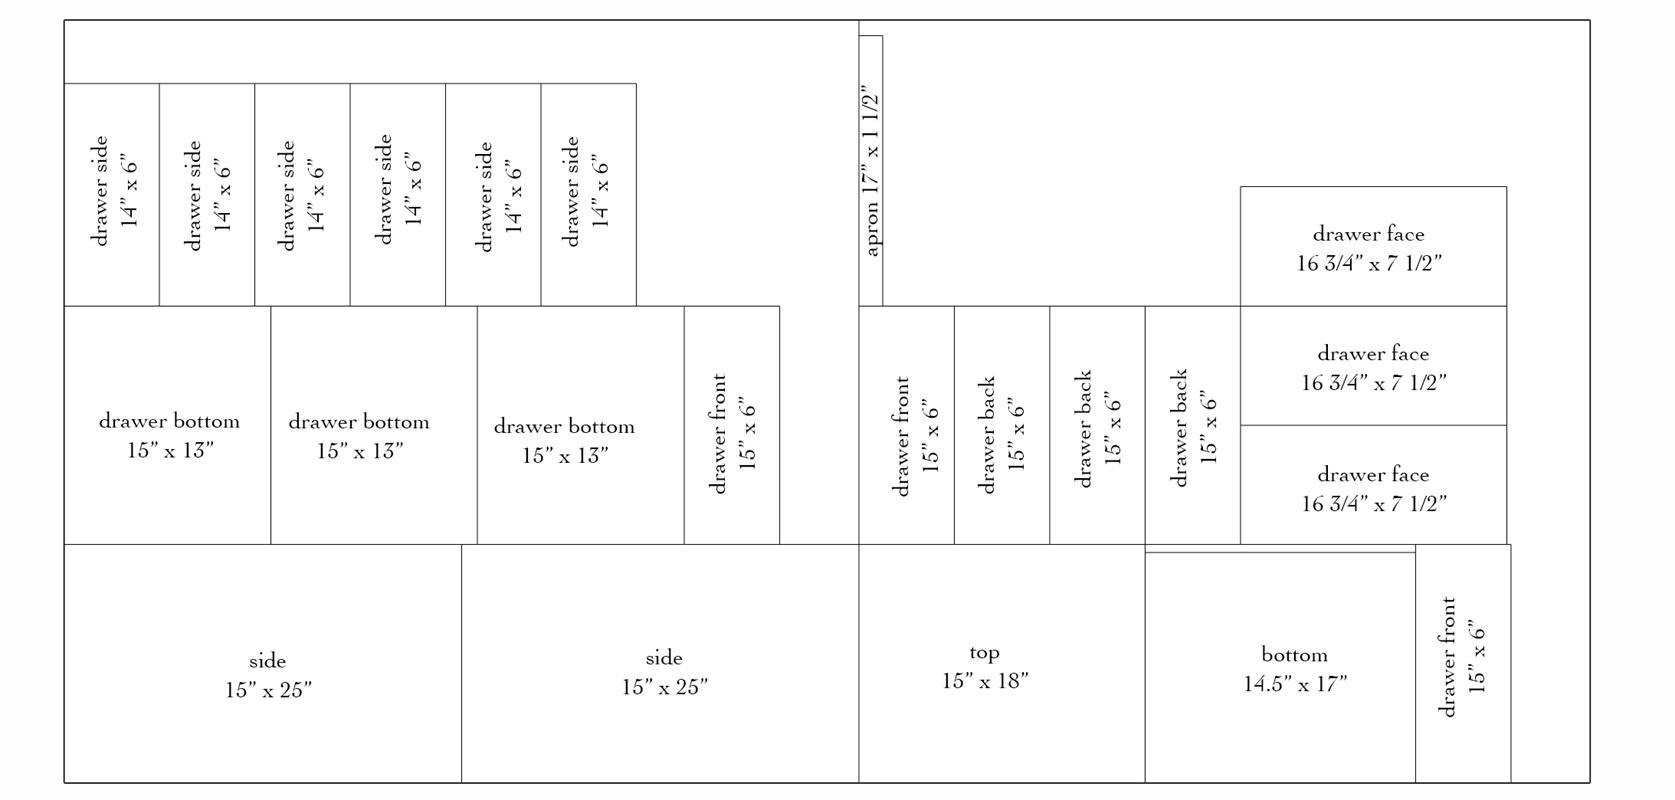
Cut List & Parts
- 2 Sides , 1/2" x 25" x 15"
- 1 Top , 1/2" x 18" x 15"
- 1 Bottom , 1/2" x 17" x 14 1/2"
- 3 Drawer front , 1/2" x 6" x 15"
- 3 Drawer back , 1/2" x 6" x 15"
- 6 Drawer side , 1/2" x 6" x 14"
- 3 Drawer bottom , 1/2" x 13" x 15"
- 3 Drawer face , 1/2" x 16 3/4" x 7 1/2"
- 1 Apron , 1/2" x 1 1/2" x 17"
Directions
-
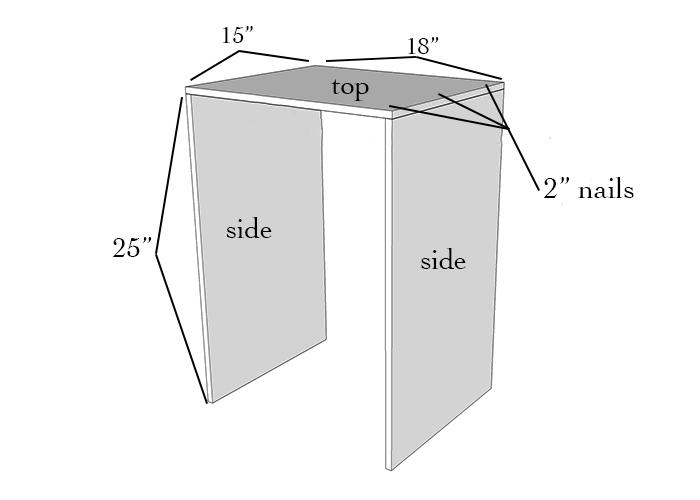
Attach Top to Sides
Using wood glue and 2" nails, attach the top to the sides, flush with the edges.
-
Attach Bottom
Drill 1/2" pocket holes on both of the 15" sides of the bottom board. Attach it to the sides, 1" from the bottom and 1/2" inset on one side, using wood glue and 1" pocket hole screws.

-
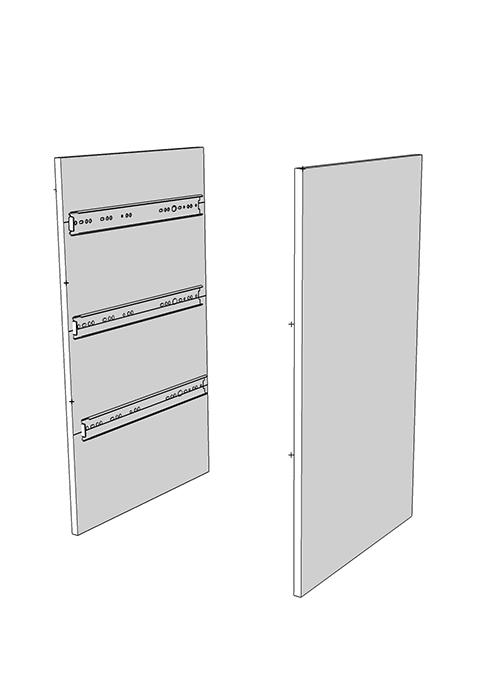
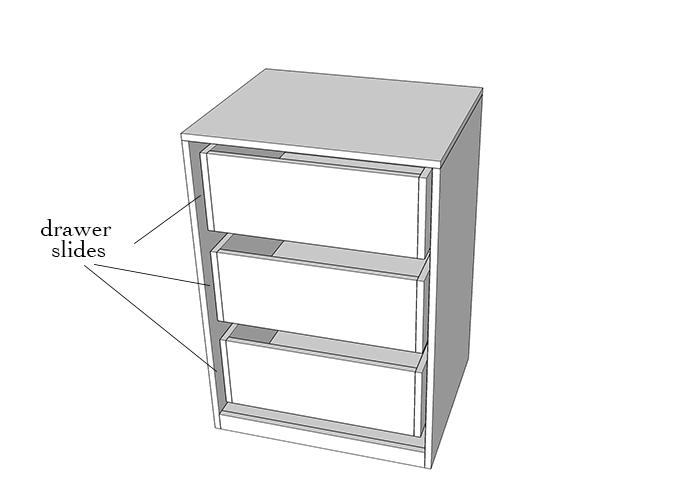
Measure and Attach Drawer Slides
Because the opening of the nightstand is a little narrow, it will be easier to attach the drawer glides to the sides of the nightstand first, before assembling the entire thing. To do this, measure placement of the drawer glides down each side. I placed mine at about 4" down from the top, 11" down from the top, and 18" down from the top. I measured on both sides at these points, place the drawer slide on those measurements and attached them using the supplied screws. Make sure to attach the slides 1/2" from the front, to allow for the drawer face.
-
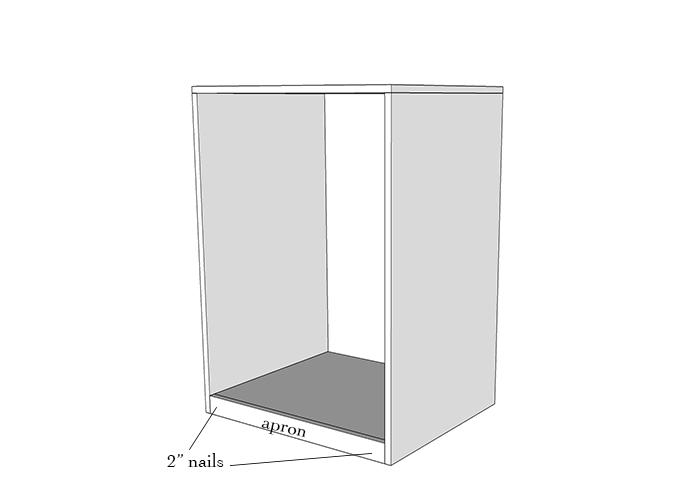
Attach Apron
Place apron, flush with the bottom and with the bottom of the sides, and attach it using wood glue and 2" nails. Nail the apron into the bottom piece and from the outer edges of the sides into the short ends of the apron. Cover these nail holes with wood filler.
-
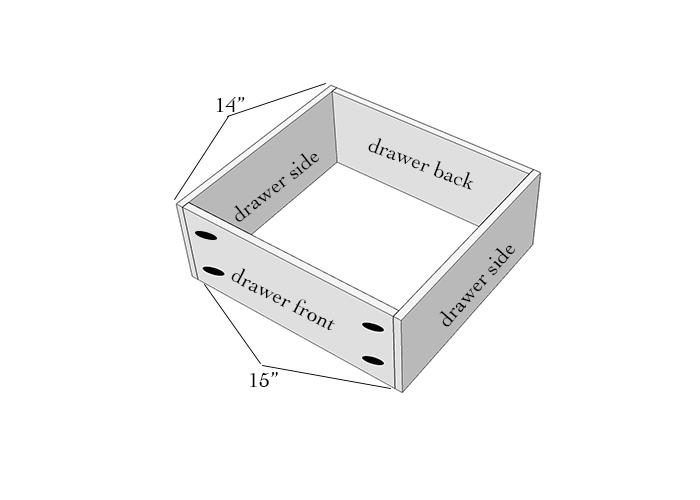
Build Drawer Box
Drill 2- 1/2" pocket holes on either end of the drawer fronts and drawer backs. Attach them to the drawer sides using 1" pocket hole screws and wood glue. The pocket holes should be facing out on both the front and back of the drawer box.
-
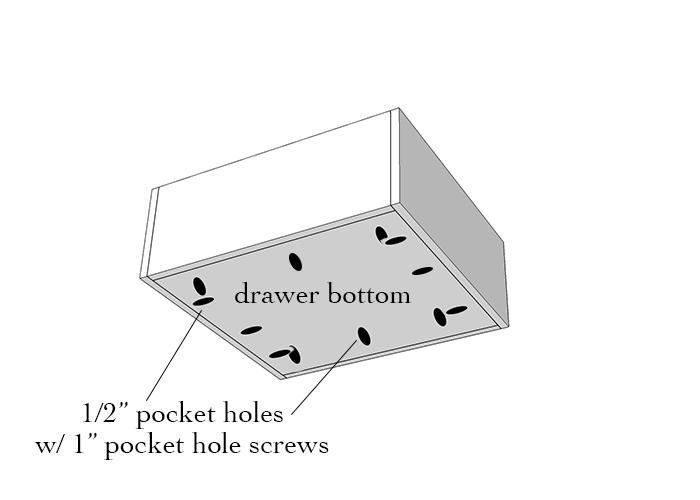
Attach Drawer Bottom
Drill 3- 1/2" pocket holes on each side of the drawer bottoms. Place them inside the drawer box, flush with one end, and attach it using 1" pocket hole screws and wood glue.
-
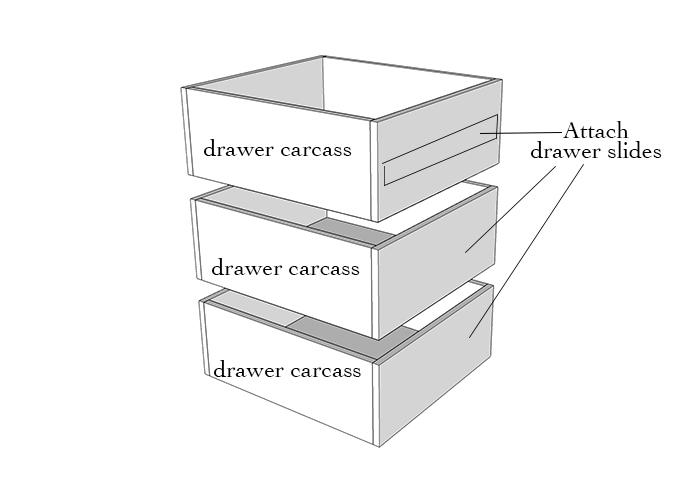
Attach Drawer Slides to Carcasses
Repeat steps 5 and 6 for remaining 2 drawers. Attach the other side of the ball-bearing drawer slides to the 14" sides of the drawer carcass. The drawer slide should be flush with the edge of the drawer sides, on one end (the end that is attached to the drawer front). Make sure to accurately measure placement of drawer slide before attaching by dry-fitting the drawer carcass into the nightstand and marking where proper and level placement will be.
-
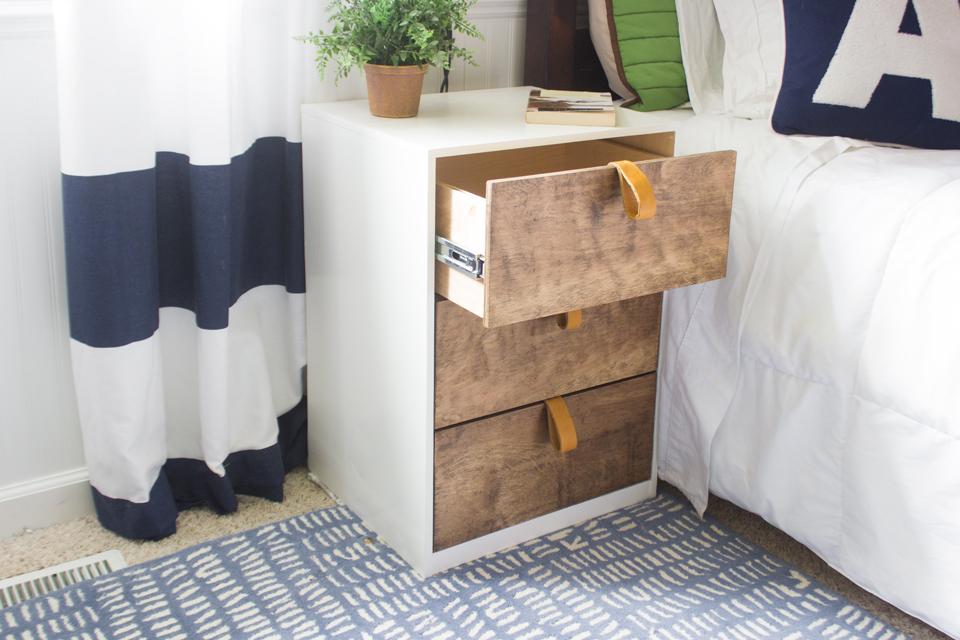
Slide Drawer Carcasses into Place
Place drawer carcasses into their position with the drawer slides, making sure they slide in and out smoothly. Each drawer should sit 1/2" in from the edge of the nightstand sides to allow for the drawer faces.
-
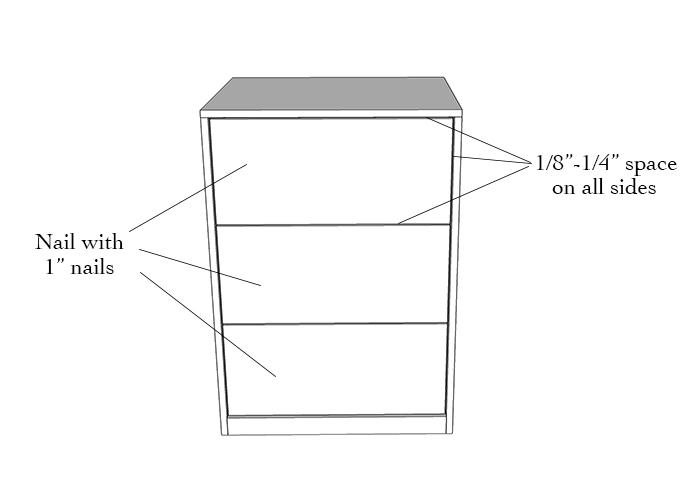
Attach Drawer Faces
Place the nightstand on it's back and place the drawer faces on top of each drawer face, covering the pocket holes. Ensure each spacing on all sides of all the drawer faces before attaching. Make adjustments (small shave cuts) as necessary. Attach with wood glue and 3- 1" nails on each drawer face. Fill nail holes with wood filler.
-
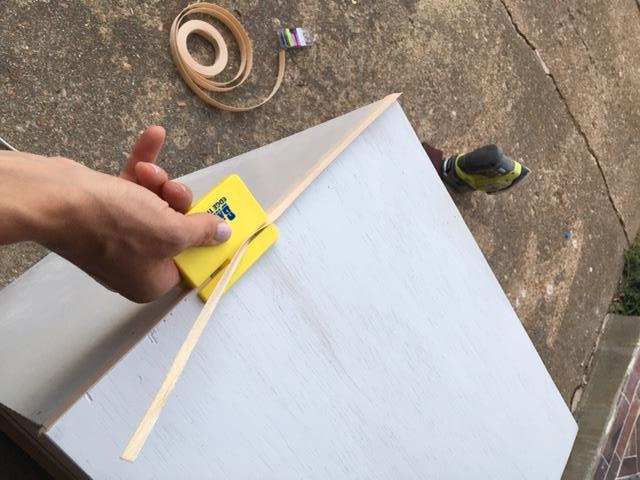
Attach Wood Veneer on Edges
To cover plywood edges with the visible layers, attach the wood veneer using an iron (follow instructions on package). The wood veneer comes in 3/4" width, so you will need to trim off the excess 1/4" using the wood veneer trimmer.
-
Paint or Stain & Attach Hardware
Sand the entire nightstand smooth using 220 grit sandpaper and an orbital or cat sander. Paint the body of the nightstand with 2 coats of semi-gloss latex paint, and either stain or paint the drawer faces. Attach hardware.