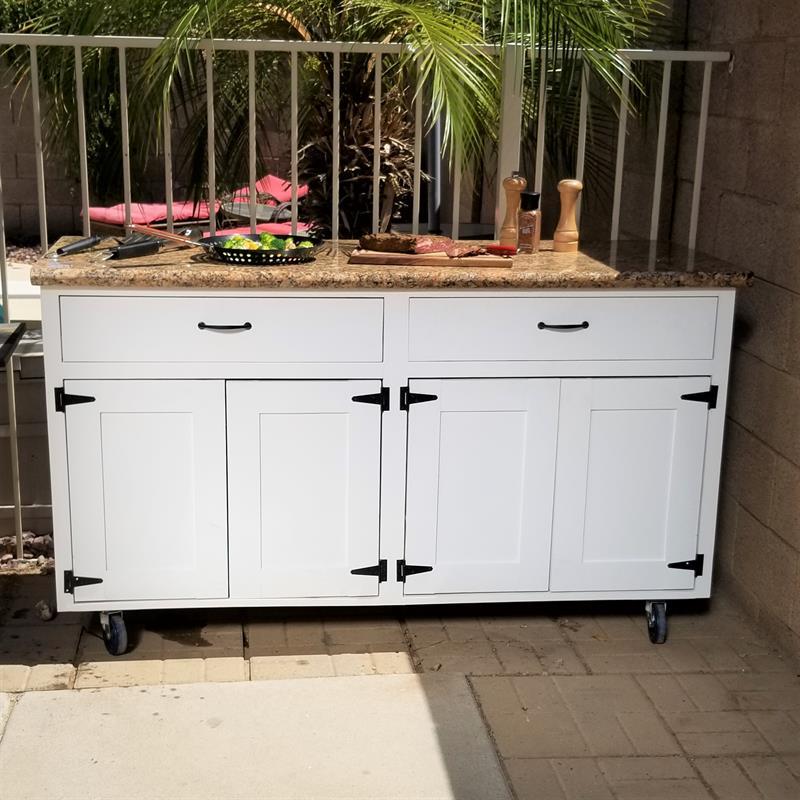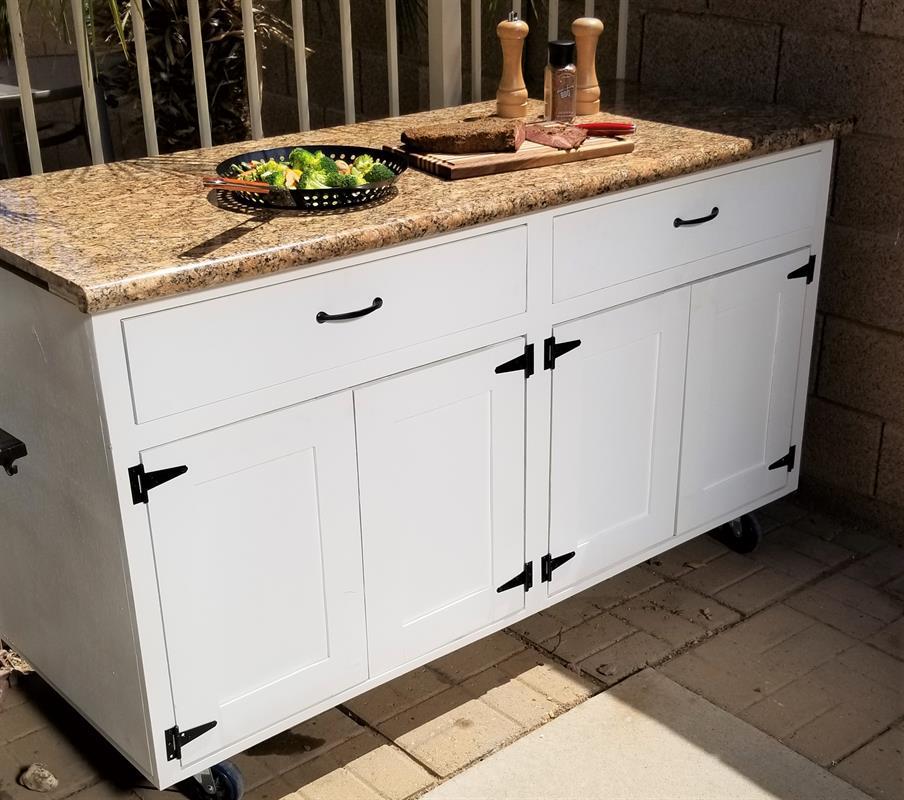


This mobile outdoor cabinet provides lots of storage options and is fully customizable. With 2 big drawers; 2 sets of doors and a nice large top, this cabinet is just the addition you need for any outdoor space, with the flexiblity to move it easily from one locaiton to the next.
Tools
Kreg Tools


Other Tools
-
Circular Saw (cordless)

-
Miter Saw
-
Tape Measure
-
Clamps
-
Drill (cordless)
-
Impact Driver
-
Nail Gun
-
Sander
Materials
Wood Products
- 2 Plywood , 3/4" Thick , Full Sheet
- 2 Board , 1x2 , 96"
- 1 Board , 1x3 , 96"
Hardware & Supplies
- 36 Kreg 1-1/4" pocket hole screws
- 50 2" long - 18ga brad nails
- 1 Wood glue
- 8 Hinges of choice
- 2 Drawer Pulls of choice
- 4 4" swivel casters
- 50 1-1/4" long - 18ga brad nails
- 16 #14 x 3/4" wood screws
Directions
-
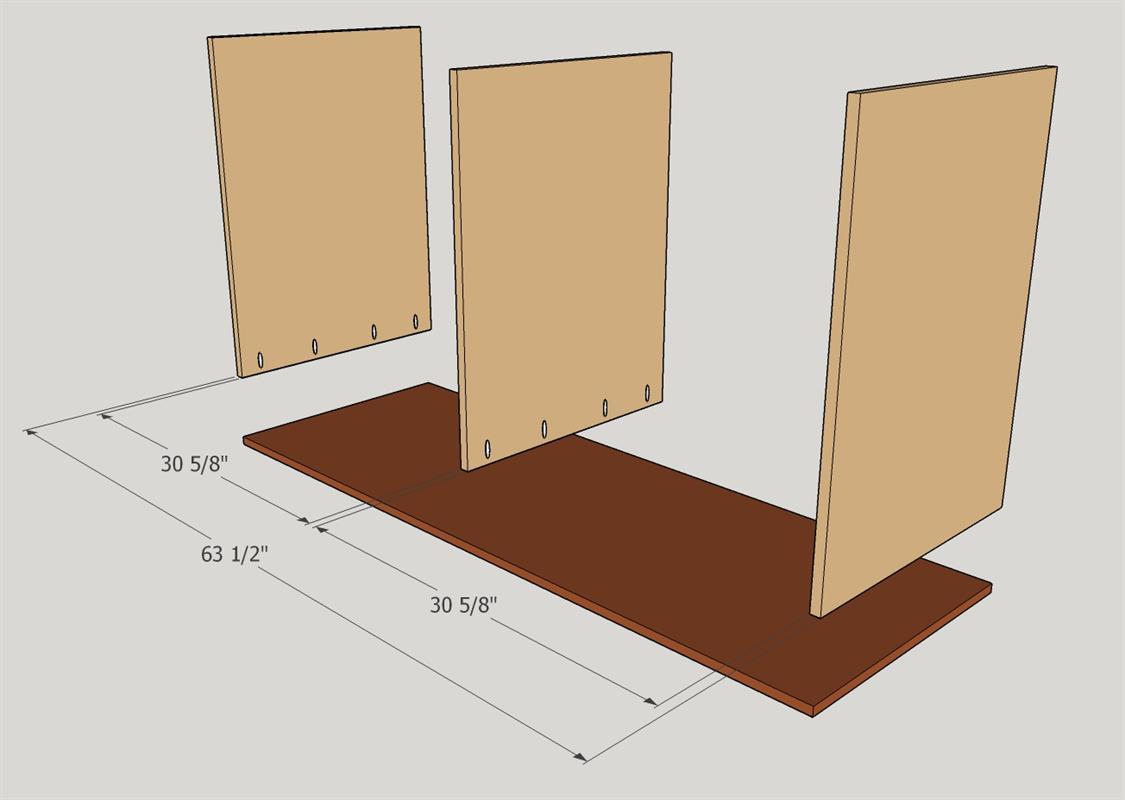
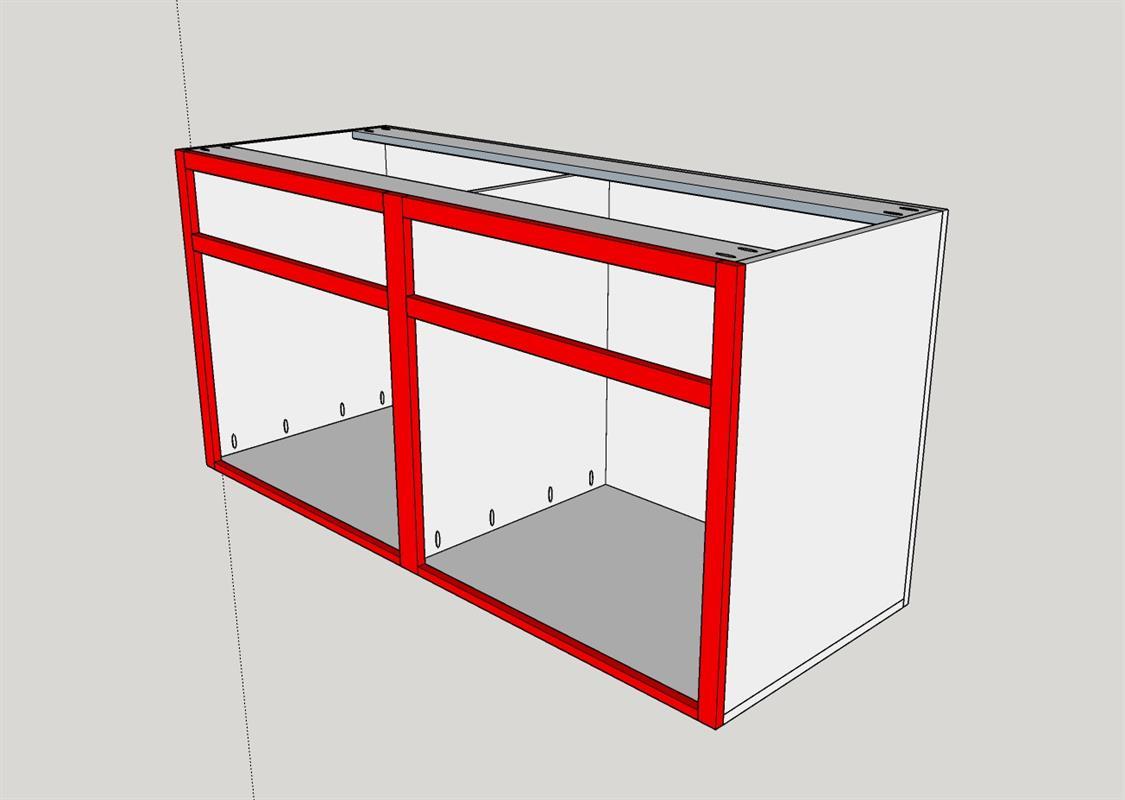
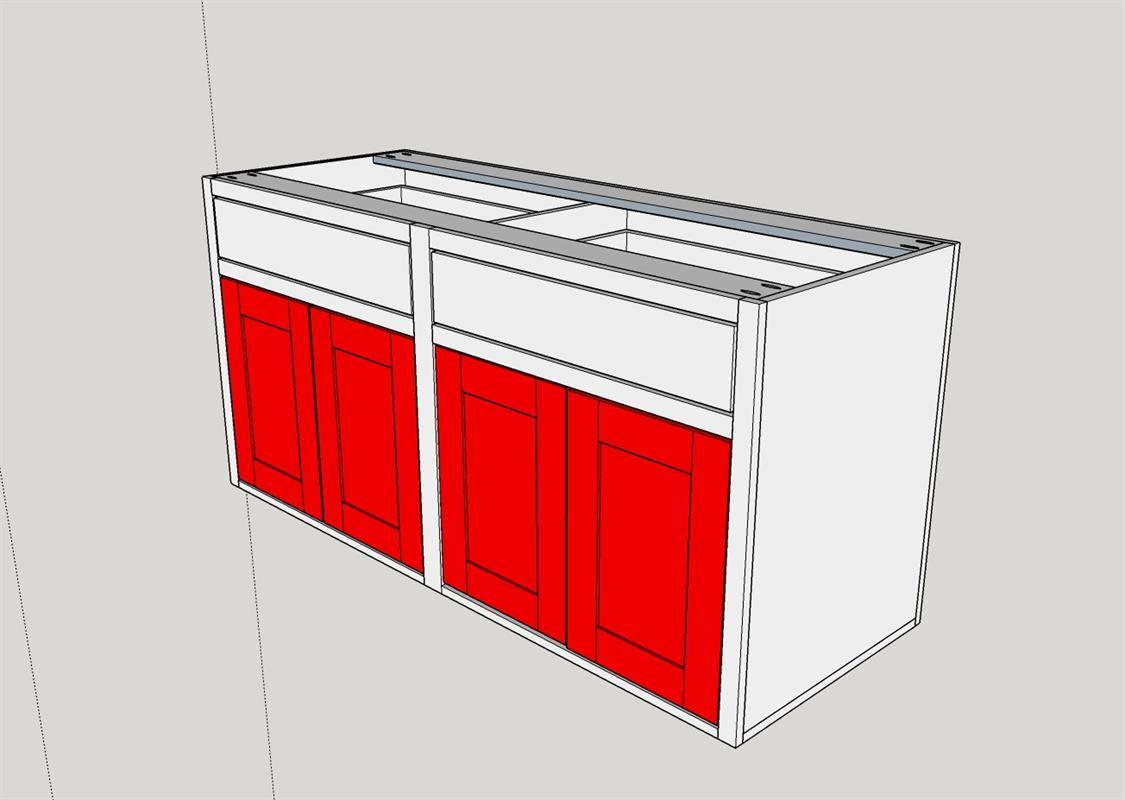
Build the carcass - part 1
Starting with the cabinet base, glue and attach the 2 vertical ends with Kreg pocket hole screws. Then attach the middle vertical, centered on the base.
-
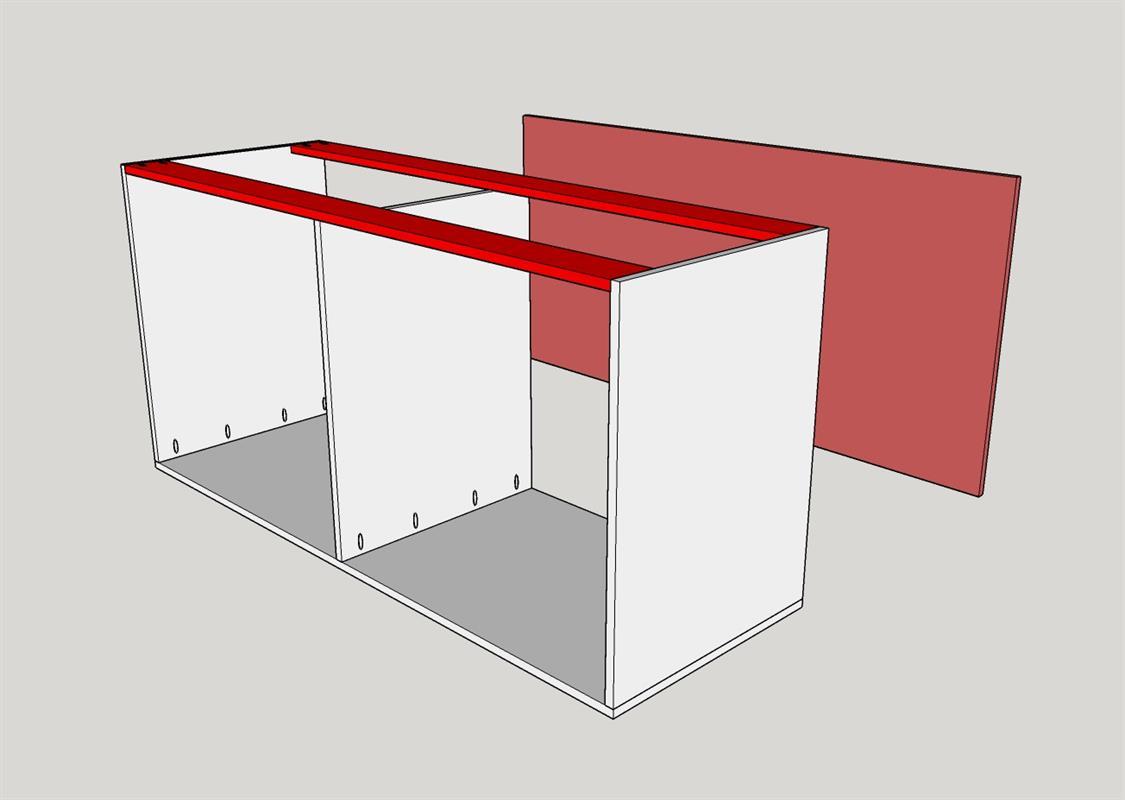
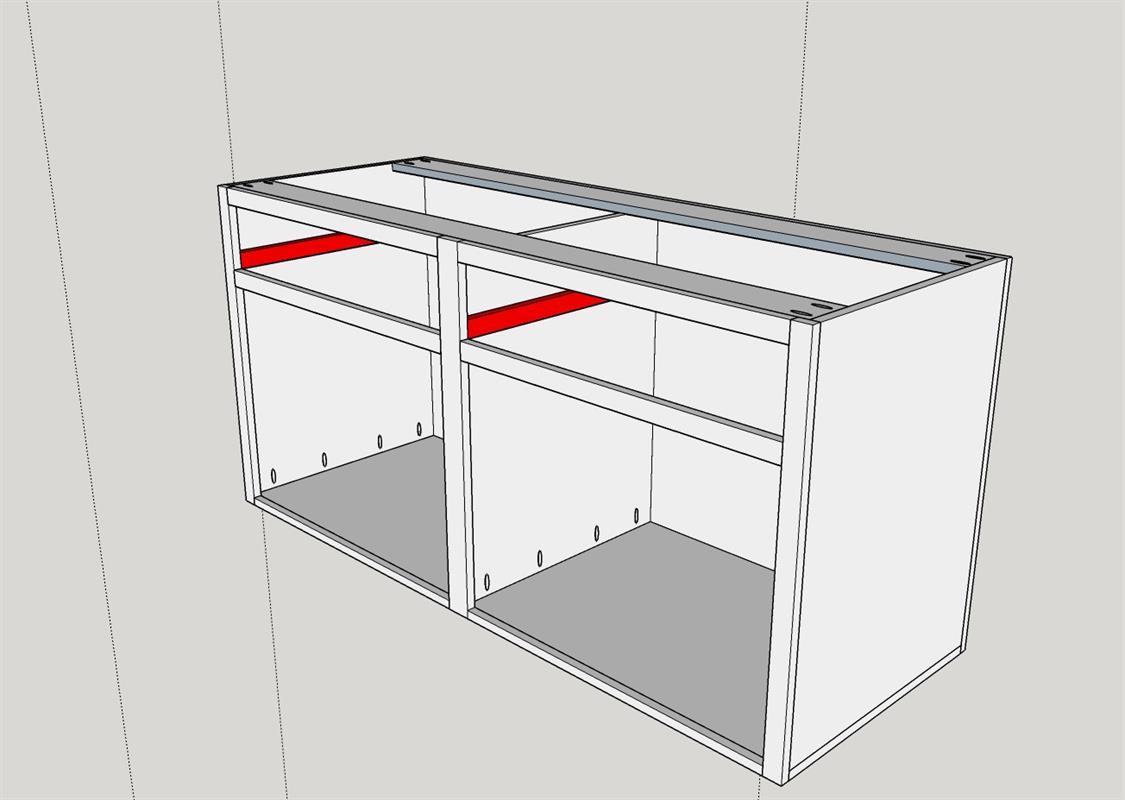
Build the Carcass - Part 2
Before mounting the cabinet top stretchers, dry fit them and then mark and glue across the top of the middle vertical. Attach the cabinet stretcher to the inside face of the cabinet ends with glue and Kreg pocket holes screws. Note that when these are mounted they should be flush to the top of the cabinet.
Next, attach the middle vertical, with Kreg pocket hole screw, up into the bottom of the top stretcher.
The final part of this step is to install the cabinet back to the main cabinet with glue and Kreg pocket holes.
-
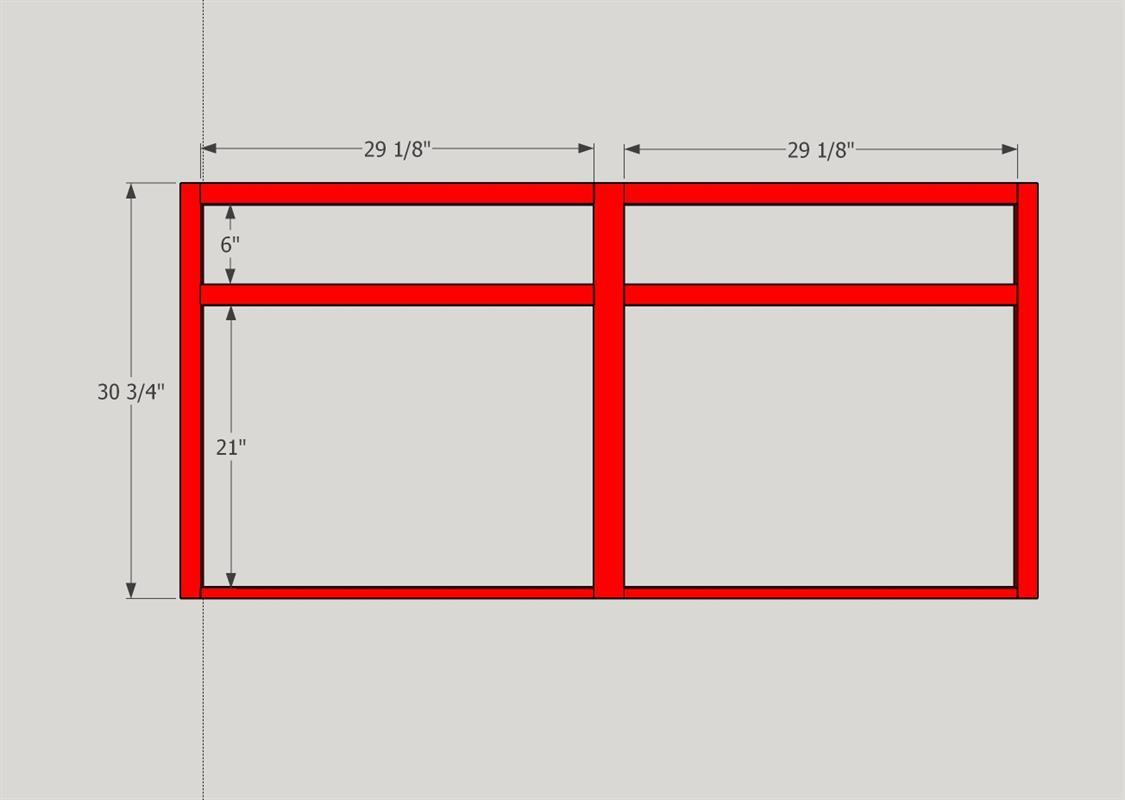
Build Face Frame
Using the supplied cut list and the attach photo - cut and assemble the face frame out of 1x material of choice. This build was made with pine.
Assemble with glue and Kreg pocket hole screws.
-
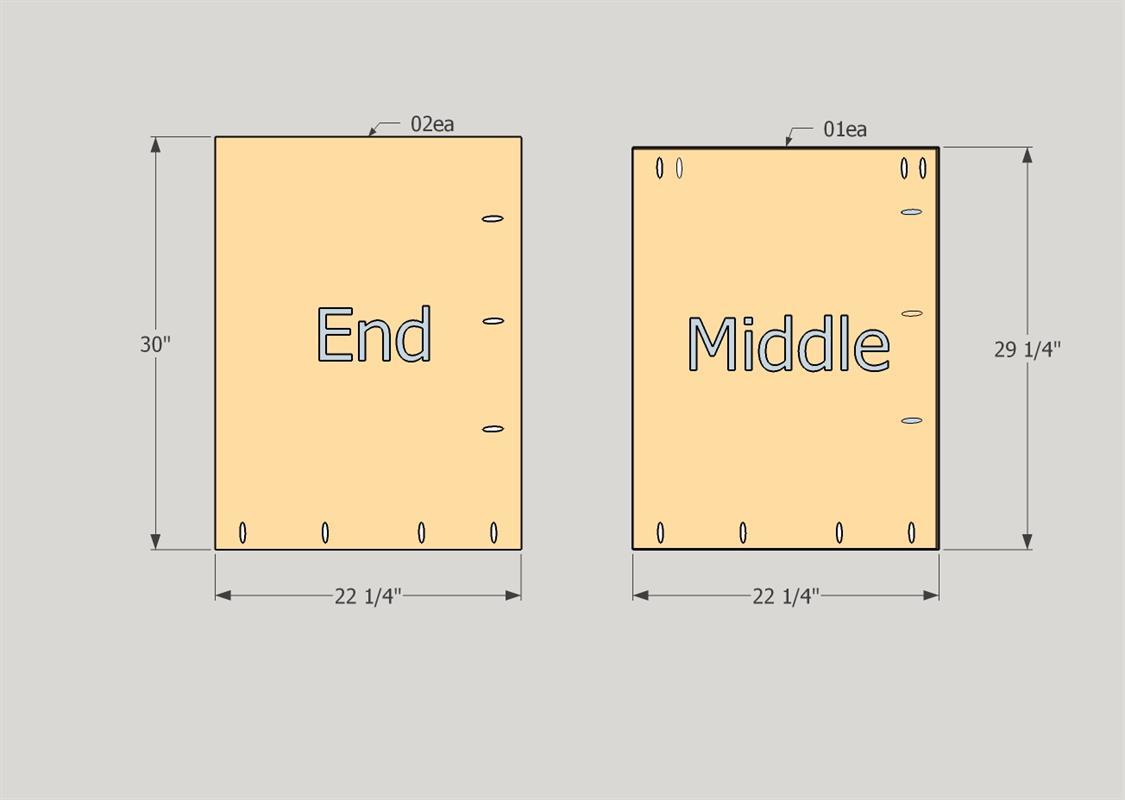
Cabinet End & Middle Vertical prep
See the attached photo for pocket holes needed on these 3 pieces.
*Please note the middle vertical is 3/4" shorter then the ends. This is for the top stretcher (next step) to pass over this piece. This same piece will need pocket holes across the top of the board*
*see photo for details
-
Attach the face frame
Once assembled - Attach to the face of the cabinet. This is easiest by laying the cabinet on it's back - then place a thin bead of glue around the face of the cabinet. Once the face frame is placed on the cabinet, make sure you are flush on all sides. Make the final attachment with 18ga brad nails.
-
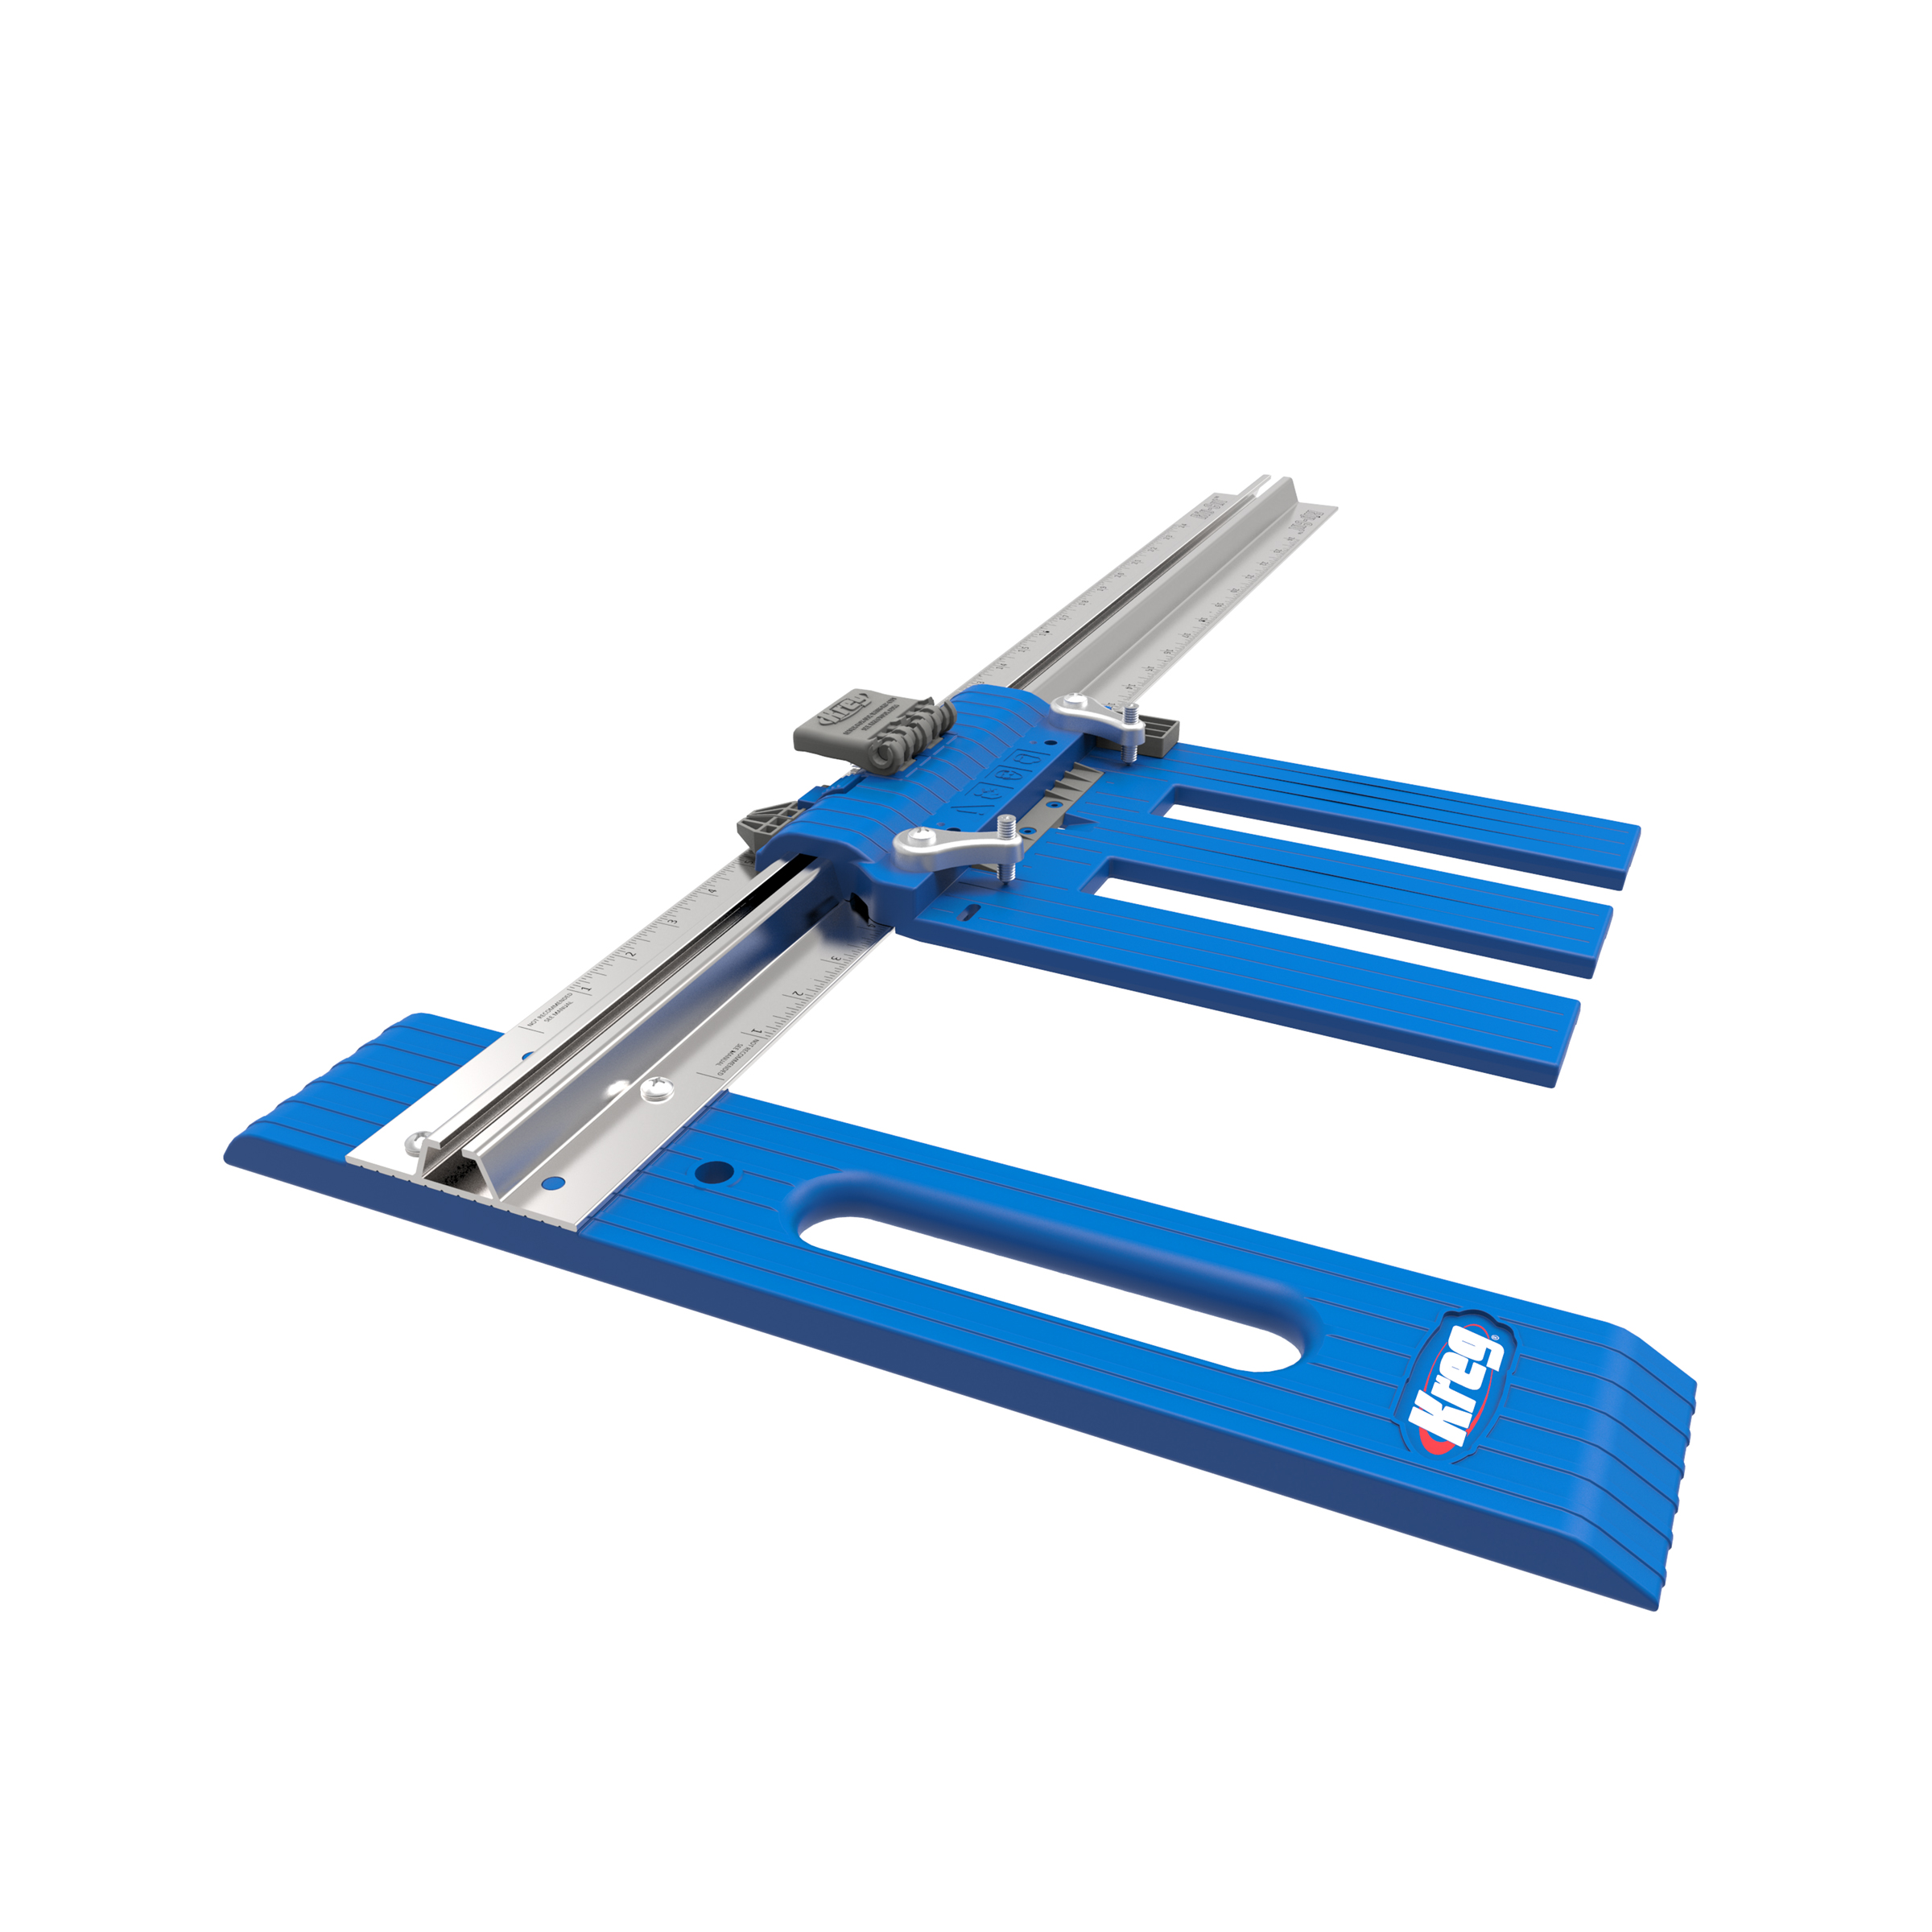
Drawer Slide Shims
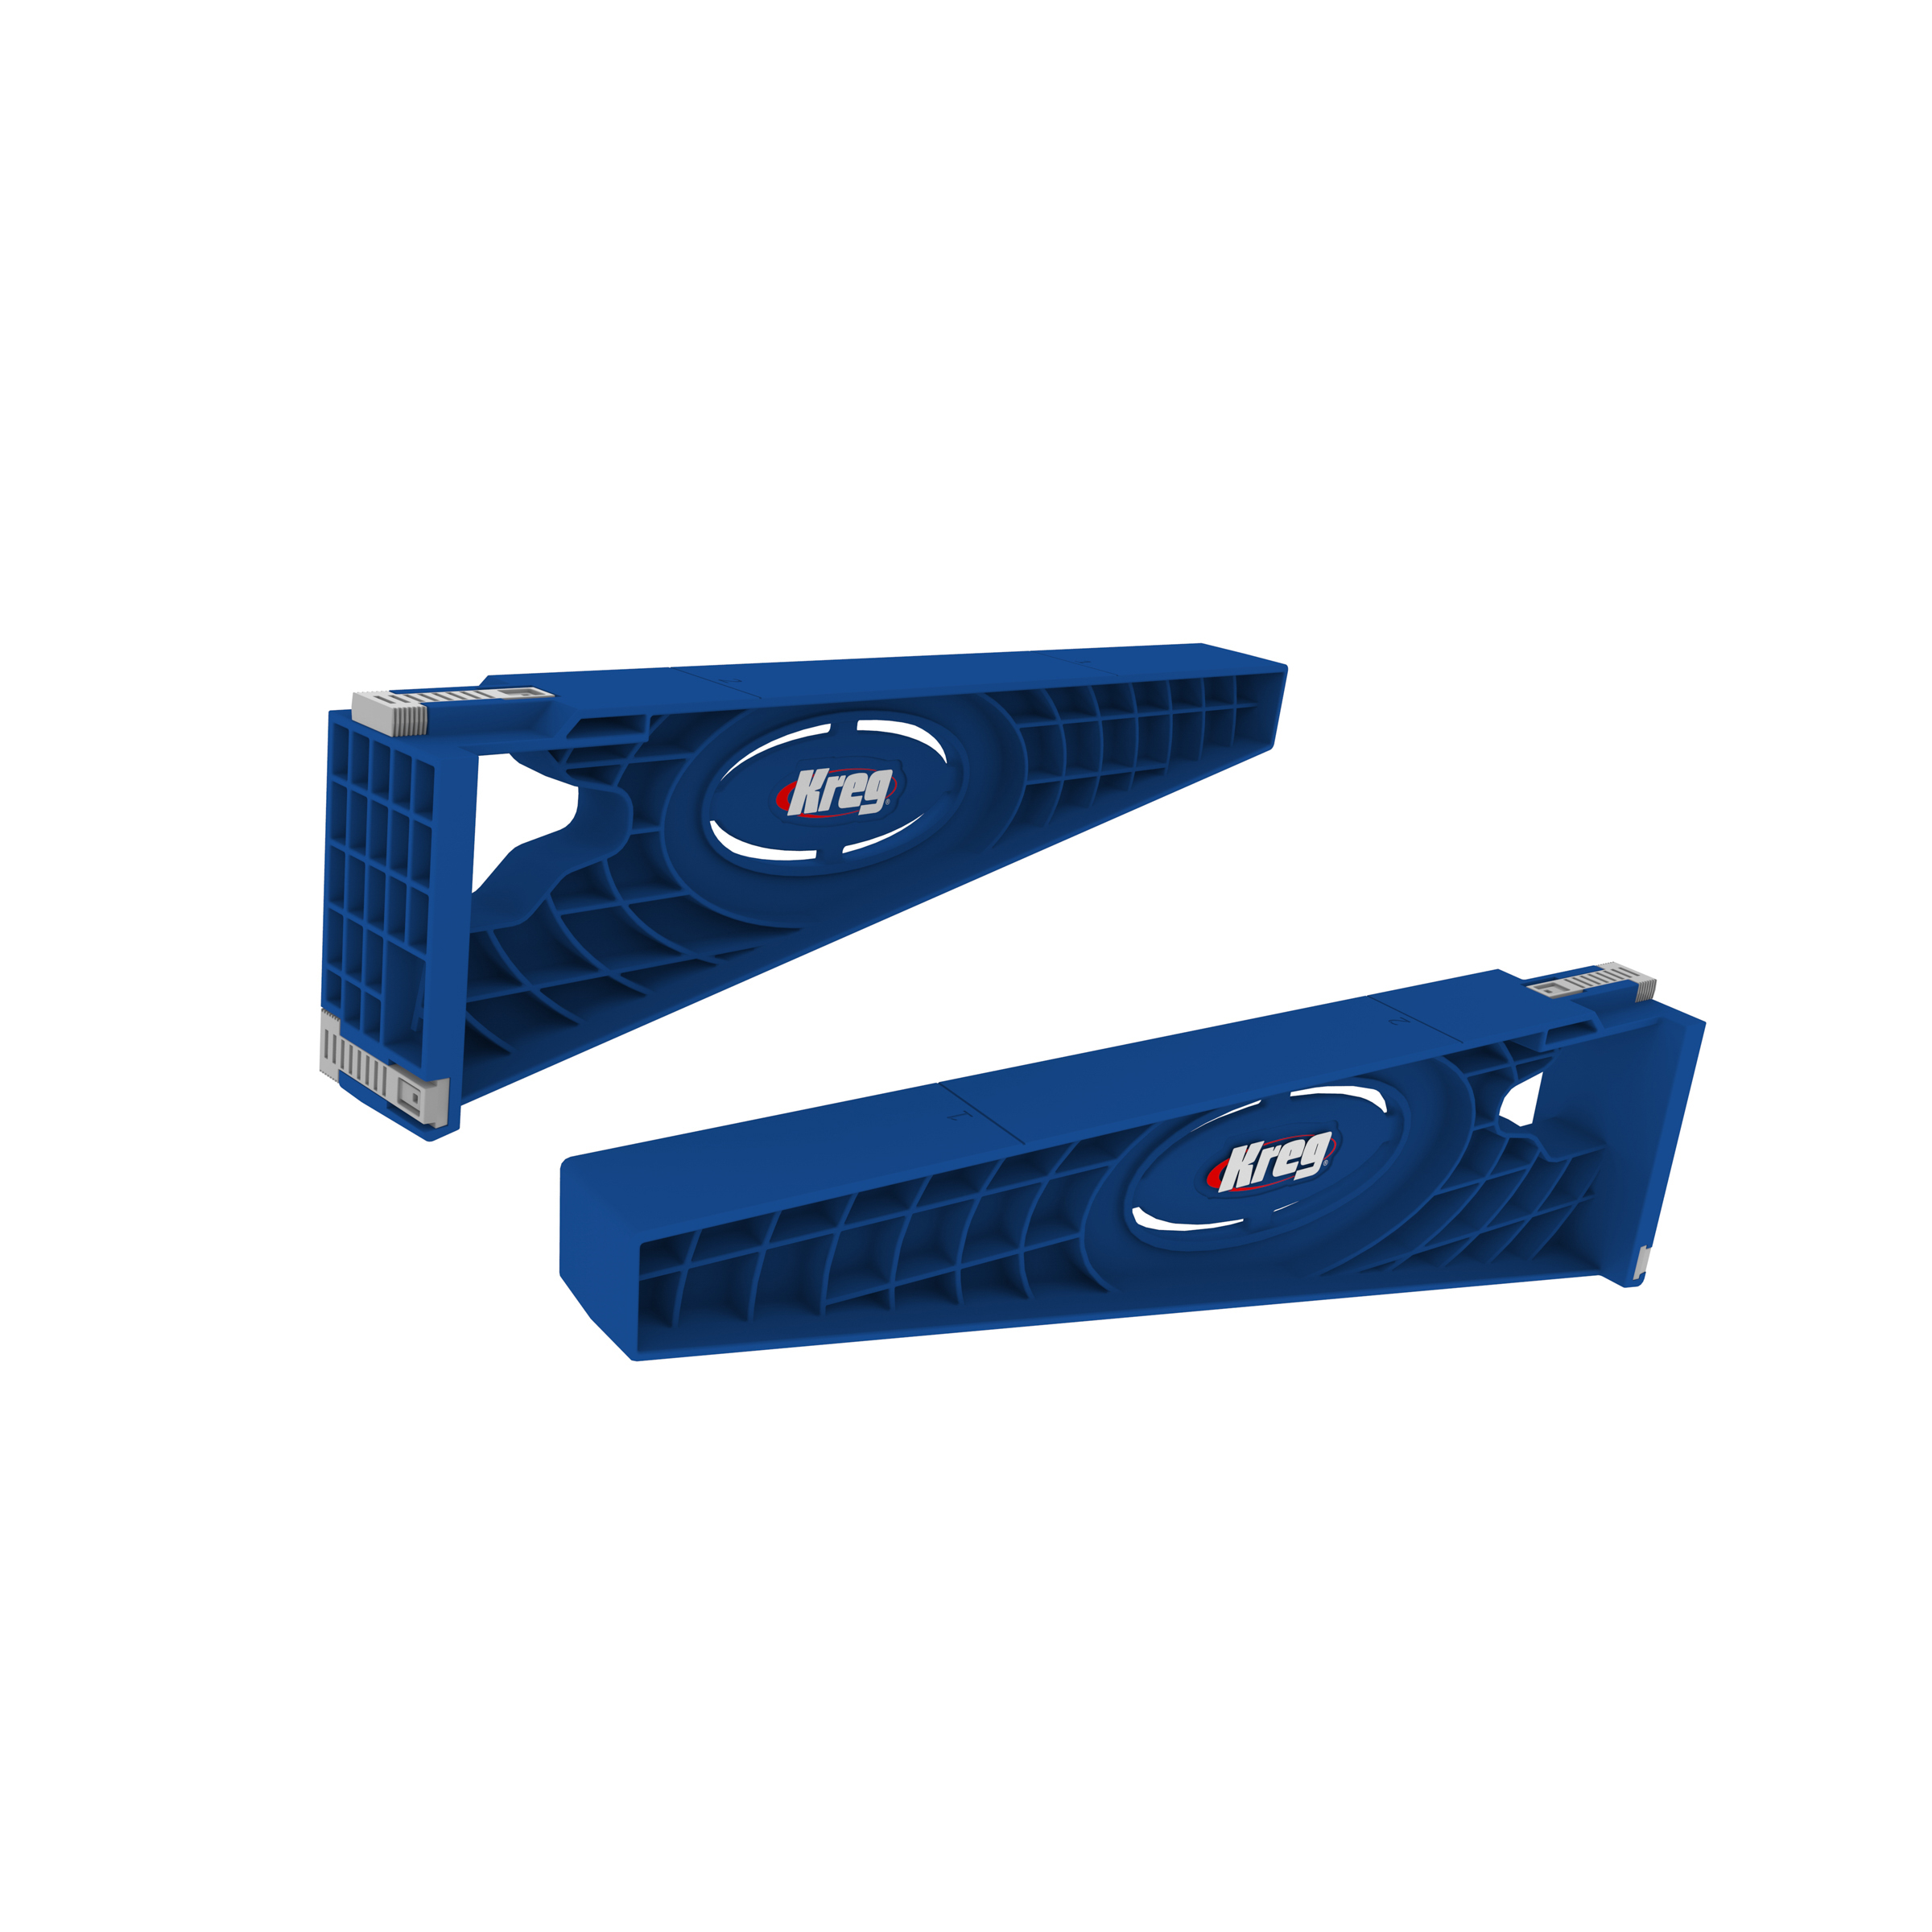
Attach drawer slide shims to the inside of the cabinet. Using the Kreg Drawer Slide Jig to locate the position of these shims. These are needed to bring the inside surface out flush to the drawer openings. Attachment is made with glue and 1-1/4" 18ga brad nails.
Repeat this step in all 4 locations for shims.
-
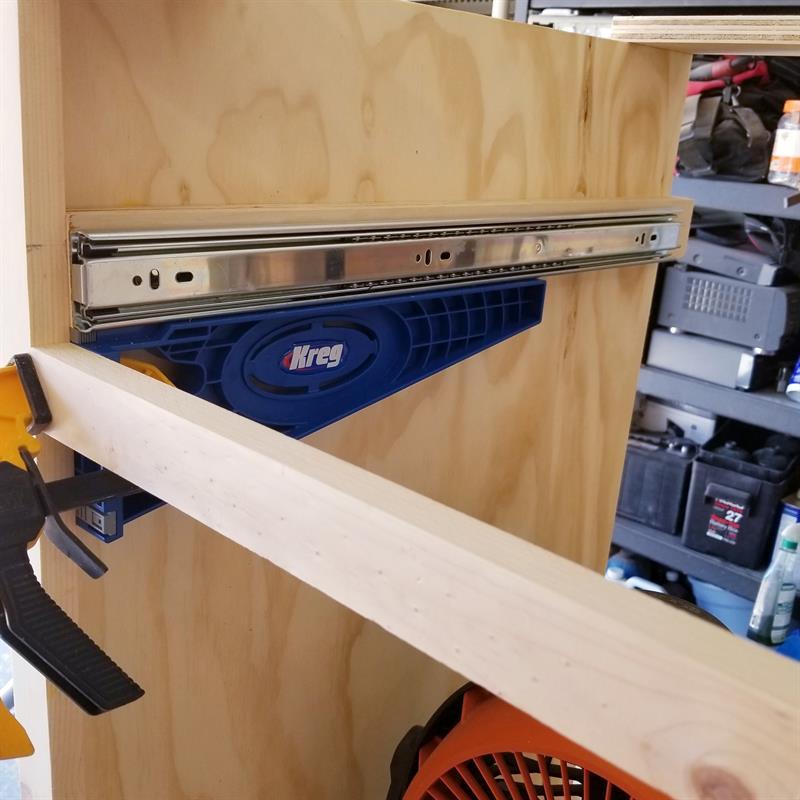
Drawer Slides Install
Choose your drawer slides, this build utilizes 22" full extension slides. Still using the Kreg drawer slide jig - locate and attach the slides with the supplied hardware - repeat in all 4 location.
-
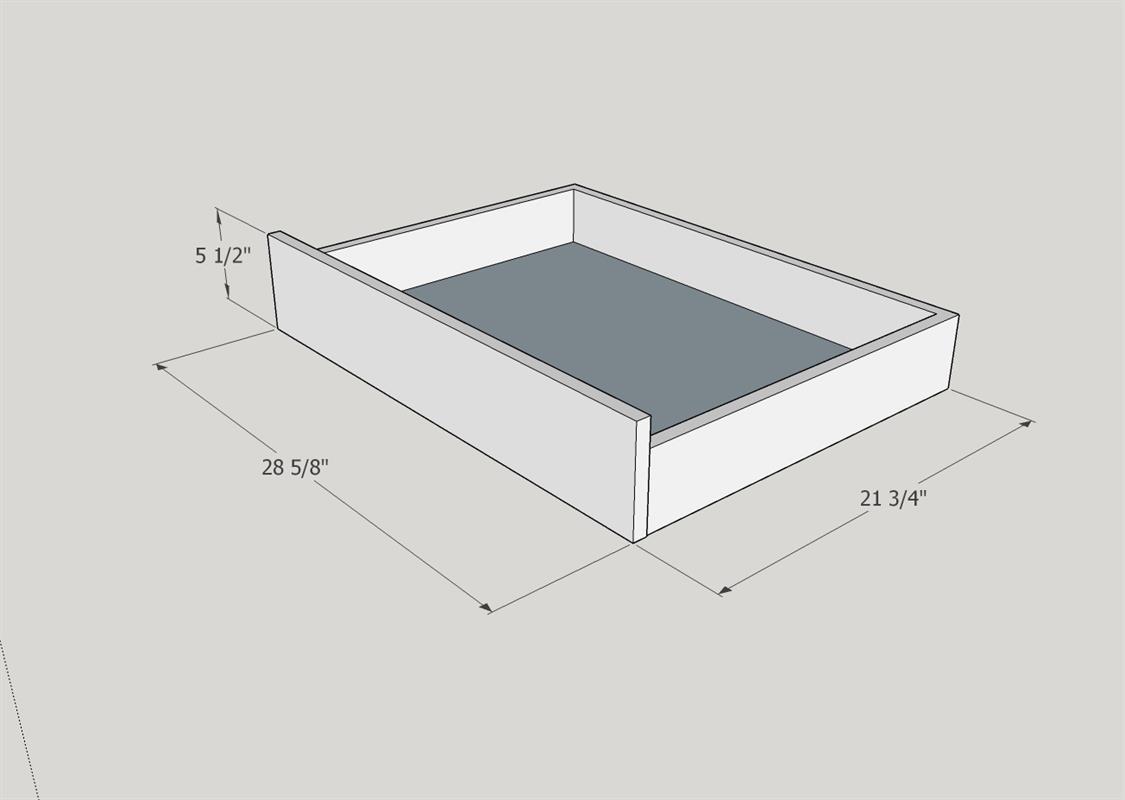
Build Drawers
Build drawers (2) per the attached photo. Please note this size includes the drawer face.
-
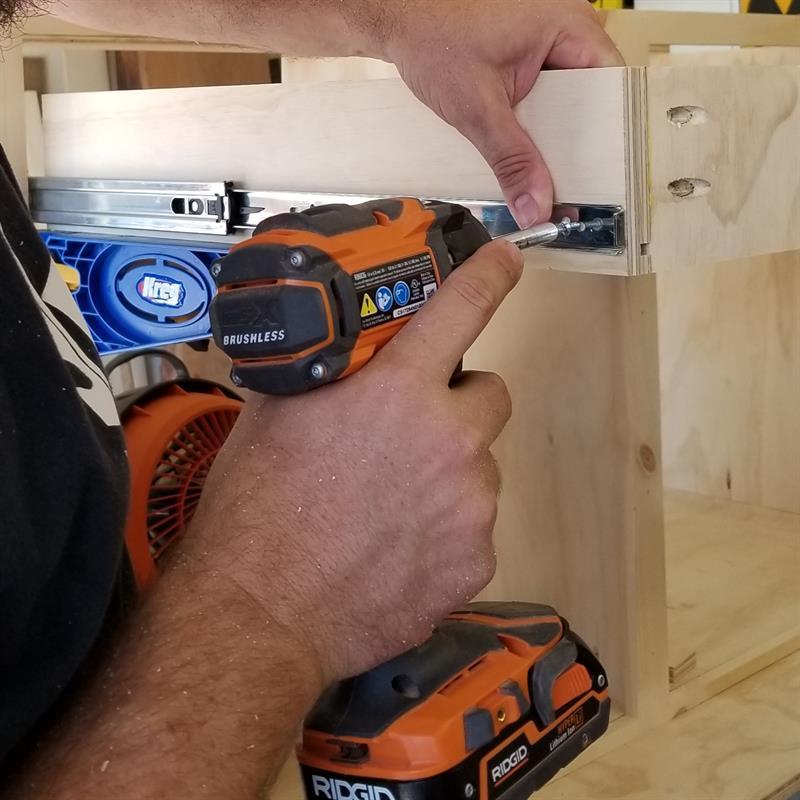
Install Drawers
Following the direction on the Kreg Drawer Slide Jig - reverse the jig so the arms are now extending away from the cabinet. Pull out your slides and sit your drawer on the jig. Attach the slides to the drawer with the hardware supplied with the slides. Repeat for the second drawer.
-
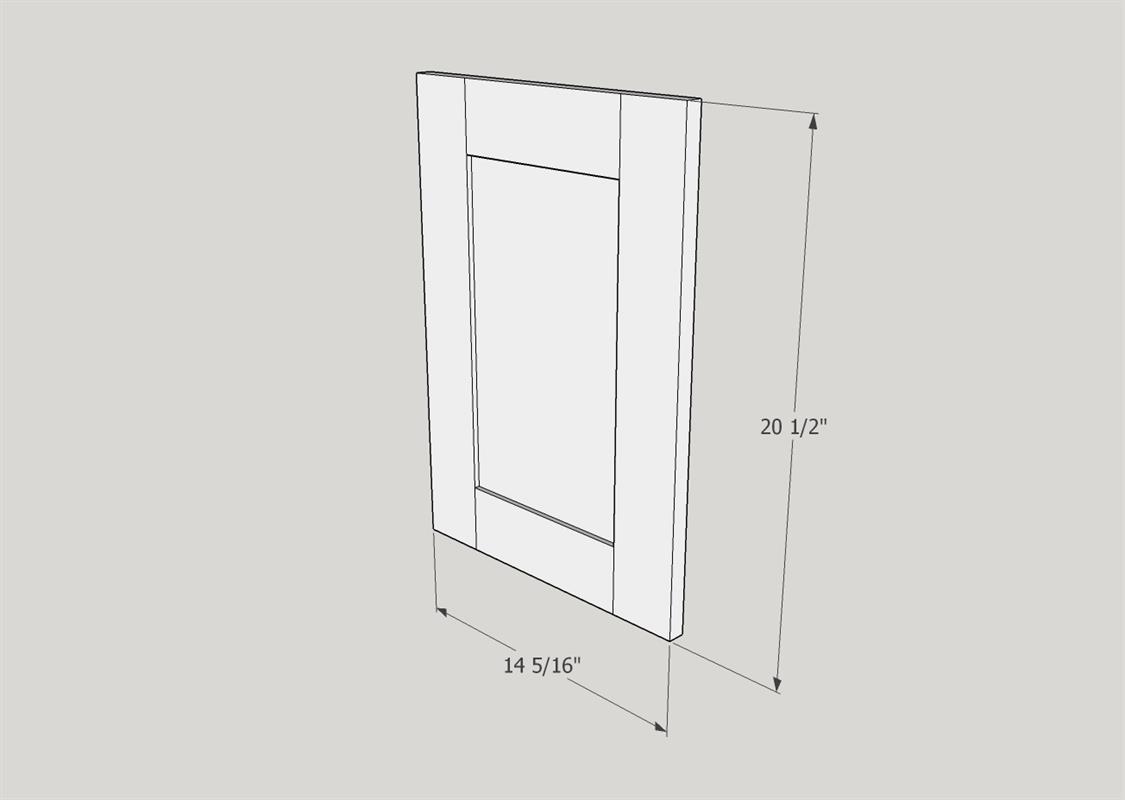
Build Cabinet Doors
Build (4) cabinet doors per the attached photo. For this build, shaker style doors where built. A solid plywood door with edge banding would also be sufficient. Builders choice.
-
Install Cabinet Doors
Using hardware of choice - prep your doors accordingly. For this build, surface applied hinges were used. Shim the doors in the openings so your reveals are equal and consistent. Secure the hinges to both the doors and the face frame with the hardware that comes with the hinges.
-
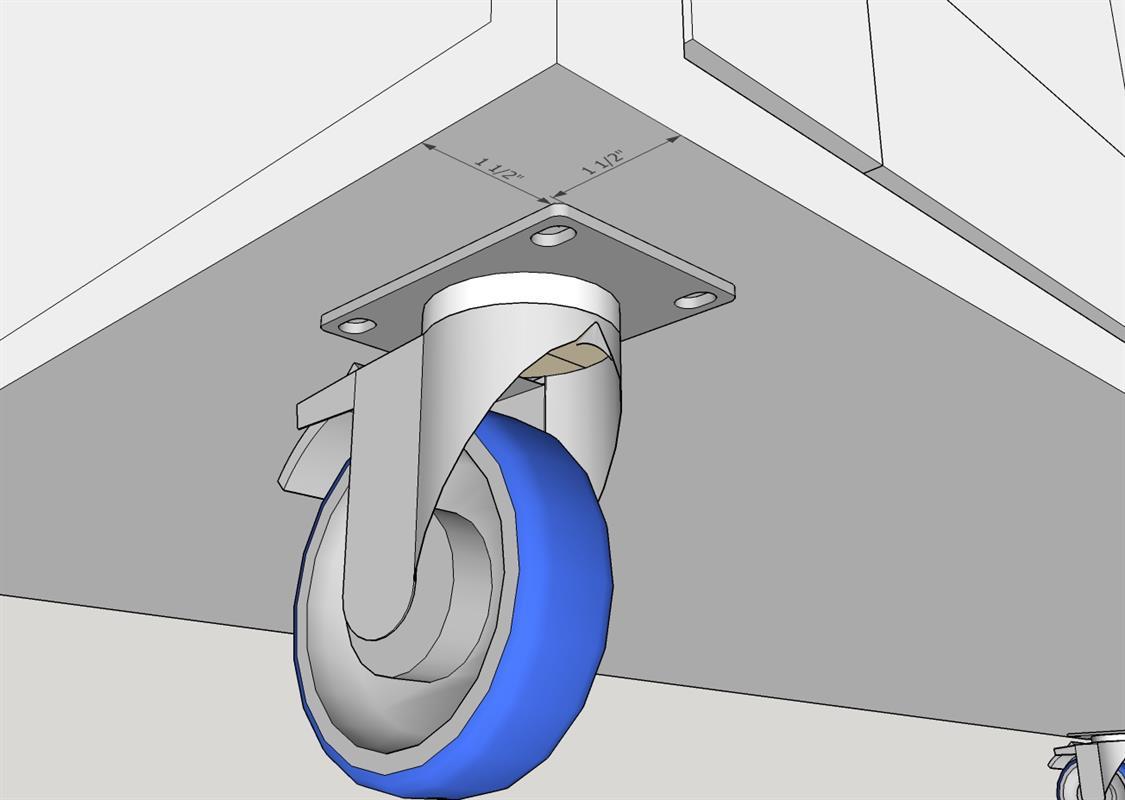
Install Casters
Using a 4" swivel caster, position the mounting plate approximately 1-1/2" in from the edges. Secure with 4ea #14 x 3/4" wood screws.
Repeat for all 4 casters.
-
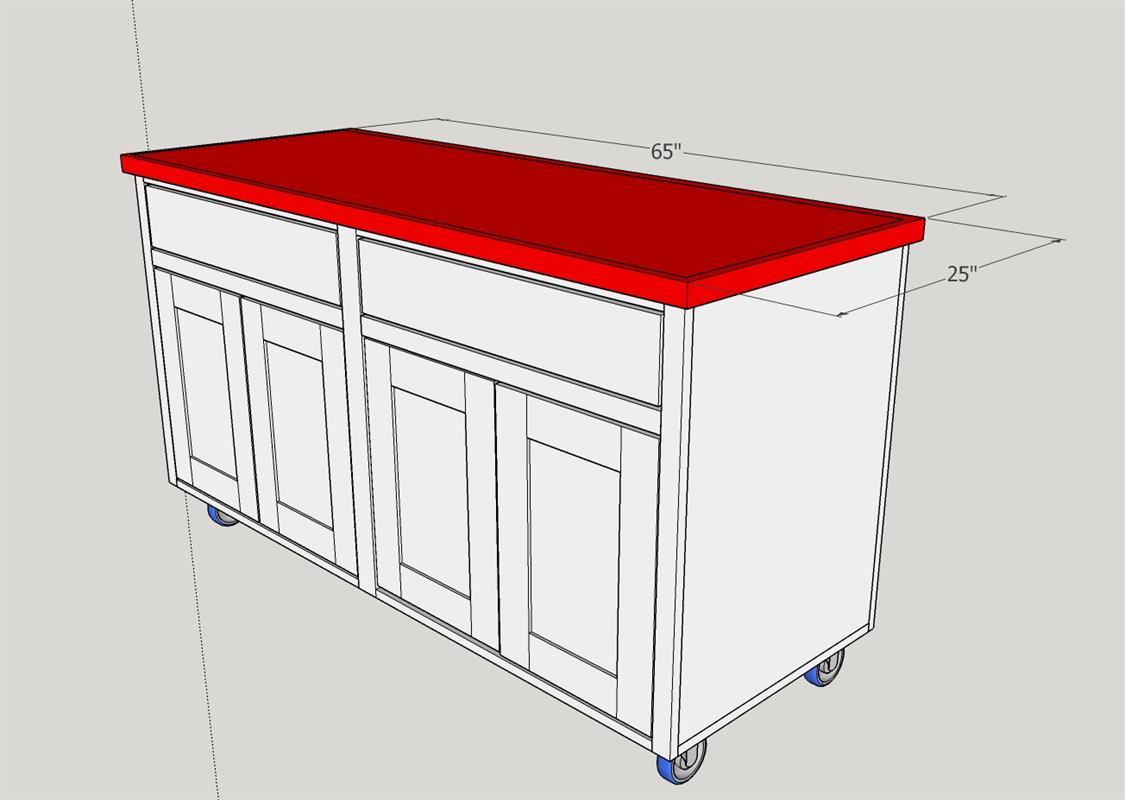
Build and install Cabinet Top
Build a cabinet top that nets out dimensionally at 1-1/2" x 25" x 65"
Secure the top to the cabinet from inside the cabinet, thru the cabinet top stretchers into the top.
-
Prep and Finish Cabinet
Sand and paint/stain cabinet to your desired finish.
This cabinet is multipurpose - keeping that in mind, finish it according to where it will be kept and how it will be used.
-
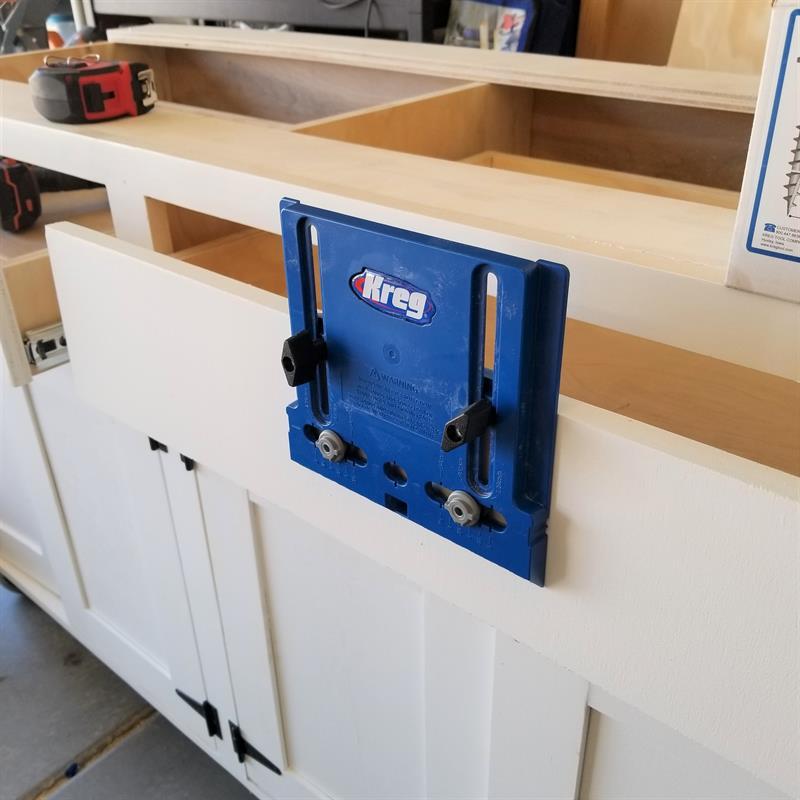
Install hardware
Once the finish is complete, install any drawer pulls and/or door pulls you choose.
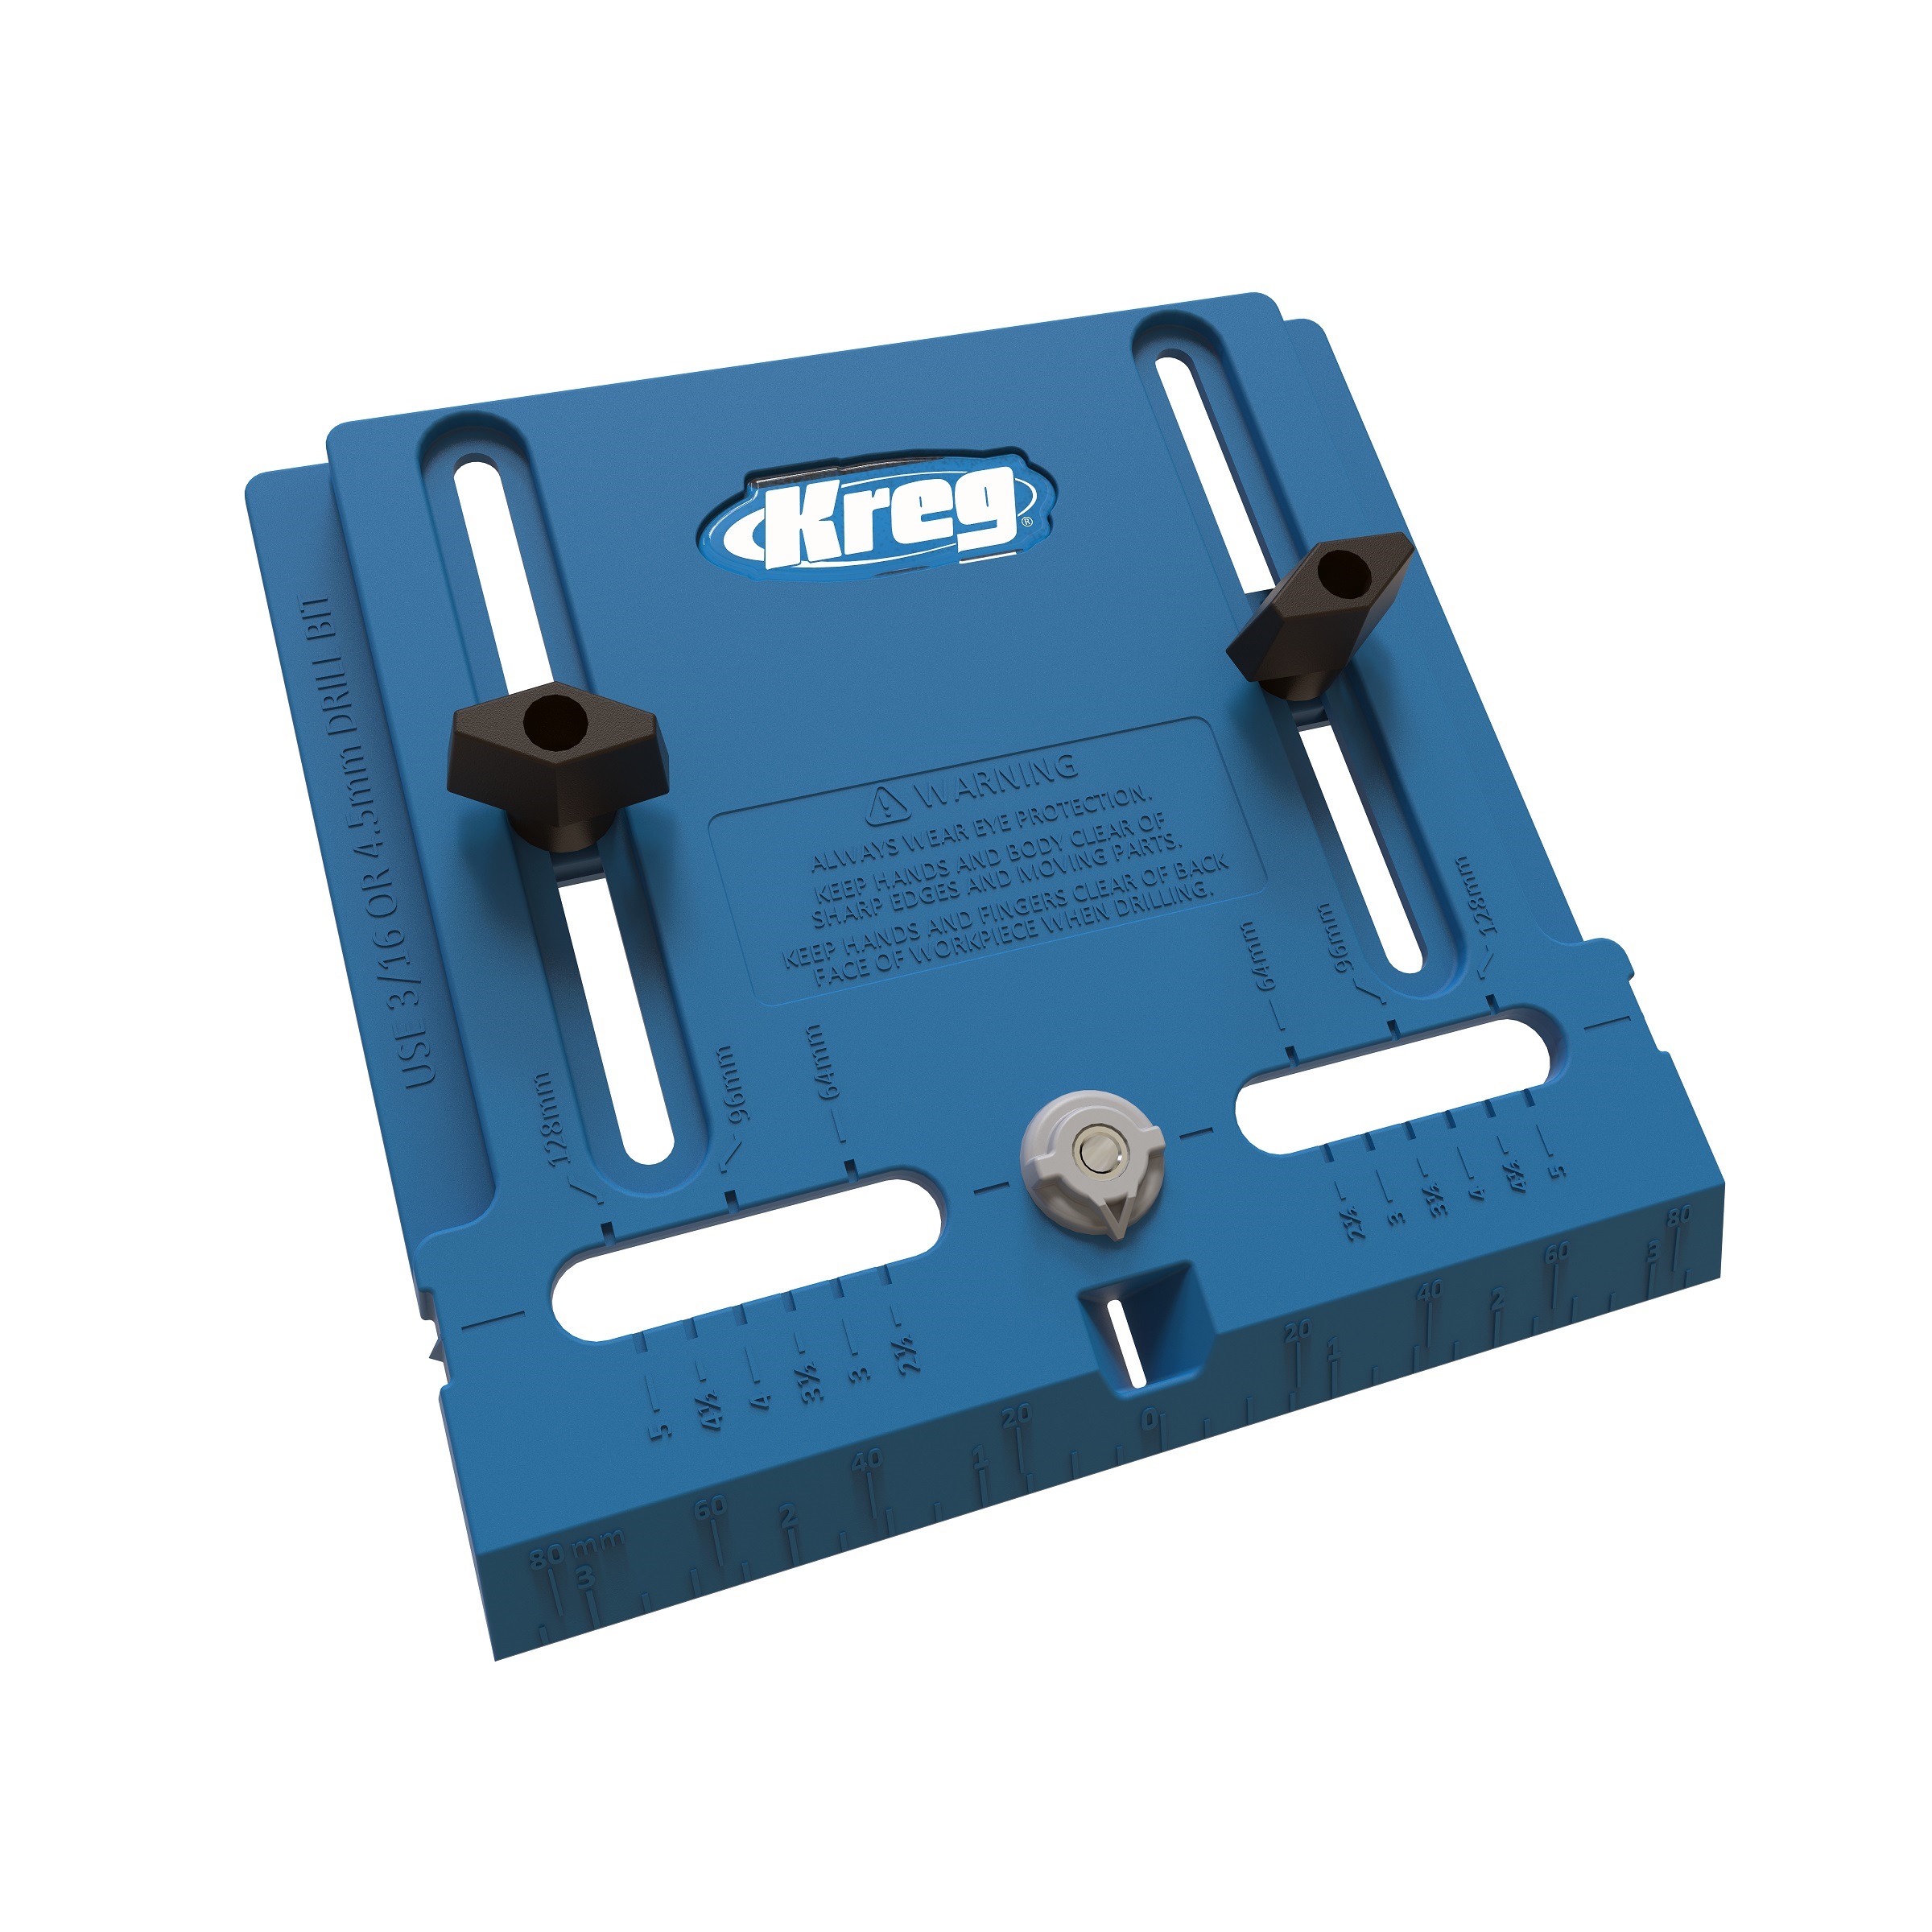
We utilized the Cabinet Hardware Jig for quick, perfectly placed pulls on the drawers.
-
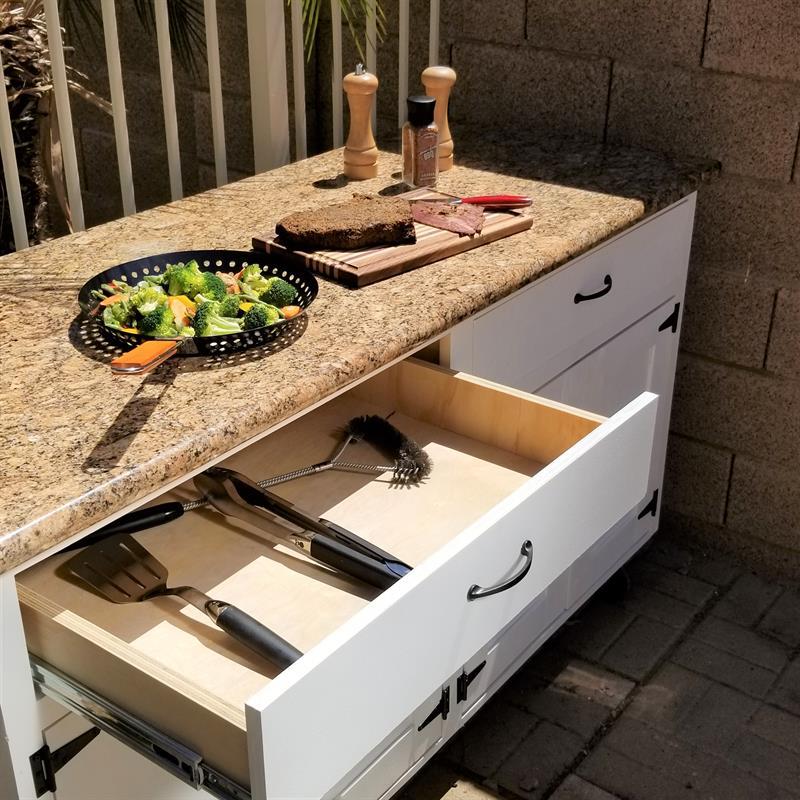
Customize and Use
This cabinet can be customized for your specific needs. You can easily add adjustable shelves to these large bays under the drawers.
Now that you have it the way you want it, utilize all that space and organize your outdoor area and plan your next outdoor activity around this mobile cabinet!