

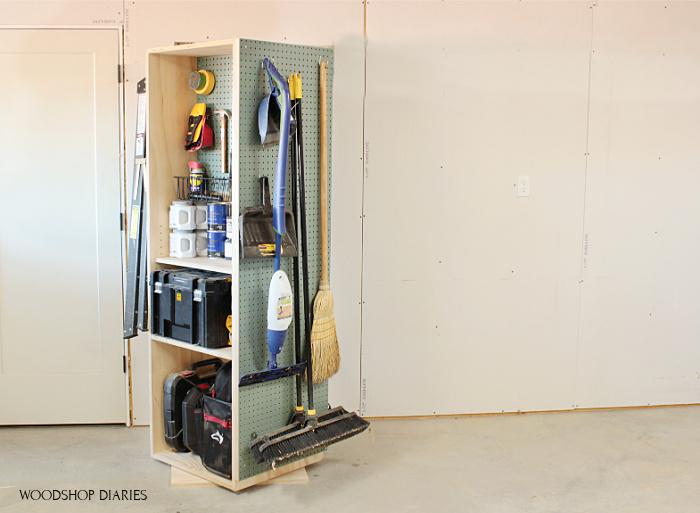
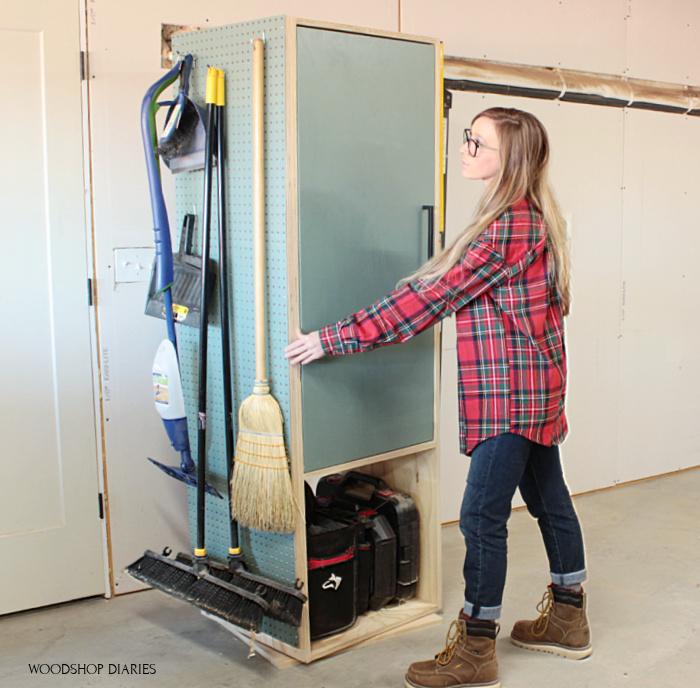


Check out this DIY garage organization cabinet that has storage on all sides and spins on a Lazy Susan! This project is so easy to build, but packs a ton of storage and easy customization options. And the large cabinet at the bottom leaves room for tool boxes--This is what every garage or shop needs
Tools
Kreg Tools


Other Tools
-
Circular Saw (cordless)

-
Tape Measure
-
Drill (cordless)
Materials
Wood Products
- 2 Plywood , 3/4" Thick , Full Sheet
- 1 Pegboard Sheet , Pegboard Sheet , Full Sheet
Hardware & Supplies
- 1 12" Lazy Susan Hardware
- 28 1 1/4" pocket hole screws
- 1 Pair Inset Concealed Hinges
- 16 Shelf pins
- 20 1 1/4" wood screws
- 10 Washers to attach pegboard (optional)
- 8 5/8" wood screws
Cut List & Parts
- 2 Cabinet Sides , 3/4" x 22" x 74"
- 3 Top, Bottom, Middle Shelf , 3/4" x 22" x 22"
- 1 Middle Divider , 3/4" x 22" x 50"
- 1 Base Plate , 3/4" x 22" x 24"
- 1 Door , 3/4" x 21 3/4" x 49 3/4"
- 4 Shelves , 3/4" x 9 1/2" x 21 3/4"
- 1 Pegboard Panel , 22" x 72"
- 2 Pegboard Spacers , 3/4" x 2" x 72"
- 1 Pegboard Panel , 22" x 24"
- 2 Pegboard Spacers , 3/4" x 2" x 24"

Directions
-
Cut Plywood Sheets
Cut down two 3/4" plywood sheets like shown in the cut list. Rip three total strips 22" wide and one strip 21 3/4" wide. From the 22" wide strips, cut (2) pieces 74" long, (3) pieces 22" long, and (1) piece 50" long. You should have a piece about 22" x 24" left--set it aside for later.
From the 21 3/4" wide strip, cut a piece 49 3/4" long to use for the door, and cut your shelving from the remaining plywood (shelves will be about 9 1/2" x 21 3/4").
The thin strips you have leftover will be used to install the pegboard later.
-
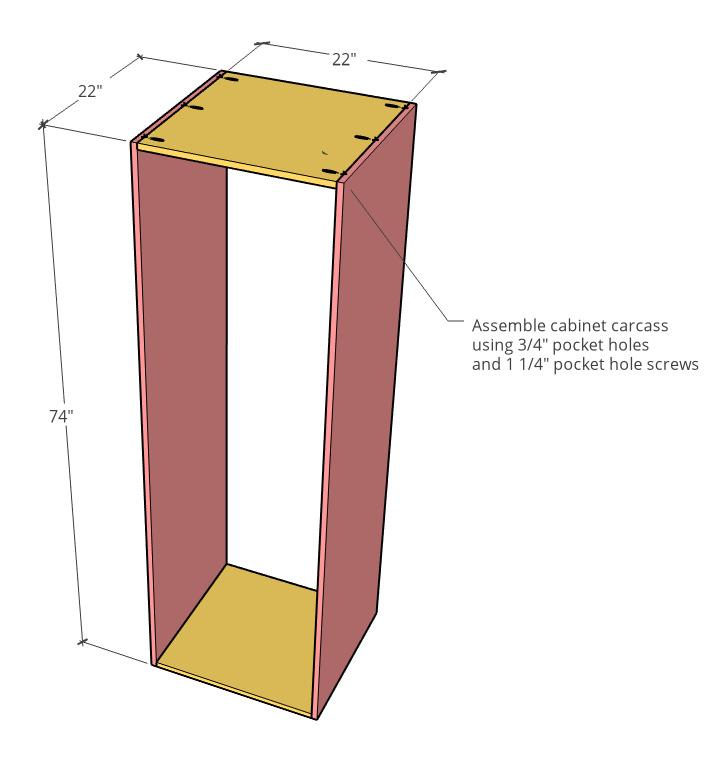
Assemble Cabinet Carcass
Drill 3/4" pocket holes along two opposite edges of the 22" x 22" pieces. Use 1 1/4" pocket hole screws and wood glue to assemble the cabinet carcass like shown.
-
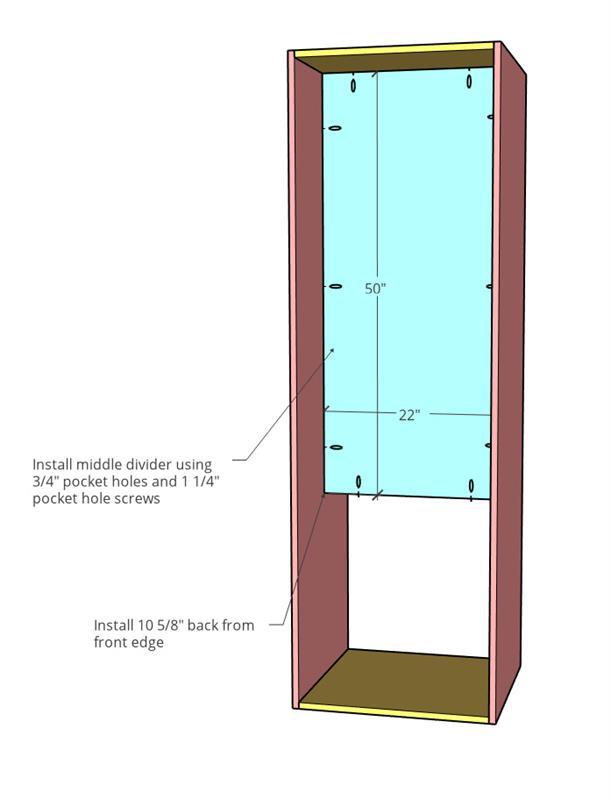
Install Middle Divider
Install the middle divider panel like shown using 3/4" pocket holes and 1 1/4" pocket hole screws. Install this panel so that it is about 10 5/8" from the edge of the side panels--this would make it centered front to back.
-
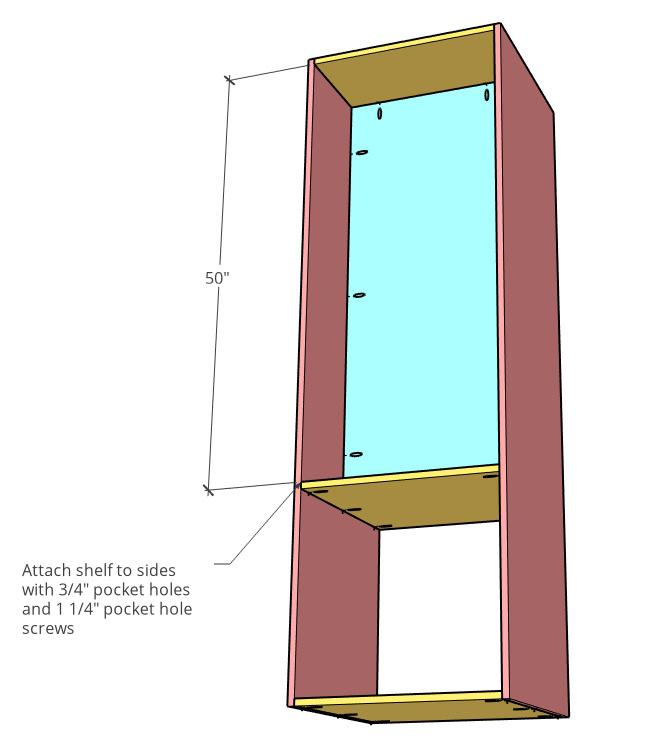
Install Middle Shelf
Install the last piece of 22" x 22" plywood as the middle shelf like shown using 3/4" pocket holes and 1 1/4" pocket hole screws. Don't forget to screw the middle divider panel into this shelf as well.
-
Attach Lazy Susan to Base Plate
I used a 12" Lazy Susan for this cabinet. Check out the video in the Extras for more details on the installation. This hardware has two 3/4" diameter access holes on the bottom side that allows you to install it to the cabinet. Center the hardware on the 22" x 24" plywood base plate and mark these holes on the plywood. Remove the hardware and use a 3/4" spade bit to drill out these holes.
Then, replace the lazy Susan hardware, line up the holes, and screw the hardware to the base plate with 5/8" long screws.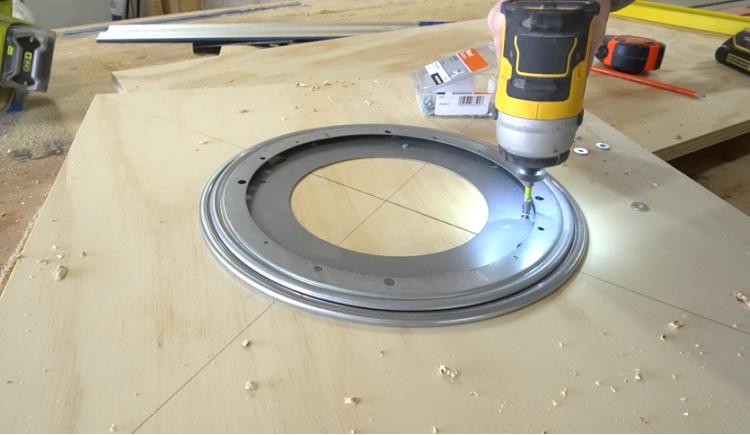
-
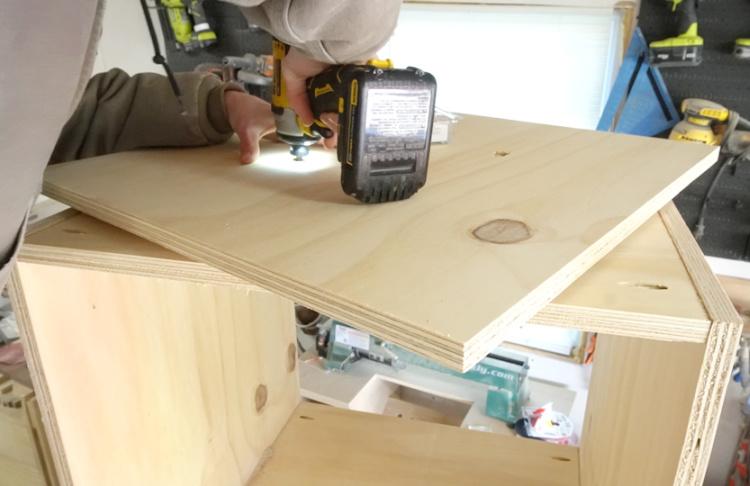
Attach Hardware to Cabinet Bottom
Filp the main cabinet upside down, and place the base plate on the bottom and center it. The lazy Susan hardware should be between the cabinet and the base plate. Use the access holes to attach the lazy Susan to the cabinet bottom using 5/8" long wood screws.
-
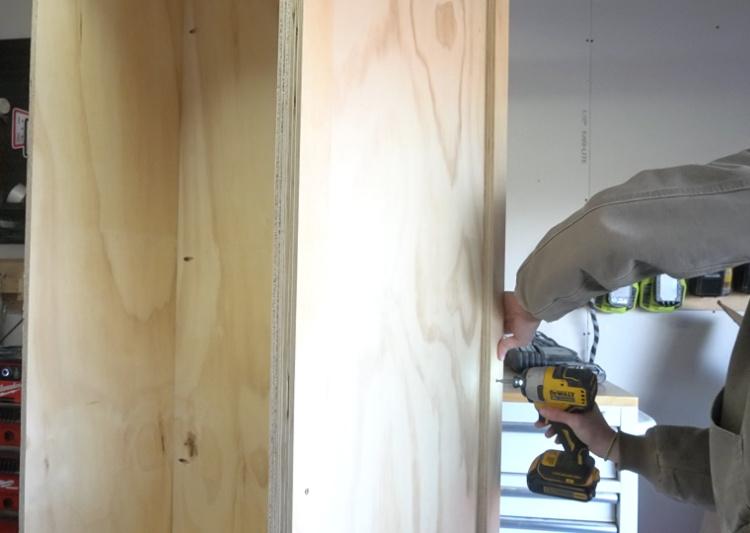
Install Pegboard Spacer Blocks
Adding pegboard to this project is totally optional. But, in order to add it, you need to add some spacer blocks because you can't mount pegboard directly onto the cabinet sides. So, I took the leftover thin plywood strips from step 1 and ripped them to 2" wide strips, then cut two pieces 72" long. These measurements are rough, so they don't have to be exact. Then, I screwed a strip at the front and back edge of one side of the cabinet with 1 1/4" wood screws.
-
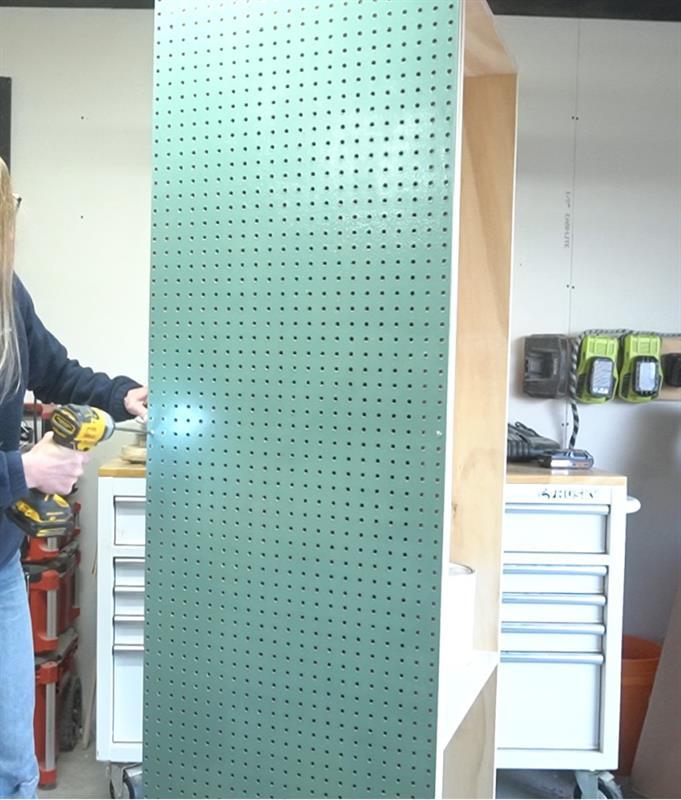
Attach Pegboard
From the pegboard sheet, cut a strip 22" wide x 72" long. Screw this piece into the spacer blocks using washers and 1 1/4" wood screws. If desired, you can paint this before installing. Use at least two screws at the top, two at the middle, and two at the bottom.
-
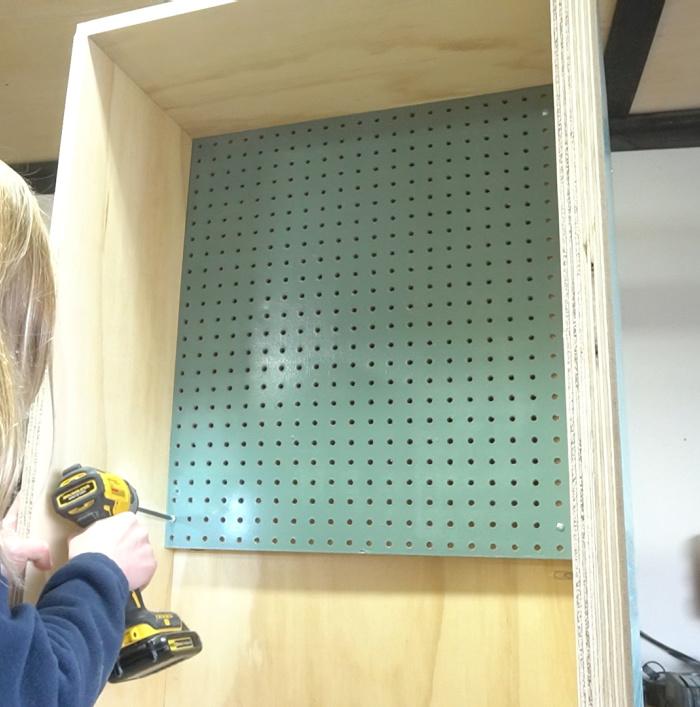
Install Pegboard Inside Cabinet
If you want, you can use some more spacer strips on the inside of the cabinet and install more pegboard the same way.
-
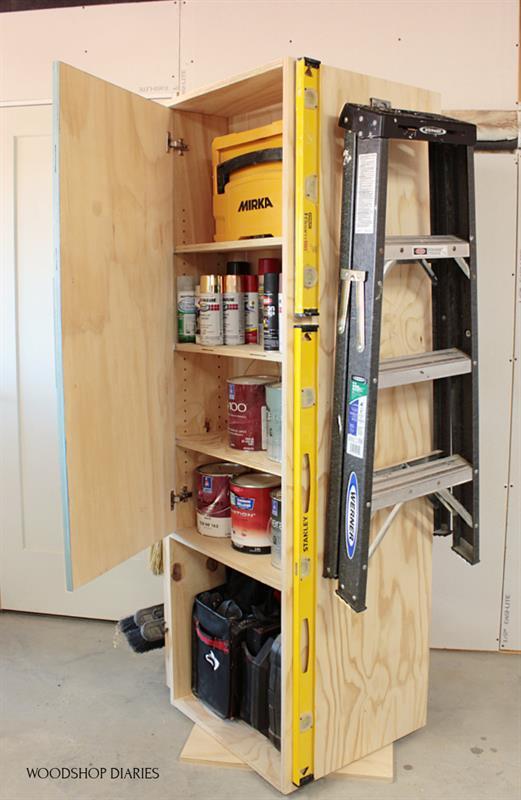
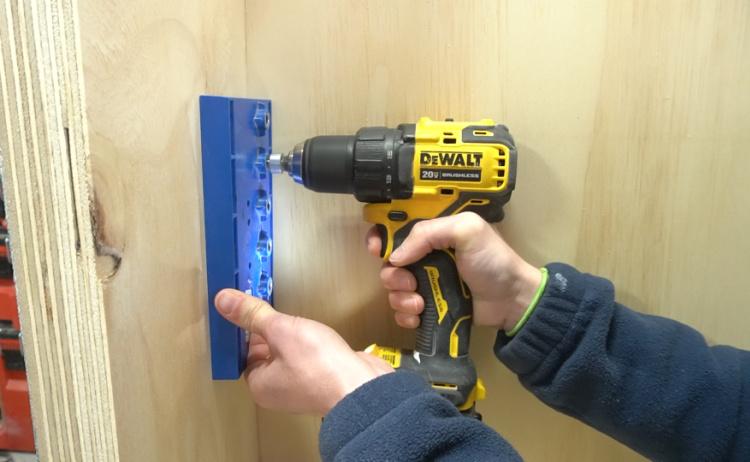
Add Shelves
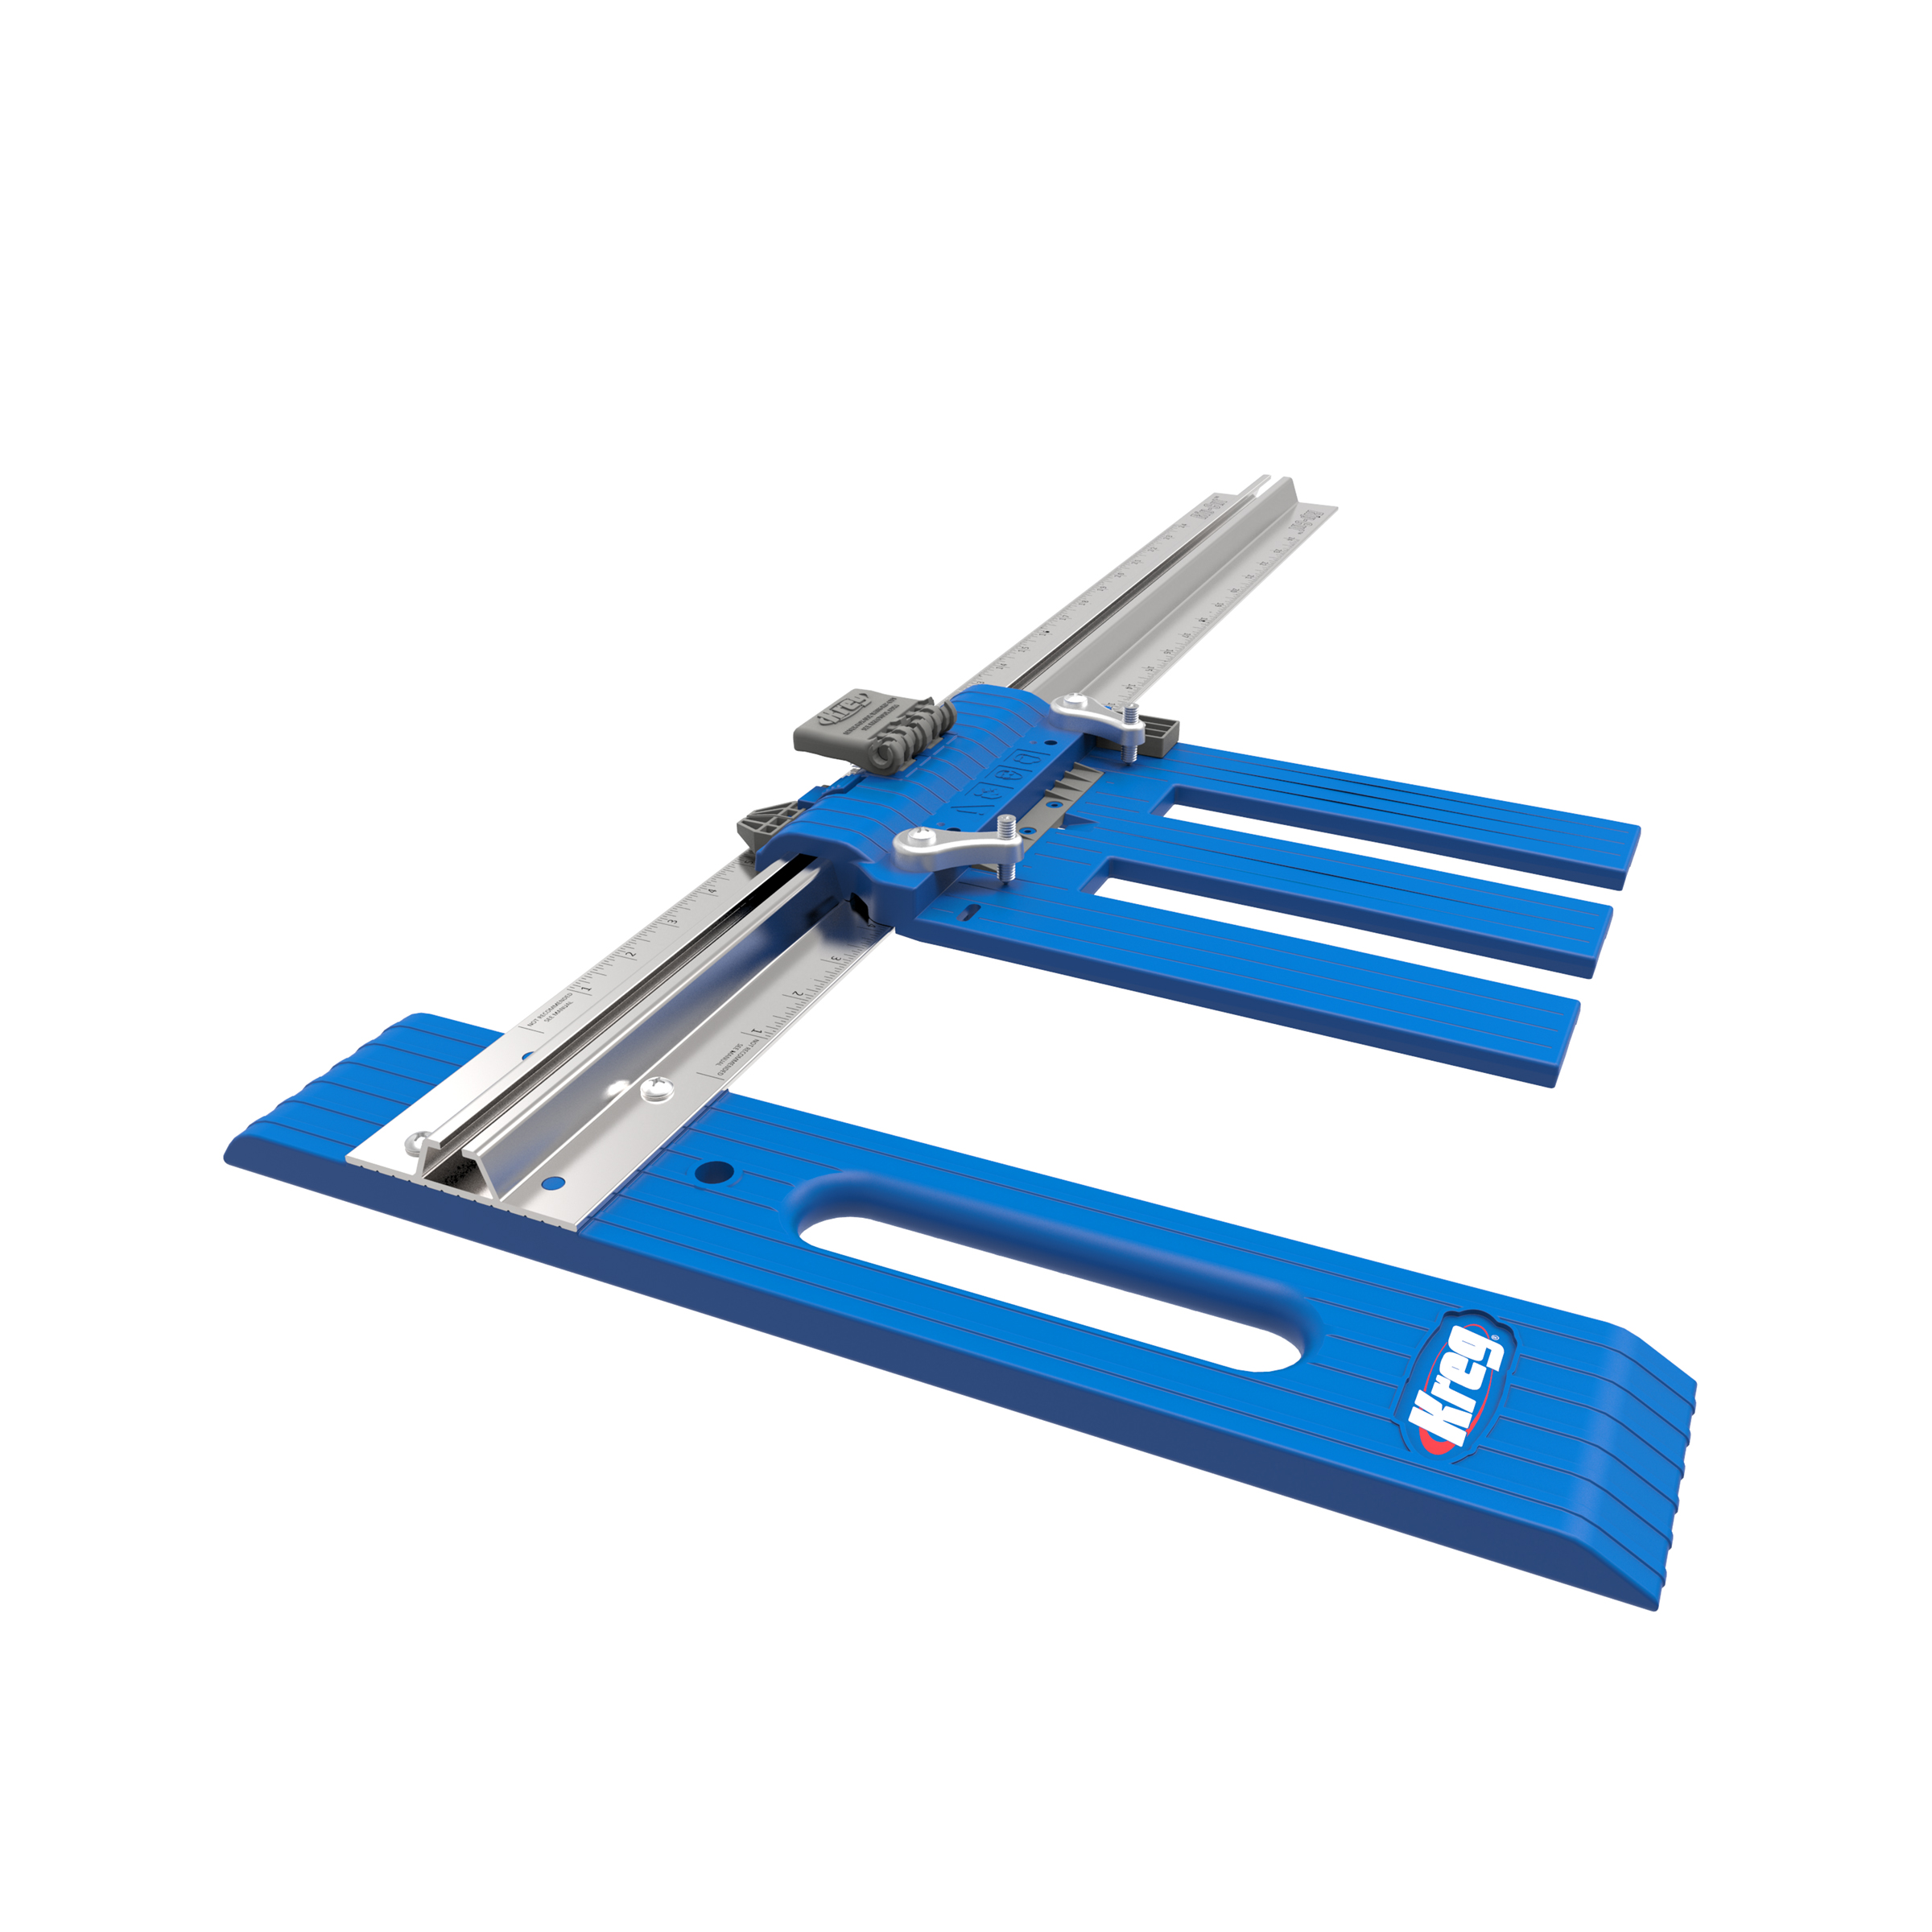
Use a Kreg Shelf Pin Jig to drill shelf pin holes on the sides of the cabinet where you would like to be able to add shelves. Then, use shelf pins to install shelves where desired. Cut shelves from remaining plywood shown in step 1.
-
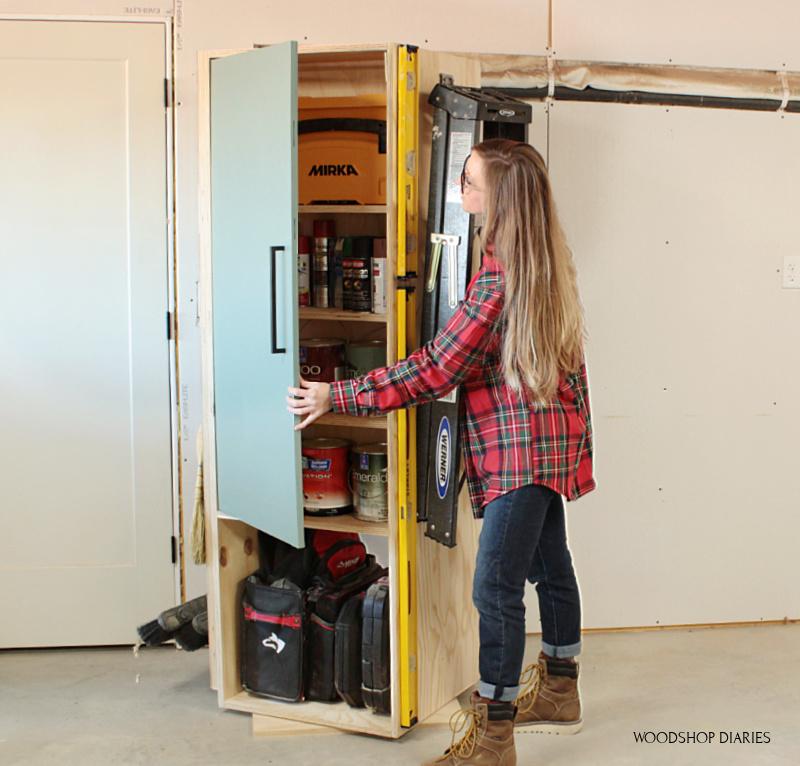
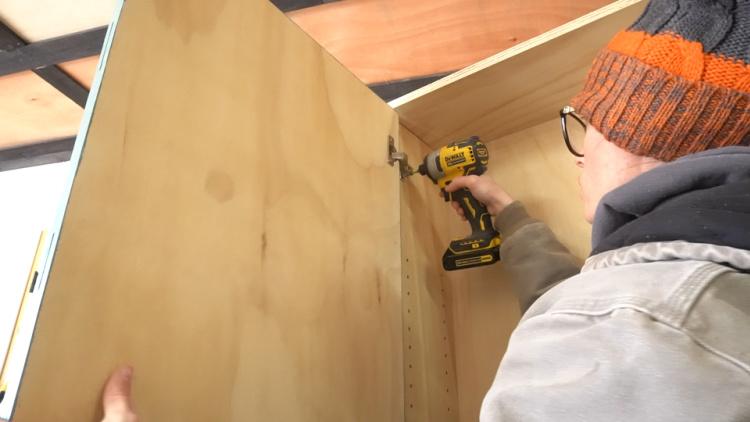
Add Door
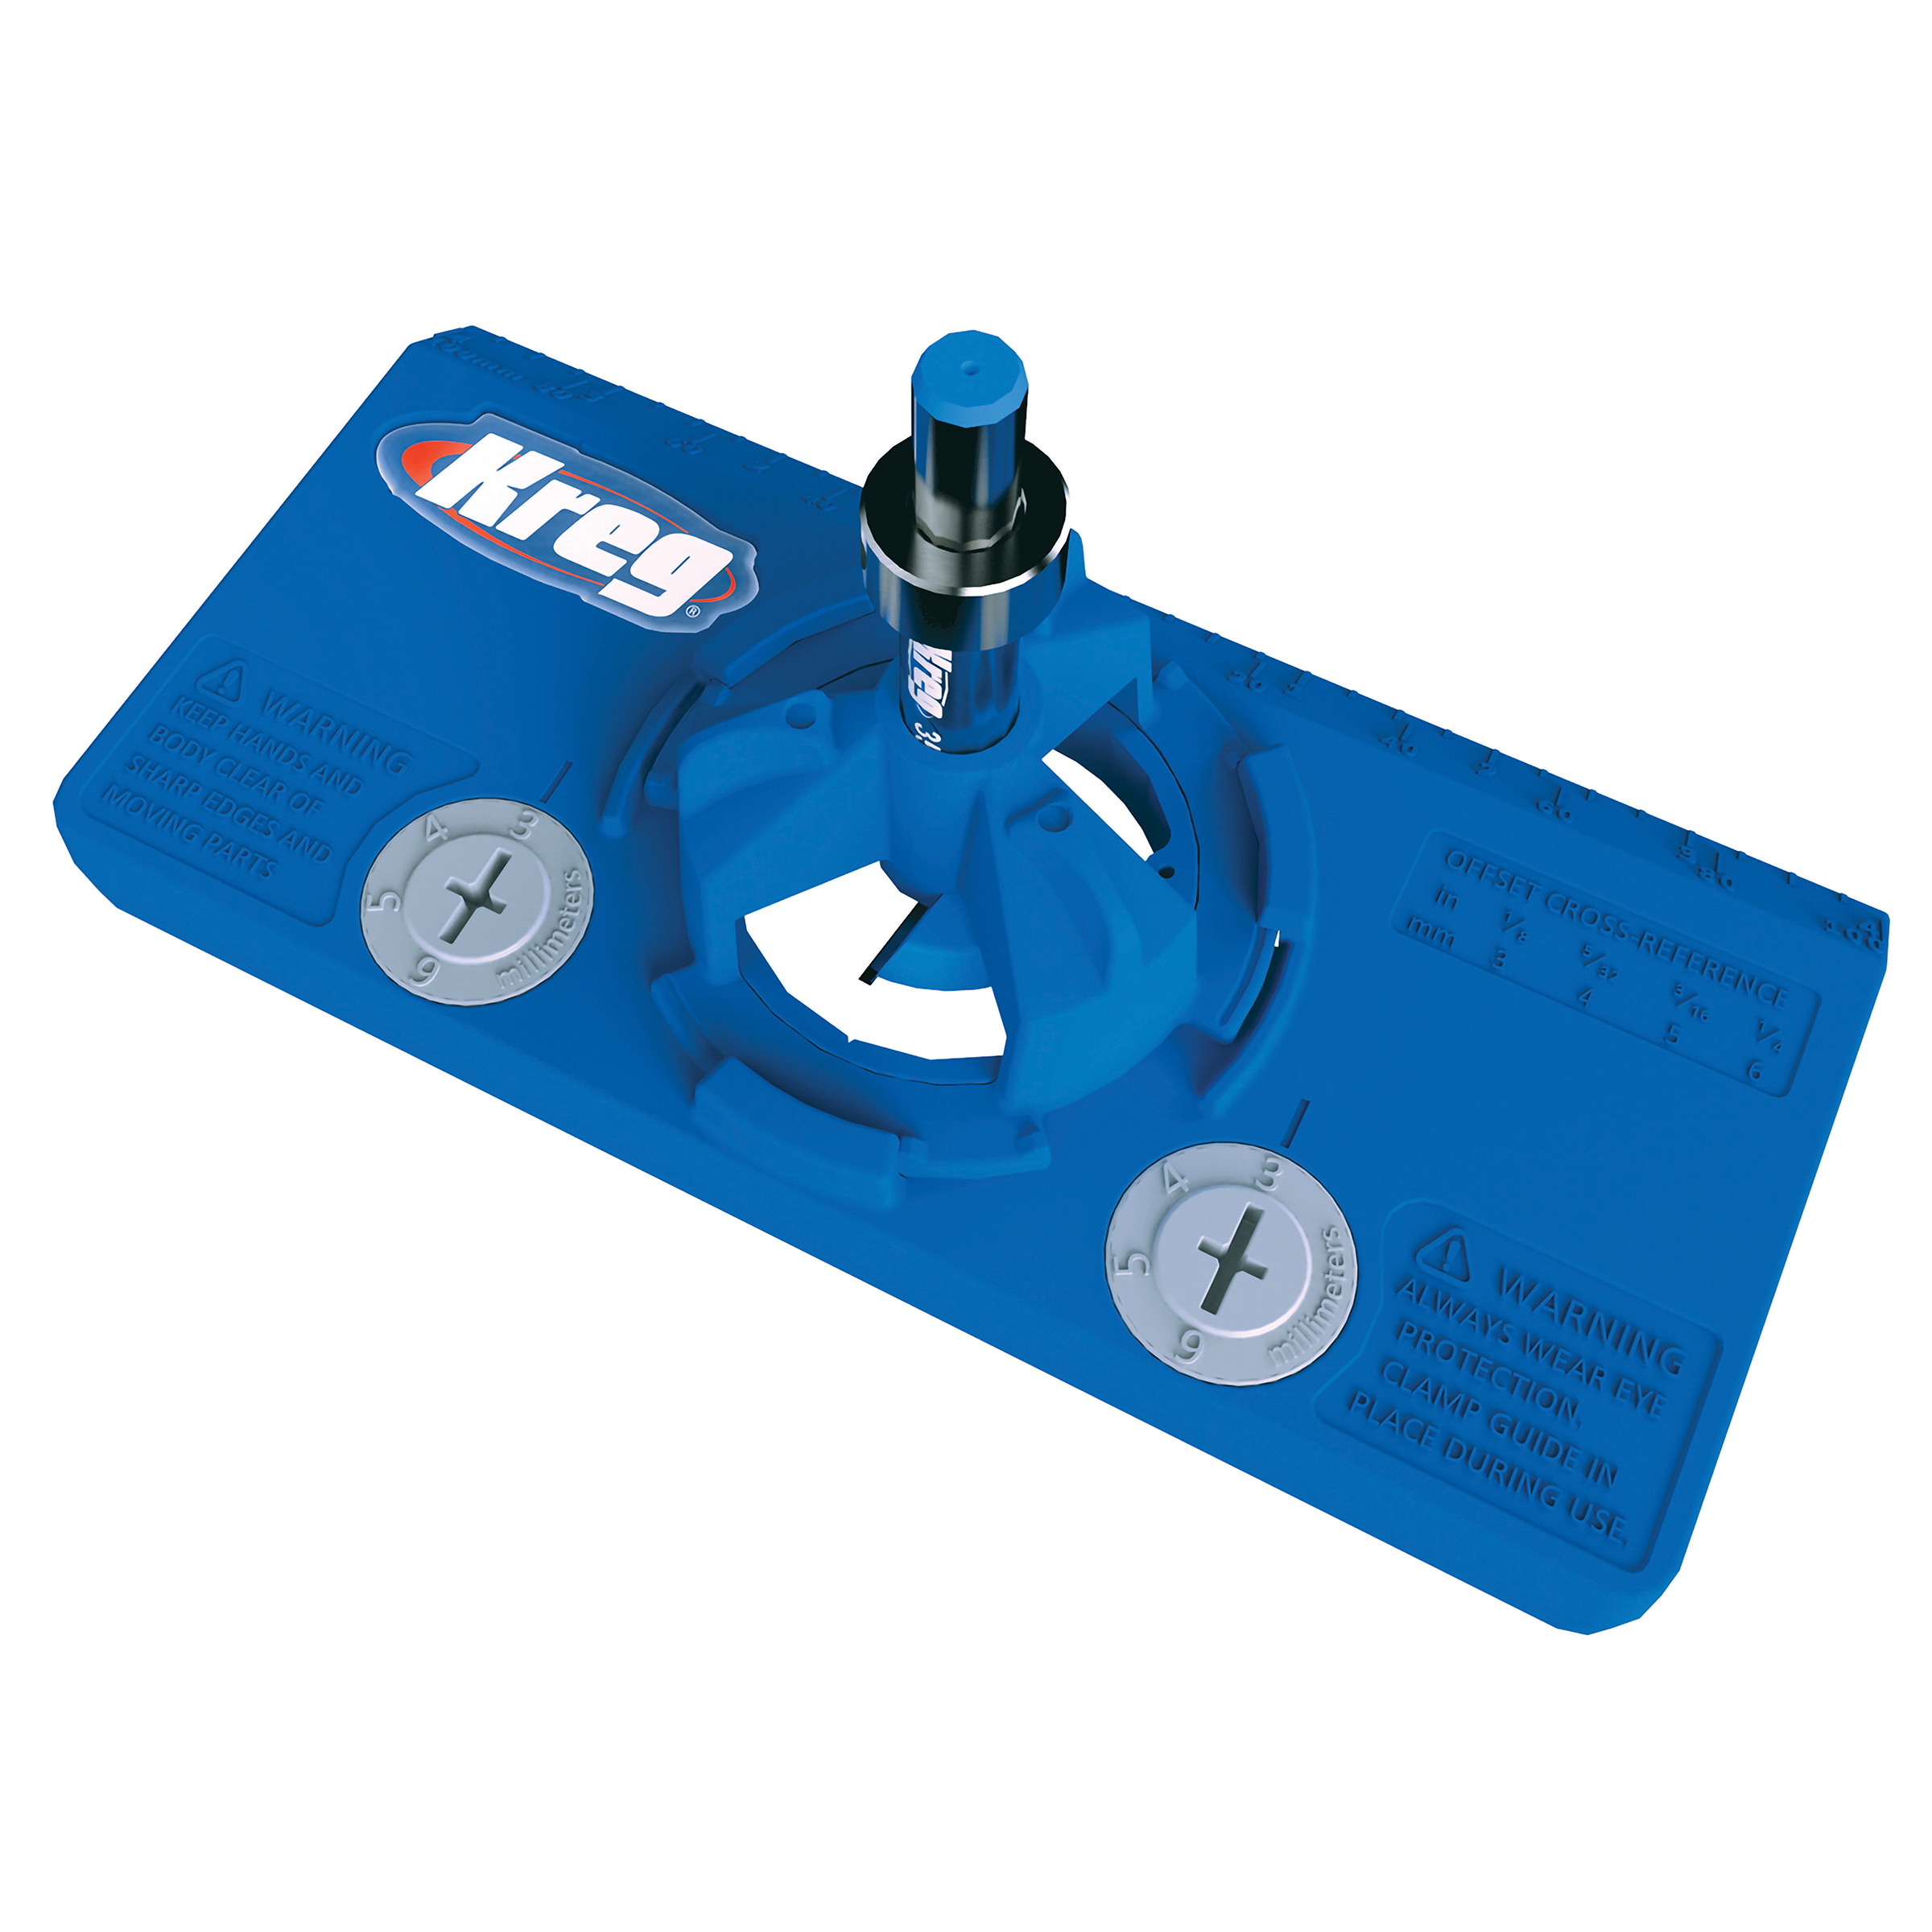
Use a Kreg concealed hinge jig to install concealed hinges for an inset door onto the door panel cut from step 1. Install this door onto the cabinet side you want it and adjust the hinges as needed for a proper fit. Add handle or knob if desired.
-
Fill and Organize
Fill and organize your items as you wish with pegs and hooks, shelves, etc.
