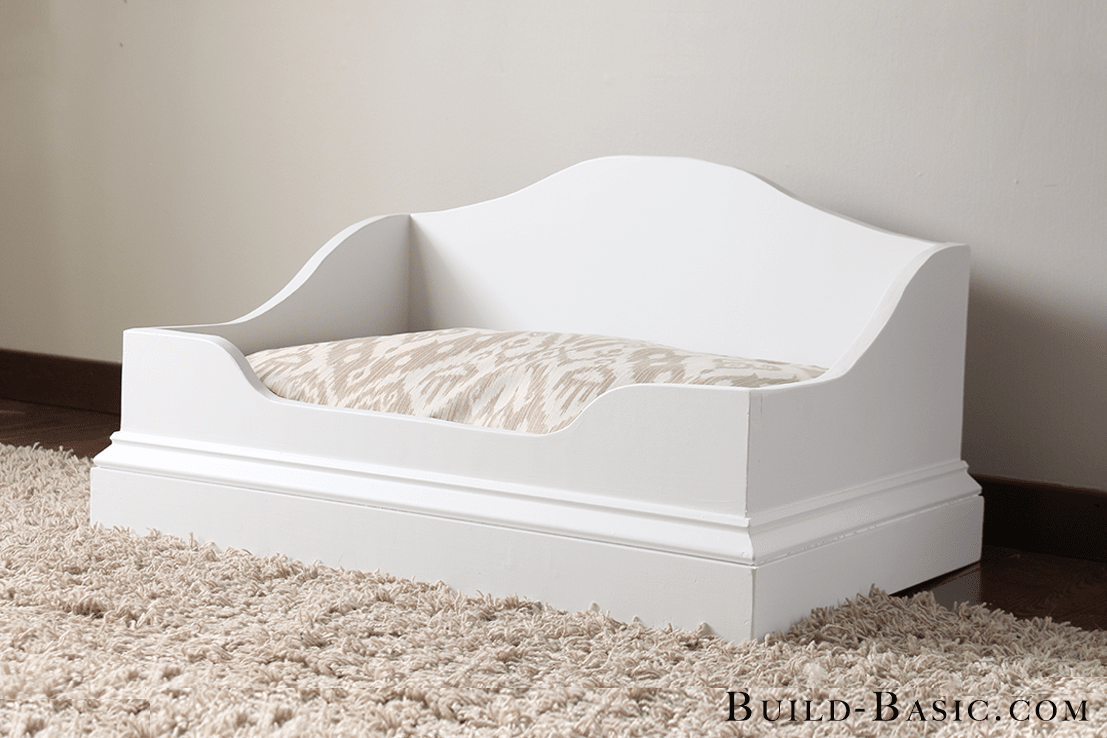
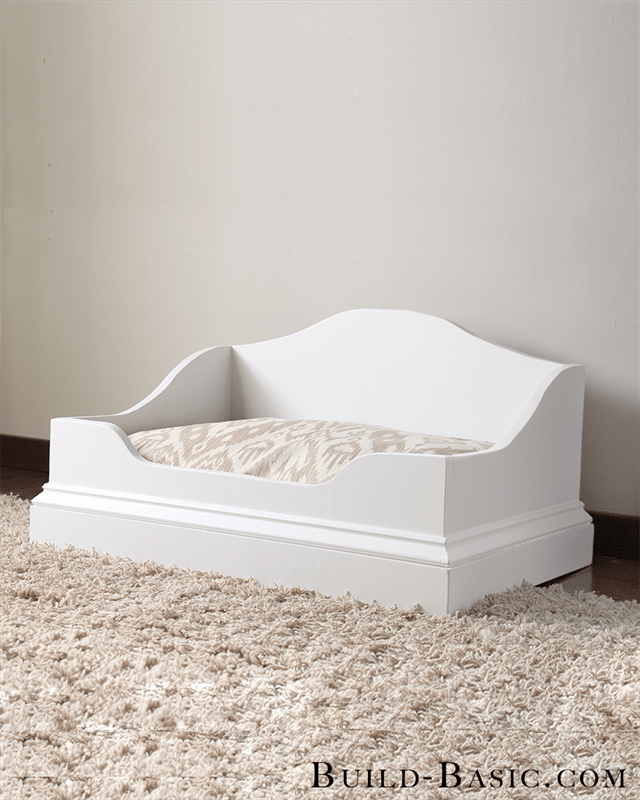
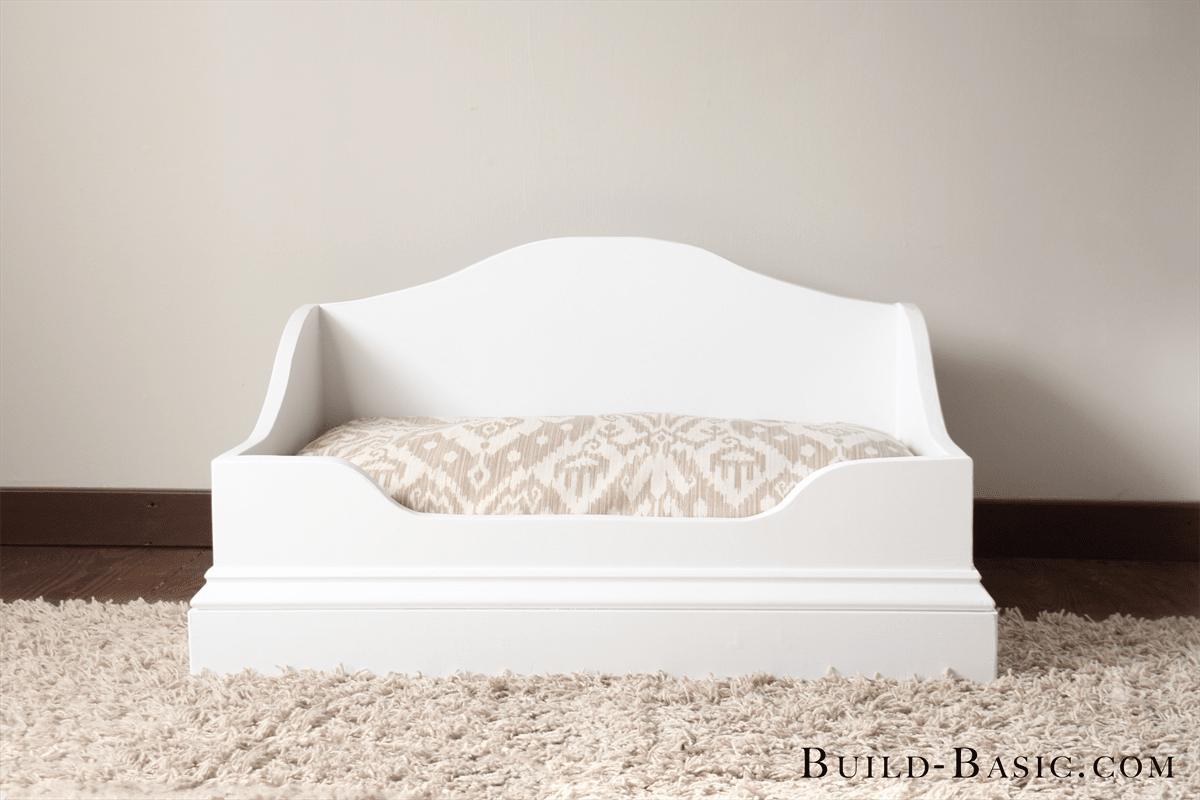


Grab a half sheet of plywood and a pocket hole jig to quickly assemble this easy DIY pet bed! With the addition of a few curves and some molding, the result is a furniture-like piece perfect for your pup.
Tools
Kreg Tools

Other Tools
-
Circular Saw (corded)

-
Jigsaw
-
Miter Saw
-
Square
-
Tape Measure
-
Drill (cordless)
-
Nail Gun
-
Sander
Materials
Wood Products
- 1 Plywood , 3/4" Thick , Half Sheet
- 1 Board , 1x3 , 96"
- 1 Base Cap Molding , 1 3/8" , 96"
Hardware & Supplies
- 32 1 1/4" Pocket Hole Screws
- 30 1 1/4" Finish Nails
- 1 Wood Filler
- 32 Pocket Hole Plugs (optional)
- 1 Primer/Paint
Directions
-
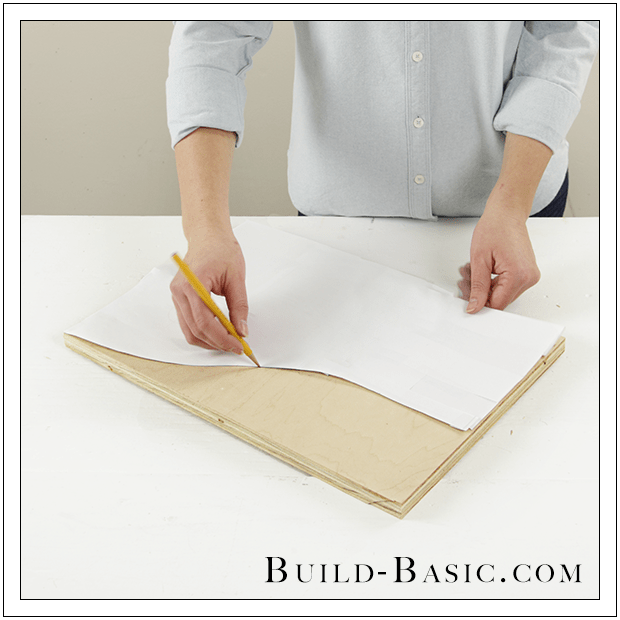
Create the Templates
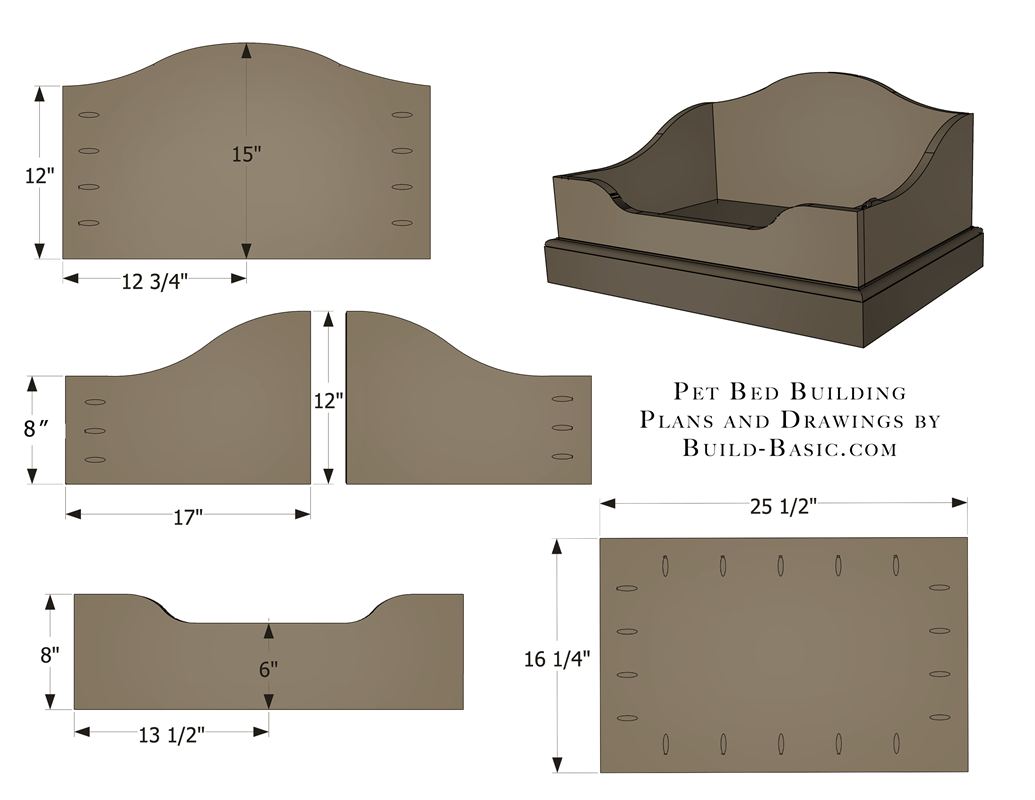
Tape together several pieces of paper, and then shape and cut templates to the dimensions noted in the drawing. Size the Side Panel template to the entire width of the panel. Size the Front and Back Panel templates to only half the width of each panel, so that the templates can be flipped to create a mirrored curve on the opposing side of the centerline.
-
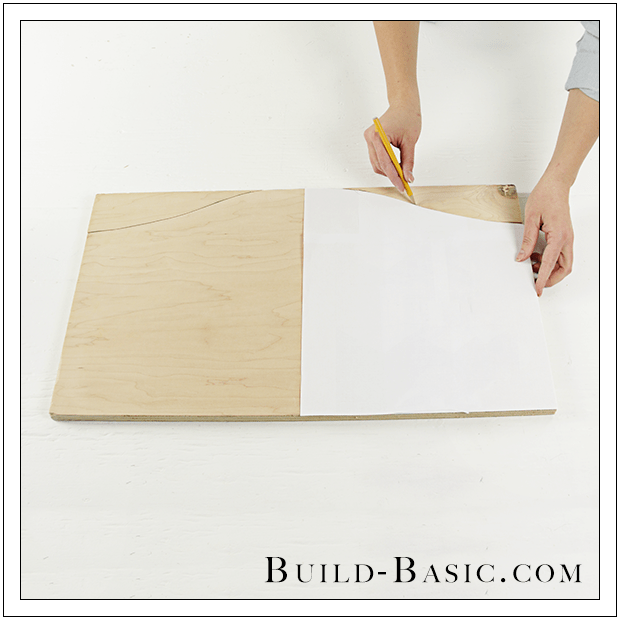
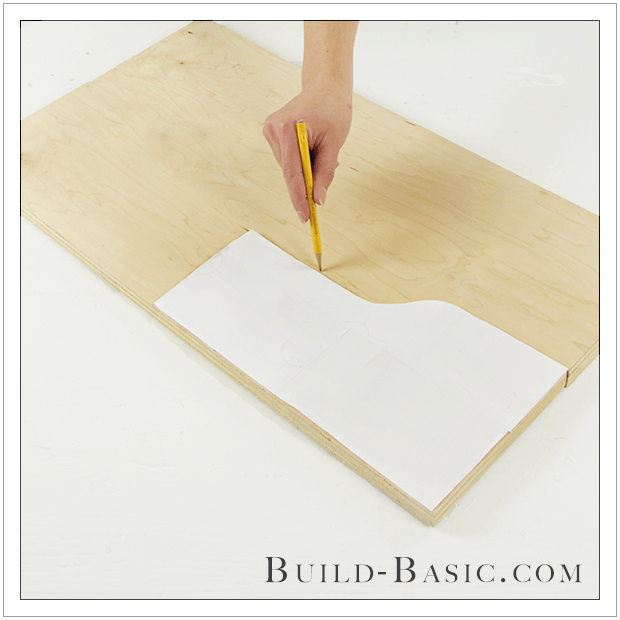
Create the Back Panel
On a ¾-inch plywood panel cut to 25½"W x 15"H, mark a centerline near the top edge. Trace the template onto one half of the panel. Flip the template horizontally, and then trace it onto the panel on the opposing side of the centerline to mirror the curve. Using a jigsaw, cut along the line.
-
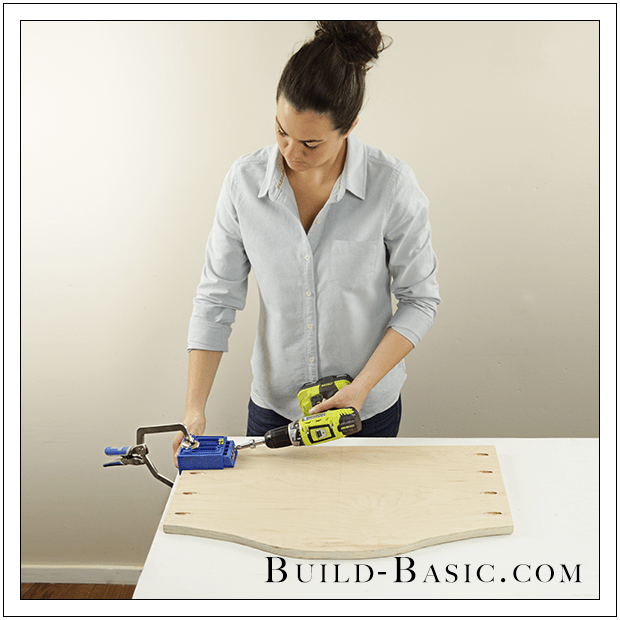
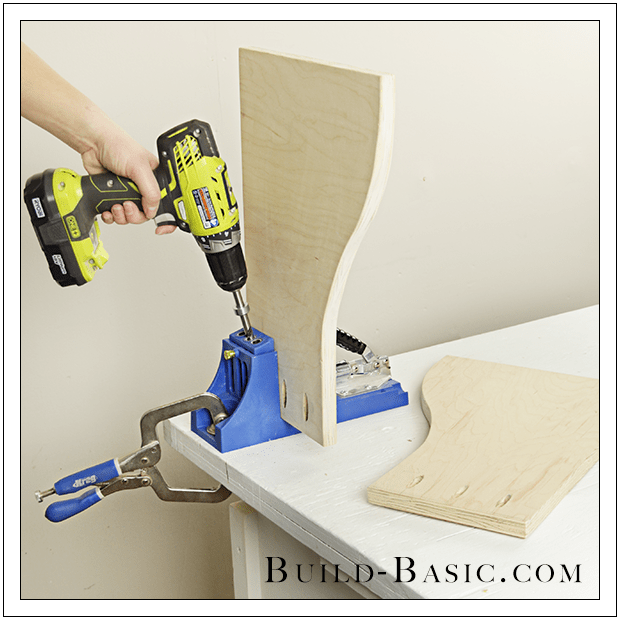
Prep the Back for Assembly
Flip the Back Panel facedown. Using a pocket hole jig, drill four evenly spaced pocket holes along each side of the panel.
-
Create the Side Panels
Cut two pieces of ¾-inch plywood to size. Place the Side Panel template on a panel, and then trace the curve along its top edge. Repeat on the second panel. Using a jigsaw, cut along the line.
-
Prep the Sides for Assembly
On the inside face of each Side Panel, along the front edge, drill three evenly spaced pocket holes.
-
Create the Front Panel
On a ¾-inch plywood panel cut to 27-inch-wide, mark a centerline. Place the Front Panel template onto the plywood with the tallest section positioned along the outside edge. Trace the template onto the panel. Now flip the template horizontally to the opposing side of the centerline. Once again, trace the template onto the panel to mirror the curve. Using a jigsaw, cut along the line.
-
Cut and Prep the Floor
Cut a piece of ¾-inch plywood to 25½" x 16¼". On the underside of the panel, mark the location of four evenly spaced pocket holes along the short ends, and five pocket holes along the long edges. Using a pocket hole jig, drill pocket holes at each of the marks.

-
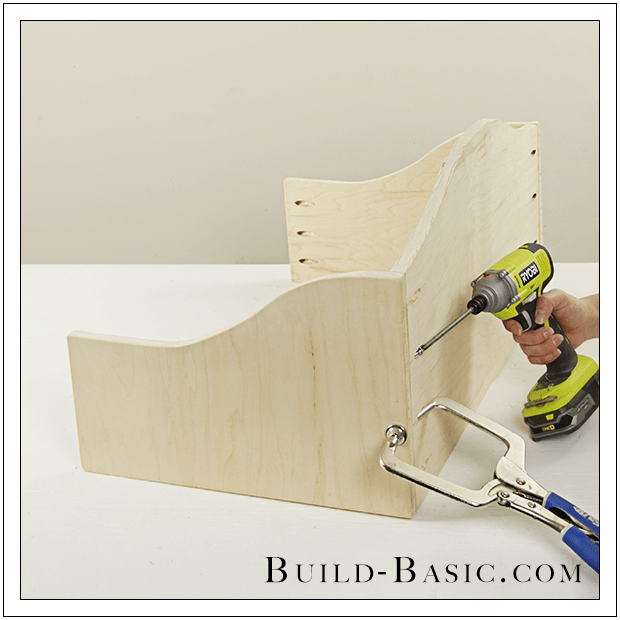
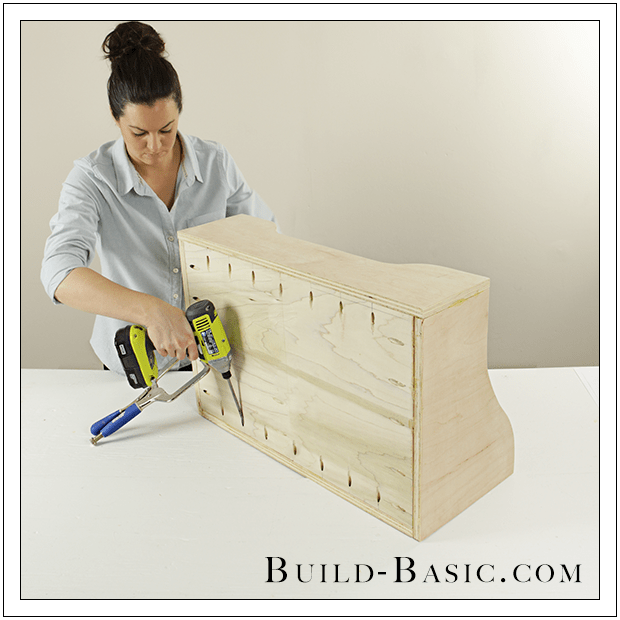
Attach the Left Side to the Back
Apply wood glue to one end of the Back Panel. Place the left Side Panel against the end of the Back Panel, so that its end rests flush with the back of the panel with its pocket holes facing inward. Using a right angle clamp, secure the pieces in place. Using a drill/driver, drive 1¼-inch pocket hole screws through the Back Panel and into the Side Panel.

-
Attach the Right Side to the Back
Apply wood glue to the remaining end of the Back Panel. Place the right Side Panel against the edge of the Back Panel. Clamp the pieces in place, and then secure the parts using 1¼-inch pocket hole screws.
-
Attach the Front
Apply wood glue to the front edge of each Side Panel. Position the Front Panel against the Side Panels so that its ends set flush with the outside faces of the Side Panels. Clamp the pieces in place, using a square to adjust their positioning. Using a drill/driver, drive 1¼-inch pocket hole screws through the Sides and into the Front Panel to hold the pieces in place.
-
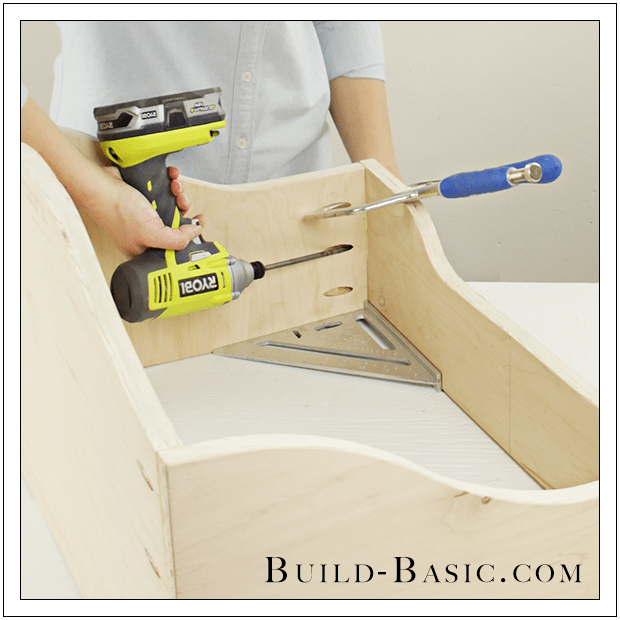
Install the Floor
Apply wood glue to the edges of the Floor. Set the floor inside the assembled walls, flush with their bottom edges. Using a right angle clamp, secure the board in place, and then attach it to the walls using 1¼-inch pocket hole screws.
-
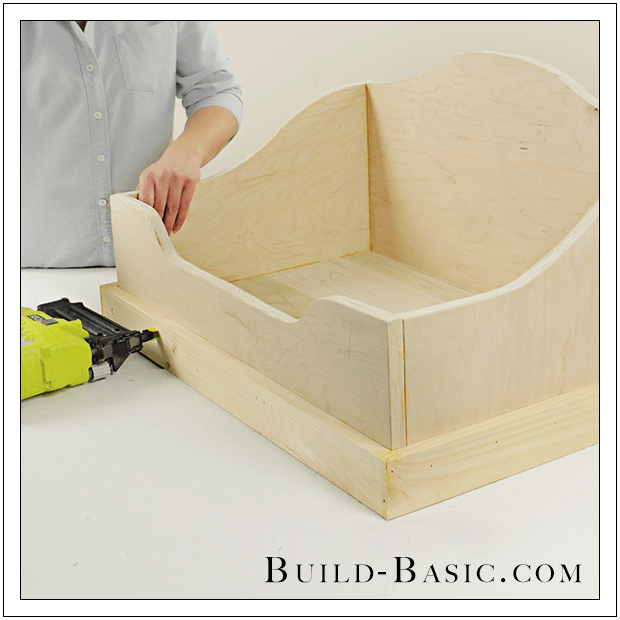
Add the Base
Cut the 1 x 3 boards to size with opposing 45-degree miters at each end. Dry fit the boards in place against the assembly, flush with its bottom edge. Make adjustments as needed to create tight miter joints at each corner. Apply wood glue to the backside of each board, and then secure it in place using a pneumatic nail gun and 1¼-inch finish nails.
-
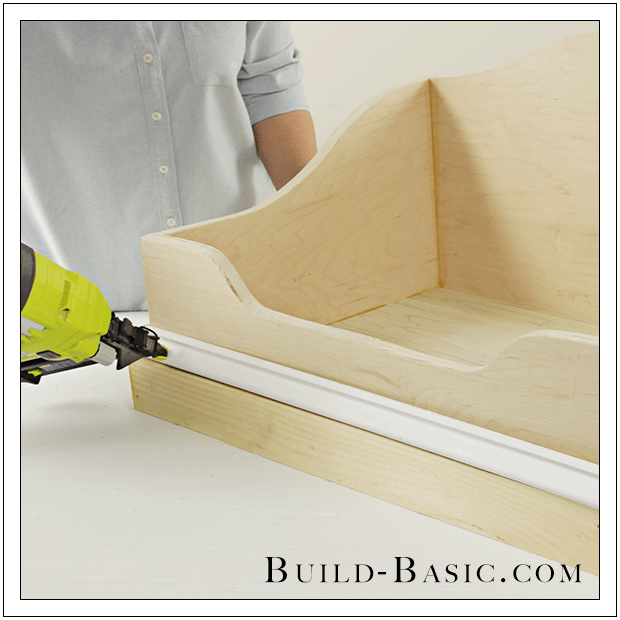
Secure the Molding
Miter the molding pieces to size, and then dry fit them in place against the assembly, resting on the top edge of the installed 1 x 3 boards. Make adjustments as needed to create tight miter joints at each corner. Apply wood glue to the backside of each piece of molding. Secure the molding in place by nailing 1¼-inch finish nails through the thickest part of the molding and into the assembled walls. Finish by filling the pocket holes and nail holes, and then sanding the entire assembly smooth.
-
See More Projects
Check out www.build-basic.com for more building plans and tool tutorials posted weekly!