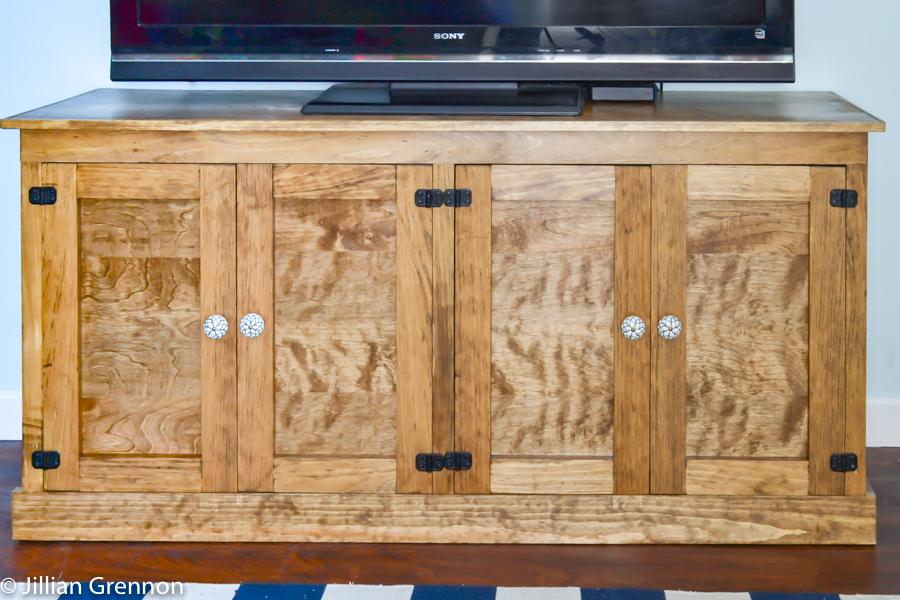

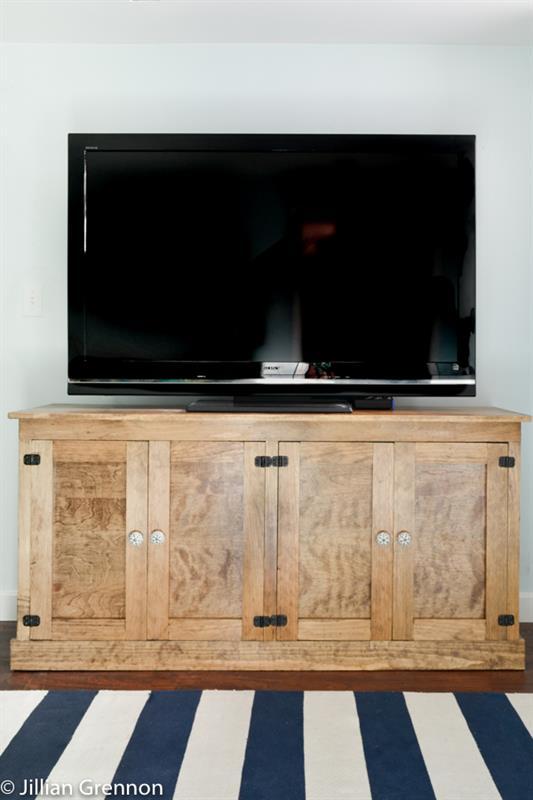


These plans are to build a media console that measures 30 3/4” tall, 18 3/4” deep and 62 1/4” wide. I built it for our playroom so it is a great size for storage as well as television and media components. I strongly suggest using an anti-tip device with furniture like this. Enjoy!
Tools
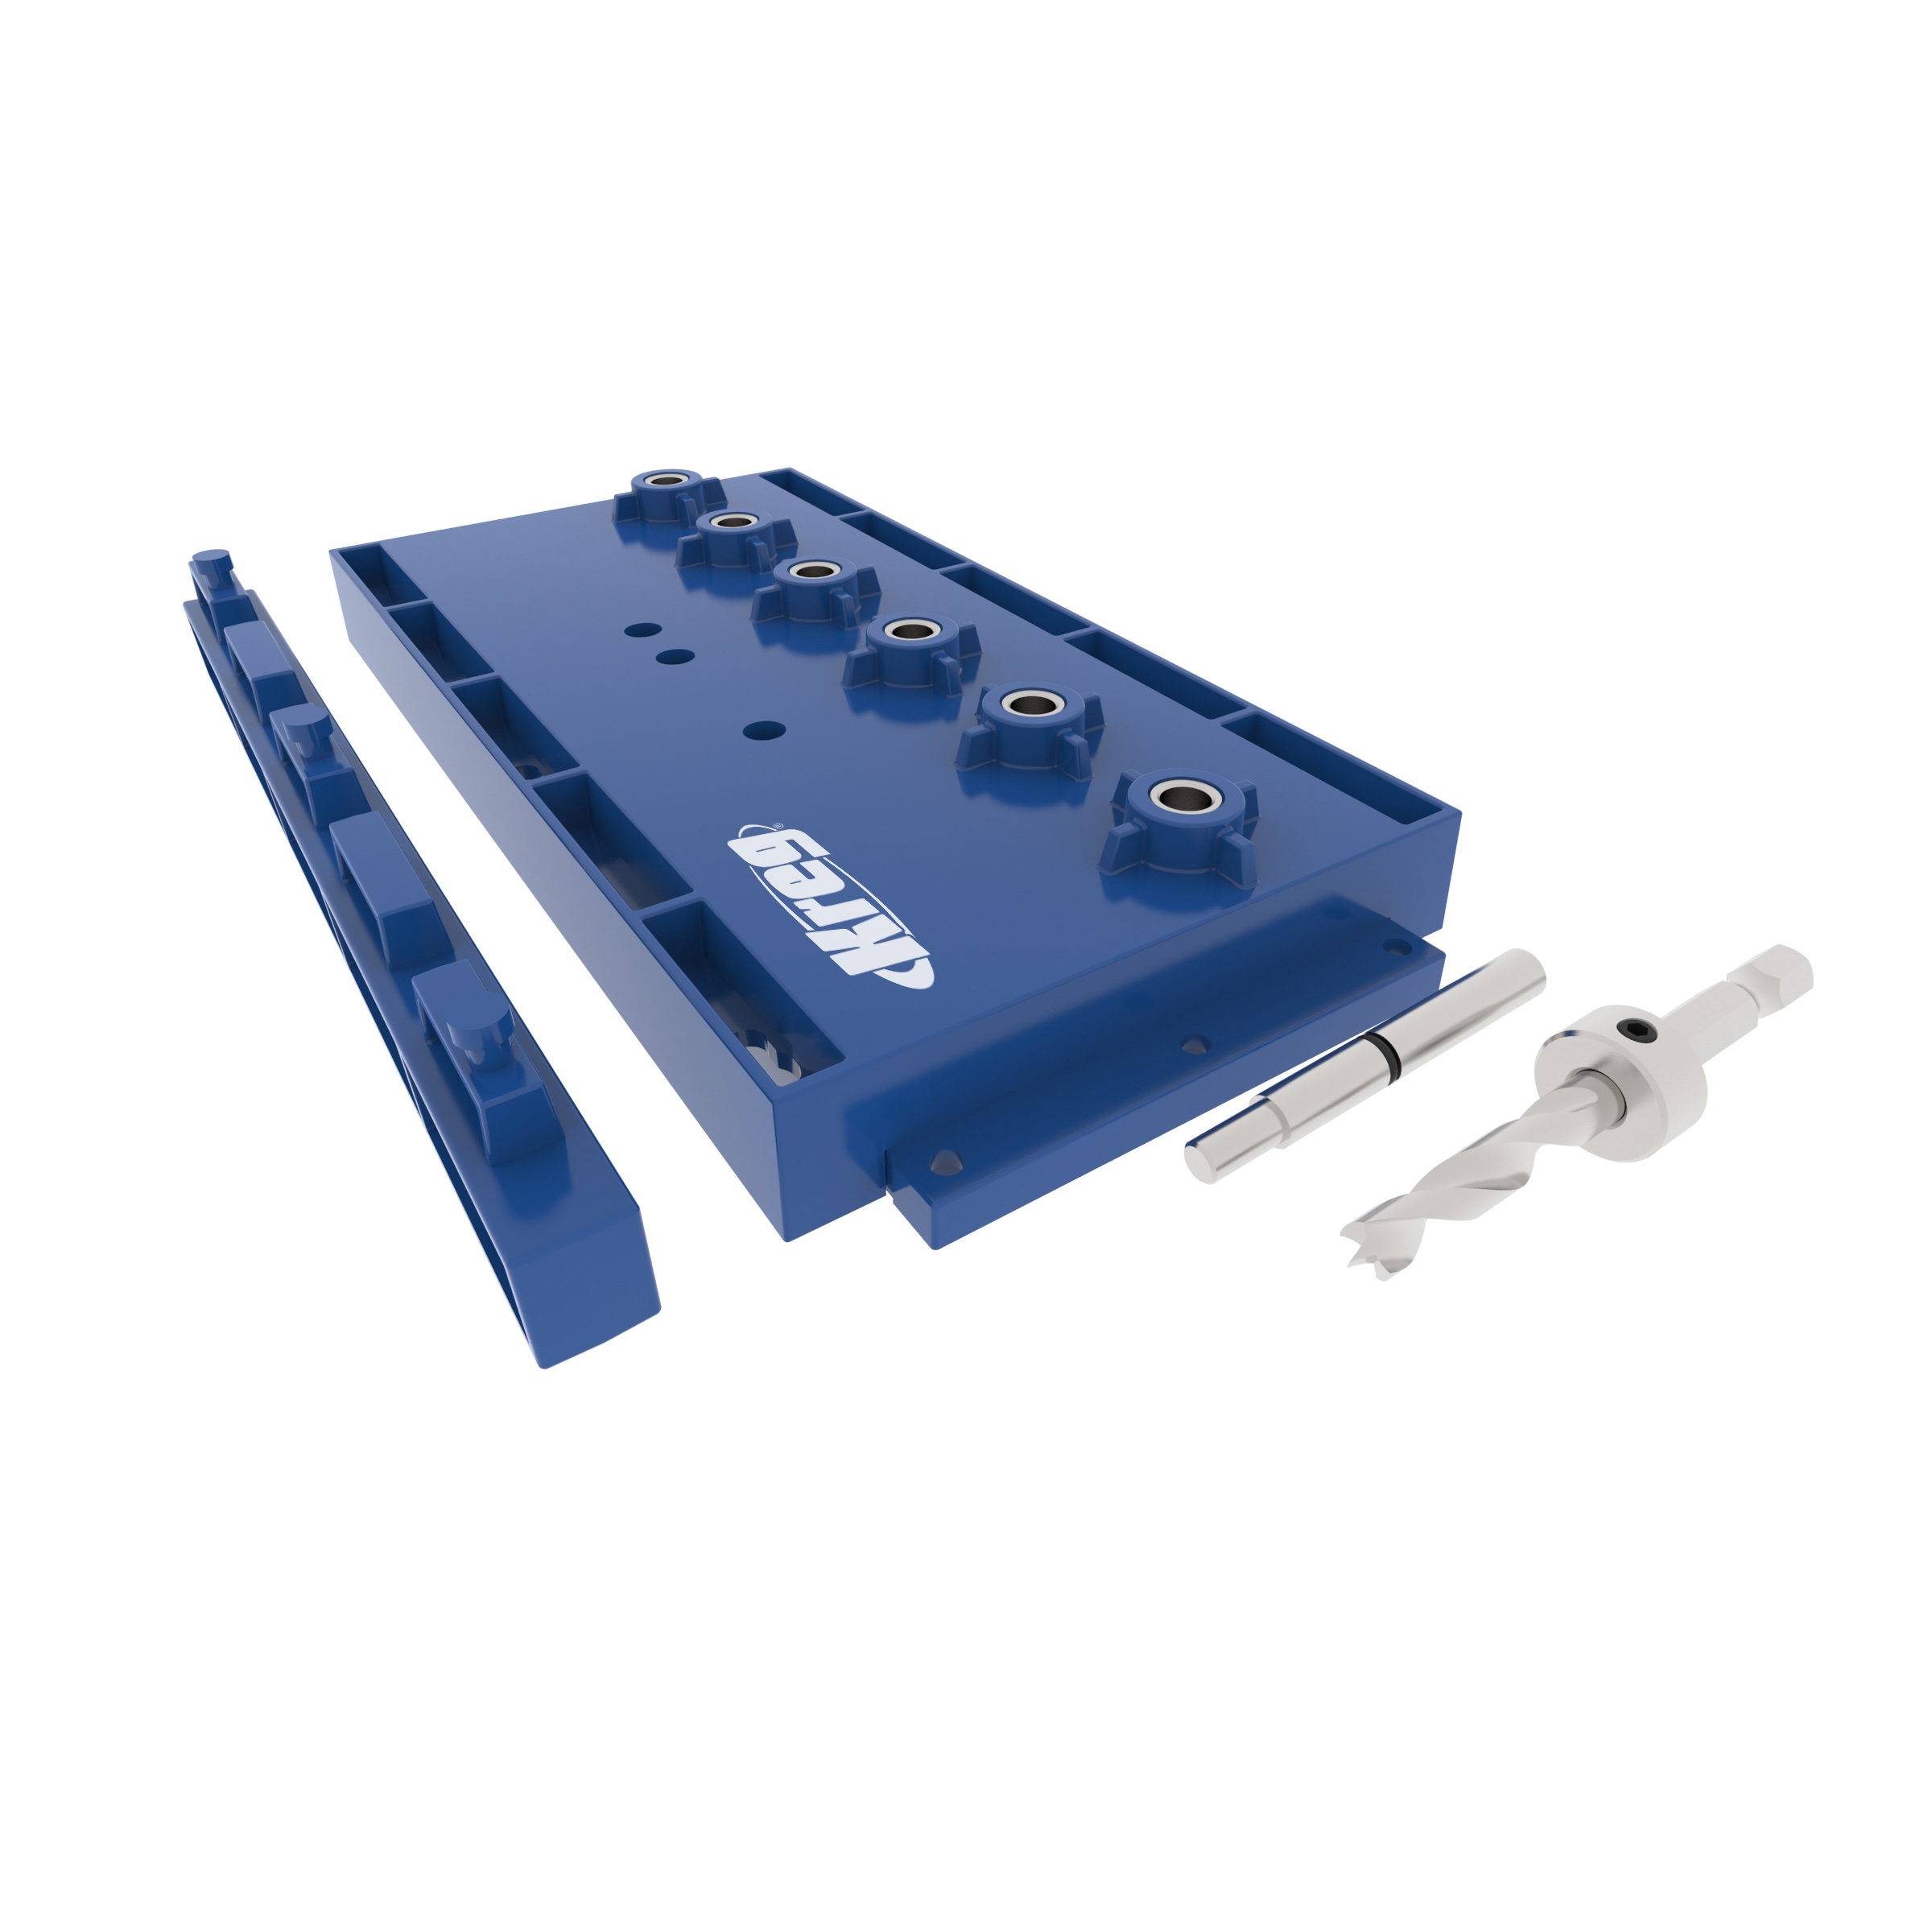
Kreg Tools


Other Tools
-
Circular Saw (cordless)

-
Miter Saw
-
Square
-
Table Saw
-
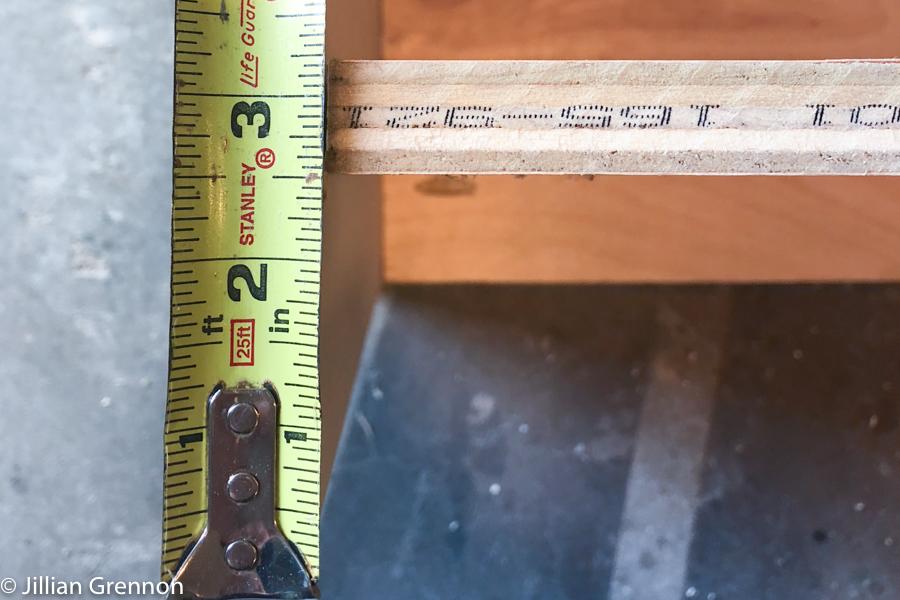
Tape Measure
-
Drill (cordless)
-
Nail Gun
Materials
Wood Products
- 2 Plywood , 3/4" Thick , Full Sheet
- 1 Board , 1x2 , 96"
- 1 Board , 1x3 , 72"
- 3 Board , 1x3 , 96"
- 1 Plywood , 1/4" Thick , Quarter Sheet
- 1 3/4" pine trim , 3/8" , 102"
- 1 Board , 1x4 , 96"
Hardware & Supplies
- 8 Hinges
- 4 Door Pulls
- 4 Cabinet Door Magnets
- 1 Box of Kreg 1 1/4" pocket screws
- 24 3/4" finish nails
- 25 1 1/4" finish nails
- 8 1/4" Shelf supports
- 1 Stain, paint or finish of your choice
- 1 Wood Glue
- 1 Roll of Veneer Edging for plywood
Cut List & Parts
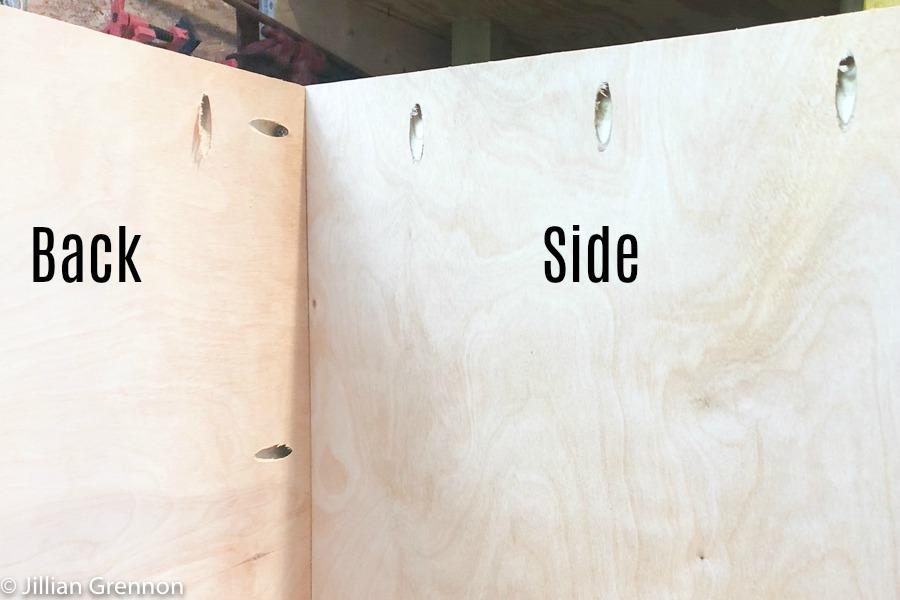
- 1 Back (top picture) , 3/4" Plywood @ 58 1/2" x 30"
- 2 Sides (second picture) , 3/4" plywood @ 17" x 30"
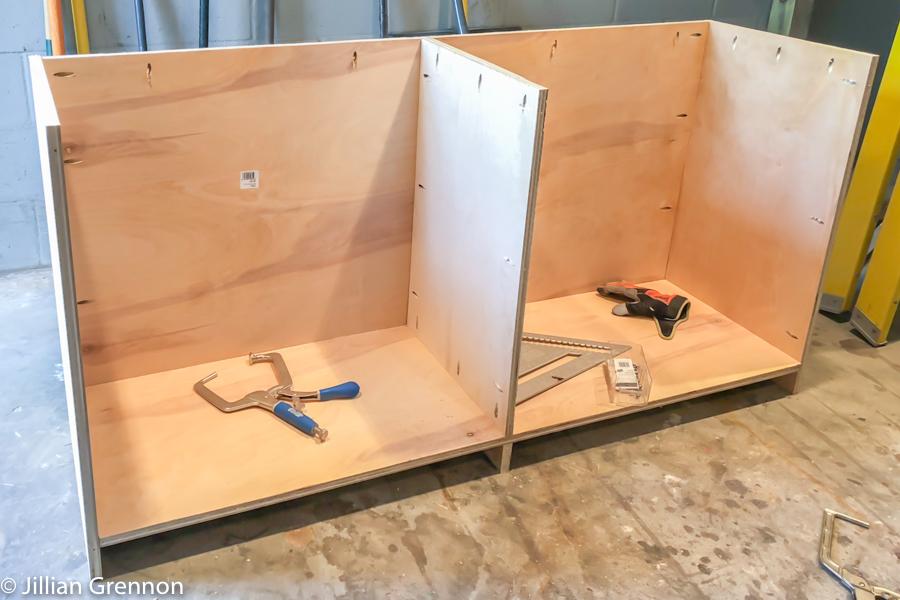
- 1 Center (3rd picture) , 3/4" plywood 16 1/4"x26 3/4"
- 1 Bottom Shelf (4th picture) , 3/4" plywood 16 1/4"x58 1/2"
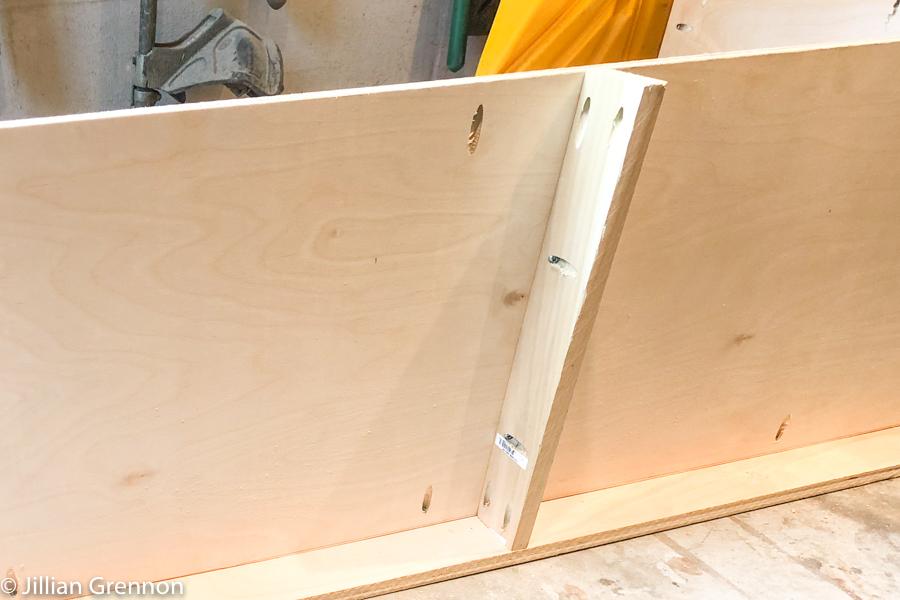
- 1 Bottom Shelf Support , 1x3 @ 16 1/4"
- 1 Face Frame Top Rail , 1x3 @ 60"
- 3 Face Frame Stiles , 1x2 @ 24"
- 1 Face Frame Bottom Rail , 1x4 @ 61 1/2"
- 2 Side Moulding , 1x4 @ 17"
- 2 Shelves , 3/4" plywood 16" x 28 3/4"
- 1 Top , 3/4" plywood @ 18 1/2" x 61 1/2"
- 1 3/8" x 3/4" Pine Trim , 62 1/4"
- 2 3/8 x 3/4" Pine Trim , 18 1/2"
- 8 Door Rails , 1x3 @ 8 3/4"
- 8 Door Stiles , 1x3 @ 23 3/4"
- 4 Door Panel , 1/4" birch plywood @ 11"x21"

Directions
-
Step One
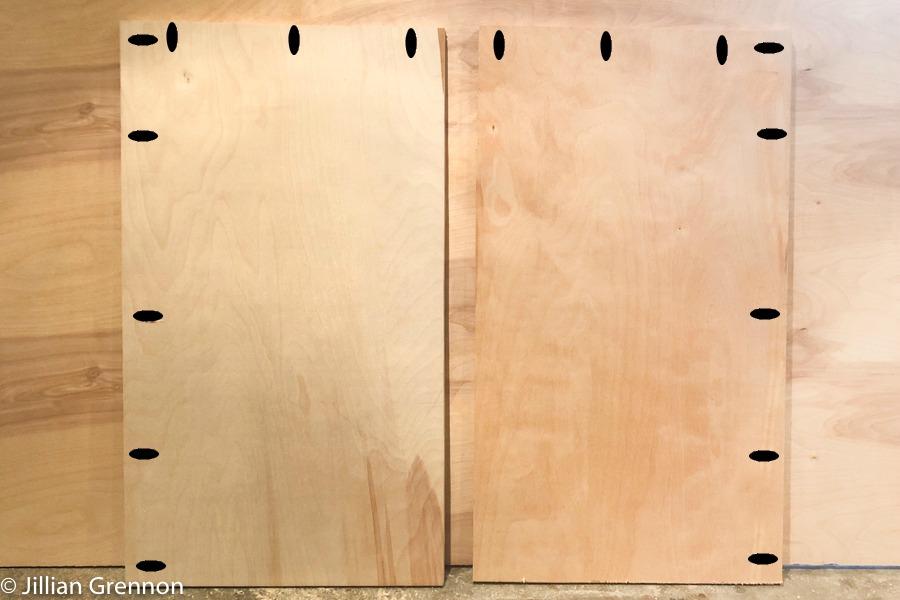
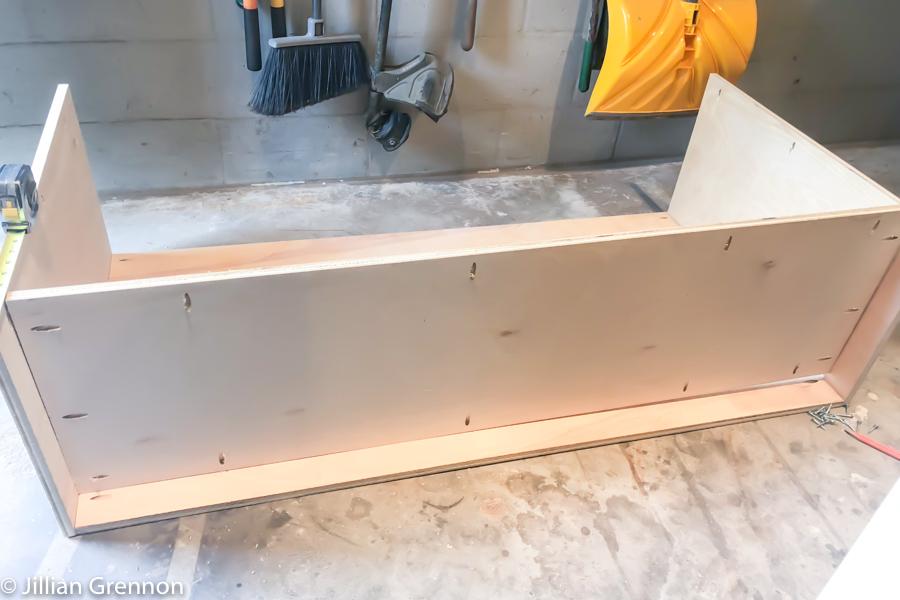
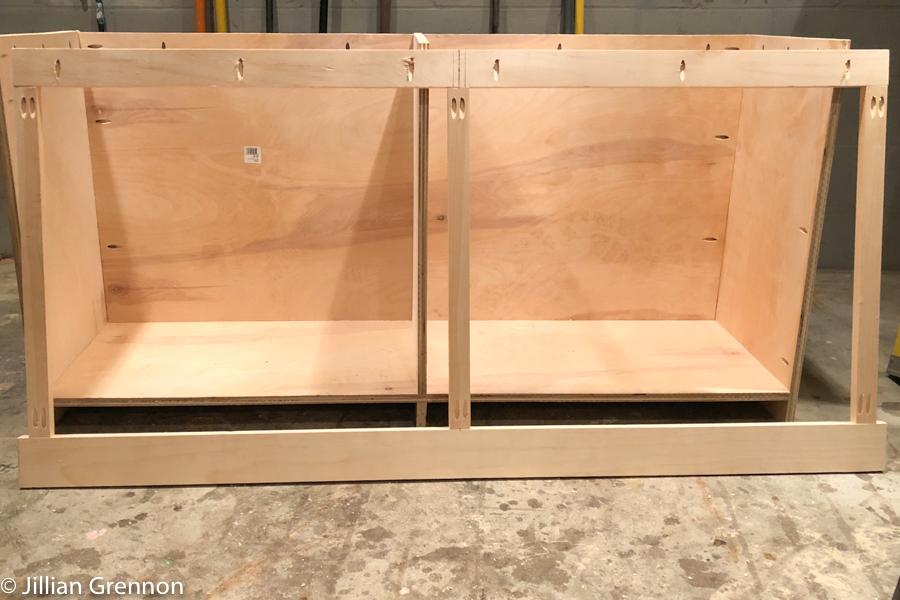
The first pieces to attach are the back and sides. Attach the back to the sides using 1 1/4” pocket hole screws and wood glue.
-
Step Two
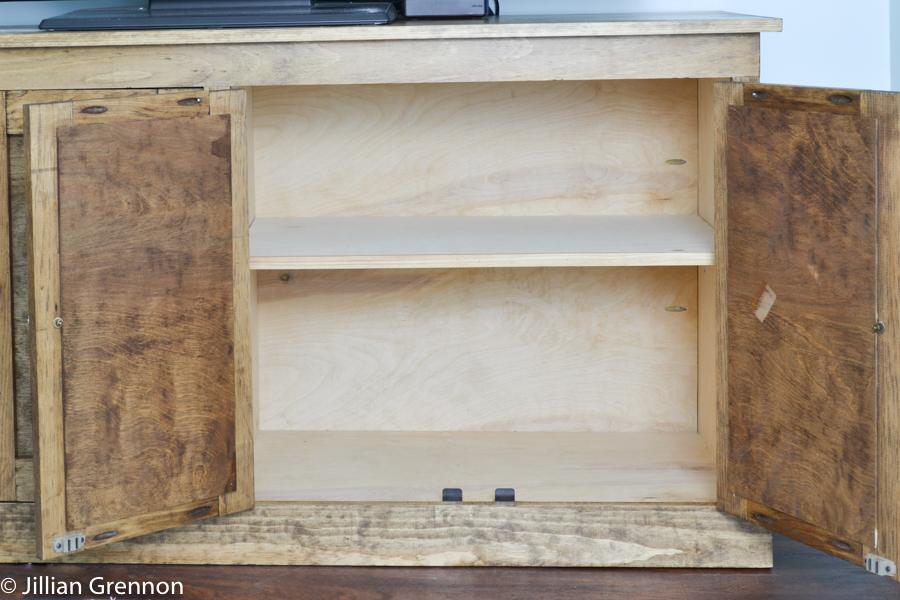
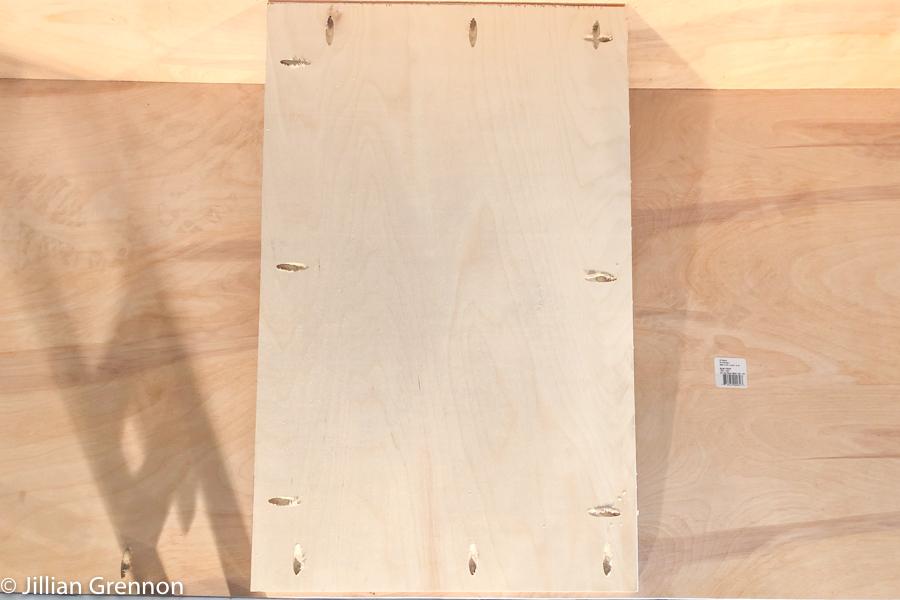
Attach the bottom shelf 3 1/4” up from the bottom. This piece will need pocket holes on all sides in order to attach to the sides, back and the face frame.
-
Step Three
Add the bottom shelf support 1x3x16 1/4" in the center, under the bottom shelf.
-
Step Four
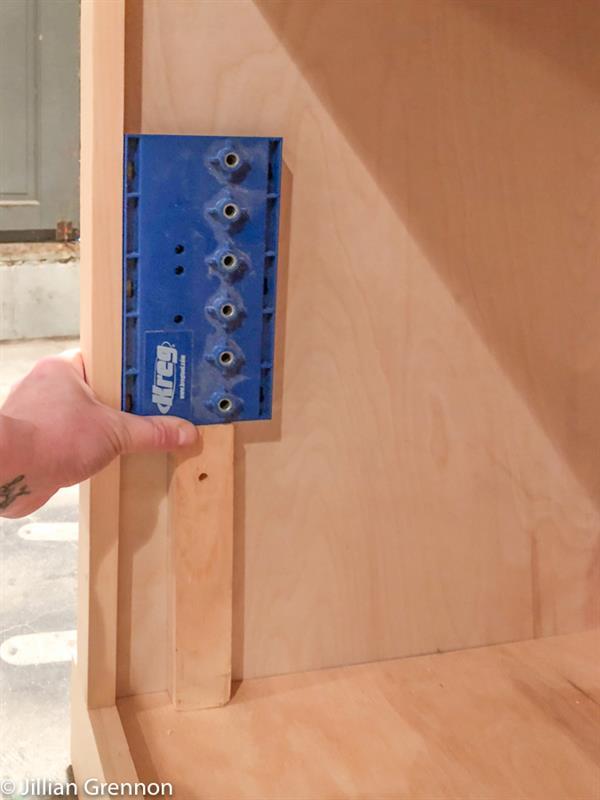
Attach center piece 28 14/16” in from the side. This is the measurement from the INSIDE of each side. This section will need pocket holes on all sides. The front pocket holes should start about an 1” down from the top to later secure the face frame.
-
Step Five
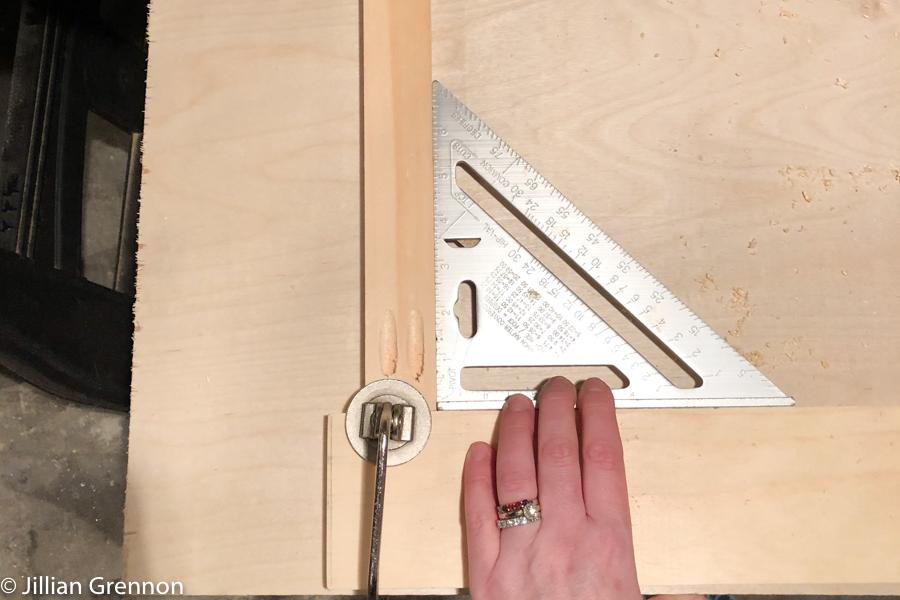
Make the face frame. The 1x3 top rail will need pocket holes along the top to later attach the top of the console. Each 1x2 stile will need pocket holes at each end to attach to the 1x3 and 1x4 rails. When all your pocket holes are drilled, join the 1x2 outside stiles flush with the outside edges of the 1x3 (top rail) using 1 1/4" pocket screws and wood glue. To position the middle stile, mark the center of the 1x3, then mark the center of the 1x2 and line up the marks. It helps to let you know if something shifted before you secured the pieces. Use a speed square to square your joints and then clamp them to your work surface to be sure they stay put while you screw them together.
-
Step Five Continued
Attach the stiles to the bottom rail. The outside stiles will be 3/4" in from the edge of the 1x4 bottom rail on either side. Mark the center of the 1x4 to line up with the center of the middle stile as you did for the top rail. This will leave you with an opening 27 2/4" wide and 24" tall on each side.
-
Step Six
Attach face frame using wood glue and the forward facing pocket holes you had predrilled in the plywood. Then attach each 1x4 side moulding to each side.
-
Step Seven
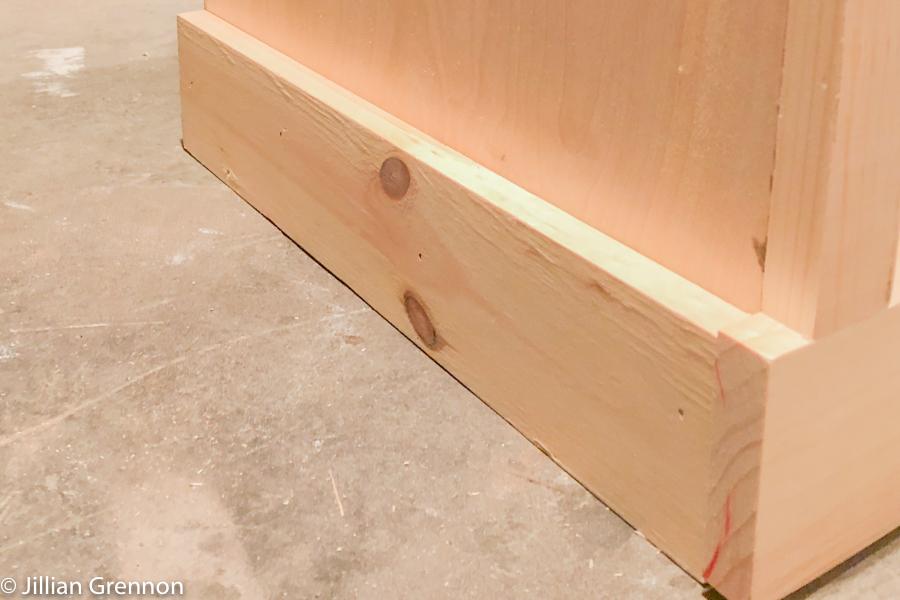
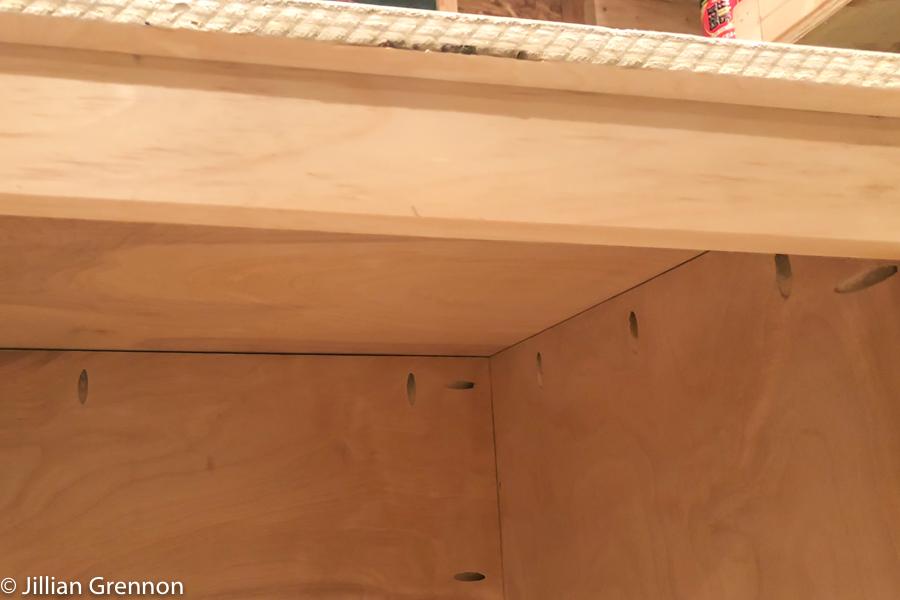
Attach the top using pocket holes you predrilled. This should be flush with the back and leave an even overhang on the front and each side. Once attached, add the pine trim to the front and sides to cover the unfinished plywood edge. You will use wood glue (don’t skip this) and a nail gun with 1 1/4” finish nails to attach this.
-
Step Eight
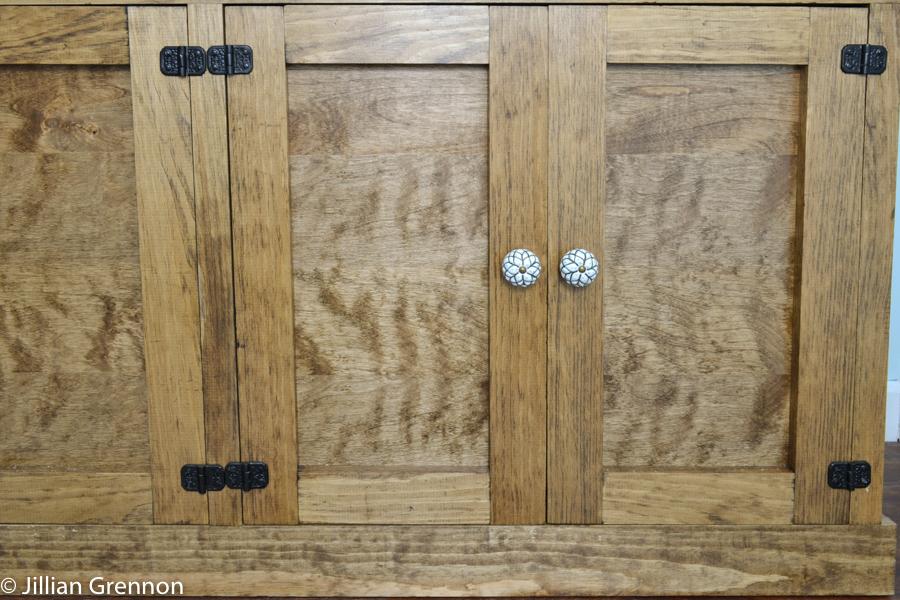
Onto the doors! I thought about only building one door for each side, but they would be fairly large doors so I went with 2. There are many, much fancier ways to create doors for this piece. I went with the most simple option. To create each door you will start by joining 2 door rails 1x3 @ 8 3/4” to 2 door stiles 1x3 @ 23 3/4” to create a rectangle. PLEASE NOTE: I used hinges that are visible and attach to the outside of the face frame. If you are using hinges that attach to the inside of the frame, you may need to adjust your door sizes or notch the face frame to allow a flush finish for the hinges. Dry fit your doors and make any necessary adjustments.
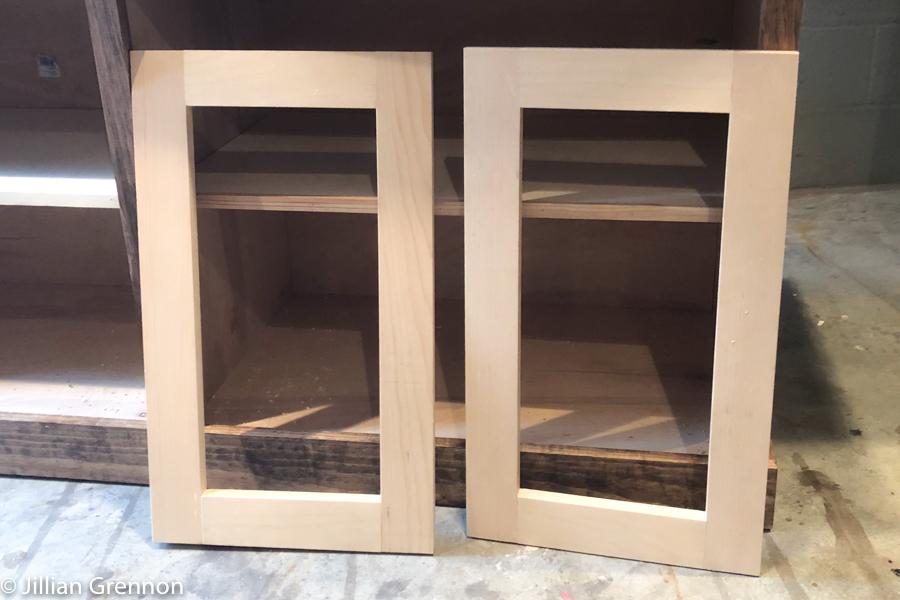
-
Step Nine
I suggest staining or painting the door pieces prior to adding the plywood. Once dry, attach the 1/4” plywood pieces to the backs of the door frames using wood glue and 3/4” nails.

-
Step Ten
Use your self pin jig to make your shelves adjustable. I like to use a scrap piece of wood as a guide to be sure my holes are even. Add your veneer edging to your shelves and slide them into place.
-
Step Eleven
Stain or paint as desired. I chose to leave the interior raw wood but you can stain or paint as you choose. When dry, attach the doors leaving an even space on all sides. Add door handles and cabinet magnets if desired.

-
Optional
If you have video equipment to store inside, you can drill a hole through the back of the cabinet to accommodate the cords. Please check the specifications on any equipment to be sure it is safe to store inside the cabinet. If need be, you could use a jigsaw to cut a larger opening for venting. An infrared receiver can be used for remote functions of any equipment behind the closed doors.
The beauty of building furniture yourself is that you can alter any of these measurements to create something that works perfectly in your space. I strongly suggest that this piece be secured to the wall for safety, using an anti-tip device.