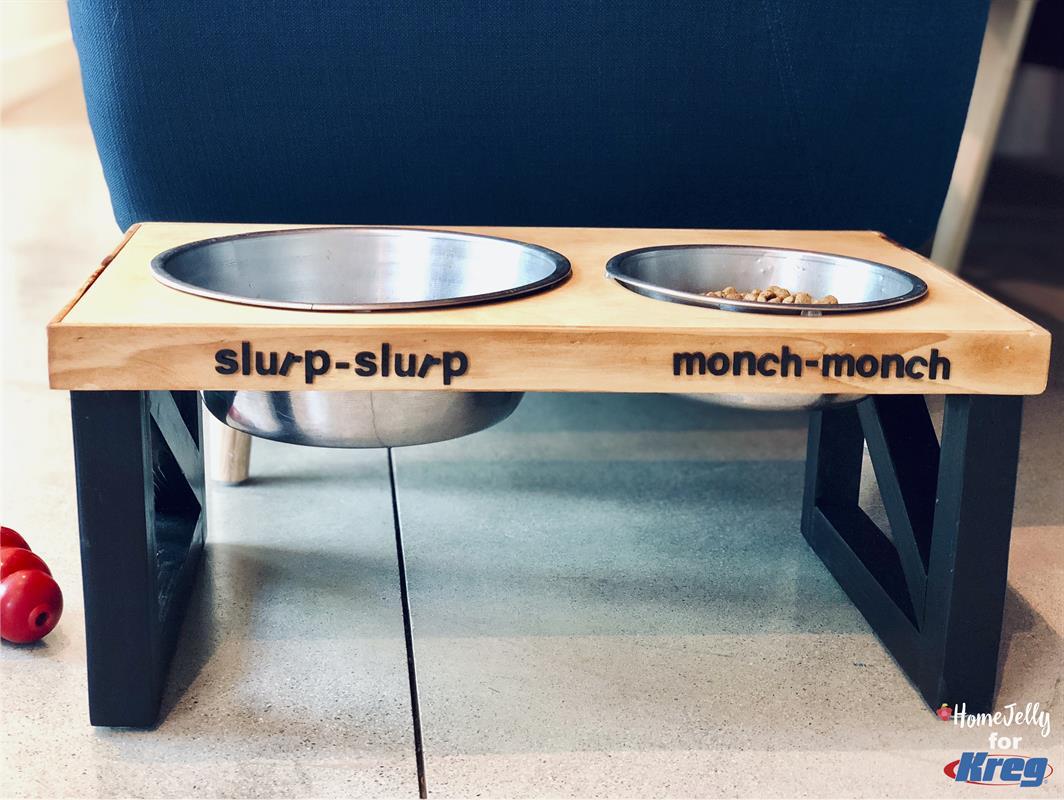
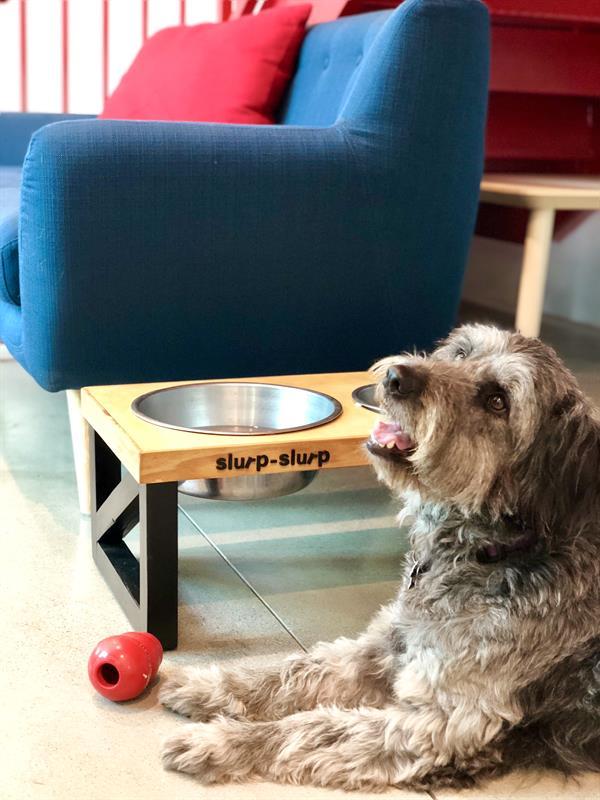
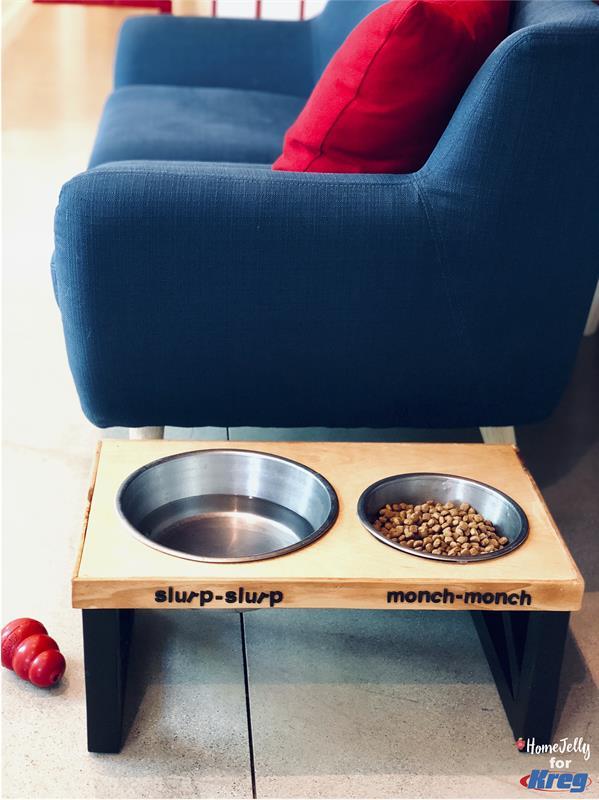


Follow this plan to build your pup(s) a great-looking, modern doggie feeding station. Stylish to set in your kitchen or doggie living space, this how-to is a one-day project that you can customize to your K9 kids' height and bowl sizes. For step-by-step video tutorial, click into link in EXTRAS.
Tools
Kreg Tools

Other Tools
-
Jigsaw

-
Miter Saw
-
Tape Measure
-
Clamps
-
Drill (cordless)
-
Nail Gun
-
Sander
-
laser cutter
Materials
Wood Products
- 1 Pure Bond Plywood , 2x4 , Half Sheet
- 3 Unfinished red oak square baluster , 1-¼” x 1-¼” , 36"
- 1 Lattice pine moulding , 1 ⅝” , 72"
Hardware & Supplies
- 1 P60, P120 sandpaper
- 1 ½” spade bit
- 8 1 ½” pocket screws
- 4 Clamps
- 1 Wood glue
- 1 Wood putty
- 1 1”, 1 ½” and 2” brad nails
- 1 Spray paint (black satin)
- 1 Wood stain
- 6 1” felt pads
- 8 Rubber bumpers
- 1 Small paint brush (optional)
- 1 Craft paint (optional)
Cut List & Parts
- 1 Pure Bond plywood tabletop , ⅝” x 13” x 22 ¼”
- 4 Red oak baluster legs , 1 ¼” x 1 ¼” x 9 ⅜”
- 2 Red oak baluster bottom horizontal braces , 1 ¼” x 1 ¼” x 11 ½”
- 2 Red oak baluster diagonal braces , 1 ¼” x 1 ¼” x 14 ⅛”
- 2 Lattice pine side moulding , ¼” x 1 ⅝” x 13”
- 2 Lattice pine front and back moulding , ¼” x 1 ⅝” x 22 ¼”


Directions
-
Measure & cut tabletop/legs/braces.
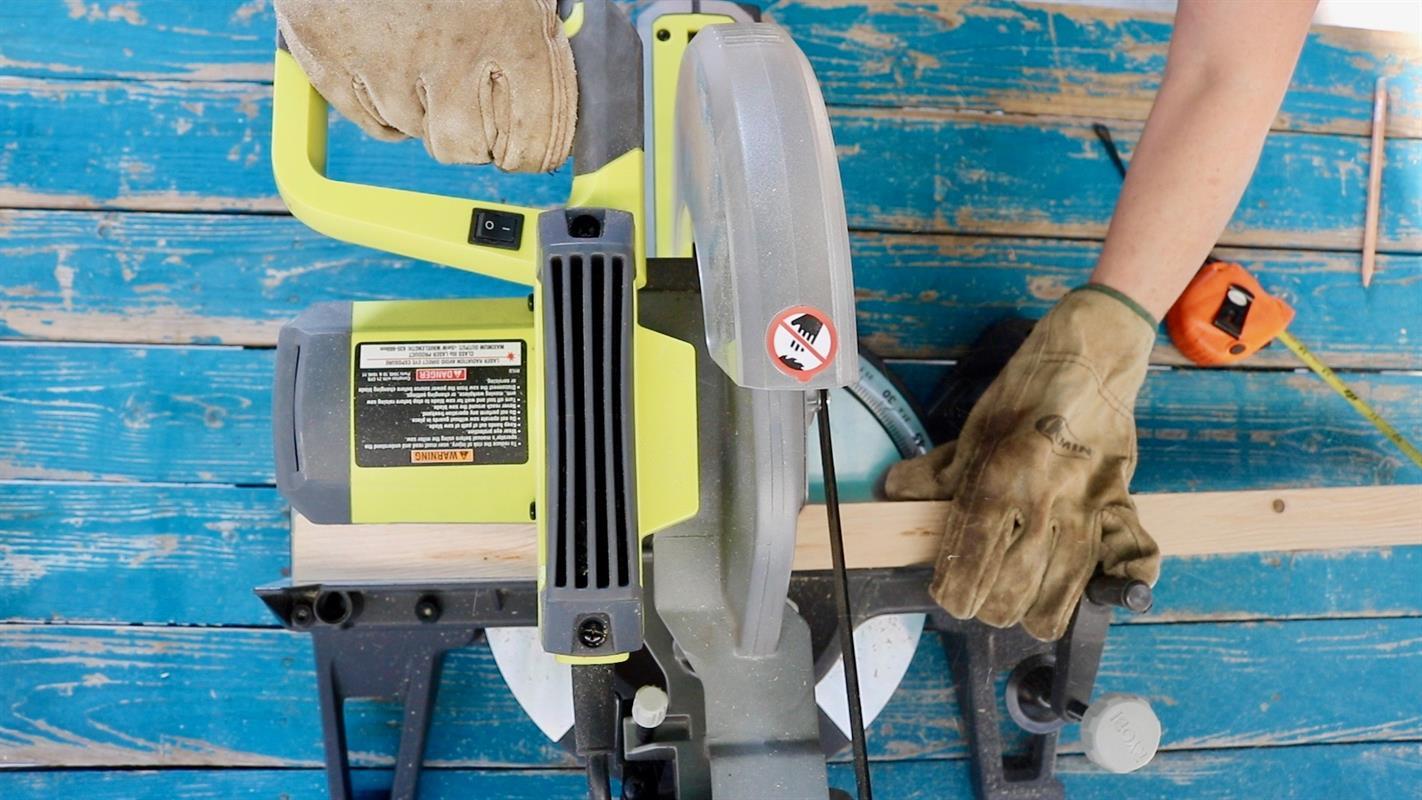
Use a miter saw to cut pieces to size (see cut list). Wait to make bevel cuts for the braces. Note: if you do not have a table saw, save time by having store associate cut the tabletop dimensions.
-
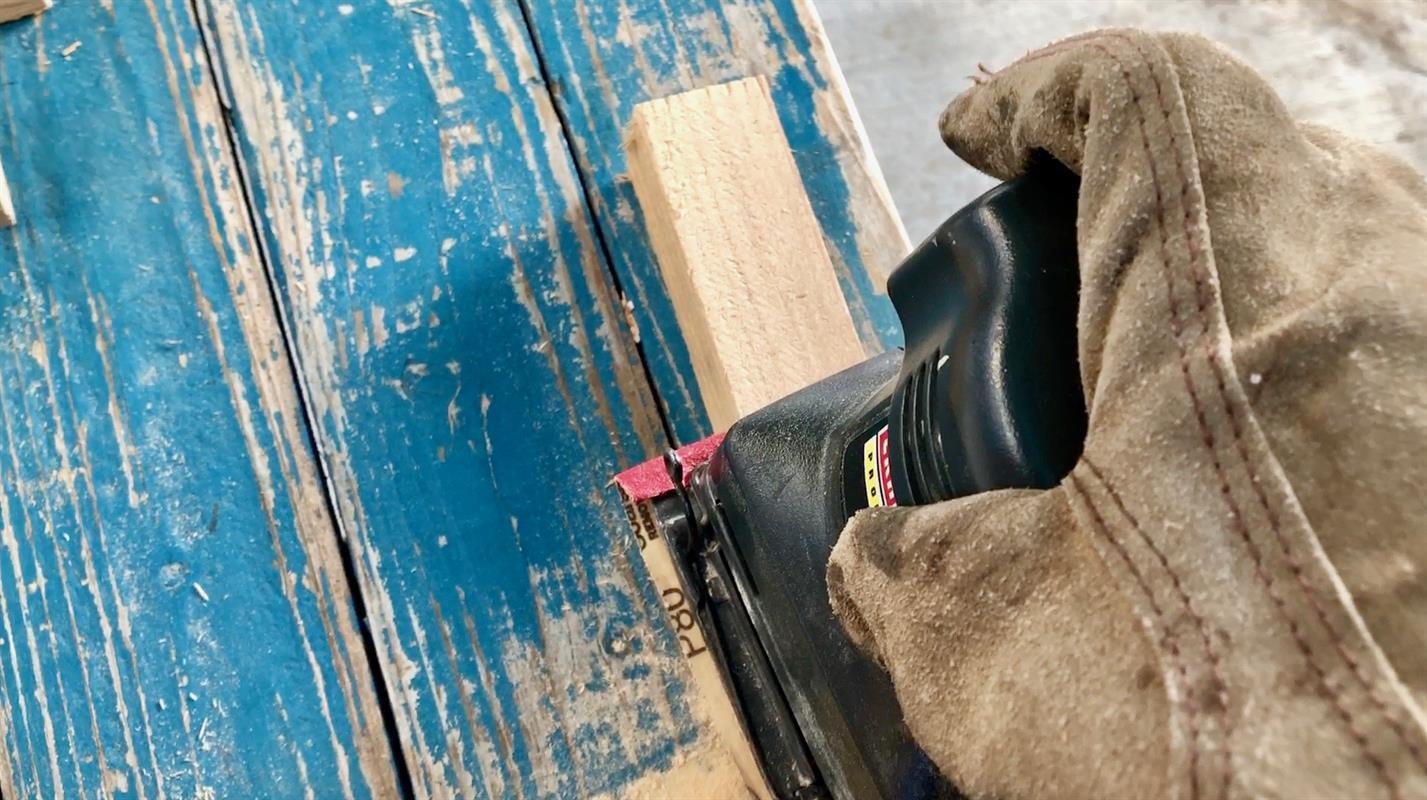
Sand all wood pieces.
Make all surfaces smooth for painting or staining.
-
Paint all leg and brace pieces.
Allow to dry.
-
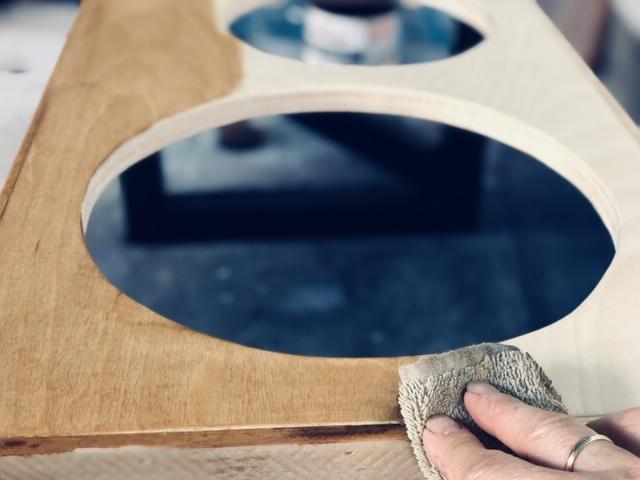
Measure, mark & cut out bowl holes.
(A.) Flip tabletop over to draw on underside; flip over bowls, then trace each rim allowing 1” on each side and between each bowl. (see diagram)
(B.) You’ll now need to create a second circle, the one you’ll actually cut out. Use a ruler to create your cut line. Mark points inside and around the circle ⅜” from the outer circle’s edge.
(C.) Using ½” spade bit, drill a hole, then insert your jig saw to cut out inner circle.
(D.) Sand smooth.
-
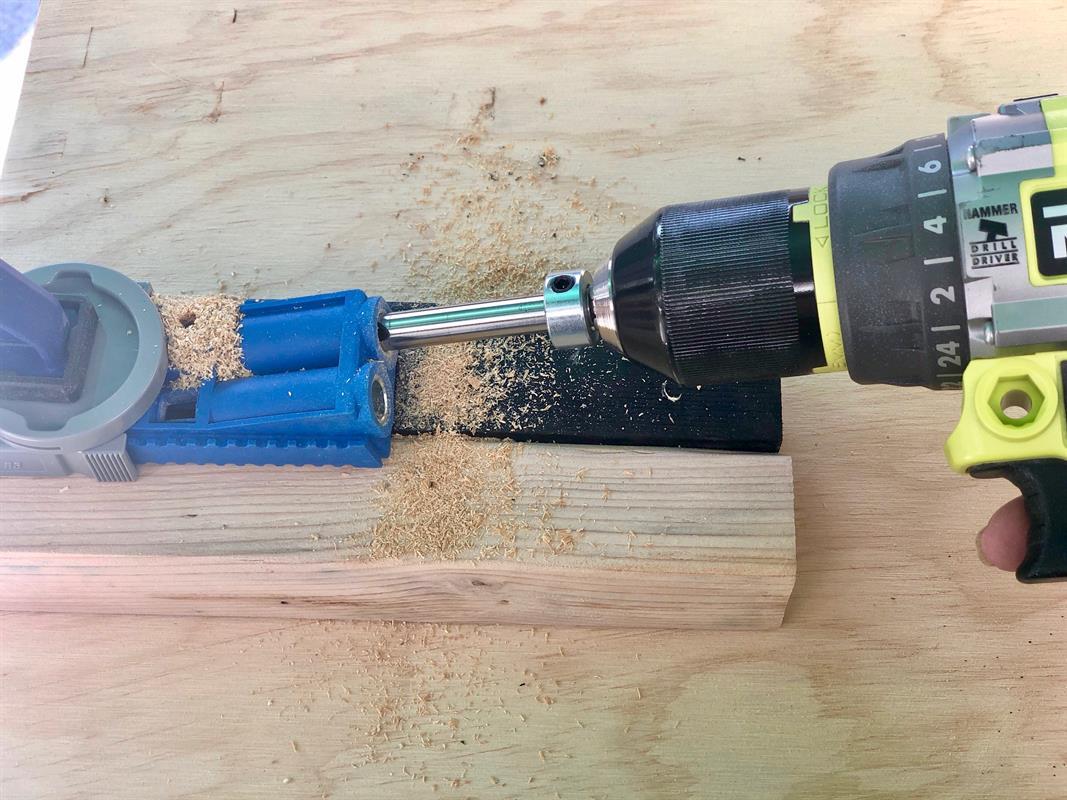
Create pocket holes.
Create 1 pocket hole on one end of each leg using the Kreg Jig R3. (A.) Set the jig slider according to the thickness of your wood. In this case, set it to 1 ¼” and adjust drill bit stop collar to 1 1/4”. (B.) Clamp jig into place, clamp leg onto workbench or table, then drill pocket hole.
-
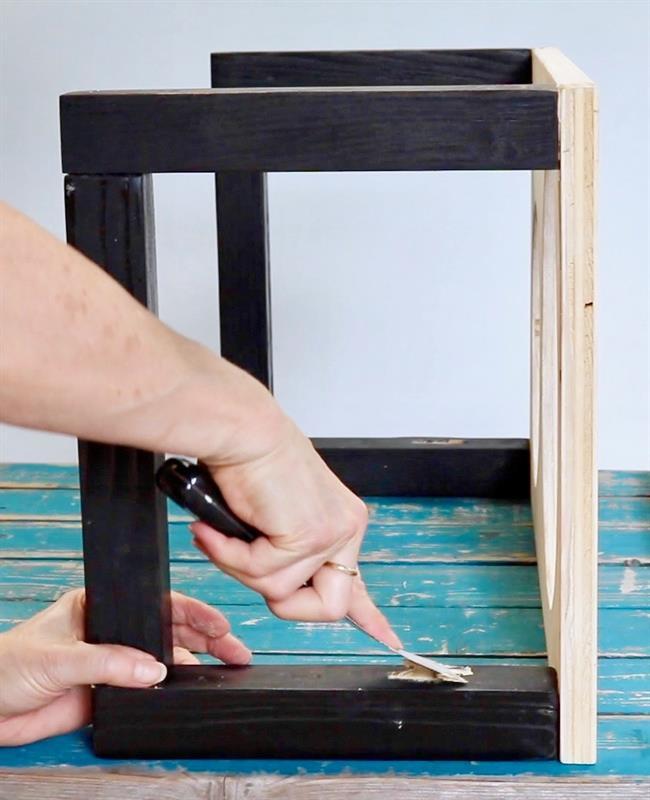
Attach legs.
(A.) Set tabletop vertically on a level surface, brace with a scrap piece of wood, then clamp into place.
(B.) Apply wood glue to top of leg piece, then place it square to edge of tabletop, then clamp. (C.) Screw in pilot screws.
(D.) Do the same for all four legs.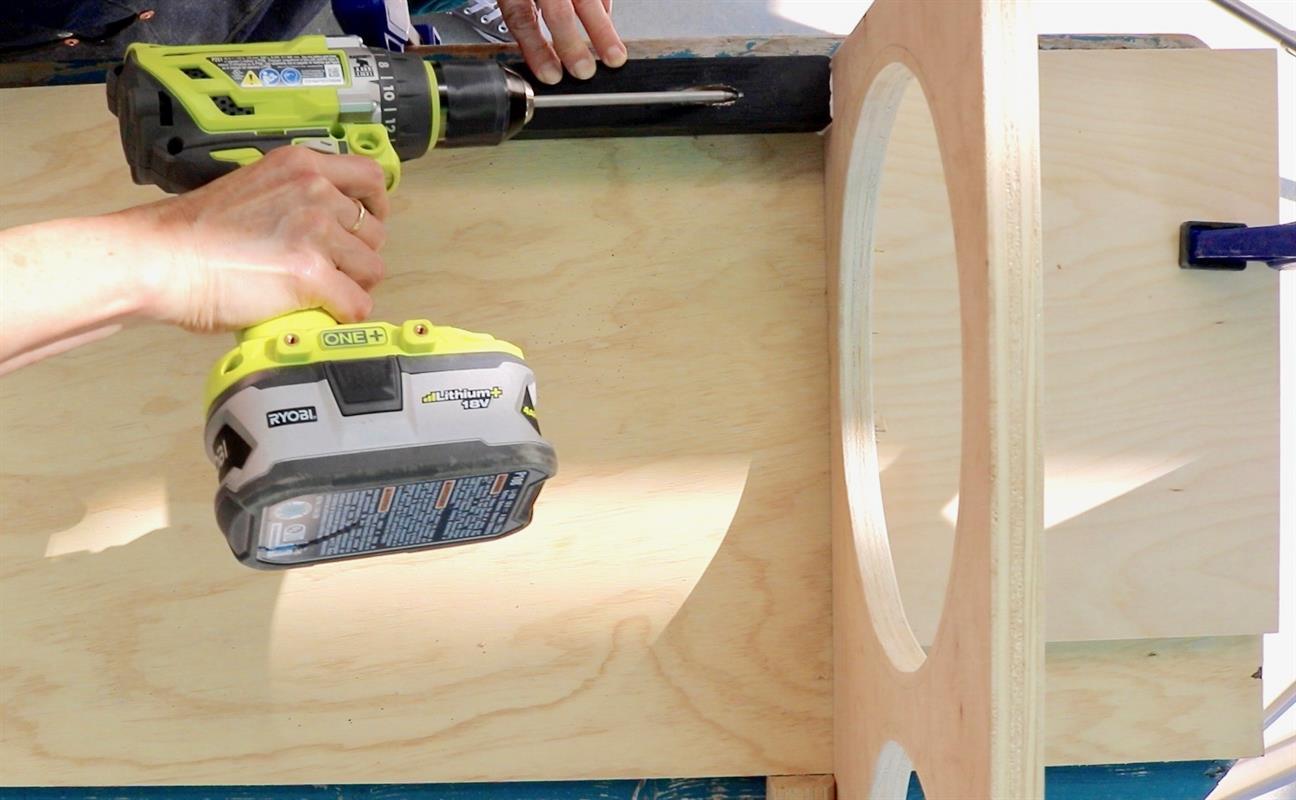
-
Attach bottom braces.
(A.) Set tabletop right side up.
(B.) Apply wood glue to both ends of brace piece, then place brace between legs, horizontal to the surface.
(C.) Butt back leg up against a scrap piece of wood, clamp into place.
(D.) Using your brad nailer, nail to attach using 2” brad nails.
(E.) Do the same for the other end and other bottom brace.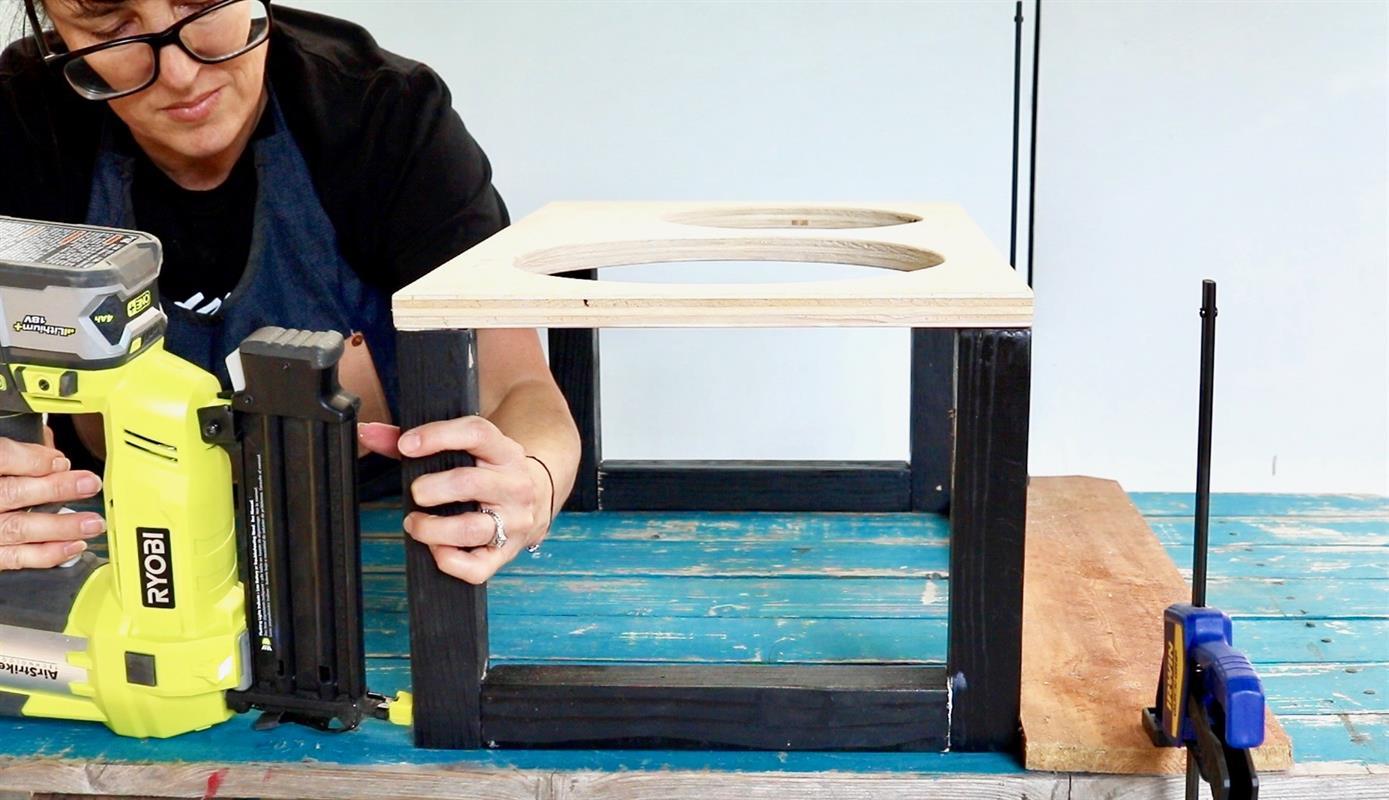
-
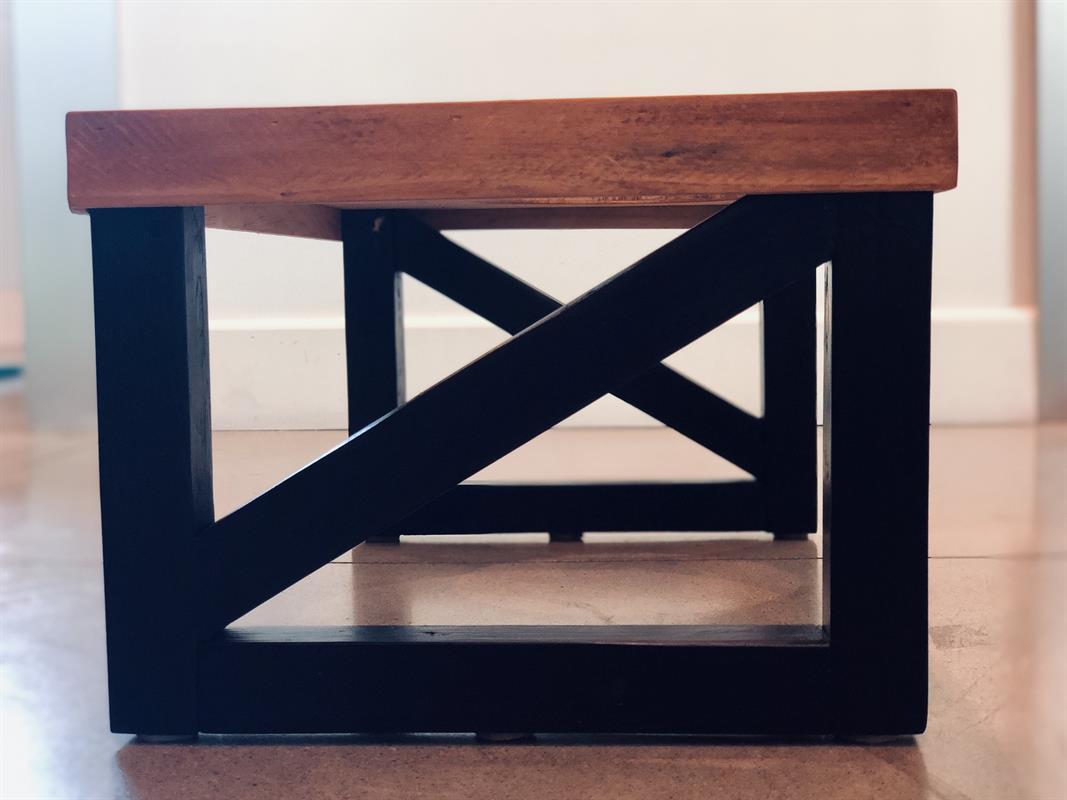
Attach diagonal braces.
(A.) Place newly attached doggie station on tabletop with short side facing out.
(B.) Place one diagonal brace behind attached legs, then set brace at a diagonal.
(C.) Mark, then cut using your miter saw.
(D.) Apply wood glue, then nail into place using 1 ¾” brad nails.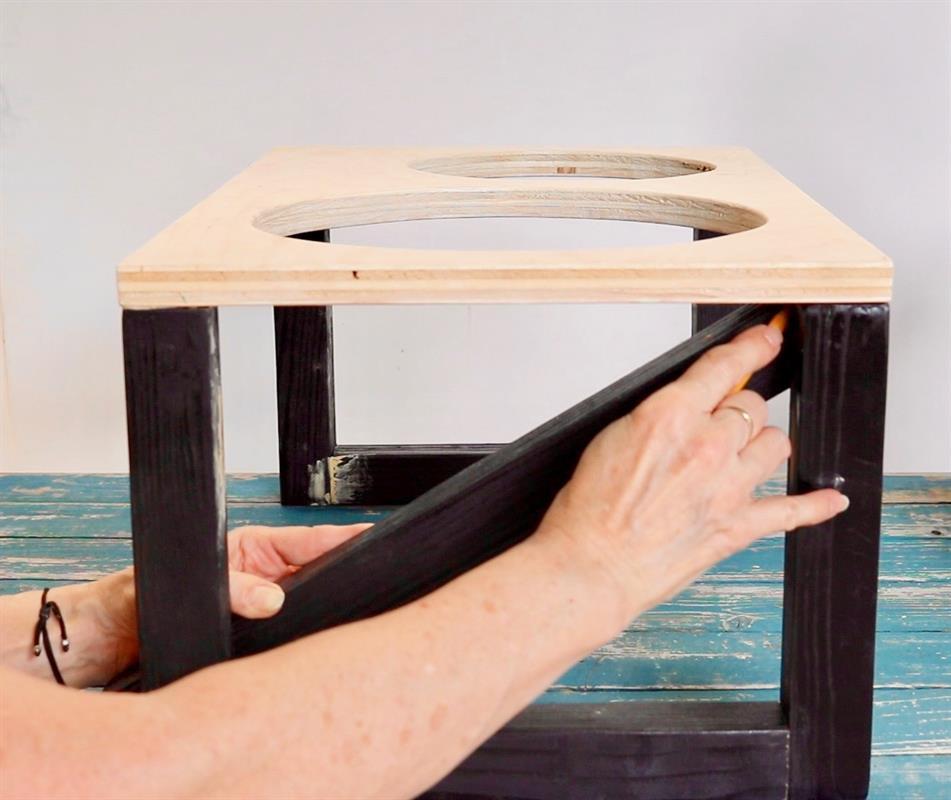
-
Attach moulding.
(A.) Start with middle front piece, make one 45° bevel cut on one end, then hold it onto the front of the tabletop, aligning beveled end to the right edge of the tabletop.
(B.) Place a mark onto the moulding at the left edge of the tabletop - then make 45° bevel cut from the mark away.
(C.) Glue, then brad nail into place using ¾” brad nails.
(D.) Next, add side moulding by placing it on one side of tabletop, making sure to meet front moulding bevel, then mark cut line. Make a 45° bevel cut on both ends. Glue, then nail into place.
(E.) Continue with back and second side mouldings following step (D.) - meet adjoining moulding’s bevel cut, mark cut line, then make bevel cuts to front moulding bevel cuts, glue, then nail in place. Sand.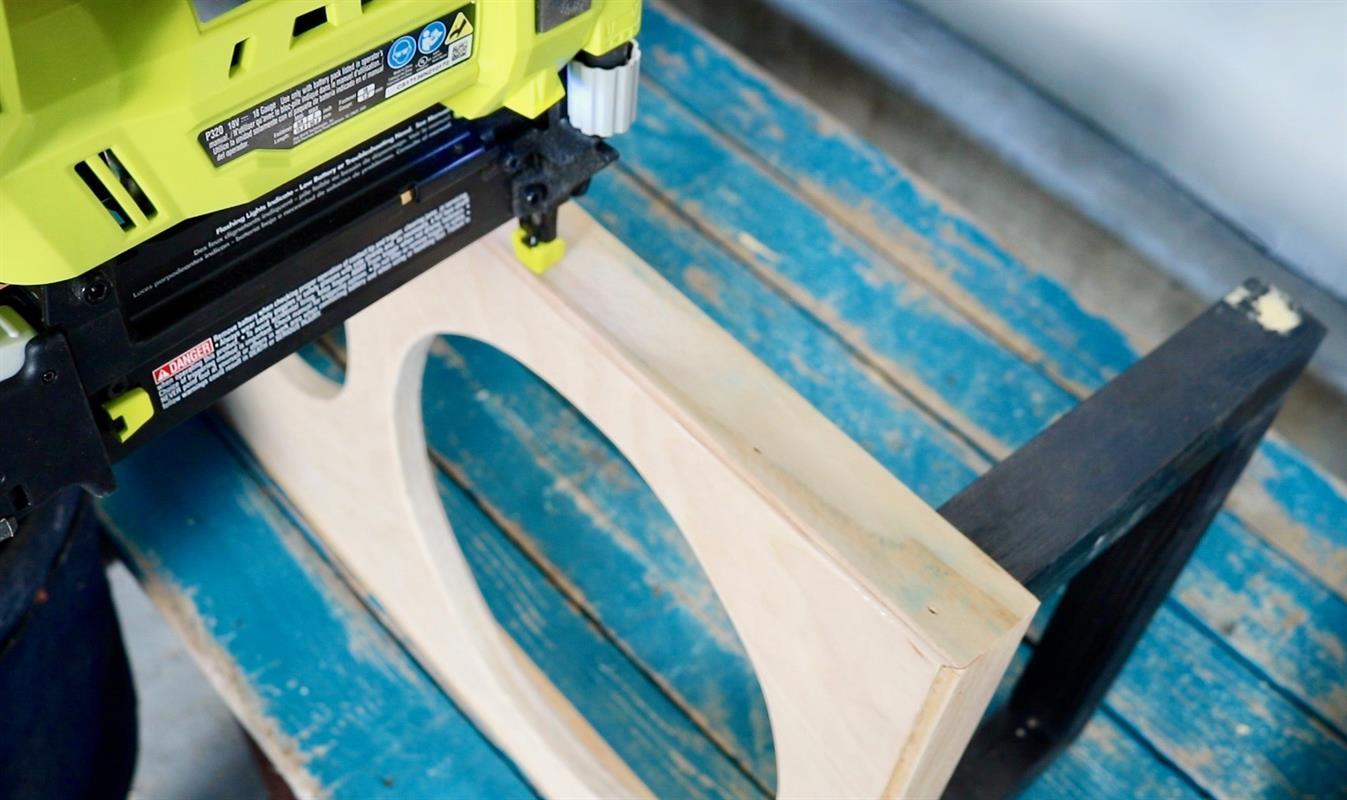
-
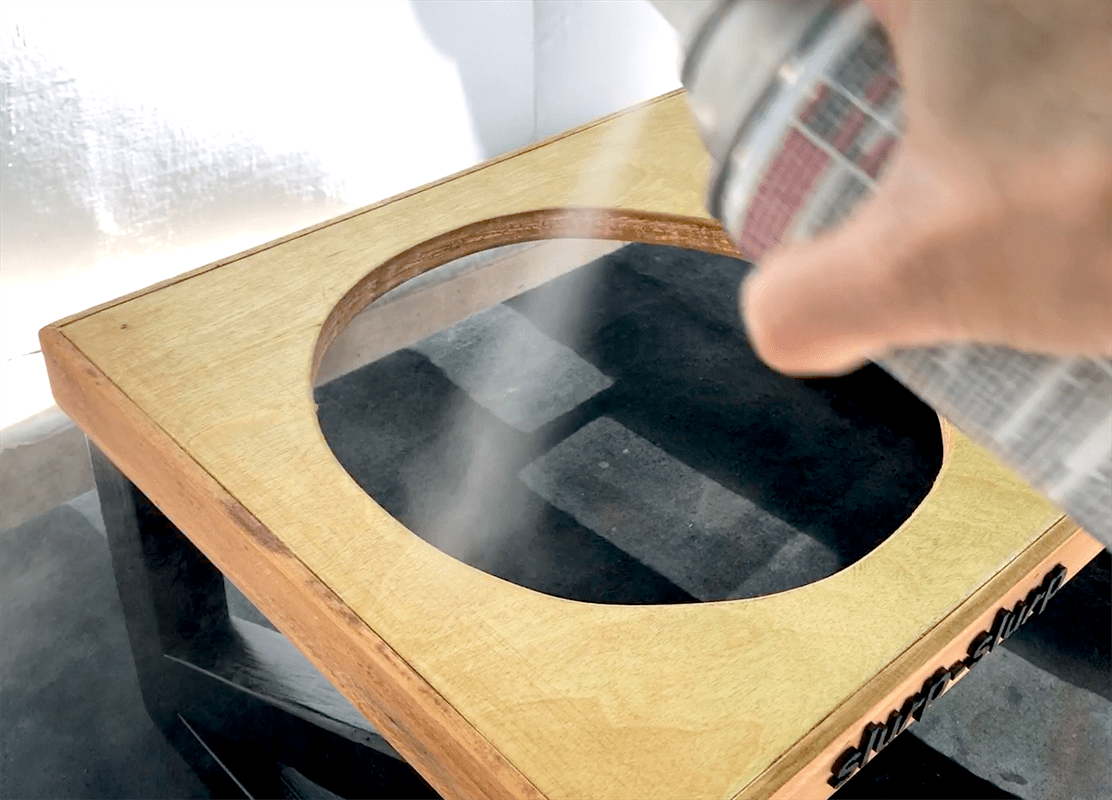
Stain tabletop and moulding.
Use any color stain you wish to compliment your home’s decor. Allow to dry.
-
Apply polyurethane to seal wood.
Doggies love to monch-monch and slurp-slurp. This step will help protect from drips and kibble.
-
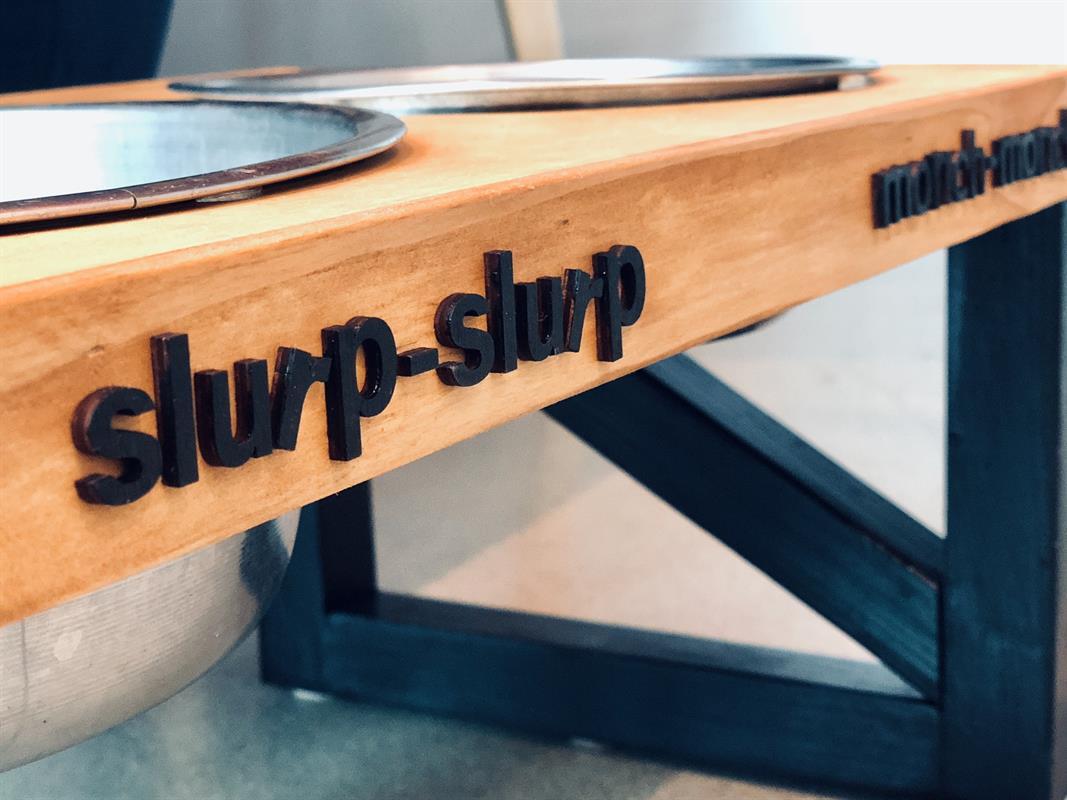
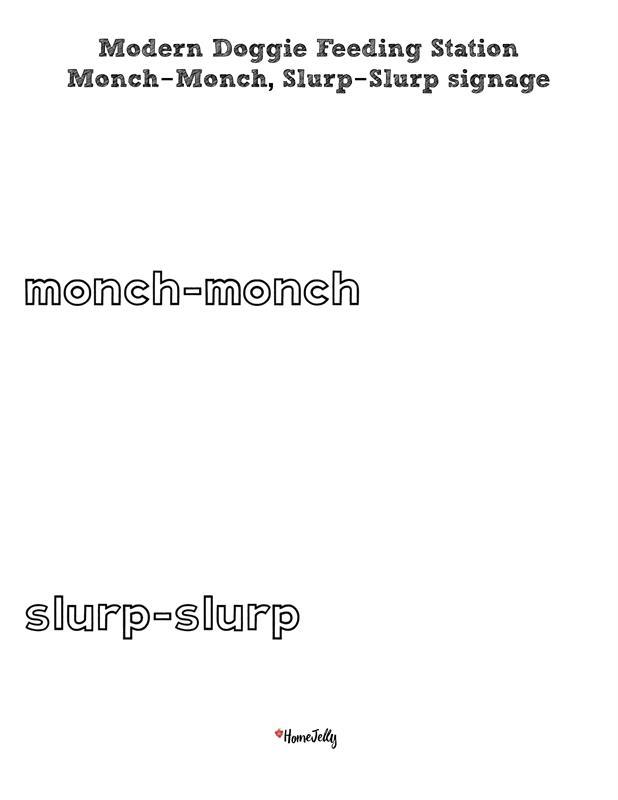
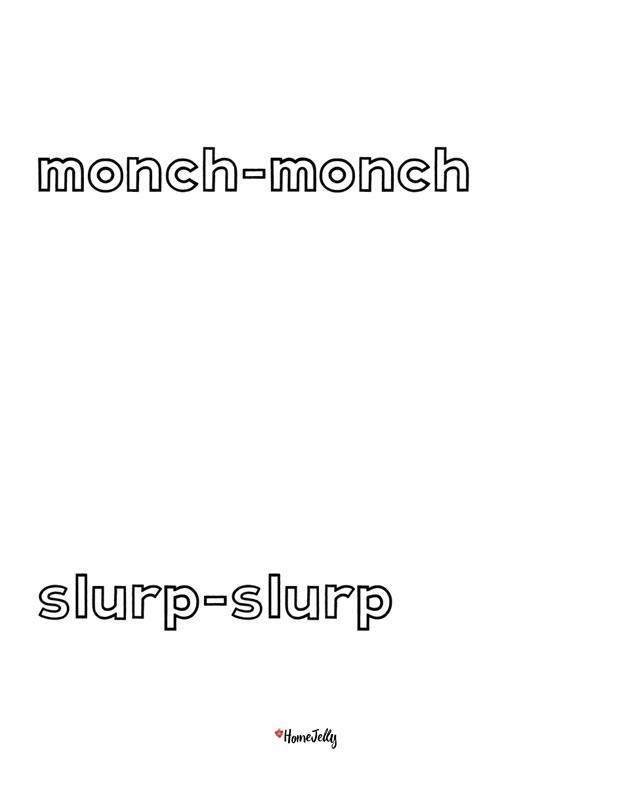
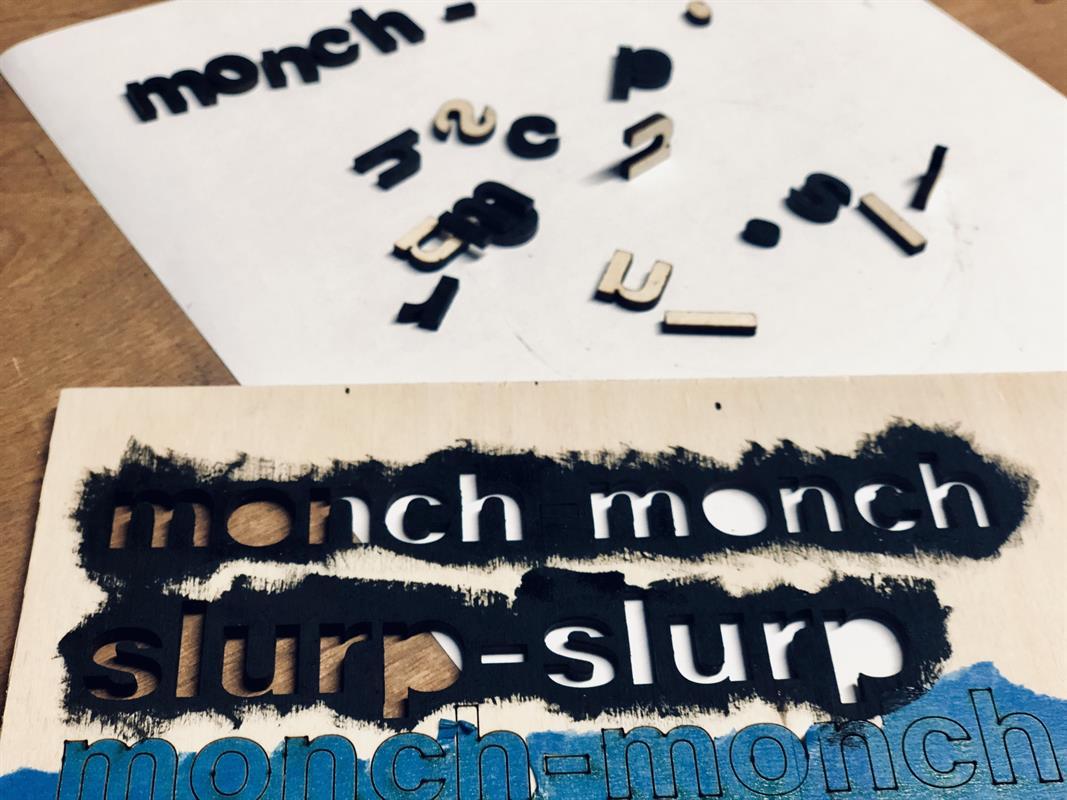
Optional: add fun signage.
Either by hand-painting or using a laser cutter, add your dog’s name or, like we did, fun verbiage for eating and drinking. If using a laser cutter, you can stain or paint sign(s), then adhere with wood glue.
Use the templates in the "Parts/Cut List" section below to trace directly onto your feeding station, then paint. Or, place on a separate piece of craft wood, trace, then paint. Have fun!
-
Caution:
CAUTION: recent studies have revealed that raised dog feeders could actually be a contributor to bloat in large and giant breed dogs and should be used upon veterinary recommendation only. The research findings did not specify the potential hazard for small or medium sized dogs, so, to err on the side of caution, ask your veterinarian for elevated eating advice.
-
Touch up.
Let's face it...DIYing can be a bit messy, especially when there's a learning curve. Add wood putty to pocket and nail holes and any spaces needing filler. Sand, then paint.
-
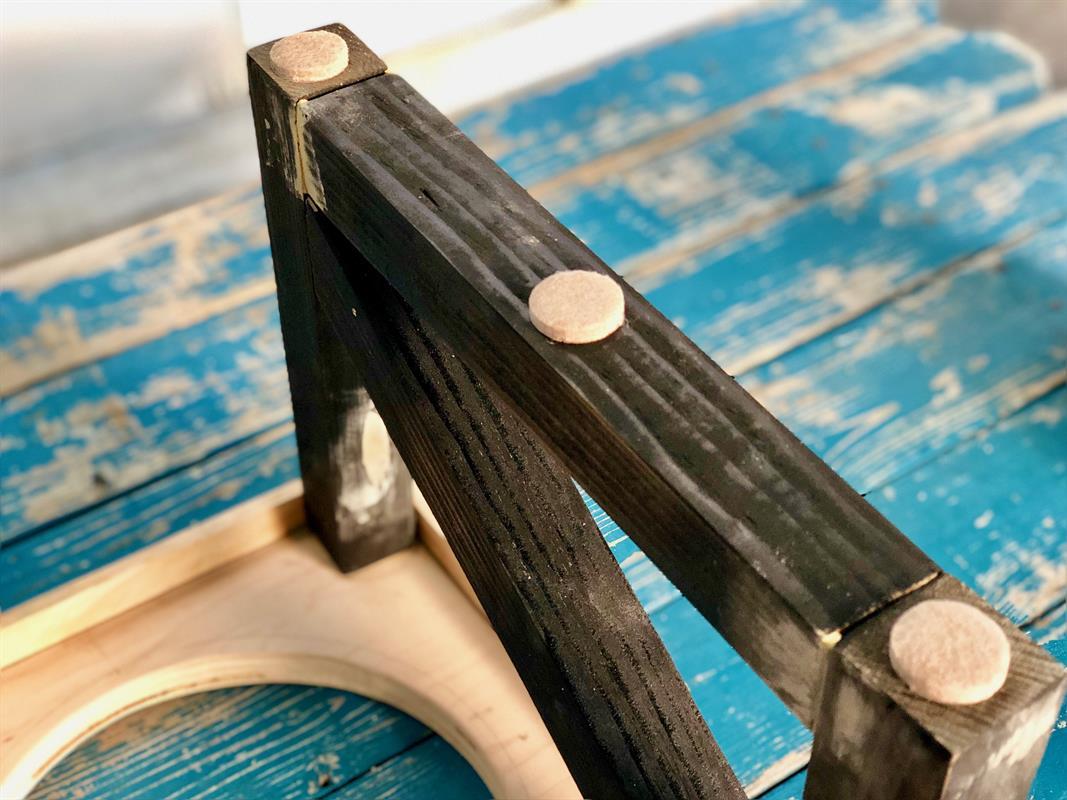
Adhere felt pads & rubber bumpers.
To make your feeder non-slip and to make it easy to get your fingers under the bowl, don't forget this step!