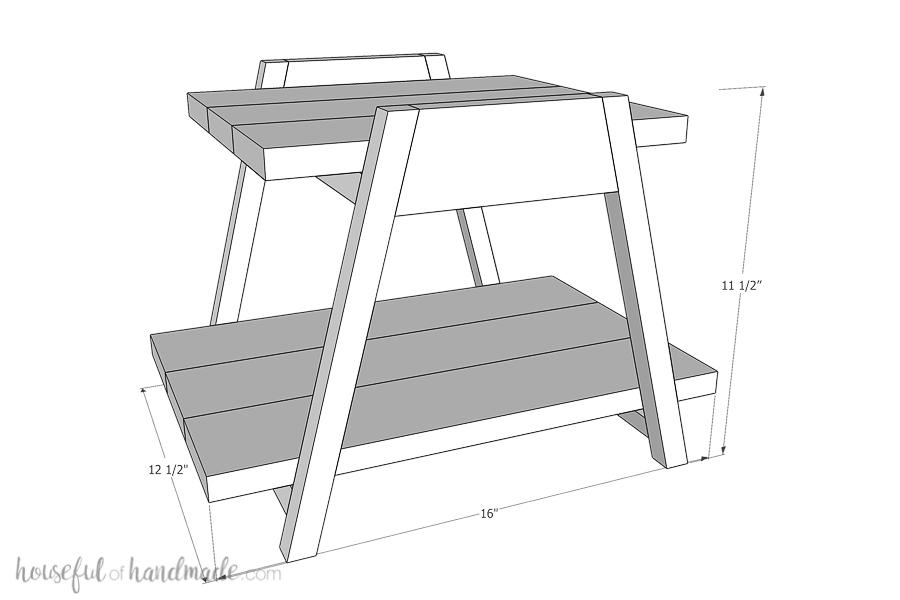

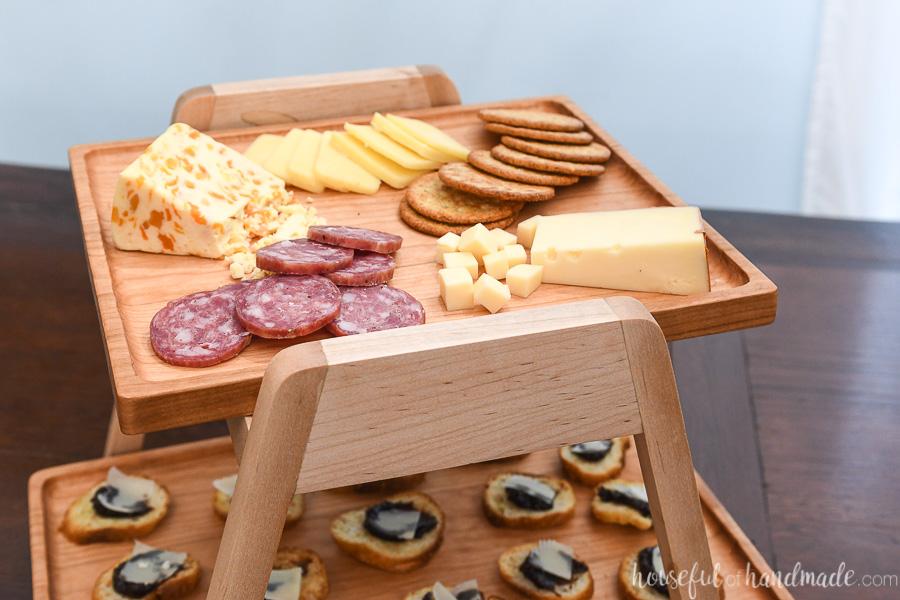
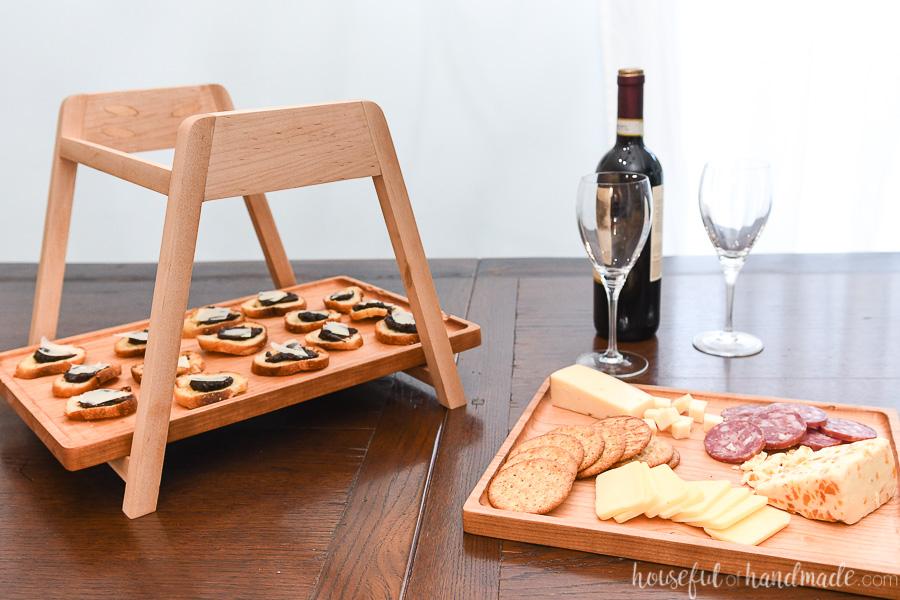
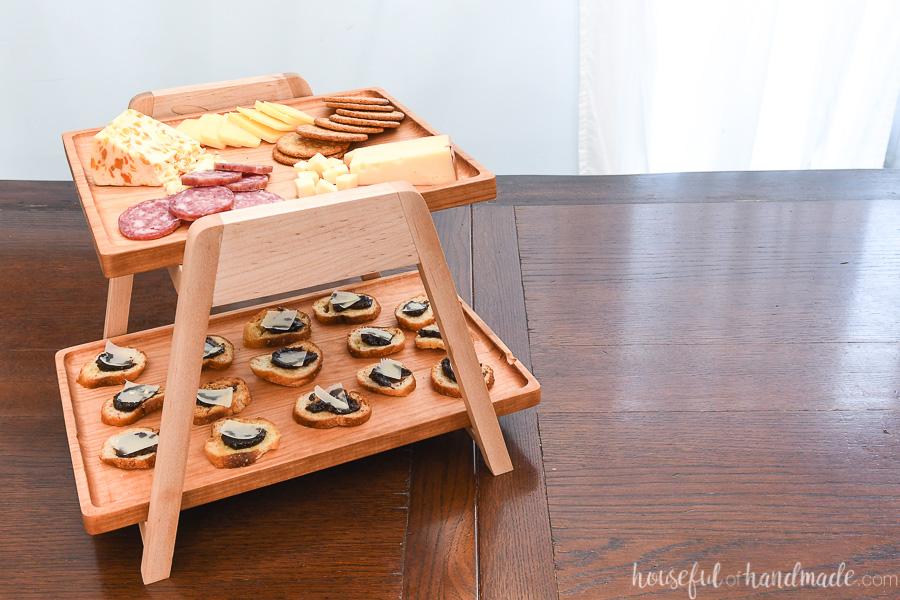


Make more room on the buffet table with this 2 tiered serving tray. Two large trays are perfect for holding lots of your favorite foods. The easy to build tray stand can hold the wood trays or store bought ones.
Tools
Kreg Tools


Other Tools
-
Miter Saw

-
Drill (corded)
-
Impact Driver
-
Router
-
Sander
-
Shop Vacuum
Materials
Wood Products
- 1 Board , 1x1 , 96"
- 1 Board , 1x3 , 12"
- 1 Board , 1x4 , 96"
Hardware & Supplies
- 16 1 1/4" pocket hole screws
- 1 Wood glue
- 8 Pocket holes plugs
Directions
-
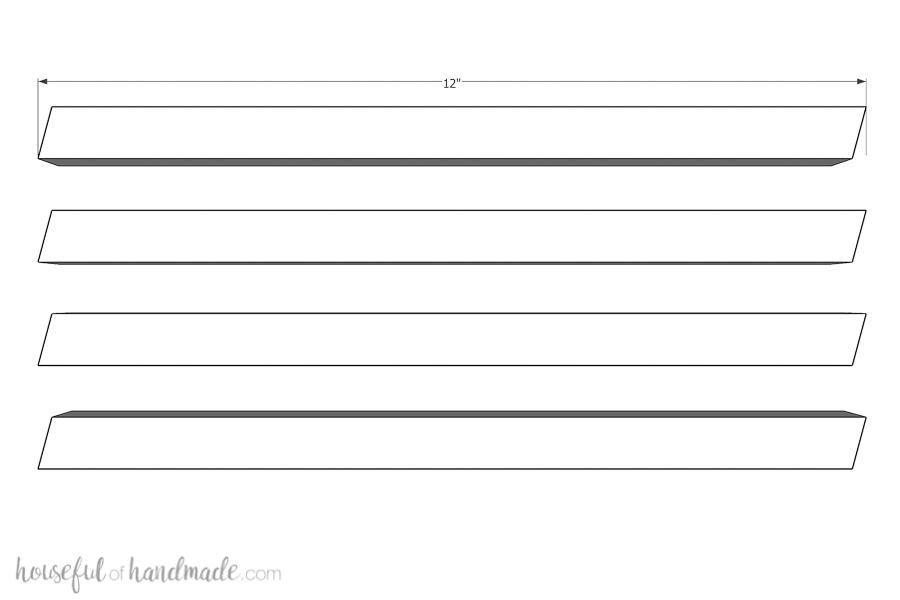
Cut Legs
Cut the 4 leg pieces at a 15 degree angle on both ends in the same direction.
-
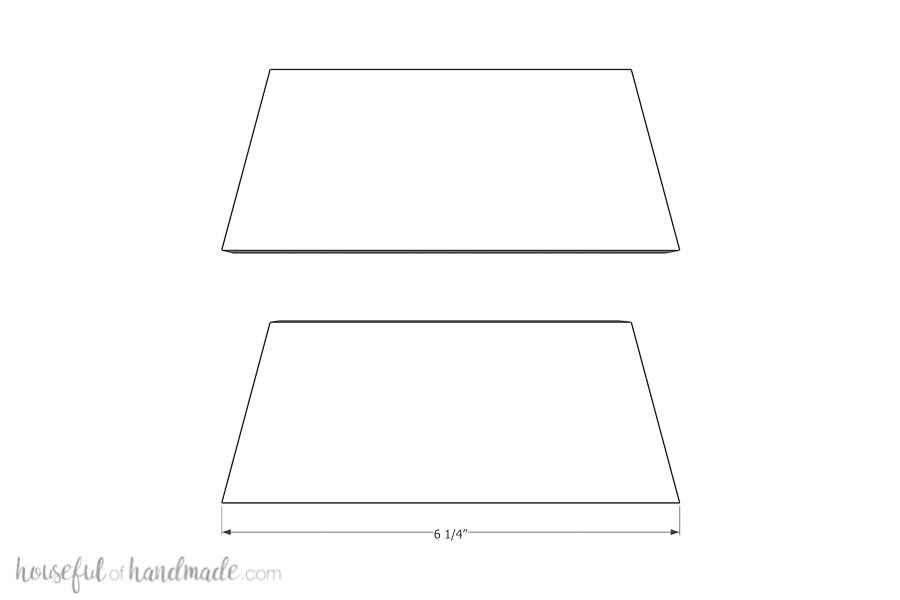
Cut Sides
Cut the 2 side pieces at a 15 degree angle on both ends so they taper together. Leaving the long side 6 1/4" long.
-
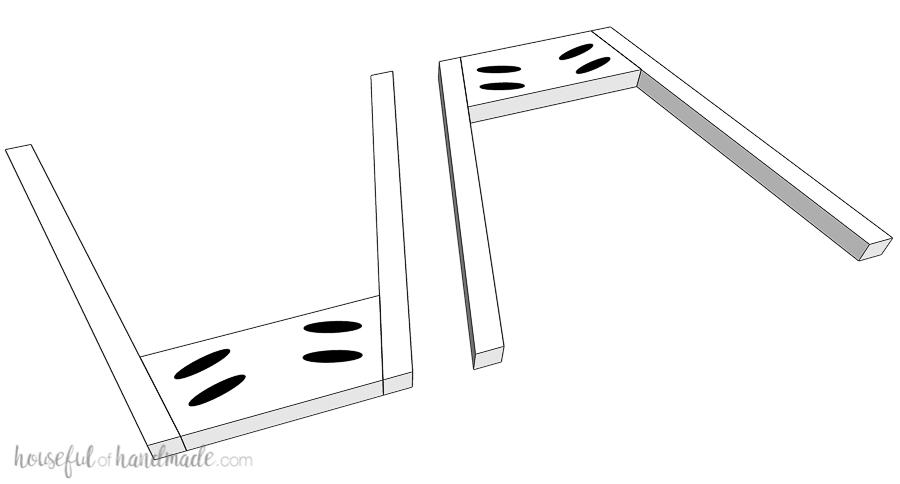
Build the Sides
Set your Kreg jig for 3/4" thick material and drill 2 pocket holes in the sides of both of the side pieces. Do not get the top pocket hole too close to the top or the screw will poke out the top of the leg because of the angle. Attach two leg pieces to each side of the side pieces with 1 1/4" pocket hole screws and wood glue.
-
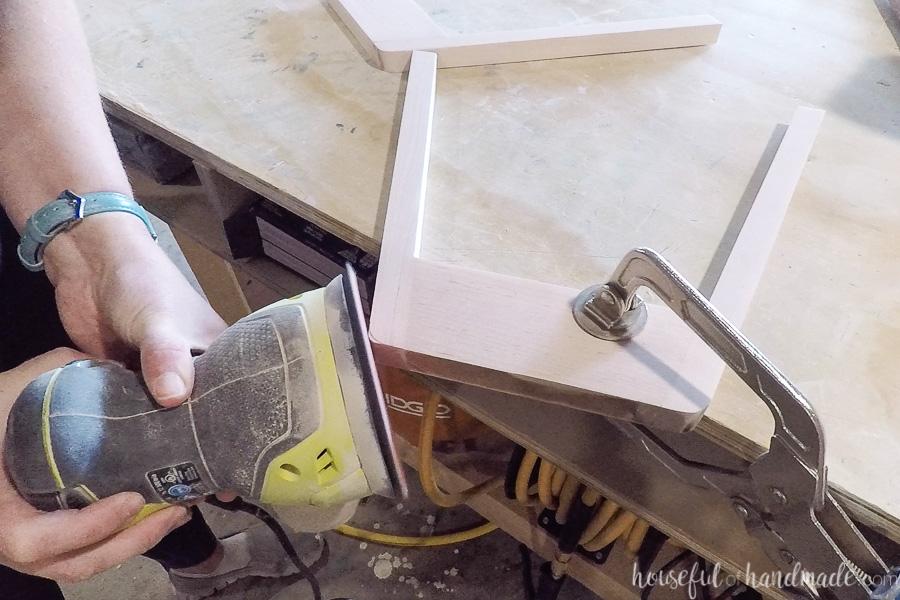
Finish the Sides
Hide the pocket holes on the side pieces with plugs or by using a dowel of the same material. Flush cut the excess and then sand smooth. If desired, use a sander to carefully curve the top corners of the sides. Don't curve too much or you might expose the ends of the screws.
-
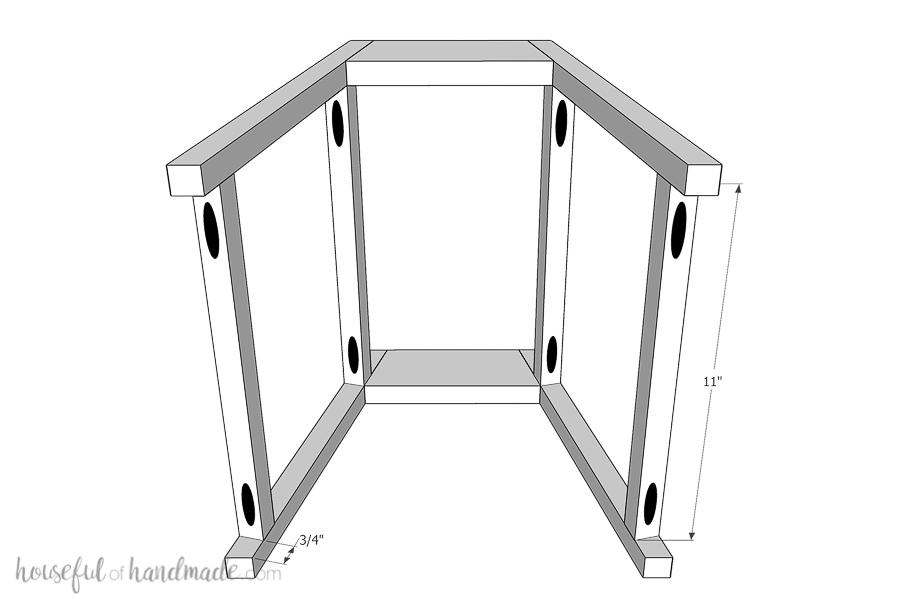
Attach the Tray Supports
Drill 1 pocket hole in the end of each tray support piece. Attach them to the sides with 1 1/4" pocket hole screws and wood glue. Keep the tray supports flush with the sides of the legs. The lower tray supports should be 3/4" up from the bottom and the top tray supports should be flush with the top fo the side center piece.
-
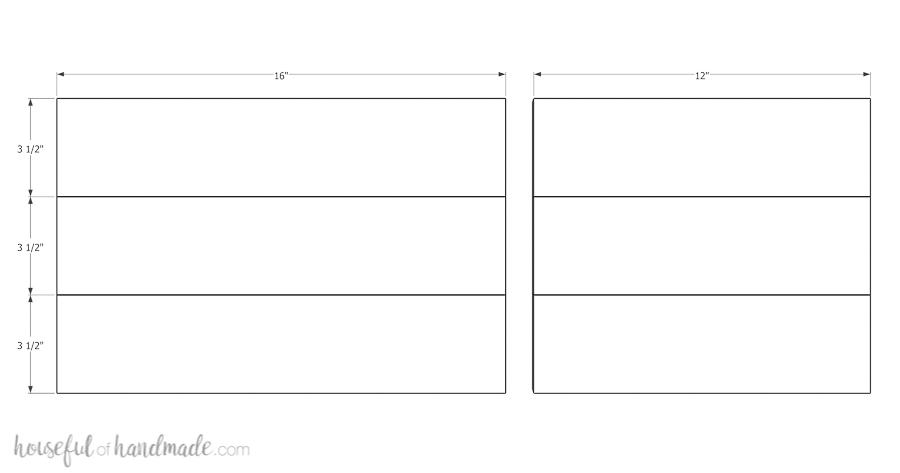
Build the Trays
Cut the tray pieces. Ensure the sides are flat and smooth. Glue the three pieces together on their long sides. Clamp together until glue dries. After glue is dry, re-square up the sides of the tray if necessary and sand the surface smooth.
-
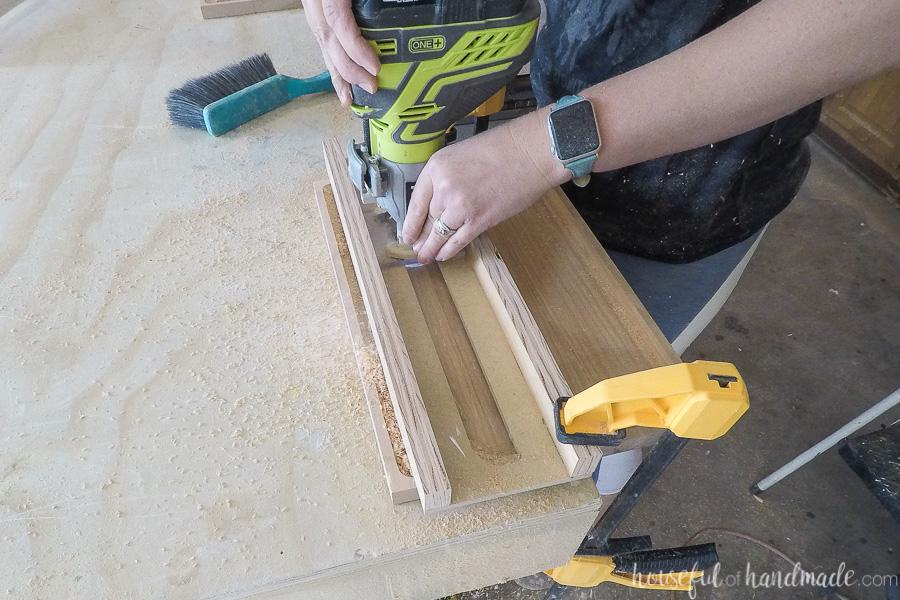
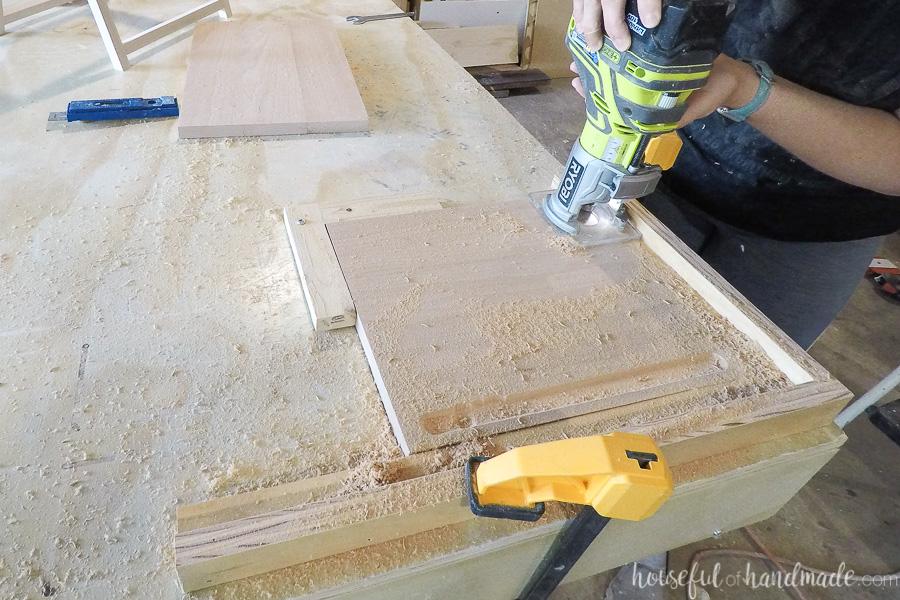
Router the Tray Perimeter
You can leave the trays as is, or router out the center to create sides to them. To router them out, use a bowl/tray router bit and router out the perimeter first. Only router 1/16-1/8 deep at a time. Use a fence to prevent the router getting to close to the edges.
-
Finish the Serving Tray
Sand and seal the stand and trays. Make sure to use a food safe finish for the trays so you can place food directly on them when serving.
-
Router the Tray Center
Use a sled made from scrap wood to fit your router to router the insides of the tray. Only router 1/16-1/8 deep at a time. Be careful when you get to the edges so you do not go past the perimeter groove you already routed.