

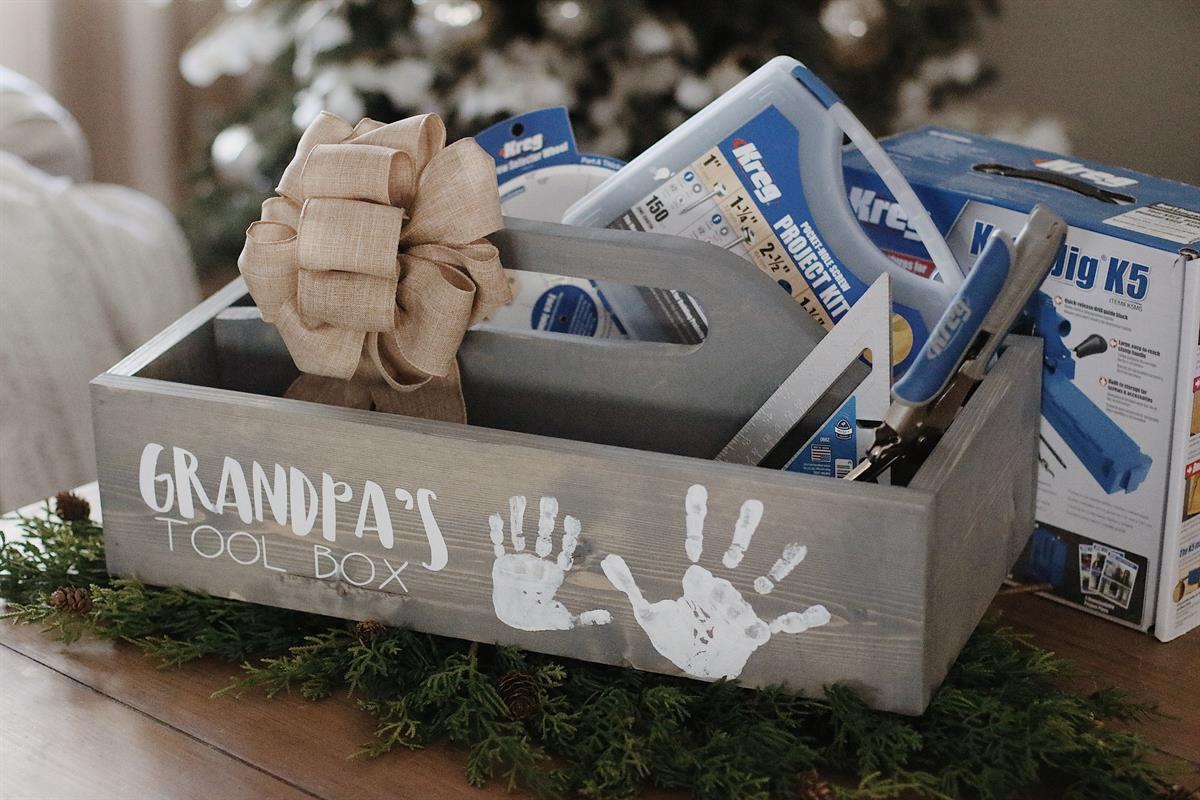
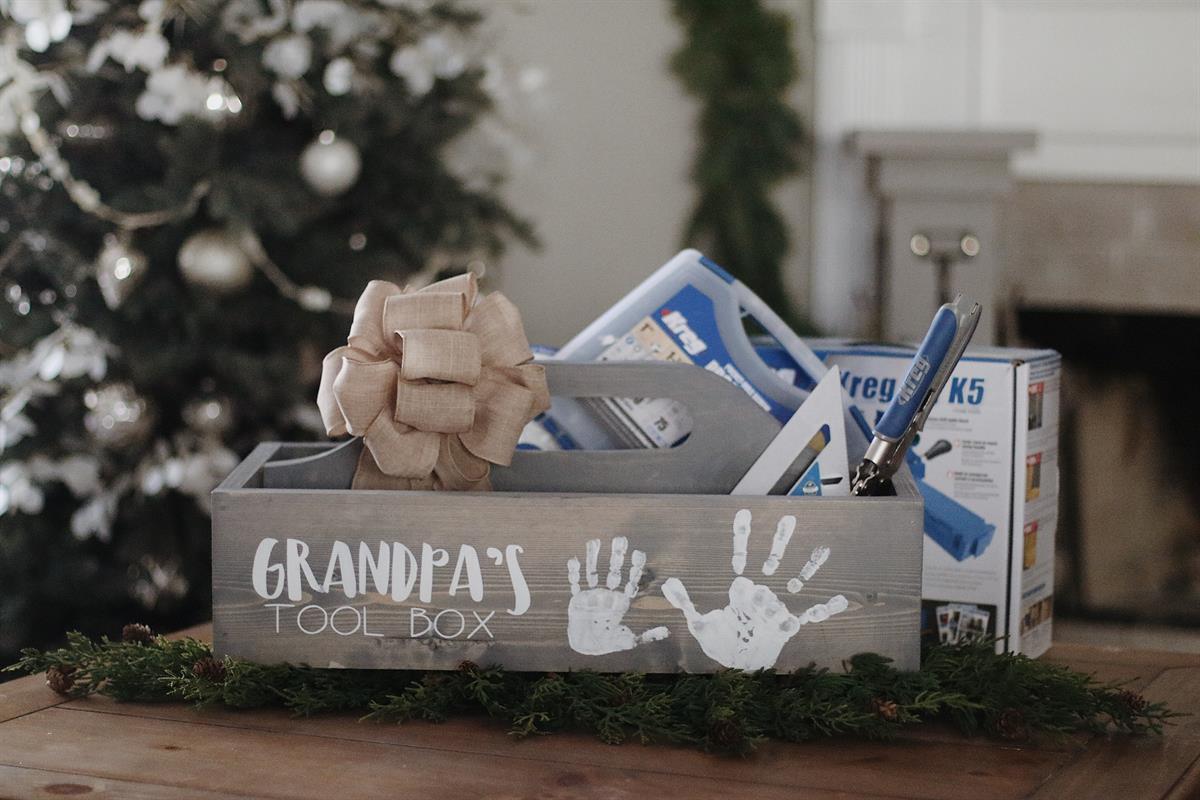


Project No. 4 of our "12 Projects Of Christmas" series continues with this classic wooden toolbox. This tool box is the perfect addition to any Dad's workshop or Grandpa's garage! (...or Mom's/ Grandma's too). A great gift for the holidays that is also functional and will be loved year round.
Tools
Kreg Tools


Other Tools
-
Jigsaw

-
Miter Saw
-
Tape Measure
-
Drill (cordless)
-
Nail Gun
Materials
Wood Products
- 1 Board , 1x6 , 96"
- 1 Board , 1x10 , 48"
Hardware & Supplies
- 1 Kreg Screws - 1-1/4"
- 1 Brad Nails - 1-1/2"
- 1 Hole Dozer Saw Bit - Lennox - 1-3/4"
Directions
-
Step 1:
Cut your 1" x 10" x 4' to:
(1) 20-1/4" x 10"
(1) 20-1/4" x 8"Then cut your 1" x 6" x 8' to:
(2) 21-3/4" x 6"
(2) 9-1/4" x 6"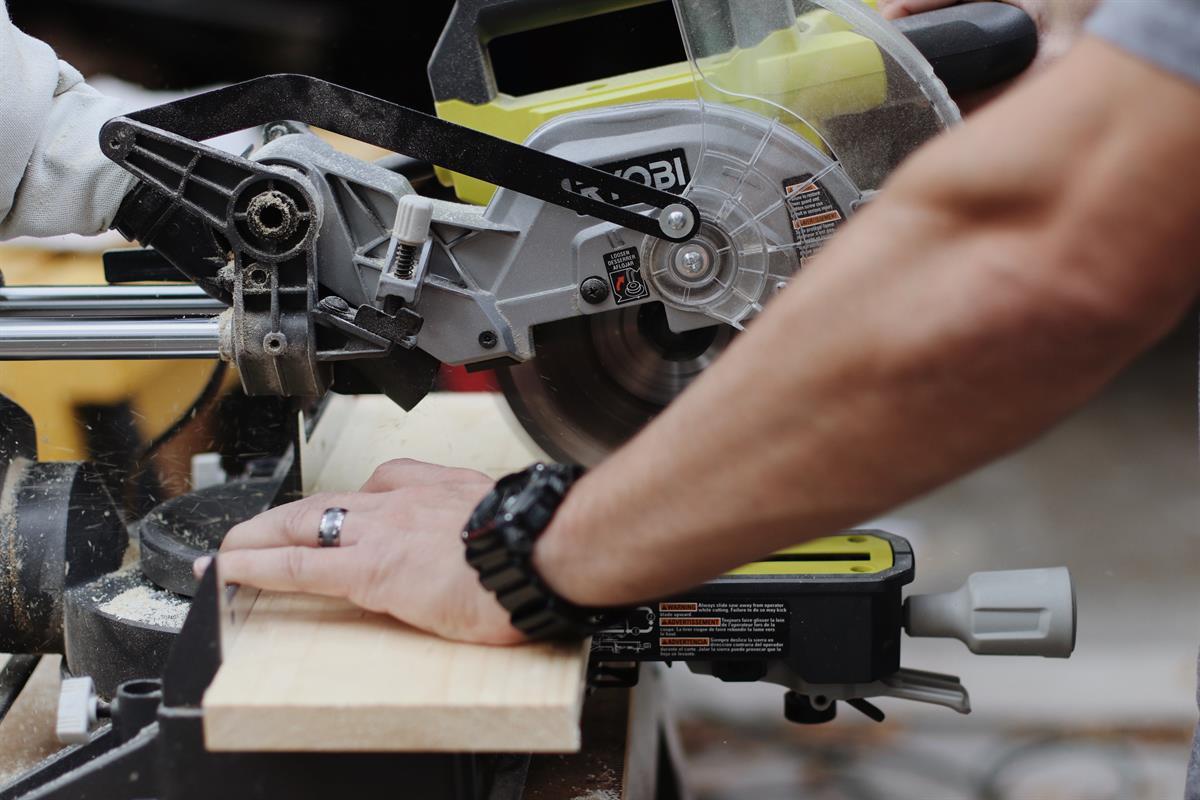
-
Step 2:
Drill pocket holes on all four sides of the bottom of your tool box (20-1/4" x 10") as well as on the center board of your tool box (20-1/4" x 8") using the Kreg Jig R3. For the center board, drill (1) hole center on the bottom on one side of the board and then (2) on the bottom of the opposite side, evenly spaced, measured 2" in from the end of the board.
-
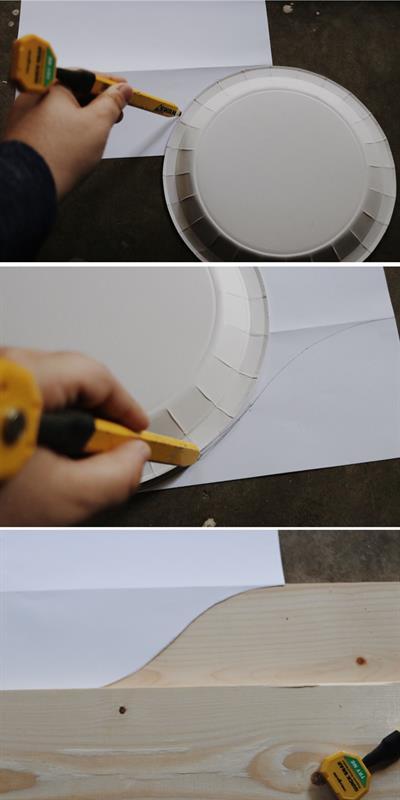
Step 3:
Draw out the template for the curve of your handle. I did this by using a standard paper plate and printer paper. Placing the plate on the center of my paper template, I traced one side of the plate 3/4 of the way down the paper and then flipped the plate to the opposite side of the line and finished tracing. Once you have your curve traced onto your paper template, cut it out and trace onto the center board (20-1/4" x 8") of your project. Once traced, you are then ready to cut using a jigsaw or band saw.
-
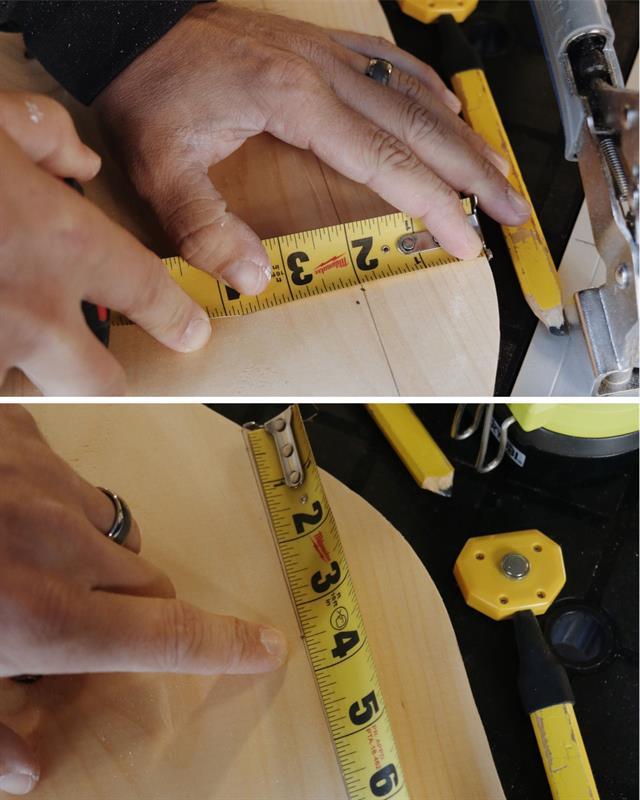
Step 4:
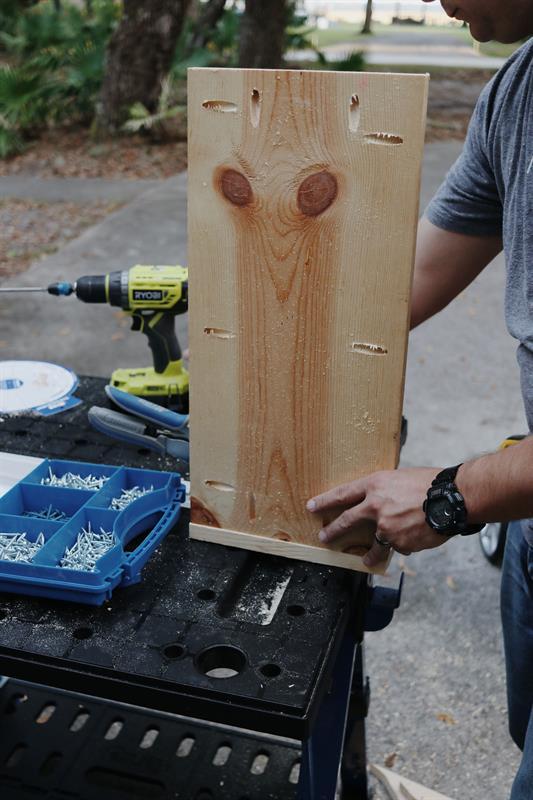
After the curve on the center board is cut, measure out the handle of your tool box by measuring 2" down from the top of your board and 3-1/2" in from the edge of the curve and make a mark. This is where you will place the center of your hole dozer bit next.
-
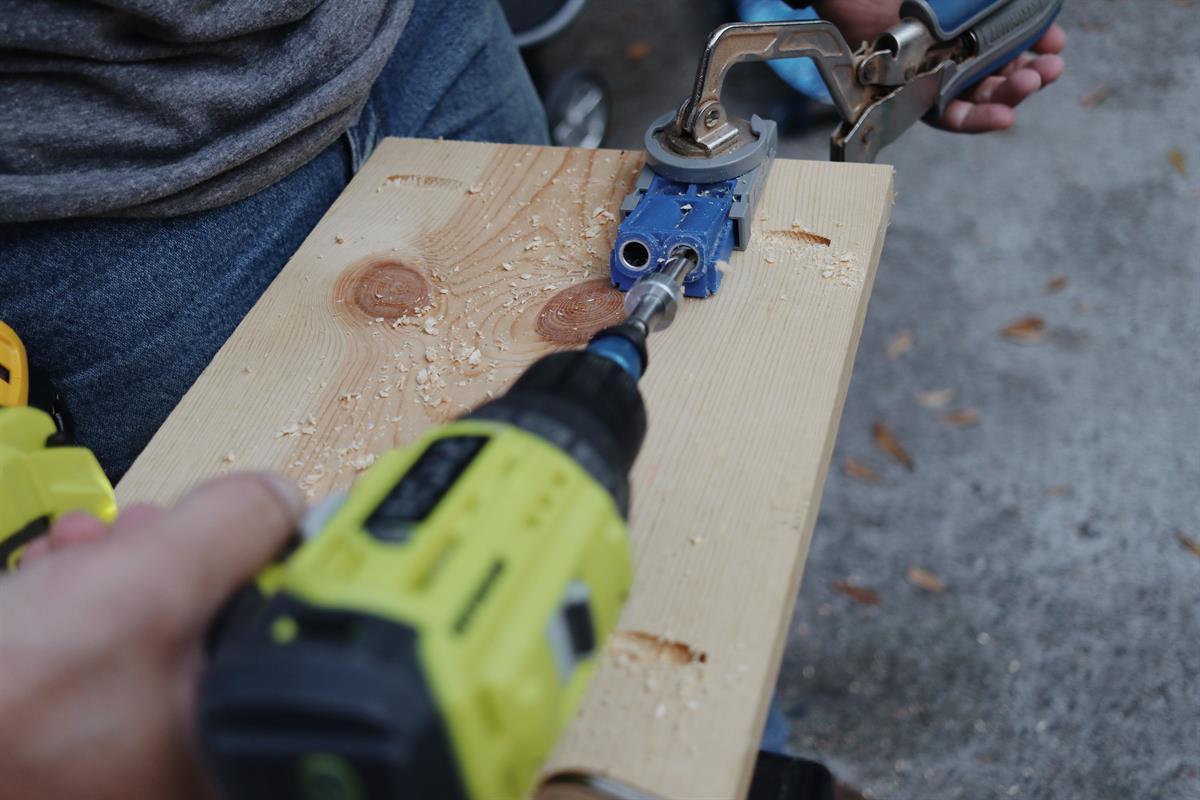
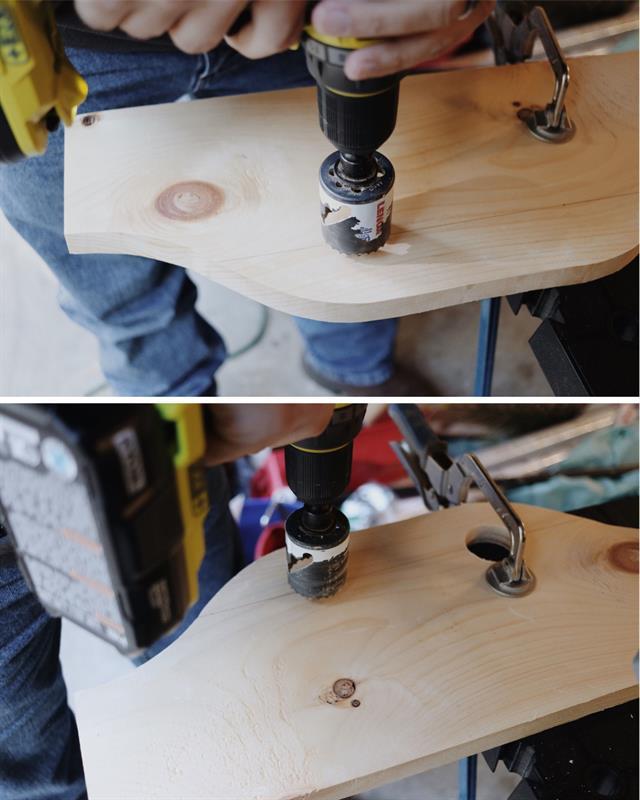
Step 5:
Place the center of your 1-3/4" hole dozer saw bit on the dots that you just marked out and drill each hole.
-
Step 6:
After drilling your two holes, draw a straight line connecting the two holes on each side then use your jigsaw to cut on that line.

-
Step 7:
Begin attaching the two shortest sides of your tool box using 1-1/4" Kreg screws.
-
Step 8:
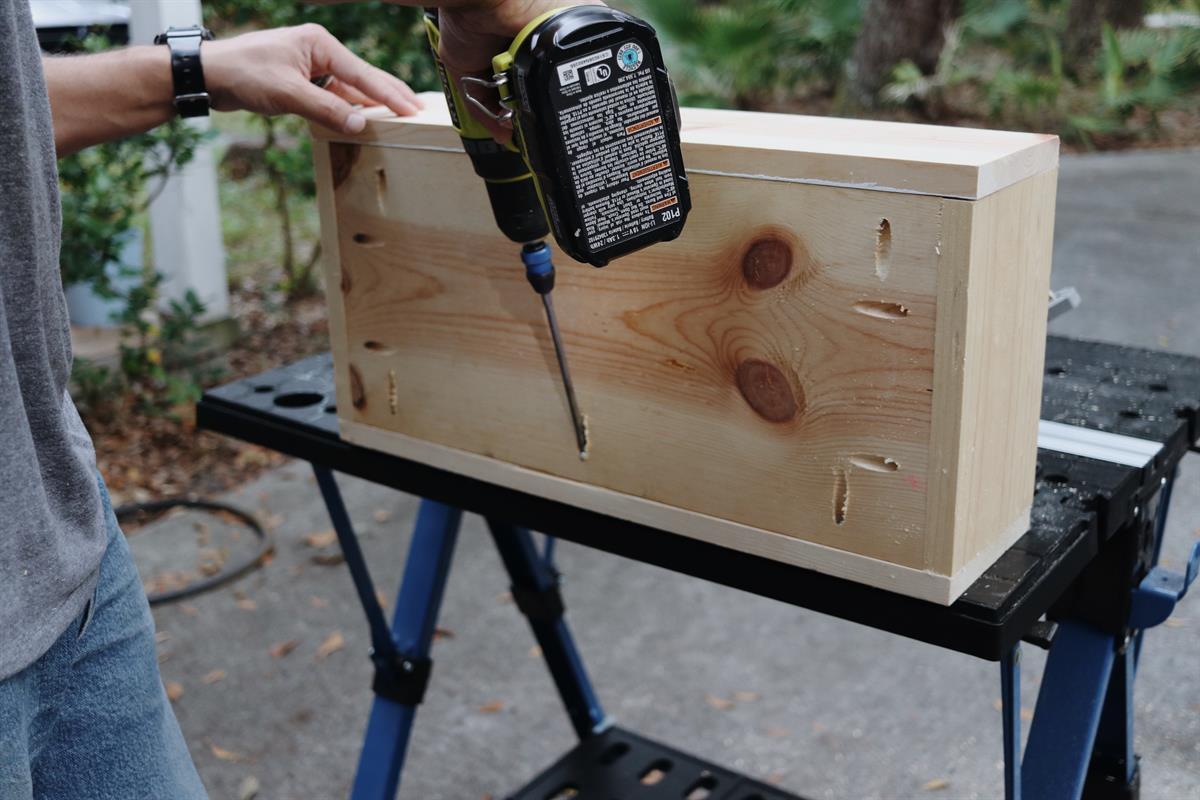
Next, attach the two longest sides of your tool box using 1-1/4" Kreg screws.
-
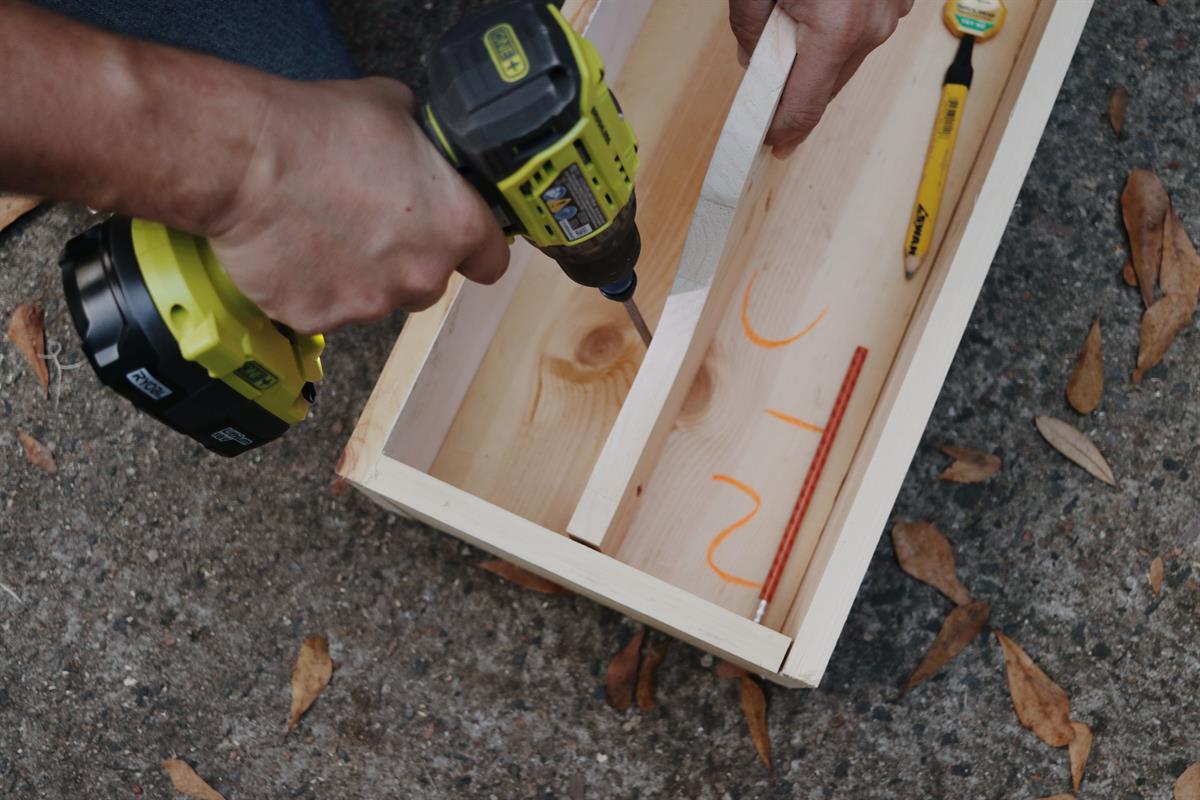
Step 9:
Lastly, attach the center handle to the bottom board of your tool box using 1-1/4" Kreg screws. Once all sides and center are in place, finish it off by shooting a few 1-1/2" brad nails using your brad nailer into the corners where the side boards meet to secure.
-
Finish It Off:
For a finishing touch, paint or stain the tool box the color of your choice and personalize! I used my Silhouette Cameo machine to design and cut out a vinyl template to place on the wood, then paint. Lastly, we added the kid's hand prints so that Grandpa would always be reminded of his little helping hands.
While this may be simple and classic compared to all of the new tool organizers with fancy features, this one was made with love!
