


*Updated!* Build a simple yet creative tablesaw outfeed and assembly table using pocket holes, 2×4’s , and plywood/mdf. This offers so much storage if you build cabinets, or shelves underneath. This was a much needed work surface for my shop! Check out our Youtube video of the building process!
Tools
Kreg Tools


Other Tools
-
Circular Saw (corded)

-
Jigsaw
-
Jointer
-
Miter Saw
-
Table Saw
-
Tape Measure
-
Track Saw
-
Thickness Planer
-
Drill (cordless)
-
Nail Gun
-
-
Router
-
-
-
Sander
-
Materials
Wood Products
- 3 MDF , 3/4" Thick , Full Sheet
- 1 MDF , 1/2" Thick , Full Sheet
- 3 Board , 1x3 , 96"
- 8 Board , 2x4 , 96"
Hardware & Supplies
- 2 Concealed Hinges
- 10 14 inch drawer slides
- 5 Door Handles
- 3 3' T Track
- 2 2' T Track
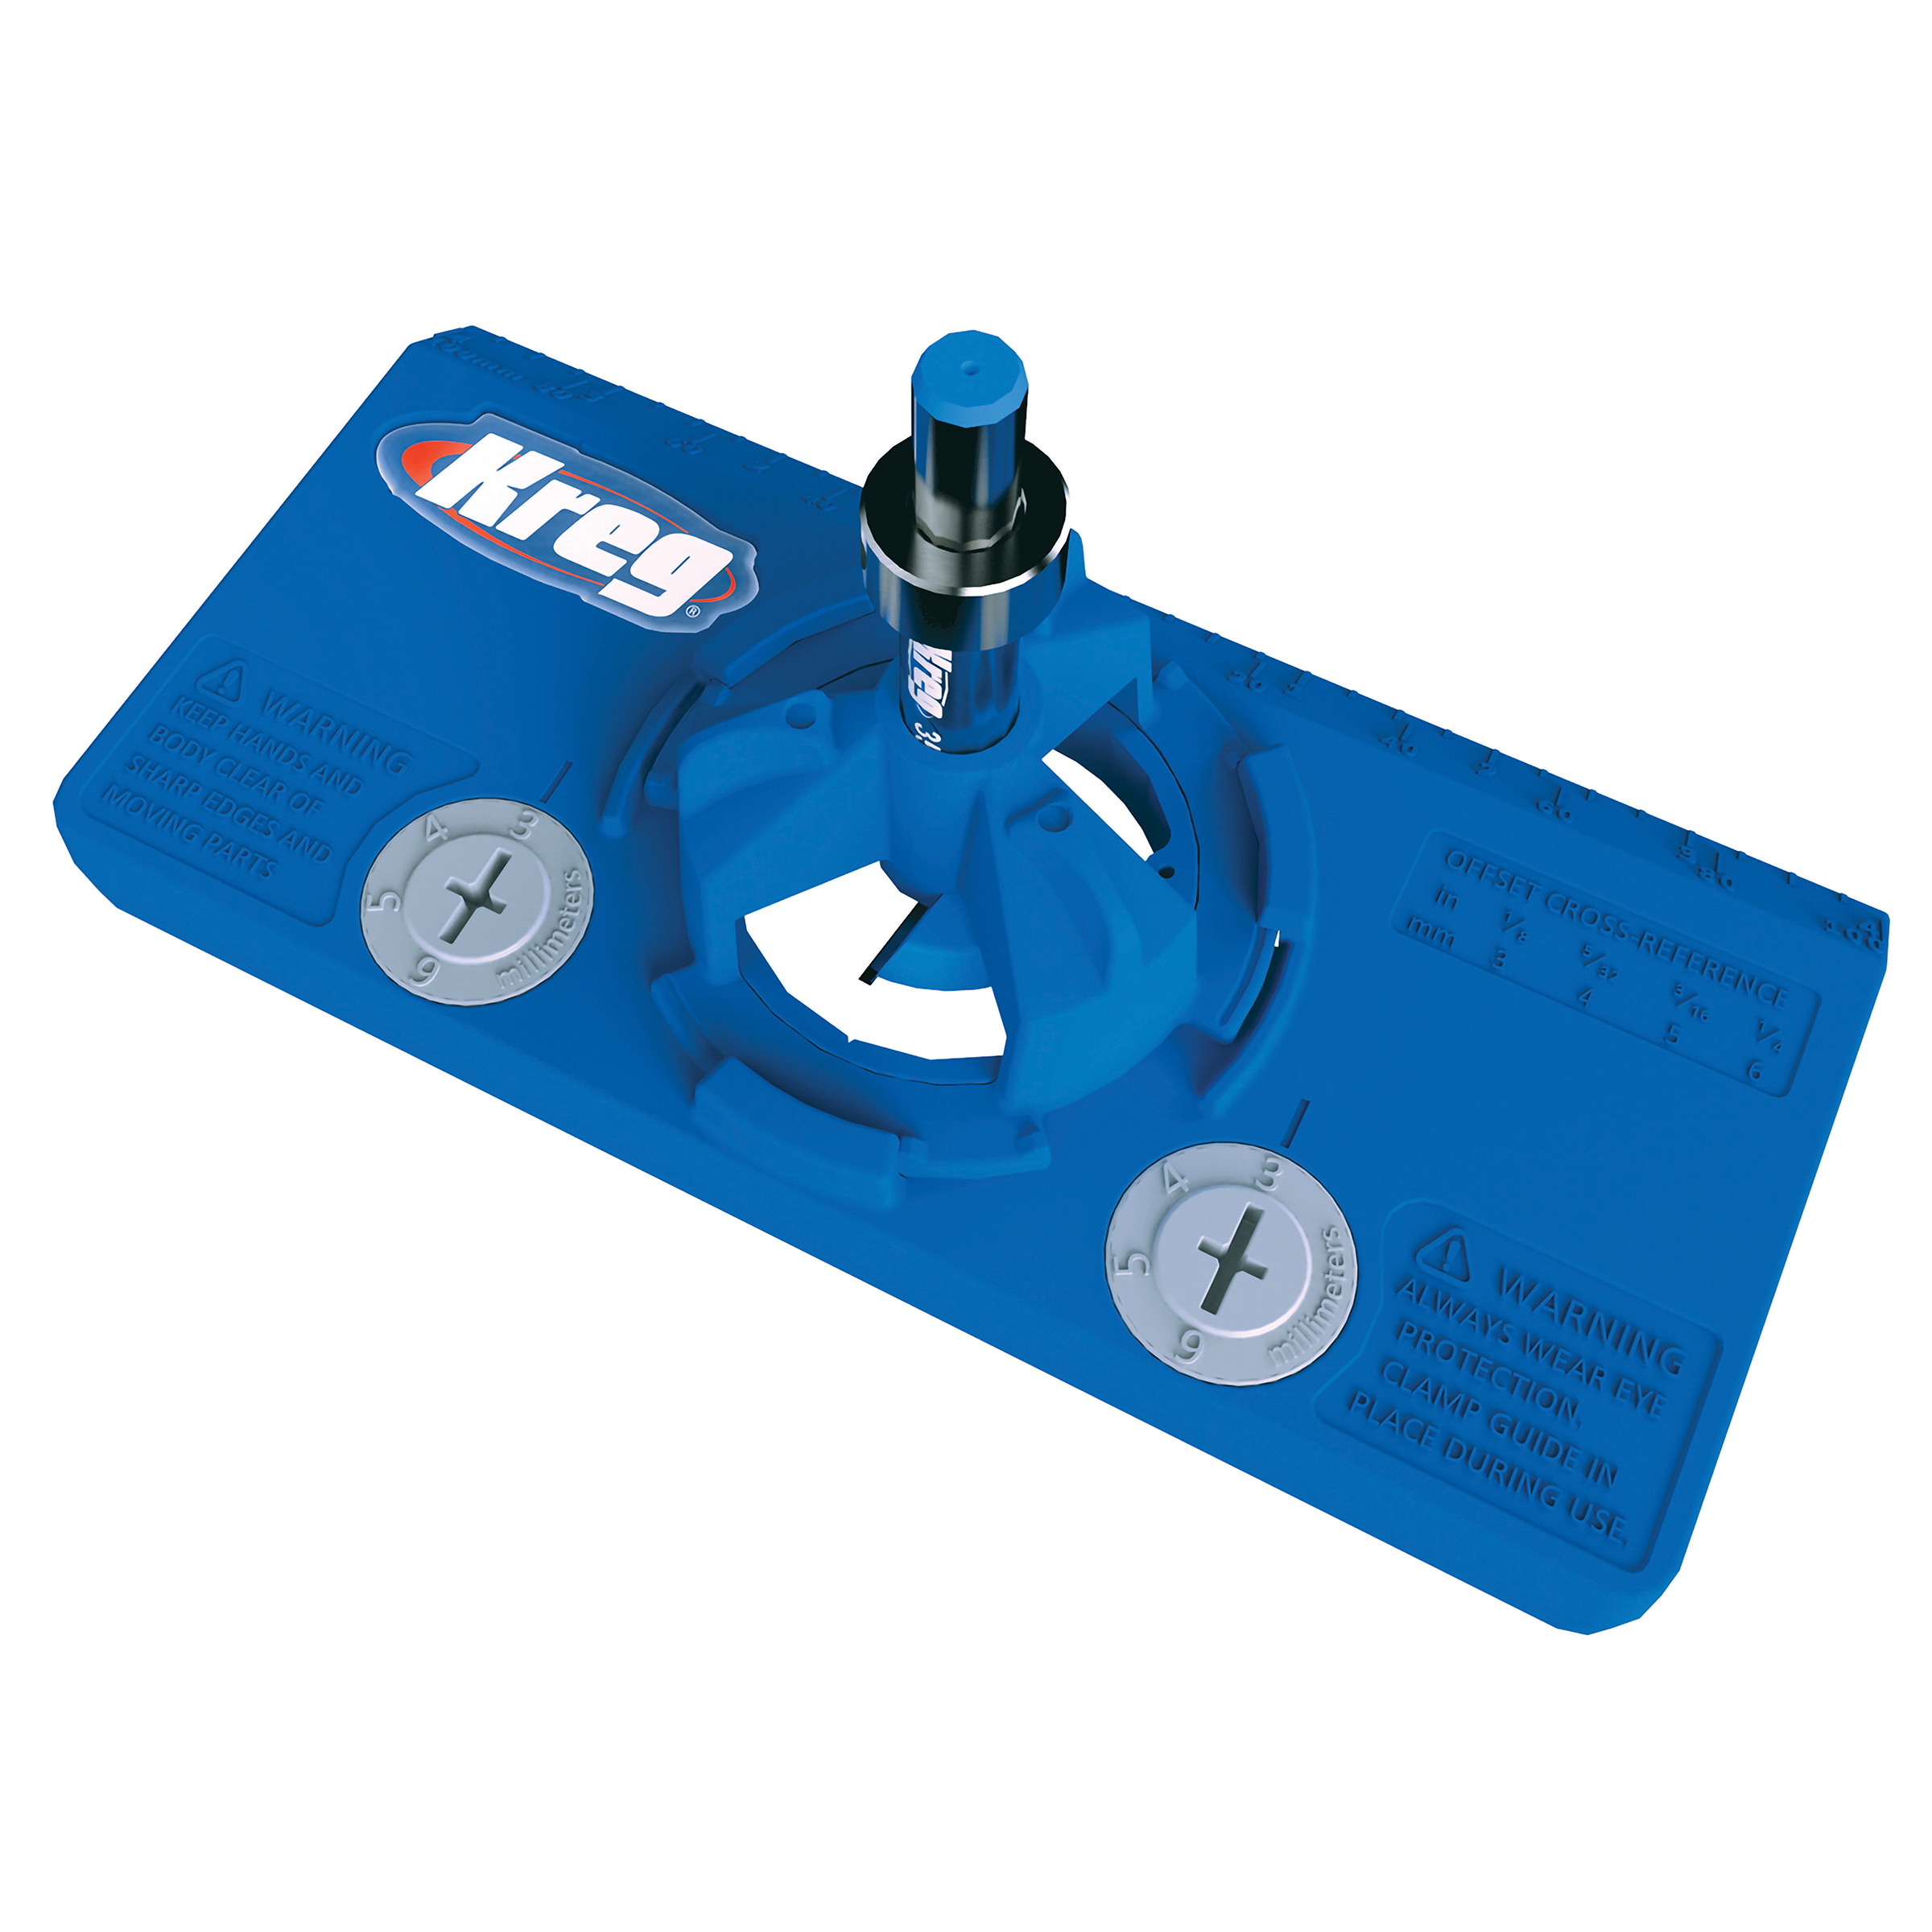
- 1 Kreg Router Plate
- 1 Box of 2" Kreg Screws
- 1 Box of 1 1/4" Kreg Screws
- 1 Bottle of Glue
Directions
-
Milling the Lumber
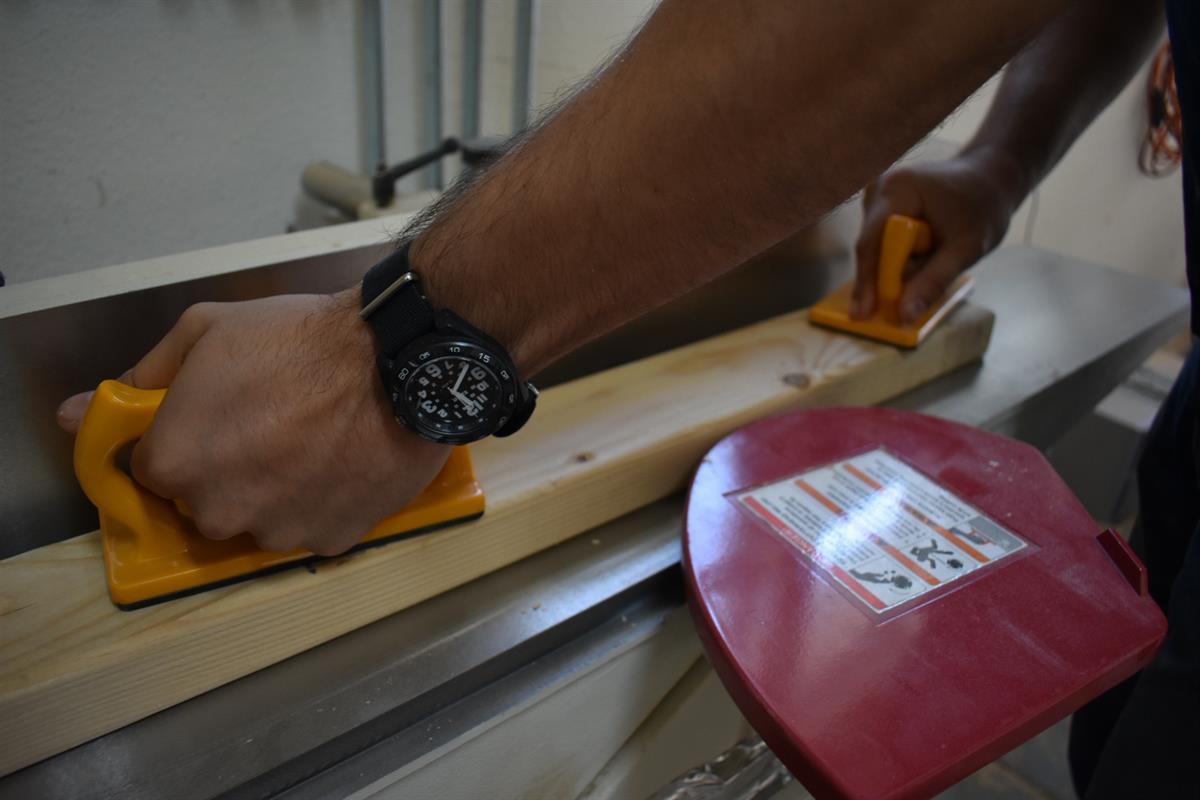
This step is very important in my building process! I start every project the same way. Milling the lumber ensures for flat and square edges on the wood. This helps with the alignment and joinery to connect securely.
I know a jointer is not something everyone will have, so one way to joint the faces of the wood is to run it through a planer using a technique called "skip planing" and for the edges, using a table saw or router to rip or joint one edge.
-
Milling cont.
The 2x4s from the big box store are not a true 2 inch by 4 inch. They come 1 1/2 inches by 3 1/2 inches. After I was done with my milling process I was able to mill the wood to a thickness of 1 3/8 inches and with a width of 3 inches. My process of milling starts at the jointer, to get a flat face on one side. Once that is achieved, reference the flat side of the wood on the jointer fence and run the wood on edge to get a perfect 90 degree corner. I then move over to the table saw and with the squared edge rip to width. In this case its 3 inches. The last step is run the wood through the planer to complete the surfacing on the fourth side. After the wood is all milled up its now called "s4s": surfaced four sides.
-
Cutting the Aprons
Once the milling process is complete move on to cutting the parts for the table legs. Start with the aprons. Cut two (2) boards at 34 inches long . This will be the top piece of the leg assembly. Optional cut a 60 degree champer on the corners. This is not necessary, this was done for esthetics.
-
Cutting the Legs to Size
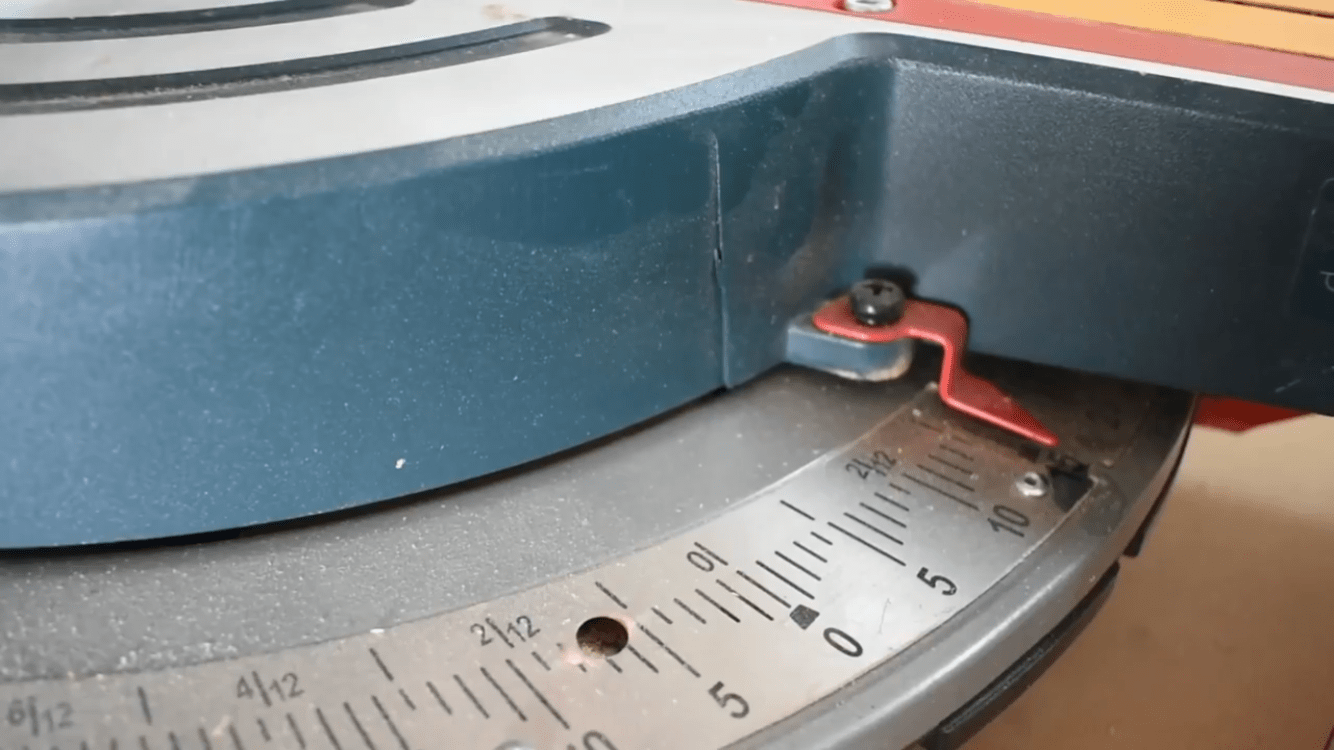
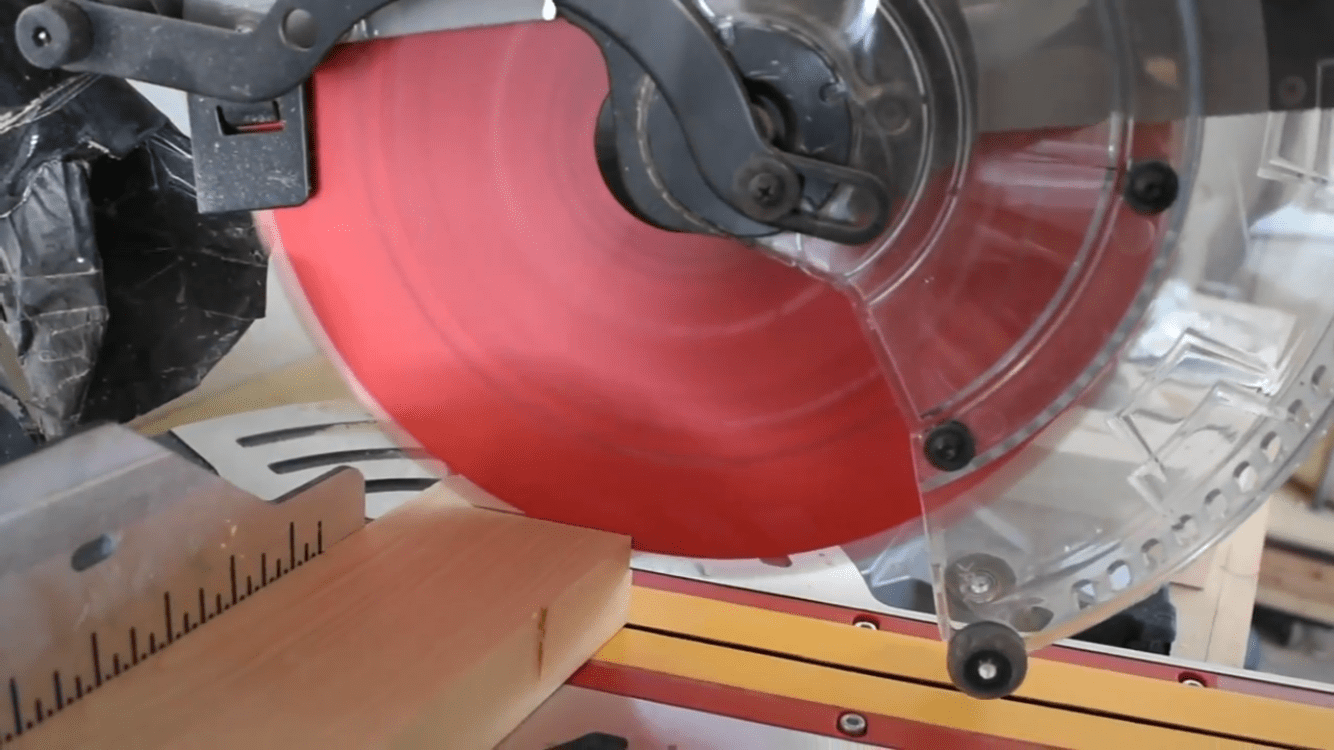
Cut four (4) boards at 30 inches mitered at 15 degrees on my miter saw. These will be the vertical legs. Note: The miters are parallel to their opposite end.
*The leg length will vary depending on how thick you make your table top and the height of your table saw.*
-
Cutting the Stretcher
Last part of the leg assembly is to cut the stretchers. Cut two(2) boards at 28 inches. Note: the miters on this will be cut perpendicular to its opposite end. The length of this cut will depend on how high the bottom stretcher will lay on the leg assembly. As well as how far apart the vertical legs will be splayed apart. Now we can move on to the joinery!
-
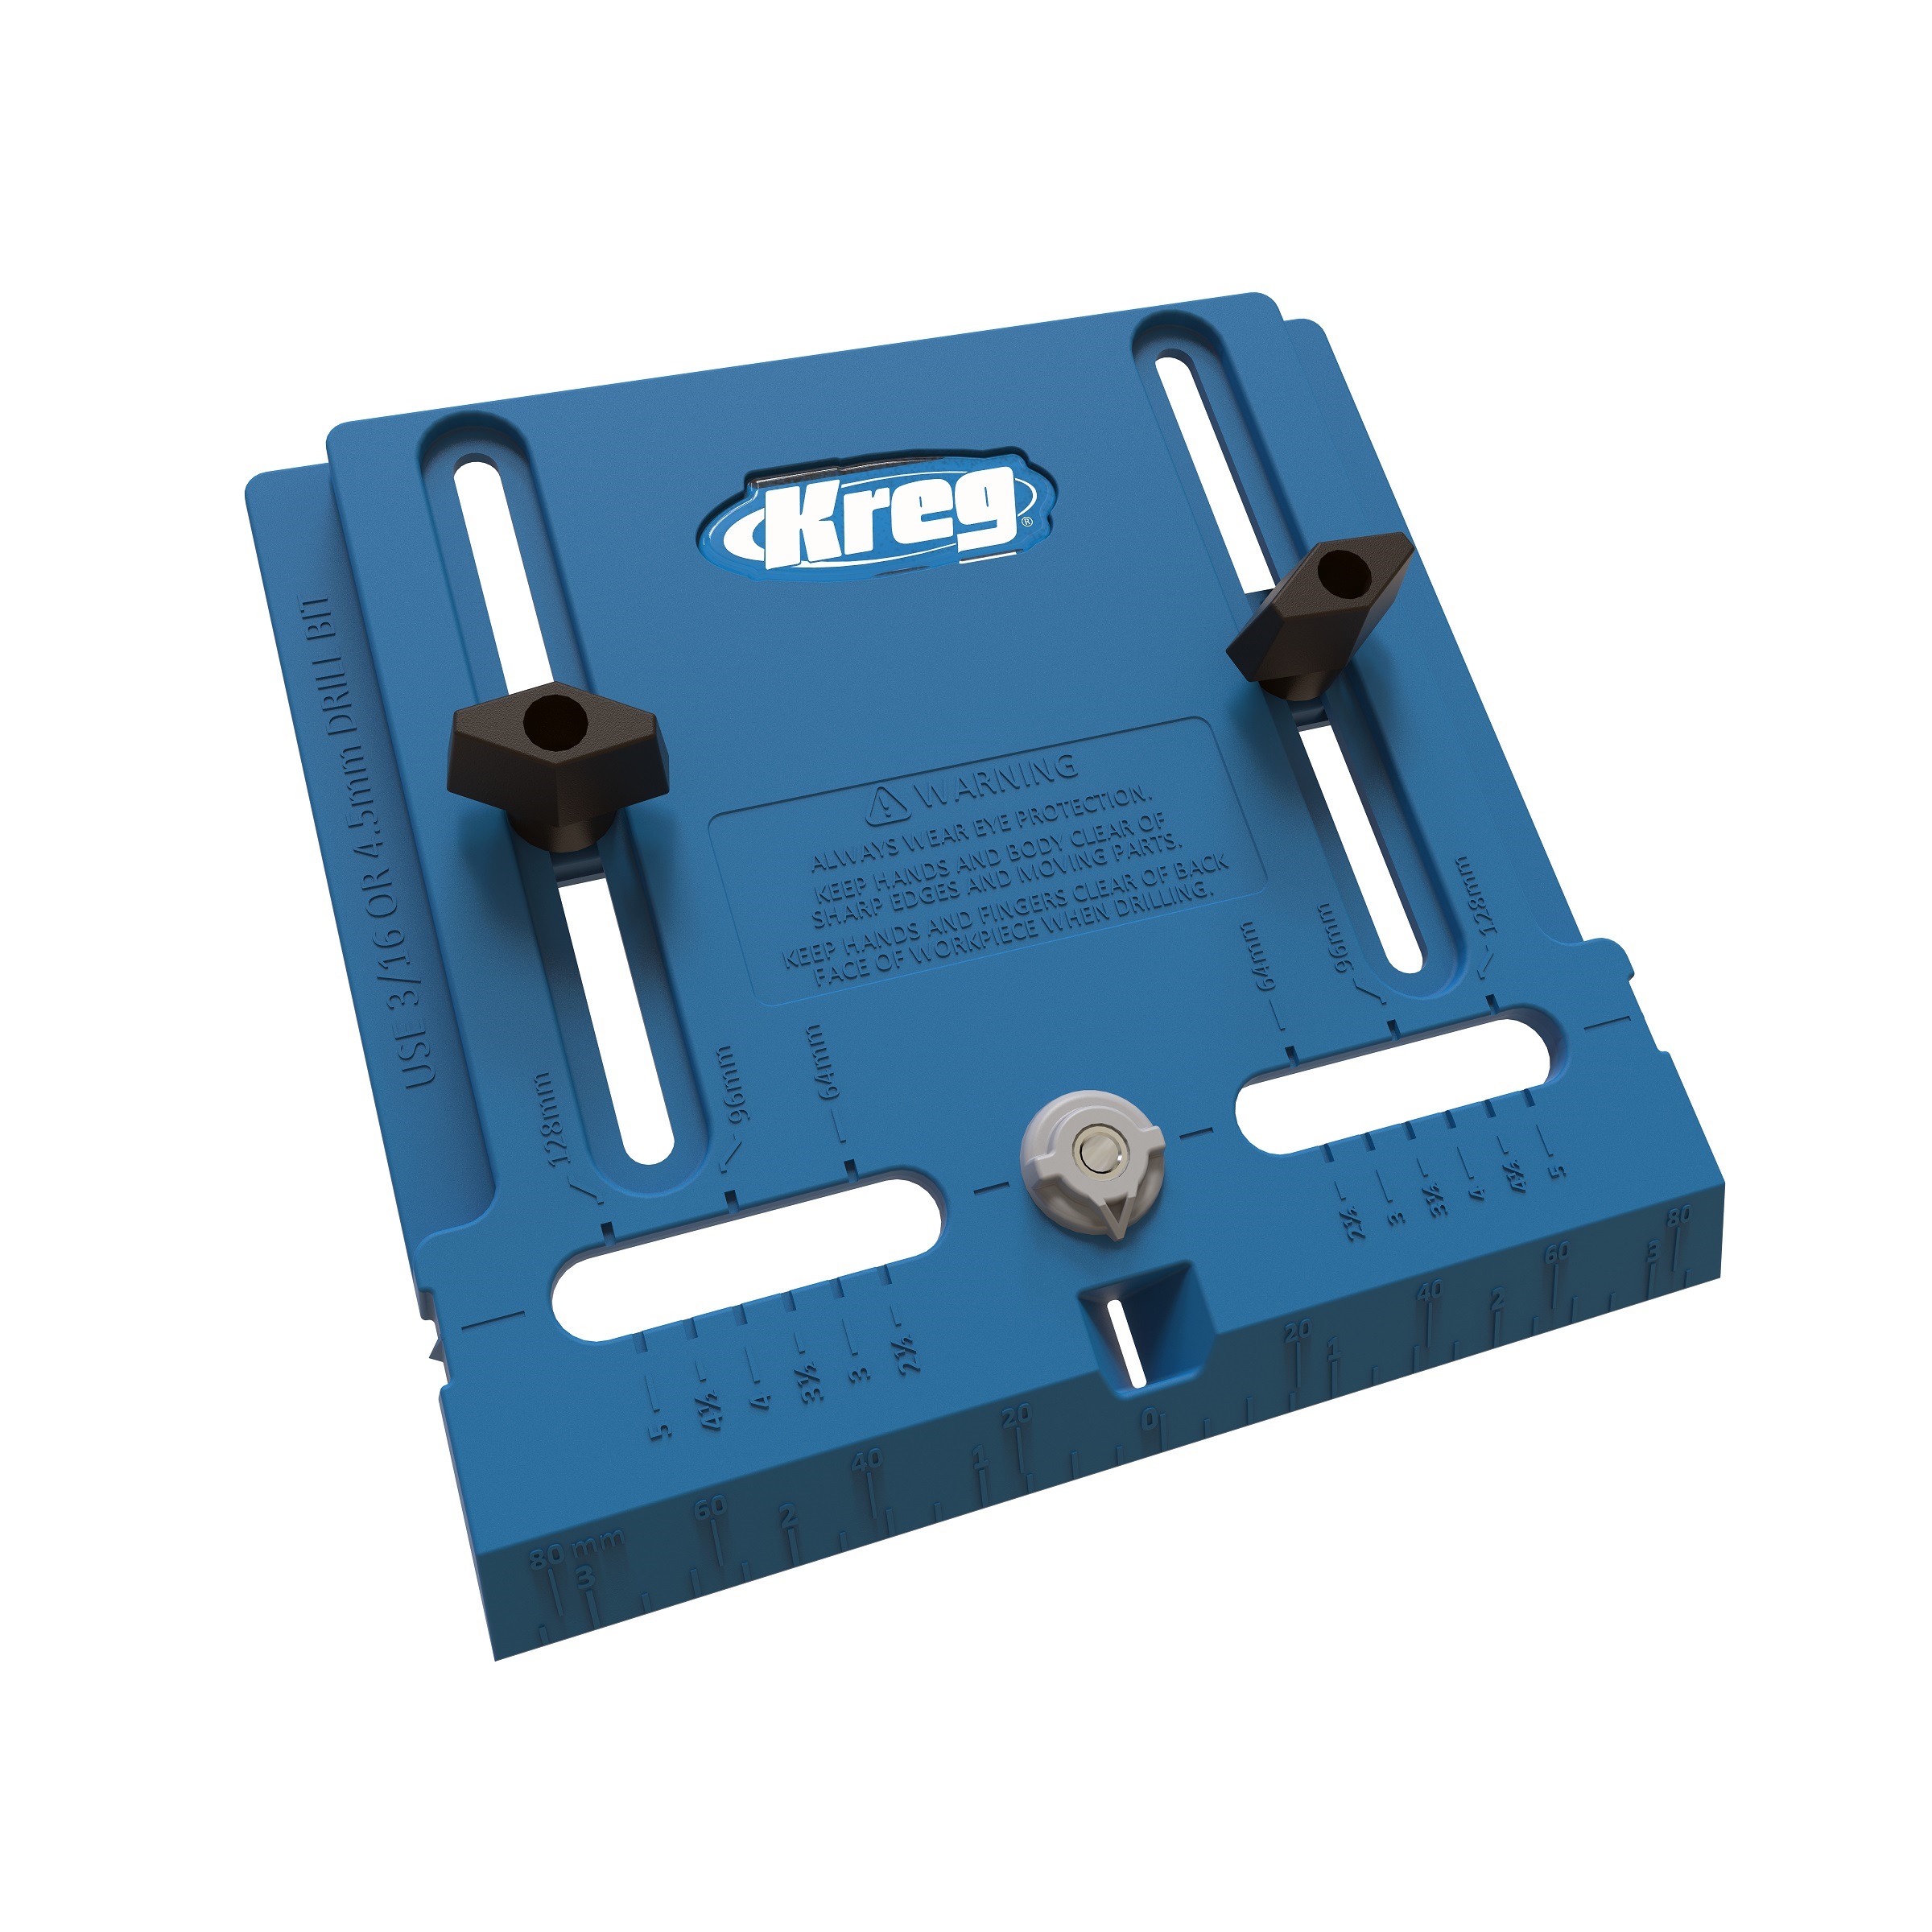
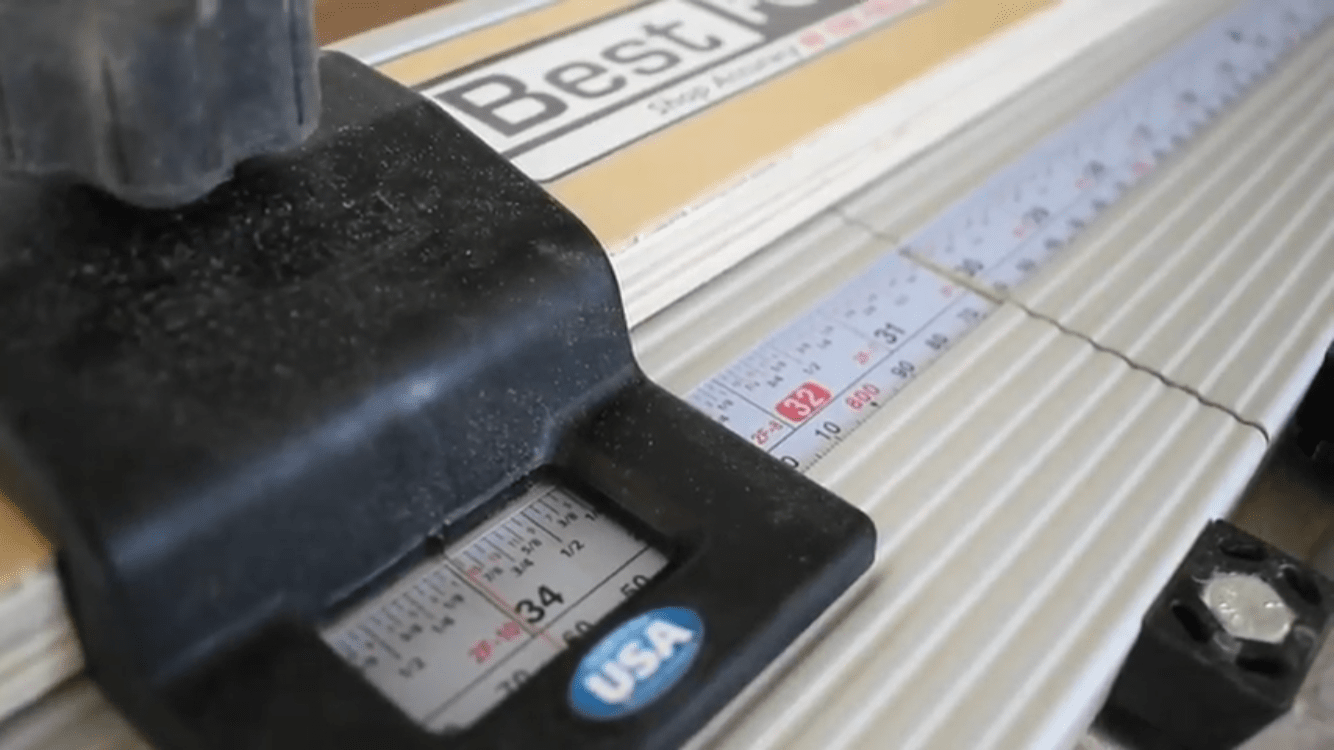
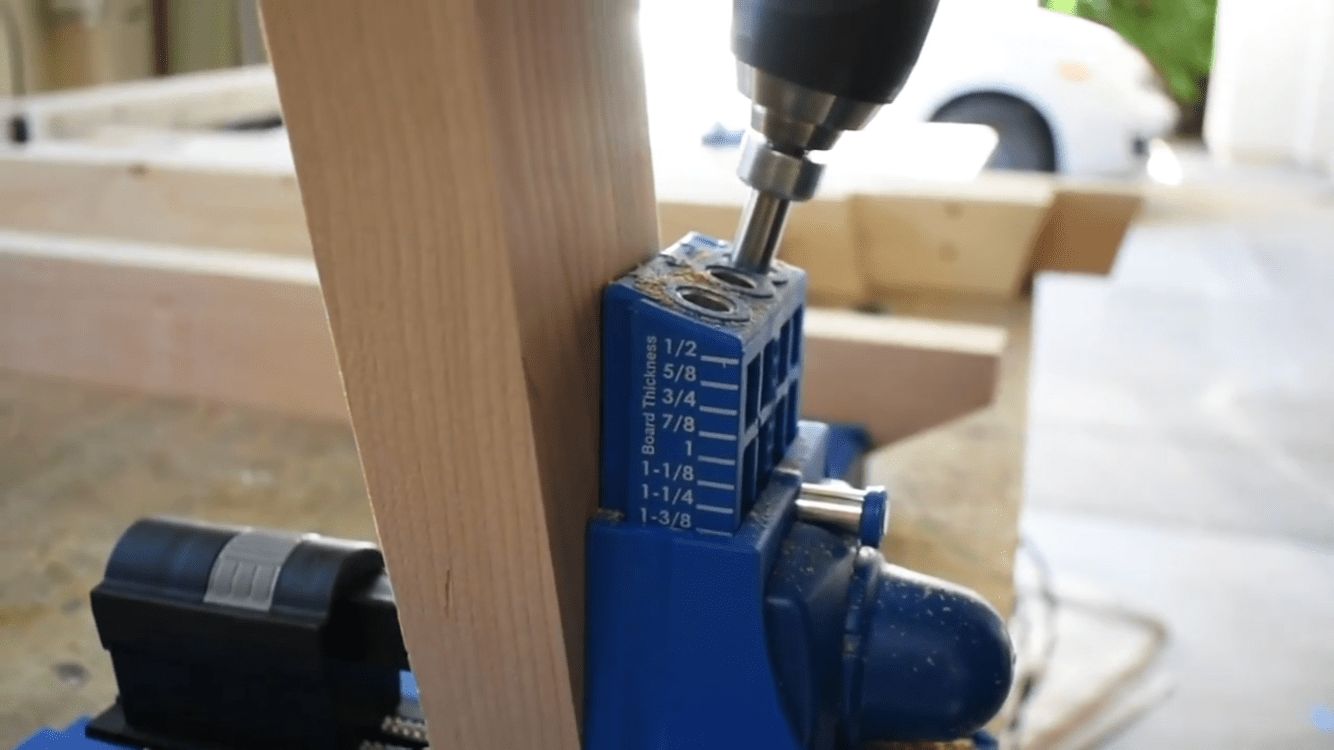
Pocket Hole Jig
At this point, the leg parts have been cut out and are ready for the pocket holes to connect them together! Mark on what will be the inside of the assembly table so you know where you will be drilling the pocket holes. This will ensure the outside faces to have a clean look. In the picture you can see the jig is set at 1 3/8 inches because that is the thickness of the boards that were milled in steps 1 and 2. If you don't mill your lumber or come out to a different thickness be sure to set the Kreg Pocket Hole Jig to the appropriate board thickness.
-
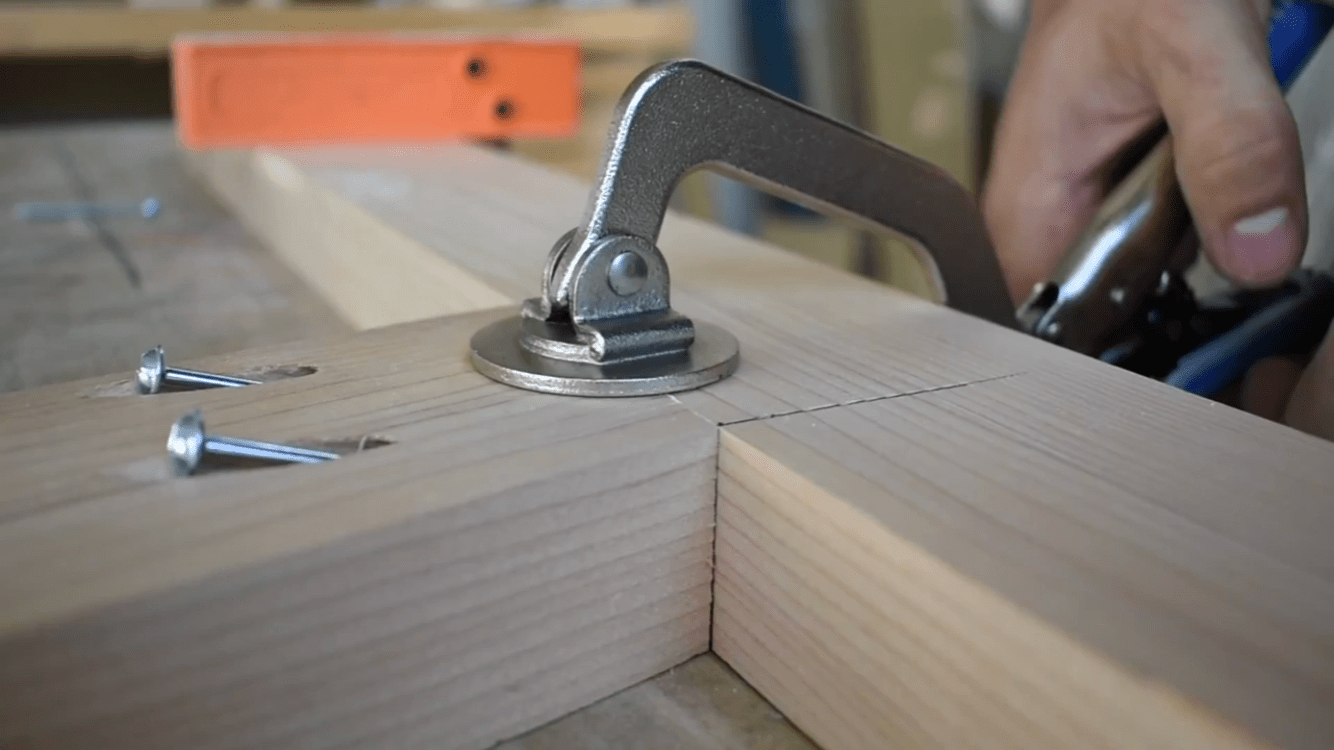
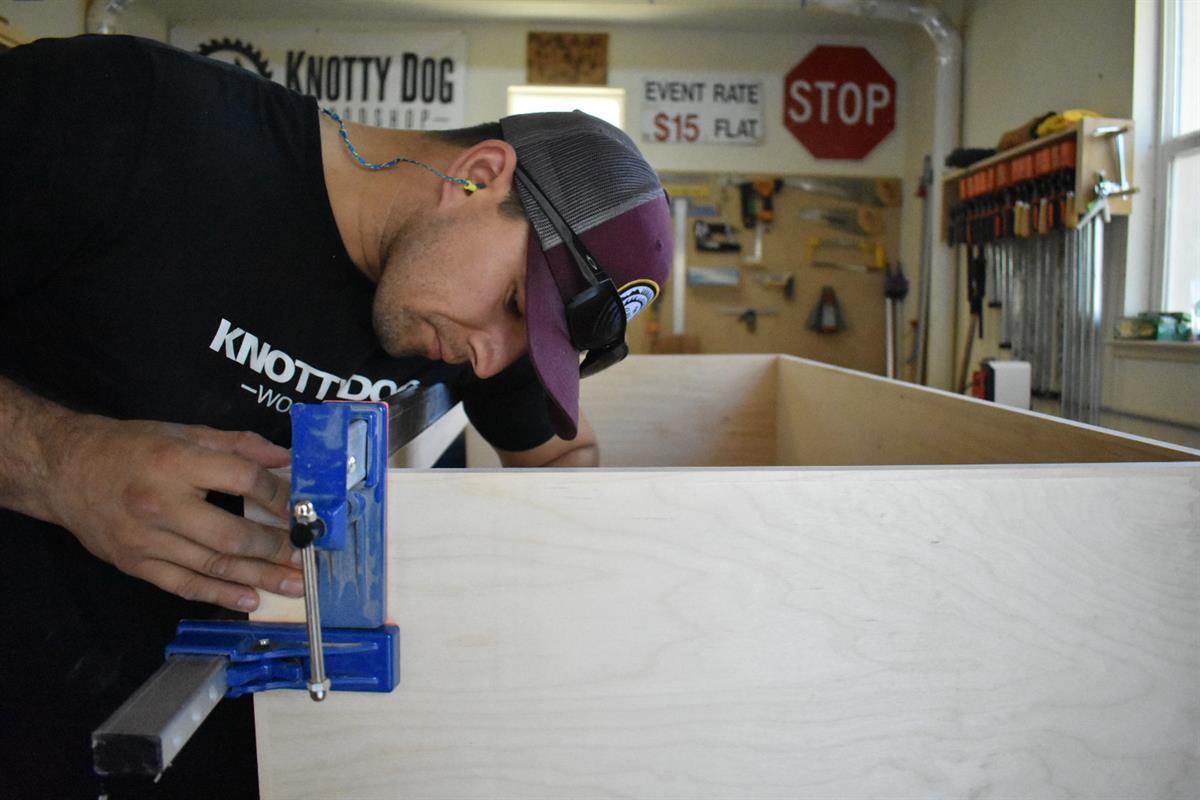
Attaching the Legs to the Apron
Mark 7 1/2 inches in from the end of the apron and align the legs inside of that mark. Use glue and screws with the help of the Kreg Clamps to make the pocket hole screws line up easier. Once the legs are attached to the top apron, connect the stretcher using glue and screws.
-
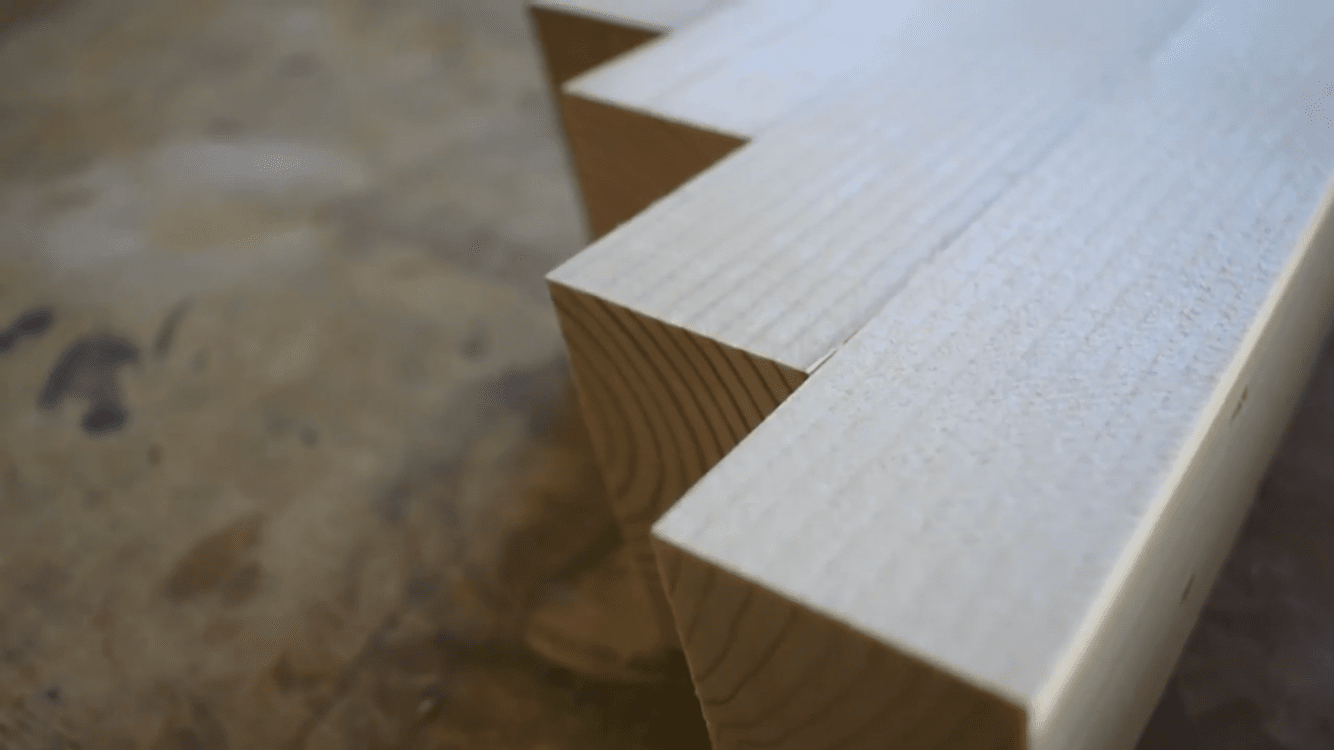
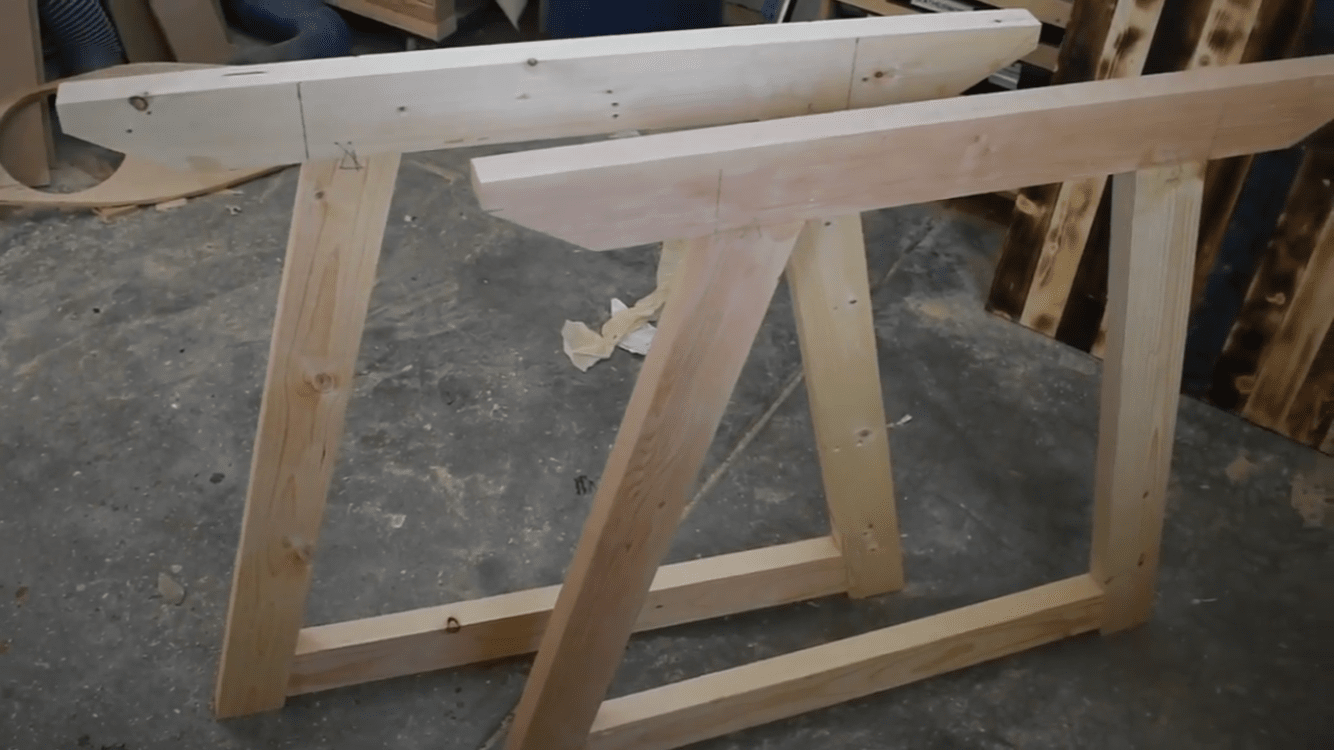
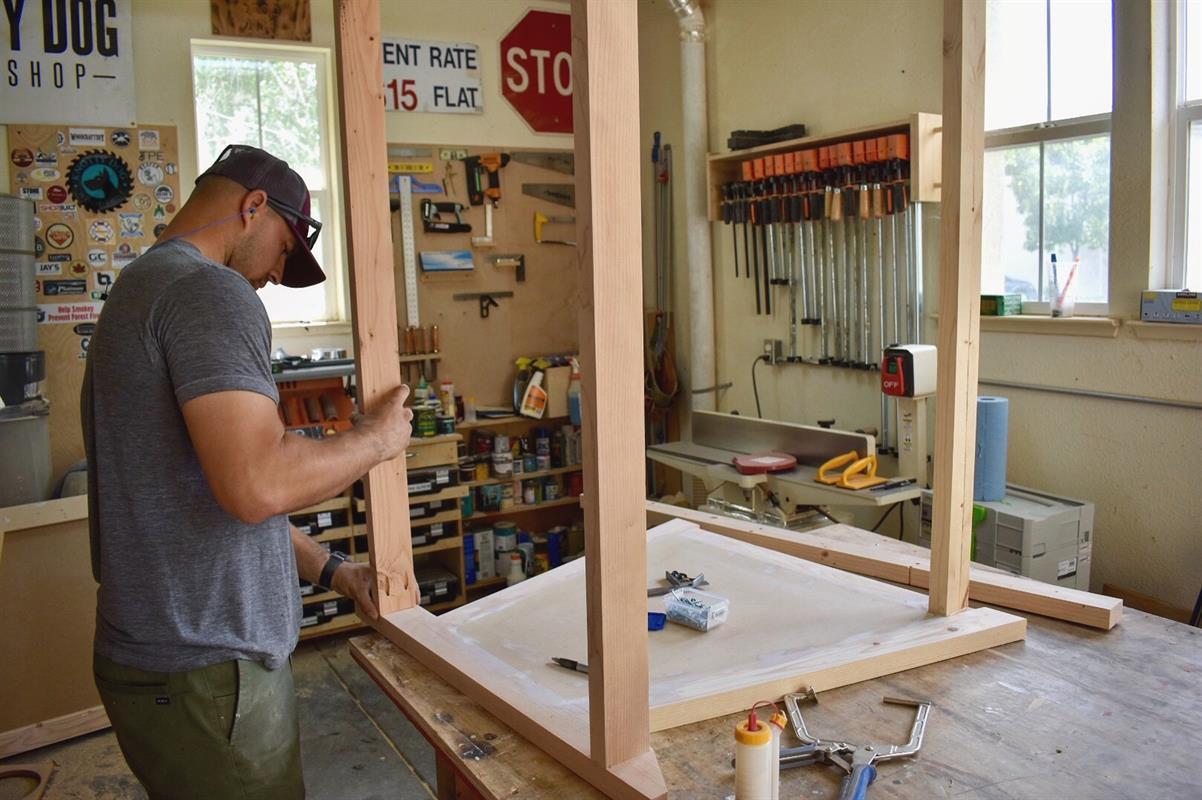
Legs Assembled
At this point the legs should be assembled and will look like the picture in this step.
-
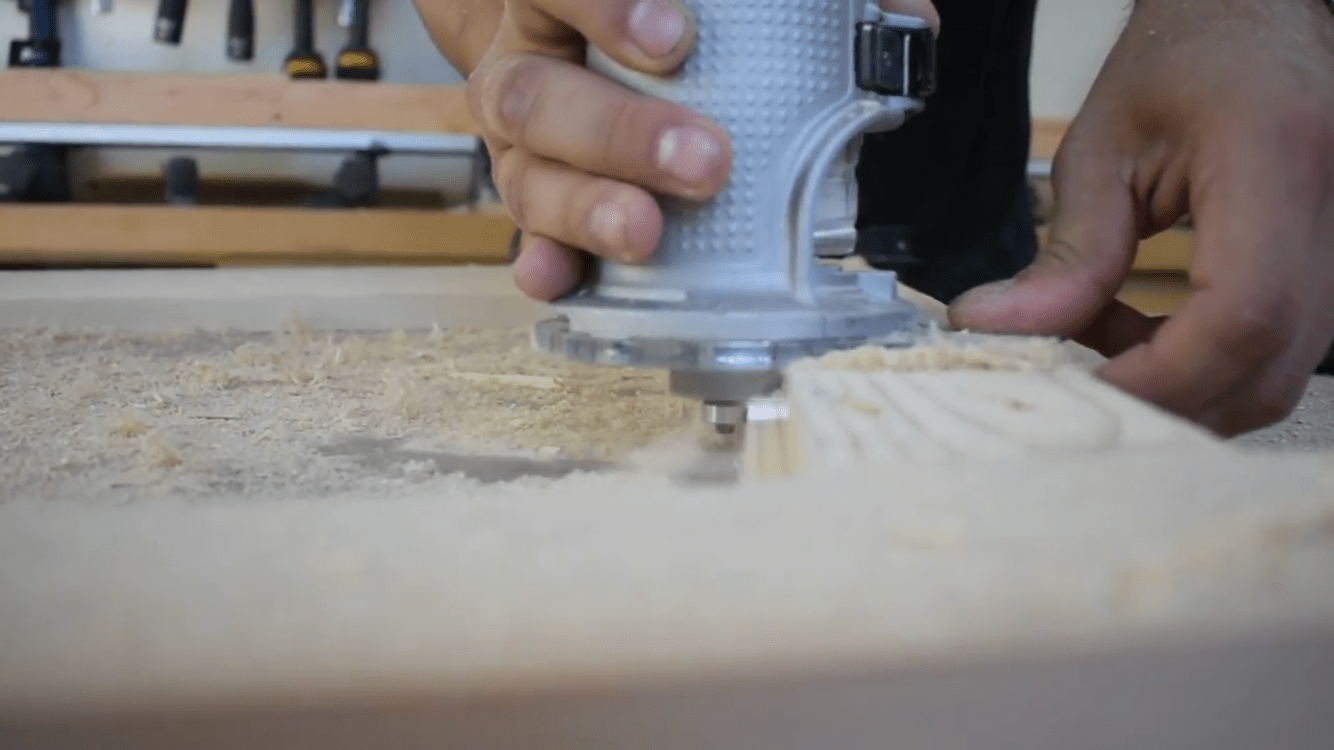
Routing the Inside of the Legs
I wanted to have a 1/2 inch MDF panel on the inside of the legs. The panel will add more weight to the assembly table and also cover the backside of the cabinets that will be housed under the table top. Using a rabbeting bit in a trim router, rout the inside of the leg assembly. The router bit will leave a rounded edge at the corners where the legs, apron and stretcher meet, so its your decision if you want to square up the corners with a chisel or round the panel corners once they are cut.
-
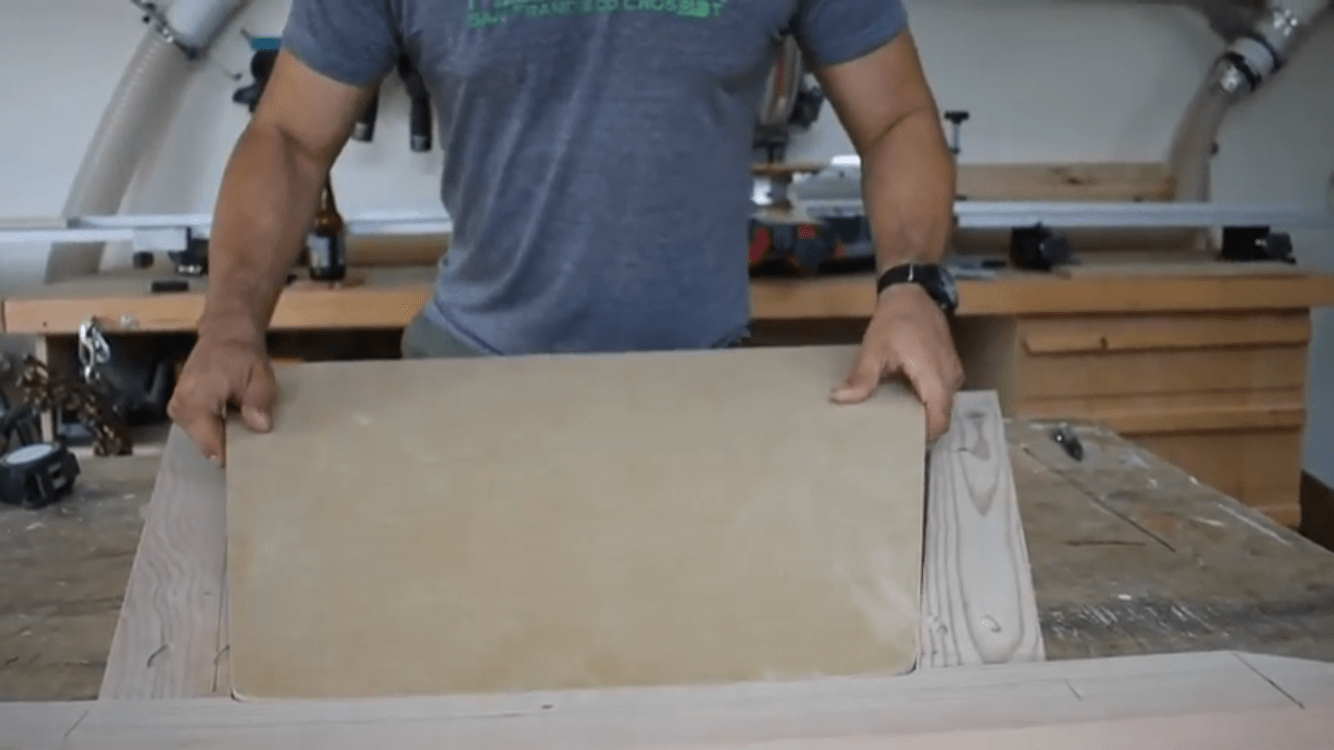
Measuring for the Panel
After the inside of the legs were routed, set up for cutting the 1/2 mdf panel to size. Measure the widest part, which was the base of the leg assembly to get the width. From the center of both the stretcher and apron I was able to get the height needed. Cut the two panels using a table saw. A circular saw and a straight edge would work just the same. To get the angle for the taper use a speed square.
-
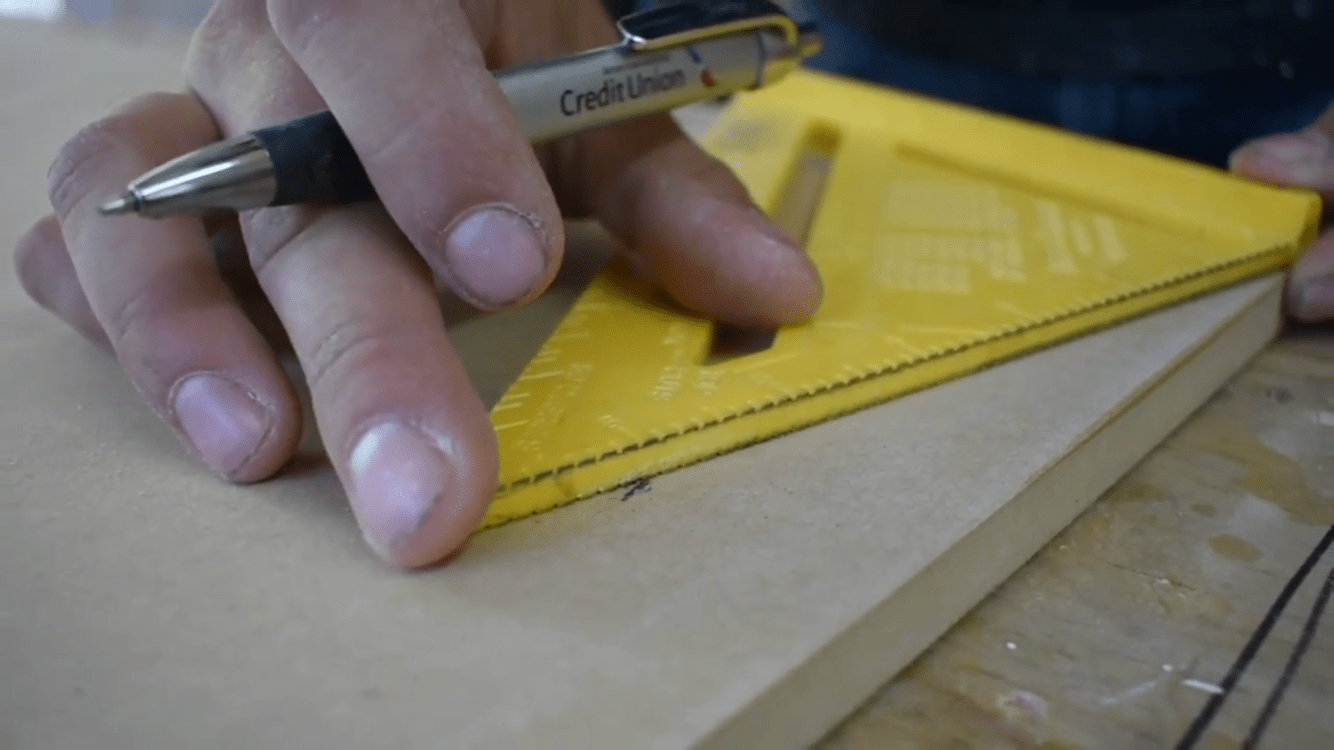
Speed Square
To get the angle for the panel, place the square flush to one corner and mark the 75 degree angle. Pivot the speed square and strike a line connecting the the 75 degree mark just made to the corner that was pivot on the square. This will give you the correct angle for a circular saw and a straight edge to cut the panel out.
-
Secure the Panel
With the panel cut I secure the panel with glue and brad nails. If don't have a brad nailer, a few small screws would work just the same. Just make sure they are small enough to not show through to the other side. I knew I would be painting the assembly table so if there were any gaps, I was going to fill them with a product called Bondo auto body filler.
-
Fill the Gaps and Holes
To fill the gaps and holes from the nails I used Bondo Auto Body Filler. Its an awesome product but smells terrible, so wear your safety protection! Its very simple to apply, mix the filler and harder together and place it on the areas that need to be filled. Even out the Bondo so sanding will be much easier. This product sands very well and is awesome to paint over!

-
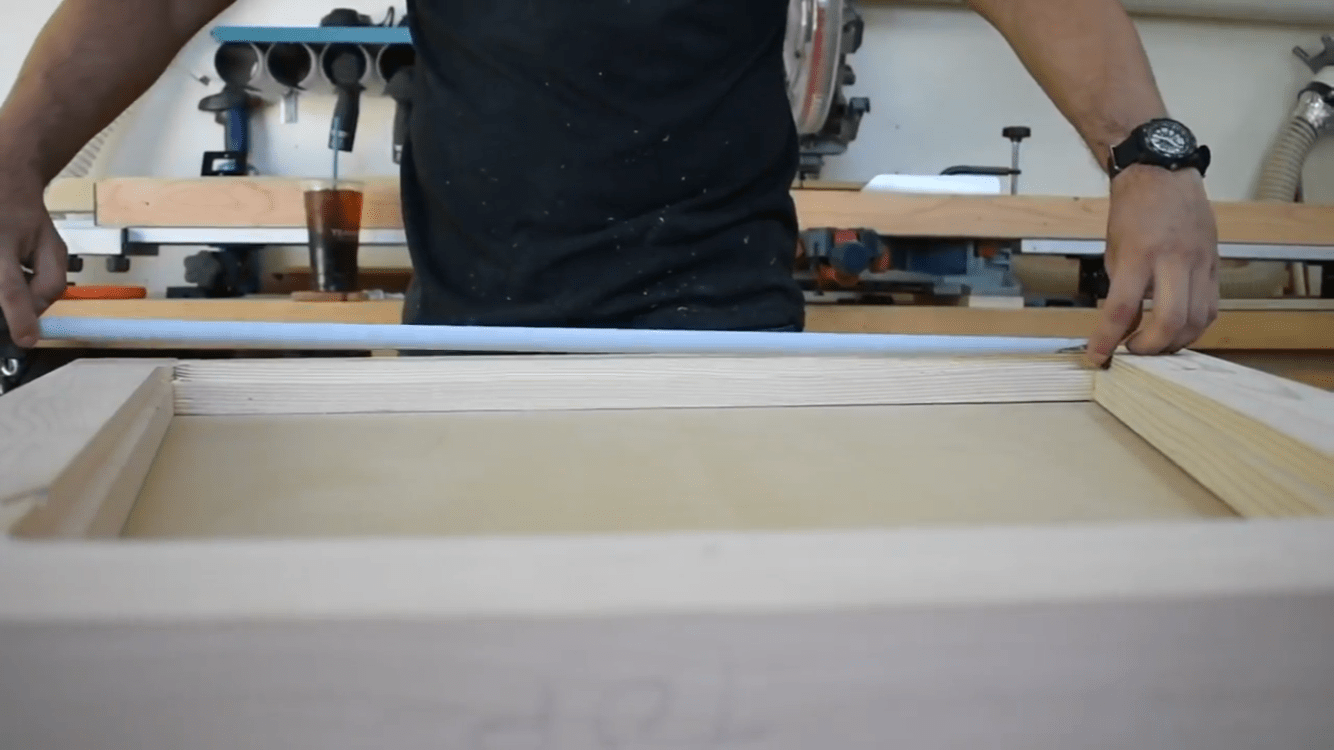
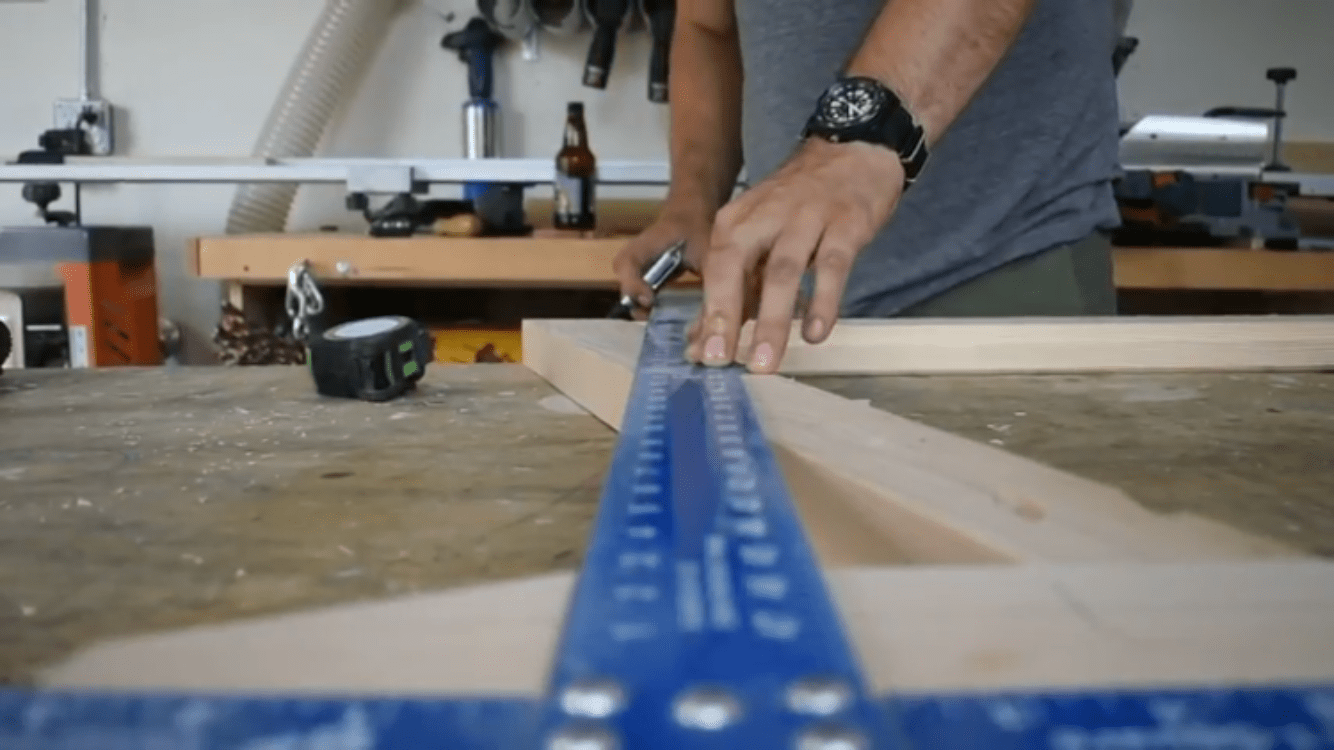
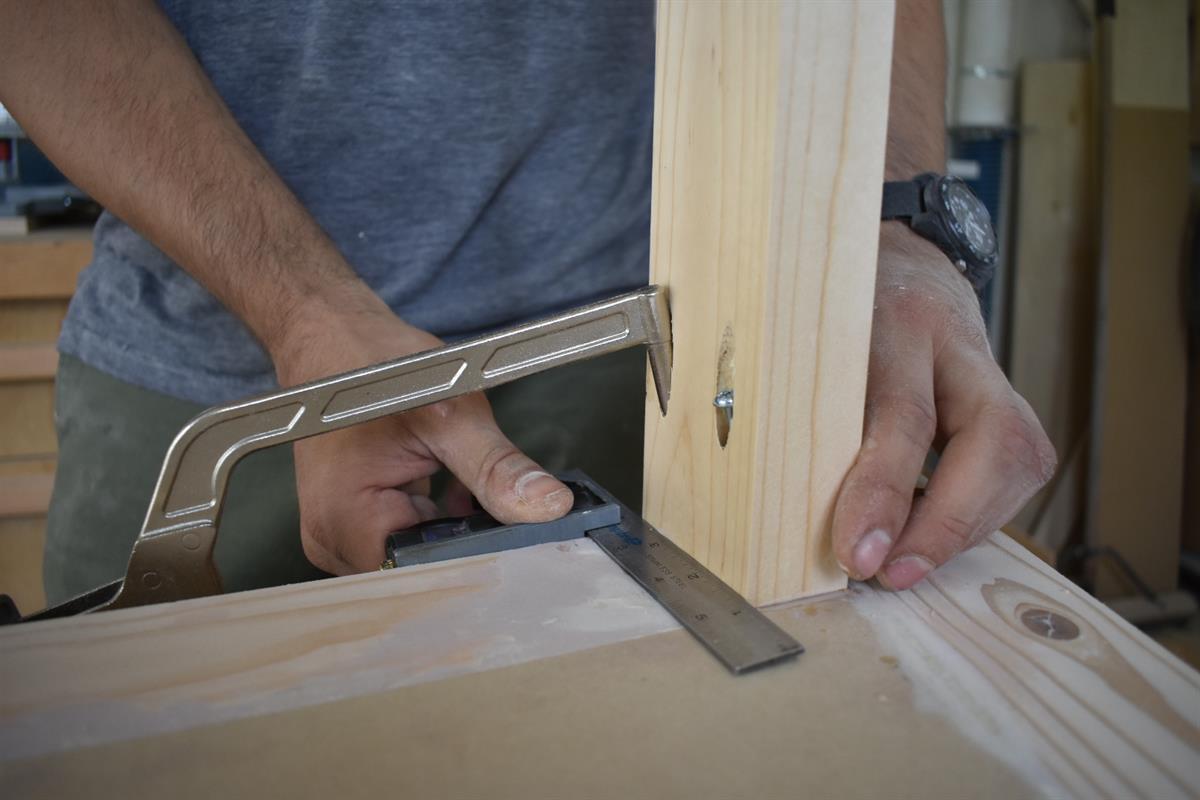
Prepare for the Support Frame
From the top of the apron measure in 3 1/2 inches. With a drywall frame square, square across the entire assembly, this will be where the support frames will be attached to the legs. The picture shows the way I used the square.
-
Cutting the Support Frames
Cut four(4) support frames at 53 1/4 inches. 2 for the top and 2 for the bottom. Cut four(4) cross stretchers. The cross stretchers were cut to size, measuring from the inside between the support frames closest to the leg assembly. If you measure from the center of the support frames the length might be bowed or curved in wards. The cross stretchers will prevent the inner frame work from bowing with the weight of the table top. You can cut more cross stretchers if you wish, If you are not going to be putting a cabinet inside I would recommend more support frames and an additional cross stretcher. This allowed me to secure the cabinets at the base to prevent racking. I highly recommend a set of cabinets or very minimum a heavy duty shelf.
-
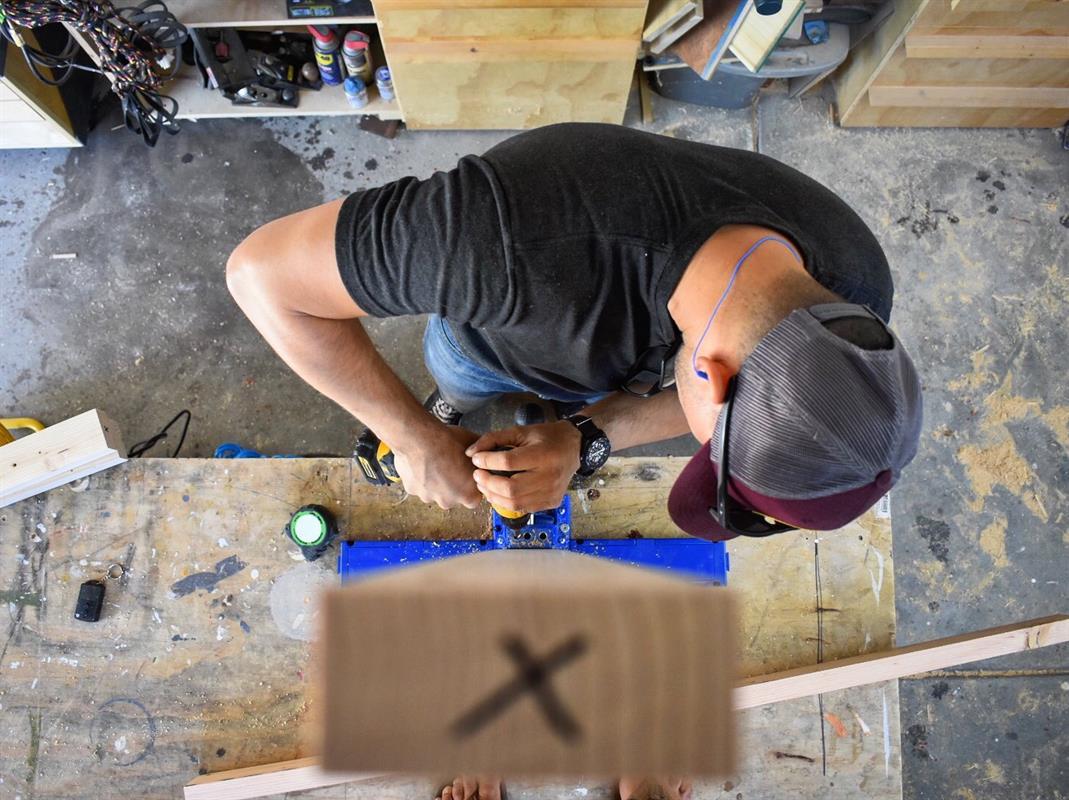
More Pocket Holes!
Pocket hole time, I love how simple this jig is for making quick and secure connections! I drilled the pockets on the ends of the support frames and cross stretchers. Two or three pocket hole screws will make a great connection!
-
Securing the Support Frame
With the aid of Kreg Right Angle Clamp and a combination square. Screw the support members to the leg assembly.
-
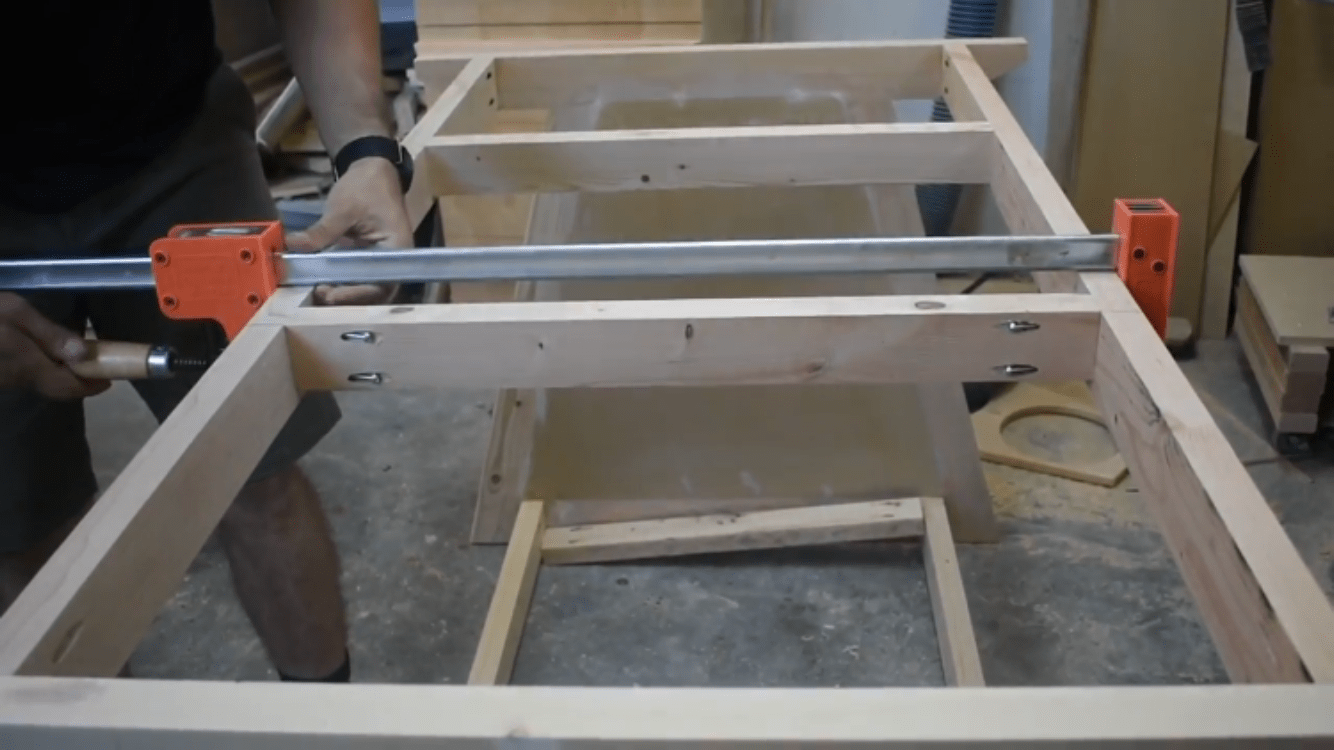
Fasten the Cross Members
With the legs standing upright, the cross members can be fastened with pocket hole screws. Use a large clamp to tighten the cross member before they are screwed together. The clamp helps because without it, the wood can move around.
-
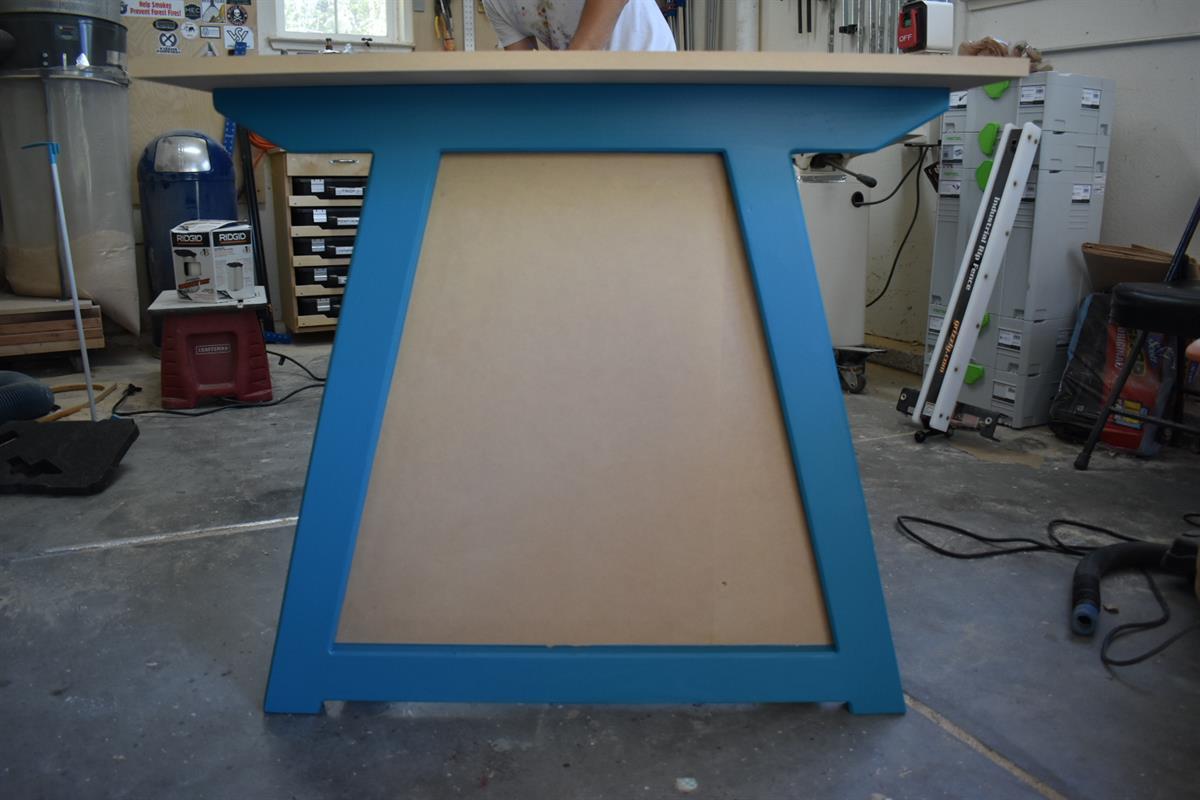
Paint! *Optional*
This is not something everyone will do but I decided to paint the legs and support frames. I figured if Im going to work in a creative space, I want it to feel creative! I masked off the MDF panel between the legs because I wanted a contrast from the paint and the MDF color. I was stoked on how it came out! With the base painted I could move onto the table top!
-
Top of Assembly Table
I used 2 sheets of 4'x8' MDF and 1 sheet of 4'x8' birch plywood to create the thickness I wanted for the table top. Cut the first sheet of MDF to 36 inches by 67 inches and secure it to the base. Make sure the first MDF sheet is square because the next sheet will be cut over sized so a flush trim bit in a router can trim it to the same size. Sandwich all three pieces together with screws. I wanted to have some clamping options on the side of the assembly table so I milled up some maple for the trim. Note: The top could be three sheets of MDF, you don't have to use a plywood sheet here. I just had an extra sheet of plywood hanging around the shop so I used it.
-
Dado for T track
With a table saw use a dado stack cut a 3/4 inch dado. This is where the t track will go. The trim was cut to fit the side of the table top, which was two(2) boards cut at 3/4 inch by 2 1/4 inches by 67 inches for the sides and two(2) boards cut 3/4 inch by 2 1/4 inches 37 1/2 inches for the front and back trim. A router with a edge guide or on a router table can make a dado just the same!
-
Top Trim
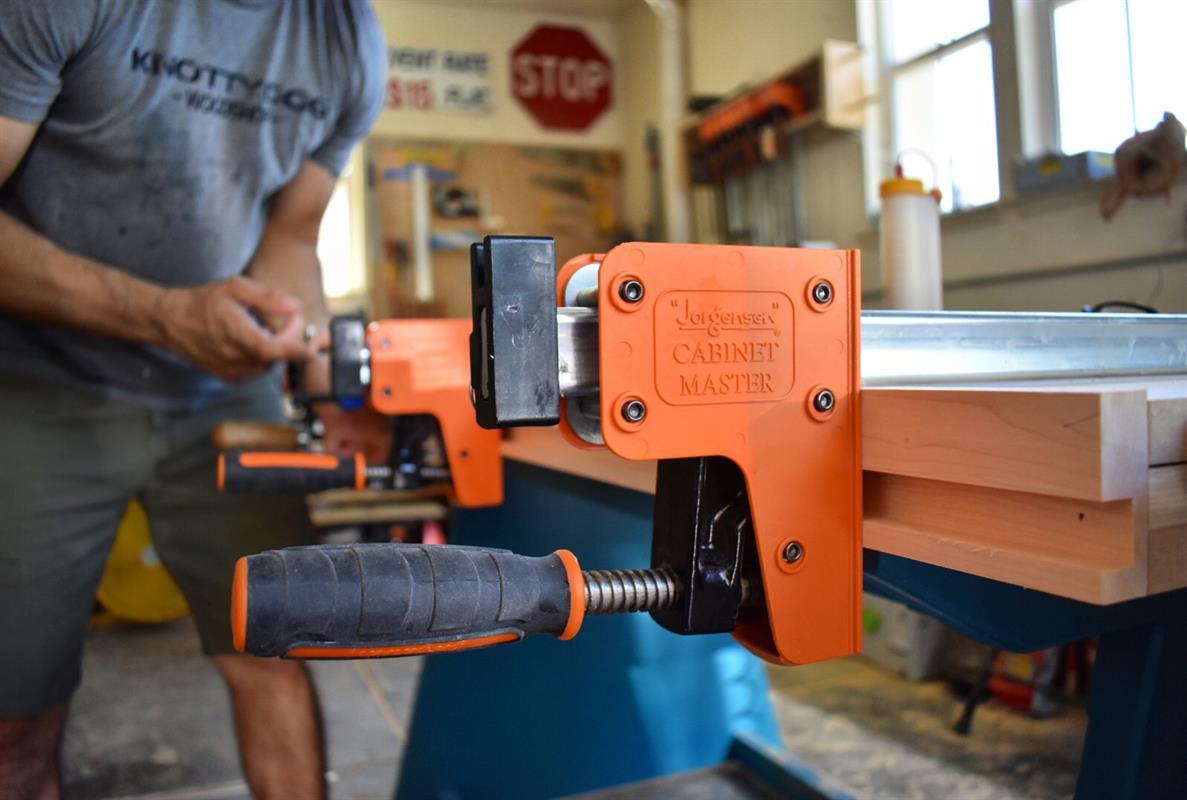
To dress up the edges of the table top attach the trim, that was recently dadoed, with glue and brad nails. Use long clamps to secure the edges so you can have the trim overlay just slightly proud of the table top so you can flush trim it with a router to make it perfectly even.
-
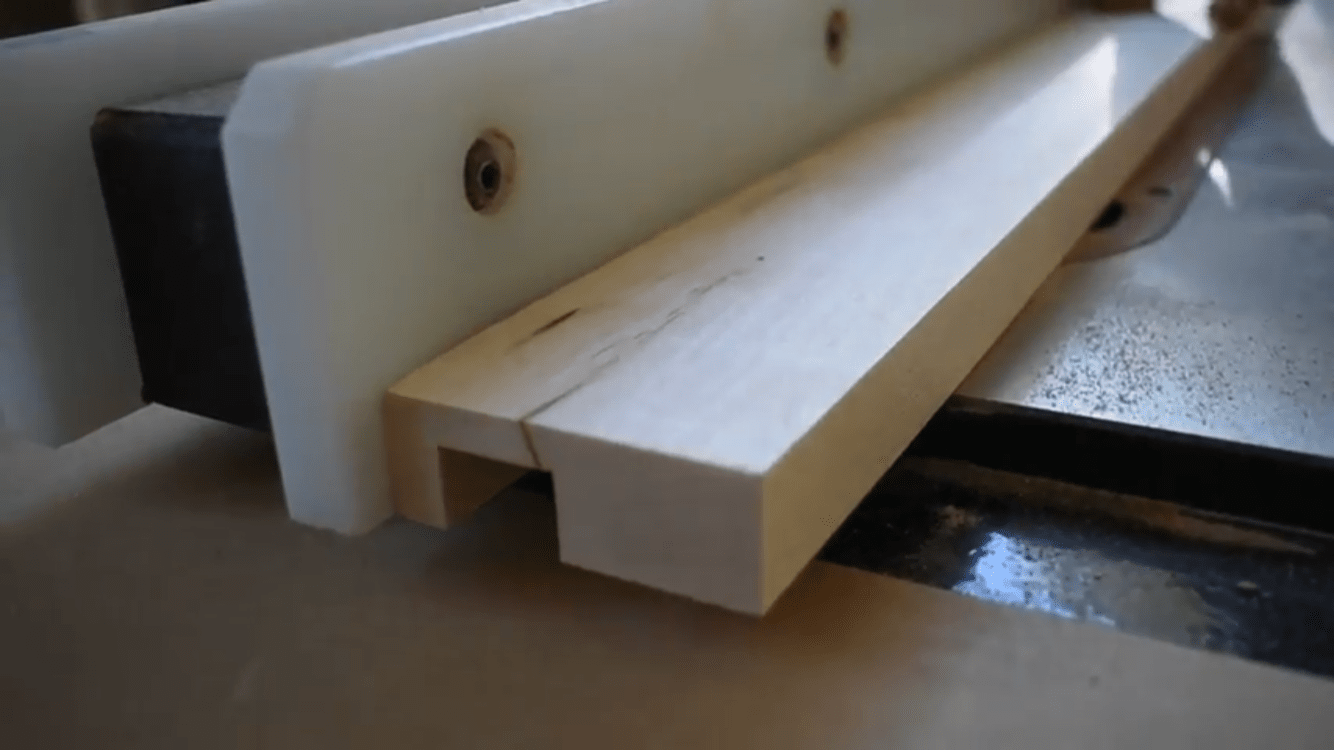
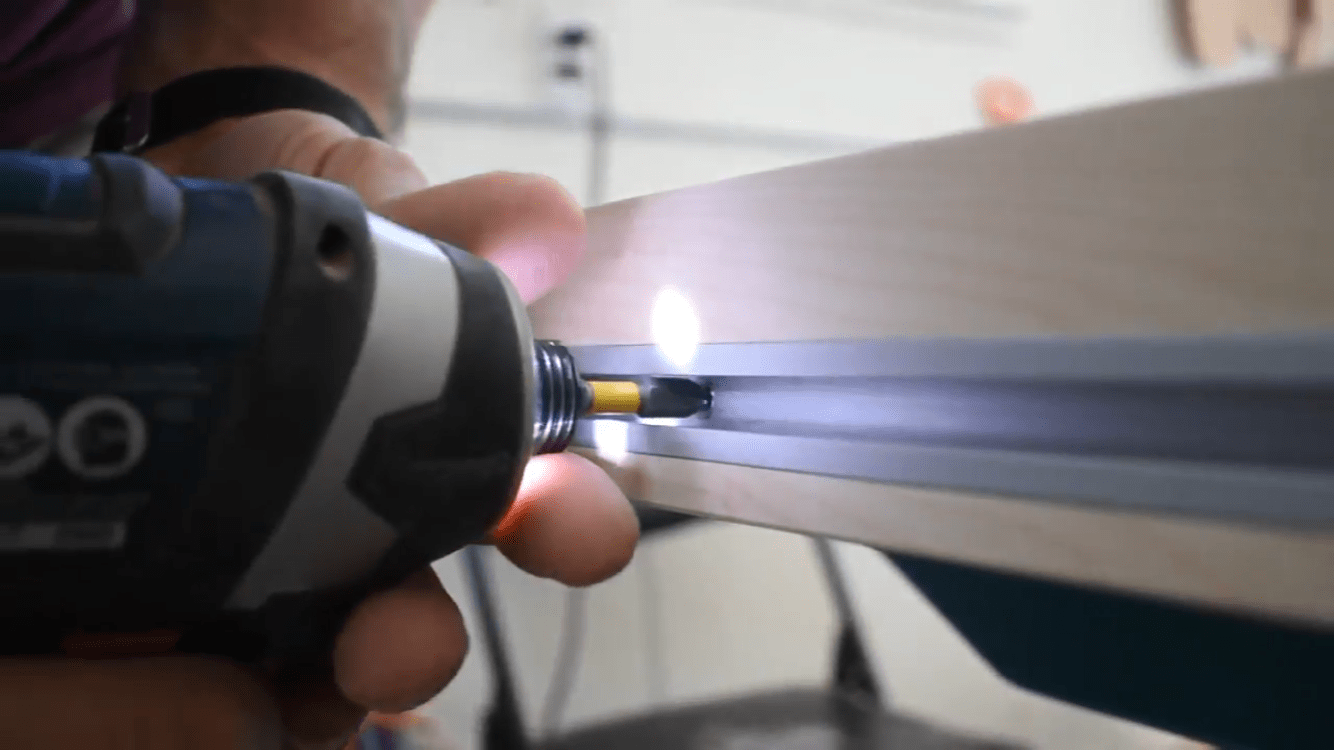
Adding the T Track
Securing the T track is very simple! With the provided screws, secure the track inside the dado and fasten it in place. Make sure to leave a gap on the sides so the clamps will be able to slide in.
-
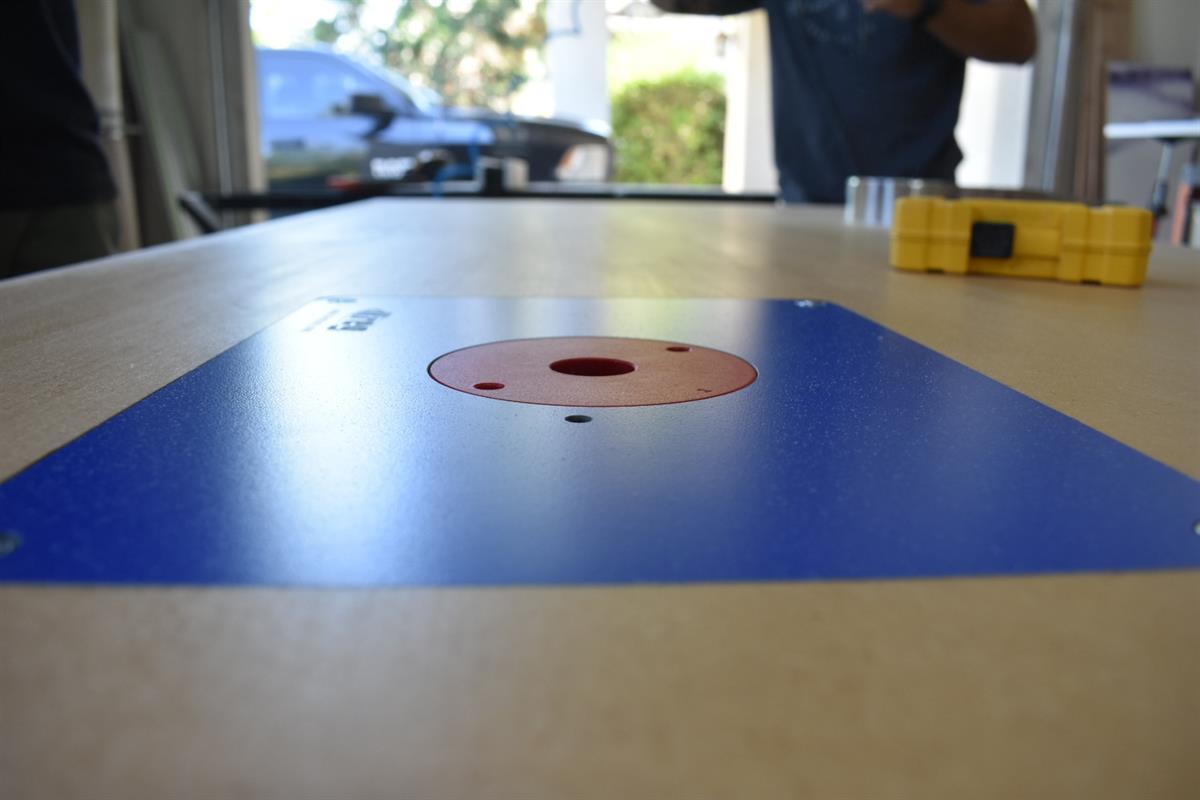
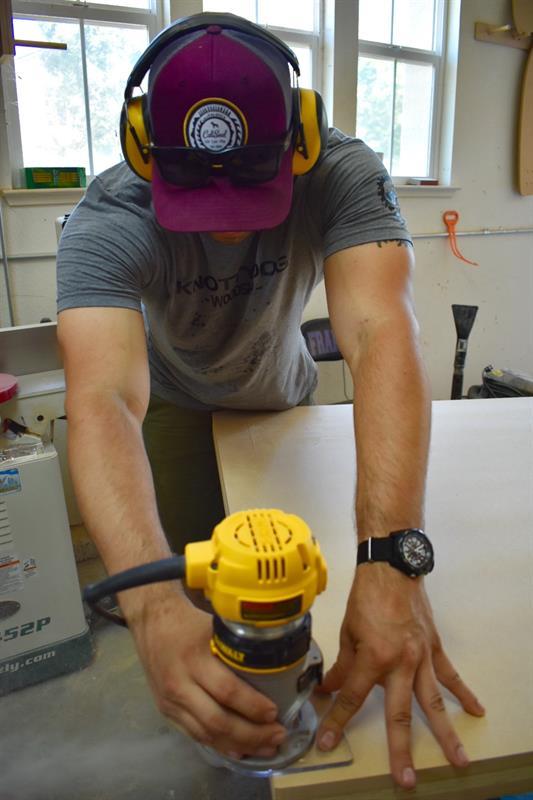
Kreg Router Plate
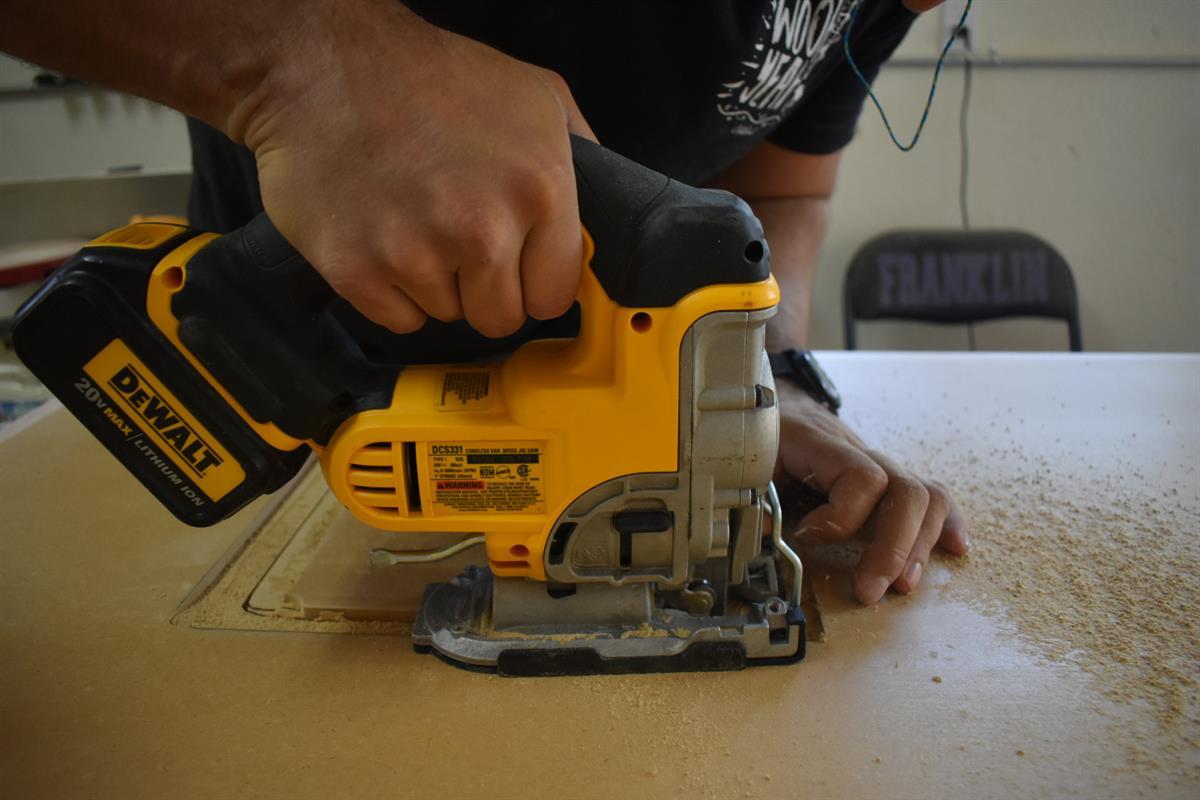
I wanted to have a router table set up in my assembly table. I used a combination of a shop made template with a router bit and a jig saw to cut the appropriate size recess in the top for the router plate.
-
Kreg Router Plate Cont.
If you would like to see how I did it, I have a Youtube video showing the process of how it was done! Check the link in the Extra Tabs

-
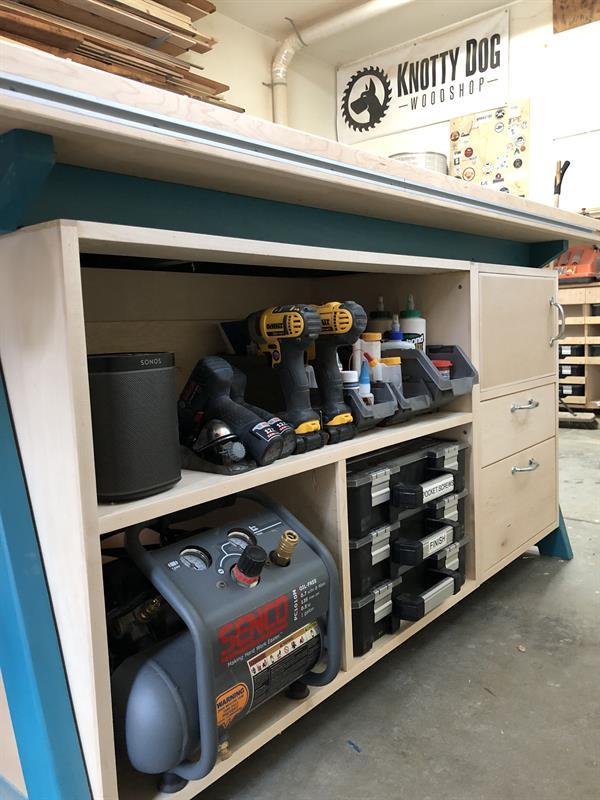
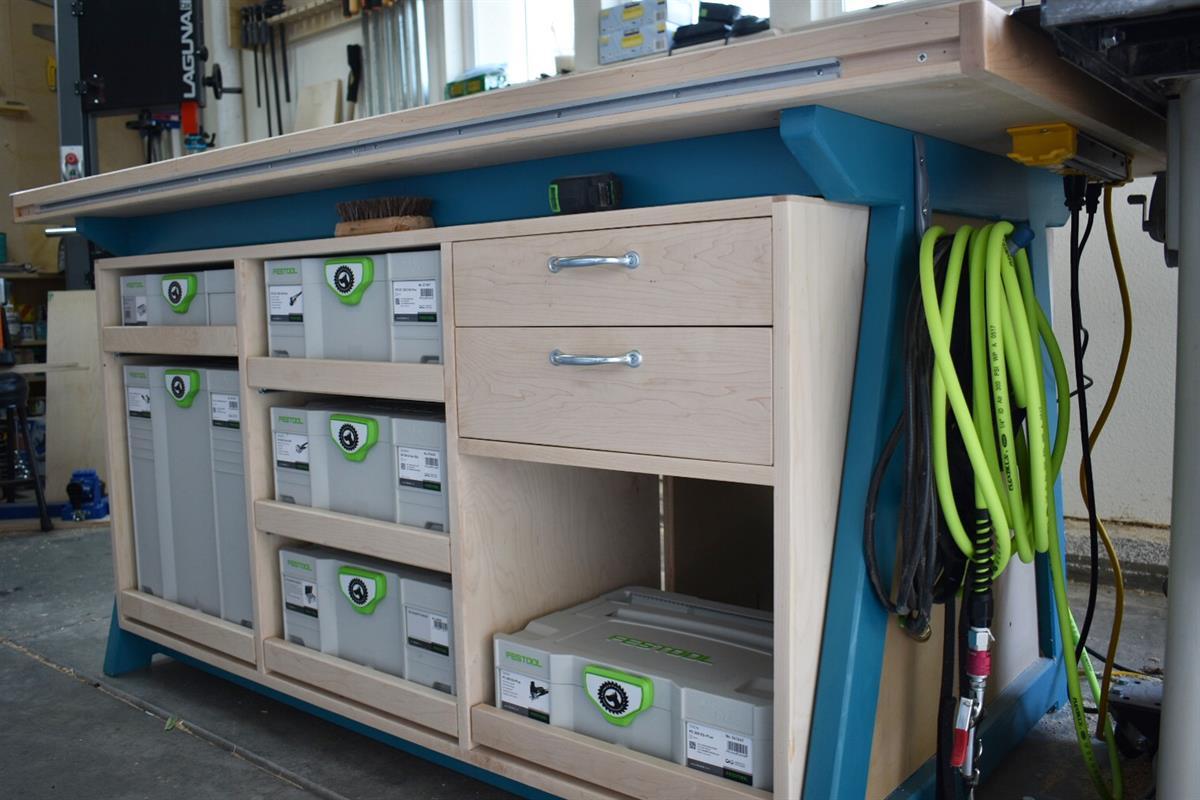
Tool Cabinets
I created my cabinets to fit my tool collection. I know everyone will have something different so I will just give a rough description of the base cabinets. No plans unfortunately. There are three total cabinets made. The front face with my Festool tools is one big cabinet with center partitions to separate the tools. On the other side, I have a router cabinet to inclose the saw dust from going everywhere! Next to that, I have a mid sized cabinet to store miscellaneous tools and my small air compressor. This side is not complete yet. Like a workshop, things are always changing! Ill add the measurements to my cabinets down below in the next steps.
-
Large Cabinet
Large cabinet all 3/4" plywood with edge banding back panel is 1/4" plywood. 2 sides 25 3/4" by 16" wide. 2 middle partitions 2 by 24 1/4" by 16" wide. Middle partitions are spaced with even spacing to fit my tools. Add shelves or drawers as needed. 1 Bottom 51 5/8" long by 16" wide. 2 top stretchers 4 3/4" wide by 51 5/8" long. Attach each stretcher to the ends of the side panels. Back panel cut to size. 25 3/4" by 51 5/8" long. You want to make sure there is a little wiggle room to place the cabinet below. Attach the assembled cabinet to the frame so there will be no racking of the workbench when you are working.

-
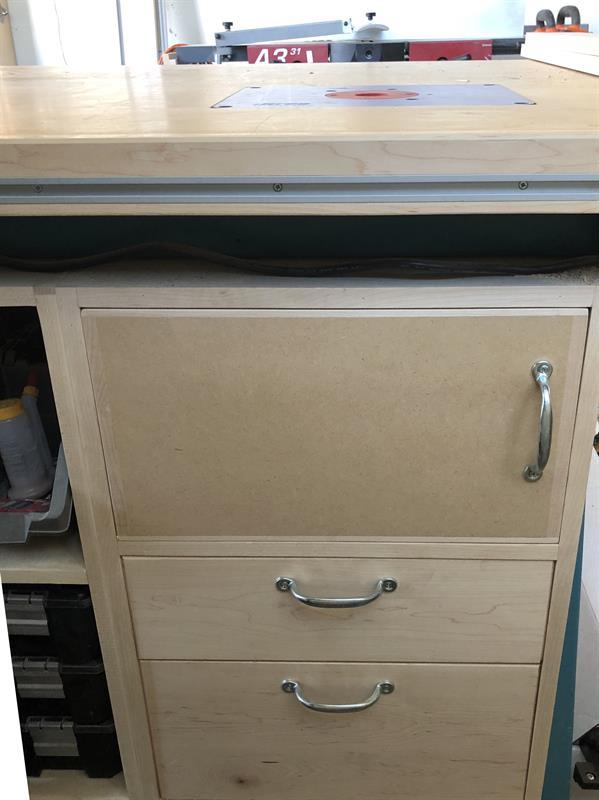
Router Cabinet
With a 3/4" plywood sheet cut 2 side panels at 16" wide by 25 3/4" tall. 1 Bottom at 16" wide by 16 7/8" long. 1 Middle divider, this is to separate the chips from the router, 16" wide by 16 7/8" long. The middle divider was placed at 14 1/4" up from the bottom. 1 top stretcher 3 3/4" wide by 16 7/8" long. Back panel was cut to size from a 1/4 inch plywood. 25 3/4" by 18 3/8" wide. I added a door for the router chips to stay inside the cabinet. Cut door to fit, I also added two drawers below for router bits.
-
Middle Cabinet Open Shelving
With a 3/4" plywood sheet cut 2 sides at 25 3/4" tall by 16" wide. Cut a bottom at 33 1/4" by 16" wide. Cut a middle shelf at 33 1/4" long by 16" wide. Cut 2 top stretchers at 33 1/4"long by 4 3/4" wide. Middle partition to subdivide bottom shelf, cut 16" wide by 12 3/4" tall. I spaced the divider in the center of the bottom and middle shelf. Back panel was a 1/4" plywood sheet cut to size at 25 3/4" by 34 3/4" long.