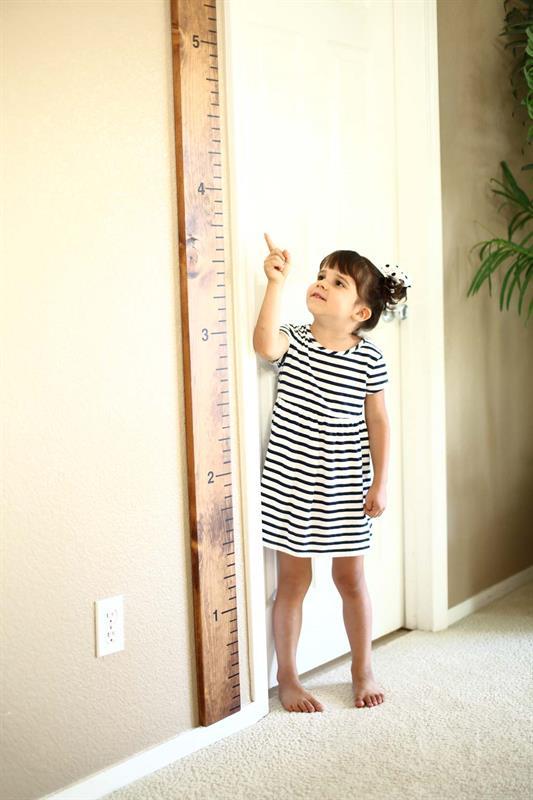


We used to mark how tall the kids are inside the closet wall, now we have a Kid’s Growth Ruler! This is a much better option to keep record of kid’s growth. Also they have a lot of fun measuring how tall they are. It’s amazing to see how fast kids grow.
Tools
Other Tools
-
Miter Saw

-
Square
-
Tape Measure
-
Drill (cordless)
-
Sander
Materials
Wood Products
- 1 Board , 1x8 , 96"
Hardware & Supplies
- 1 Black Sharpie
- 30 1"Self Stick Numbers
- 1 Pre-Stain
- 1 Stain
- 1 Polyurethane
- 1 Shop Paper Towels
Cut List & Parts
- 1 Board , 1x8x8'
Directions
-
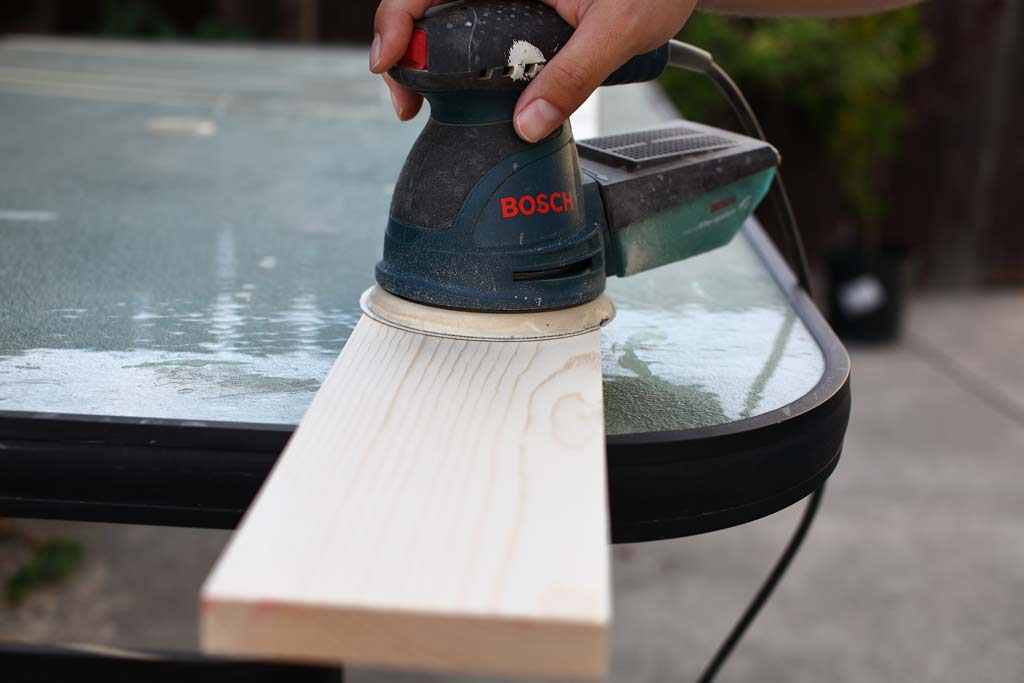
Step-1 Cut 1x6 Board
Take 1x6 board and cut it to 84” long. You could make this any length you want. I cut it at 84” because I wanted the board to be same elevation as the door. Than using a random orbital sander, sand the board on all sides.
-
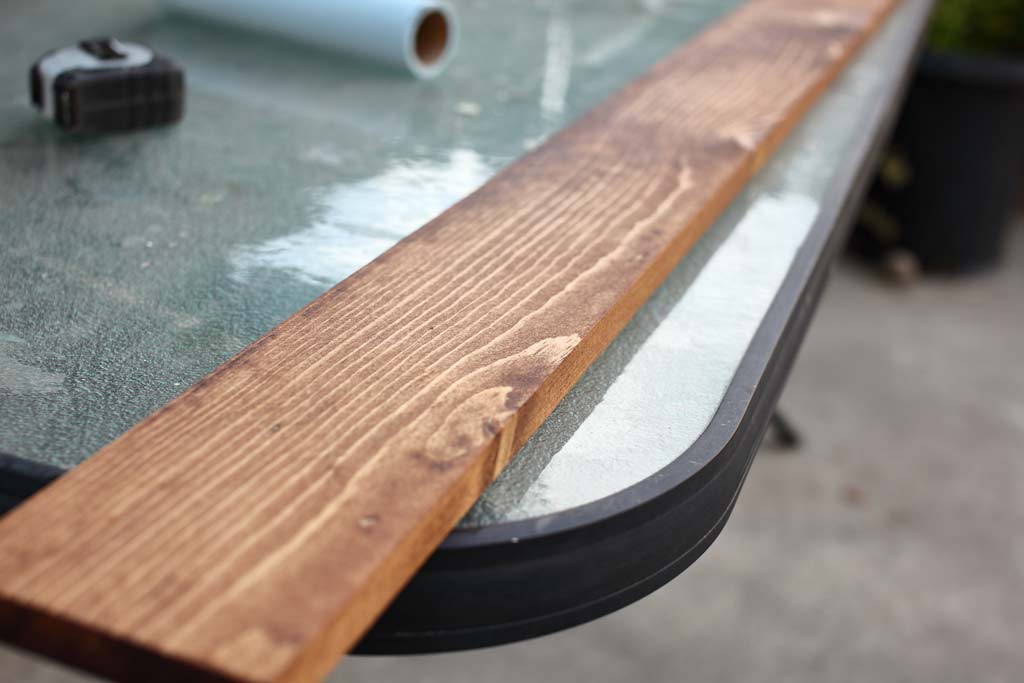
Step-2 Pre-Stain and Stain
On a small project like this, instead of using a brush for staining, I just use Shop Paper Towels. I don’t have to clean the brushes. So first, Pre-stain the boards, then after 10 minutes, apply the Stain. Follow instruction on the can for both Pre-stain and Stain for best results.

-
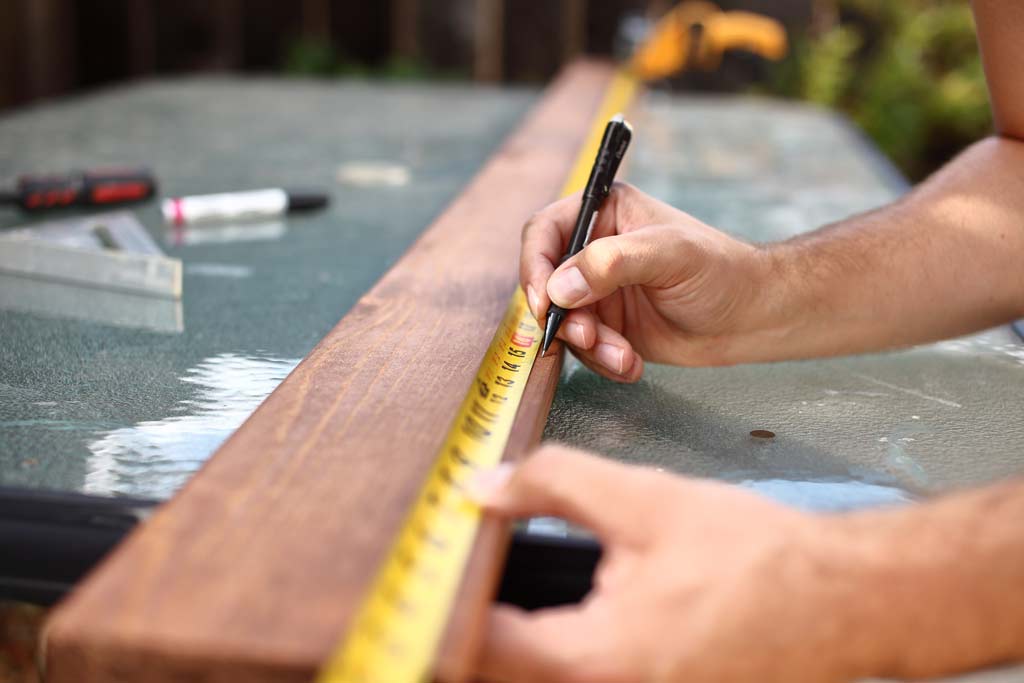
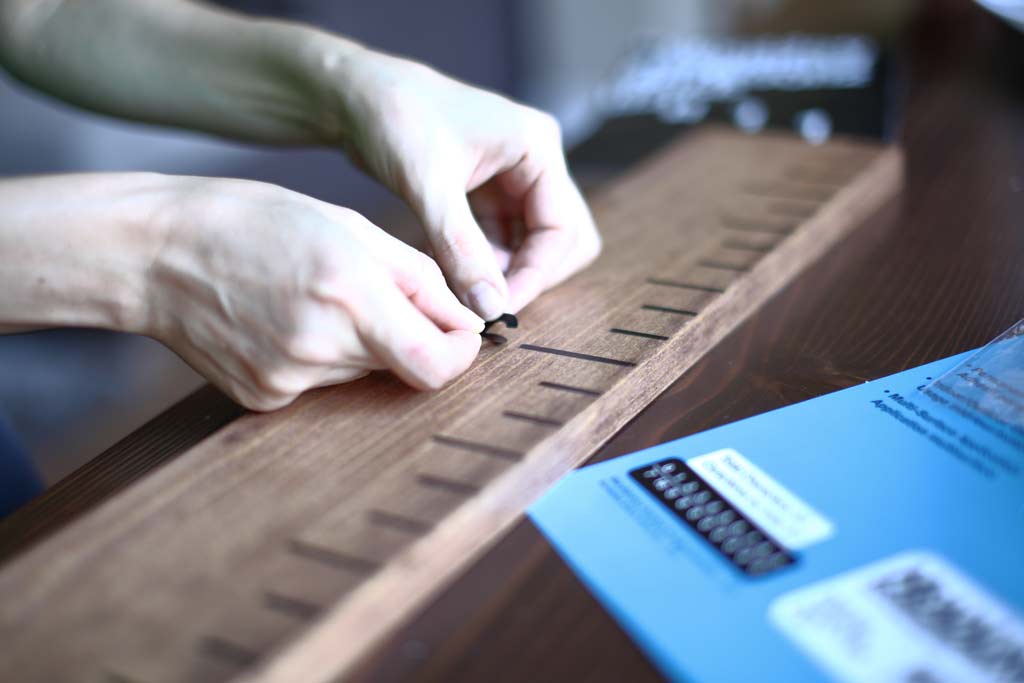
Step-3 Measure and Mark
Next, pull a measuring tape and mark every inch on the board with a pencil. Then draw thick lines using oil based black sharpie over the pencil marks. To draw the lines straight I used a Construction Square as a guide. To make this look like an ruler, I made the lines three different lengths. Starting from 0 up, numbers 0, 12 have 2” long lines. Numbers 3, 6, and 9 have 1 ½” long lines. Numbers 1, 2, 4, 5, 7, 8, 10, 11 have 1” long lines.
-
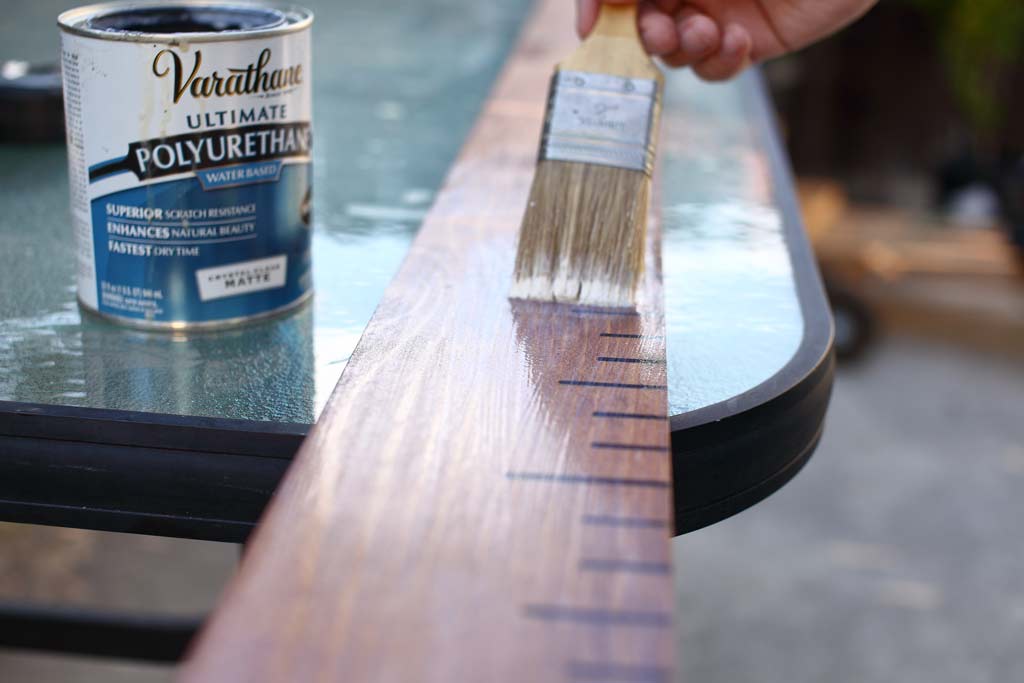
Step-4 Apply Matte Polyurethane
Once you’re done with drawings the ruler lines, apply a coat of matte Polyurethane. Let it dry for few hours, then with a fine grit sand paper (300 and up) sand the board lightly. Wipe off the dust and then apply a second coat of Polyurethane.
-
Step-5 Tape on Adhesive Numbers
For the actual feet numbers I used 1" Self Stick Numbers that I had left over from cornhole scoreboard project.
-
Step-6 Attach Ruler to the Wall
Next determine what wall the ruler will be attached to. In my case I attached the board on the wall above the baseboard. The baseboard is 2 ½” tall, so I had to cut off 2 ½” of the board so that when someone stands on the floor, the ruler will be elevated correctly to give the right reading. Attach the board to the wall using 2 ½” wood screws. That's all; you're done with this Kids Growth Ruler.