

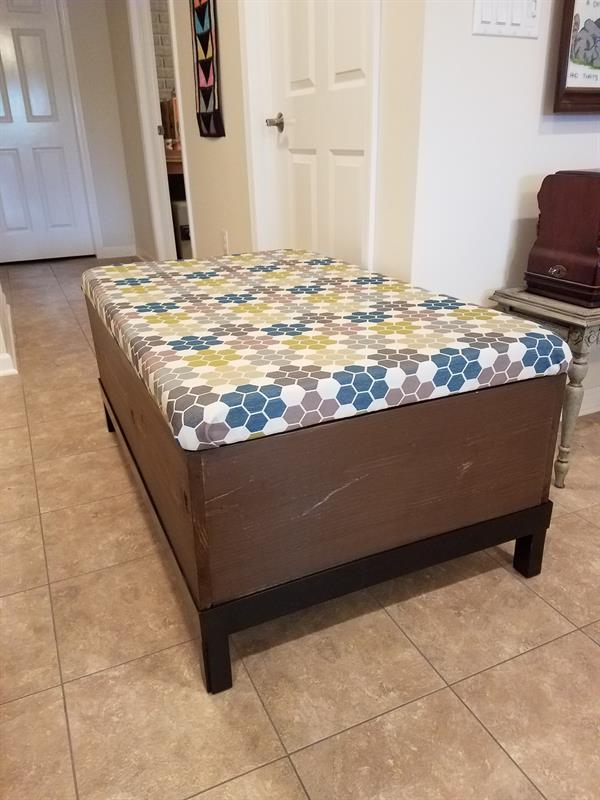
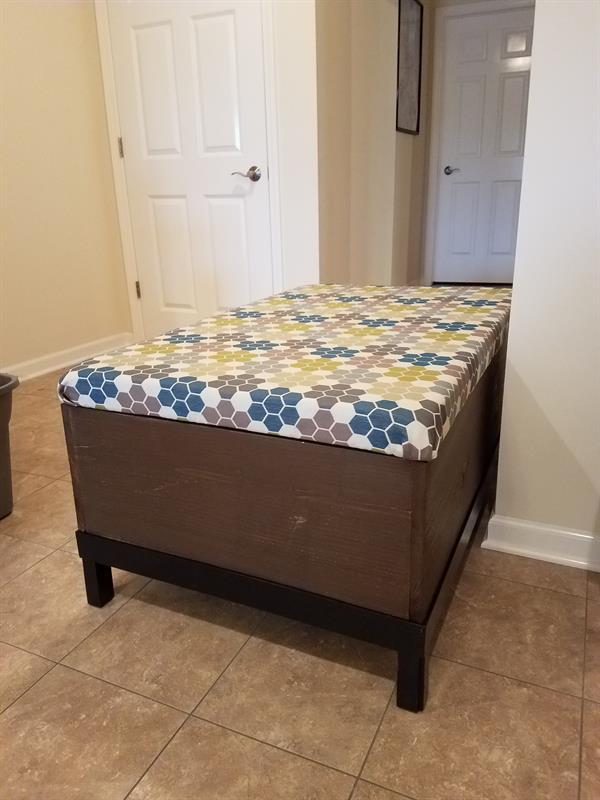
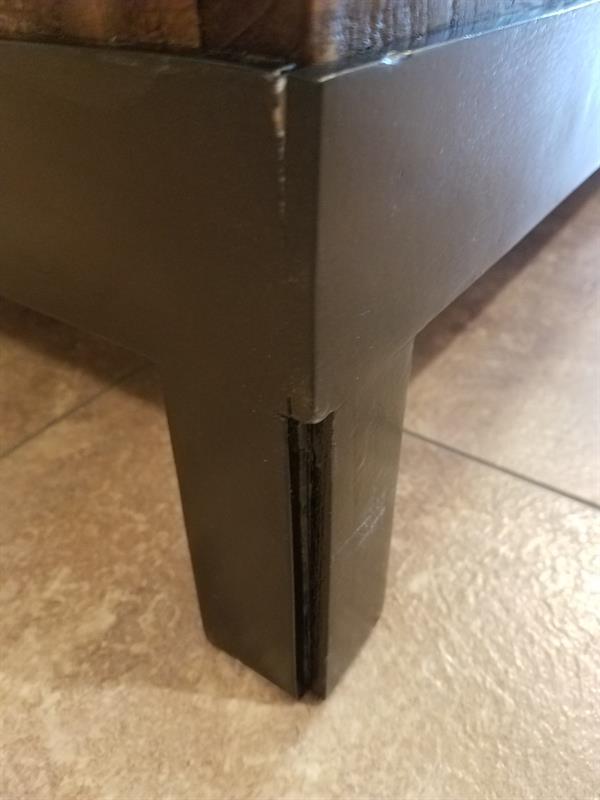


Upholster top storage coffee table. 30" wide x 48" long x 19" high. Knock-off of a storage coffee table constructed for approx. $125.00 rather than the $999.00 one that our daughter liked for her living room.
Tools
Kreg Tools

Other Tools
-
Miter Saw

-
Square
-
Table Saw
-
Tape Measure
-
Drill (cordless)
-
Nail Gun
-
Stapler
-
Sander
Materials
Wood Products
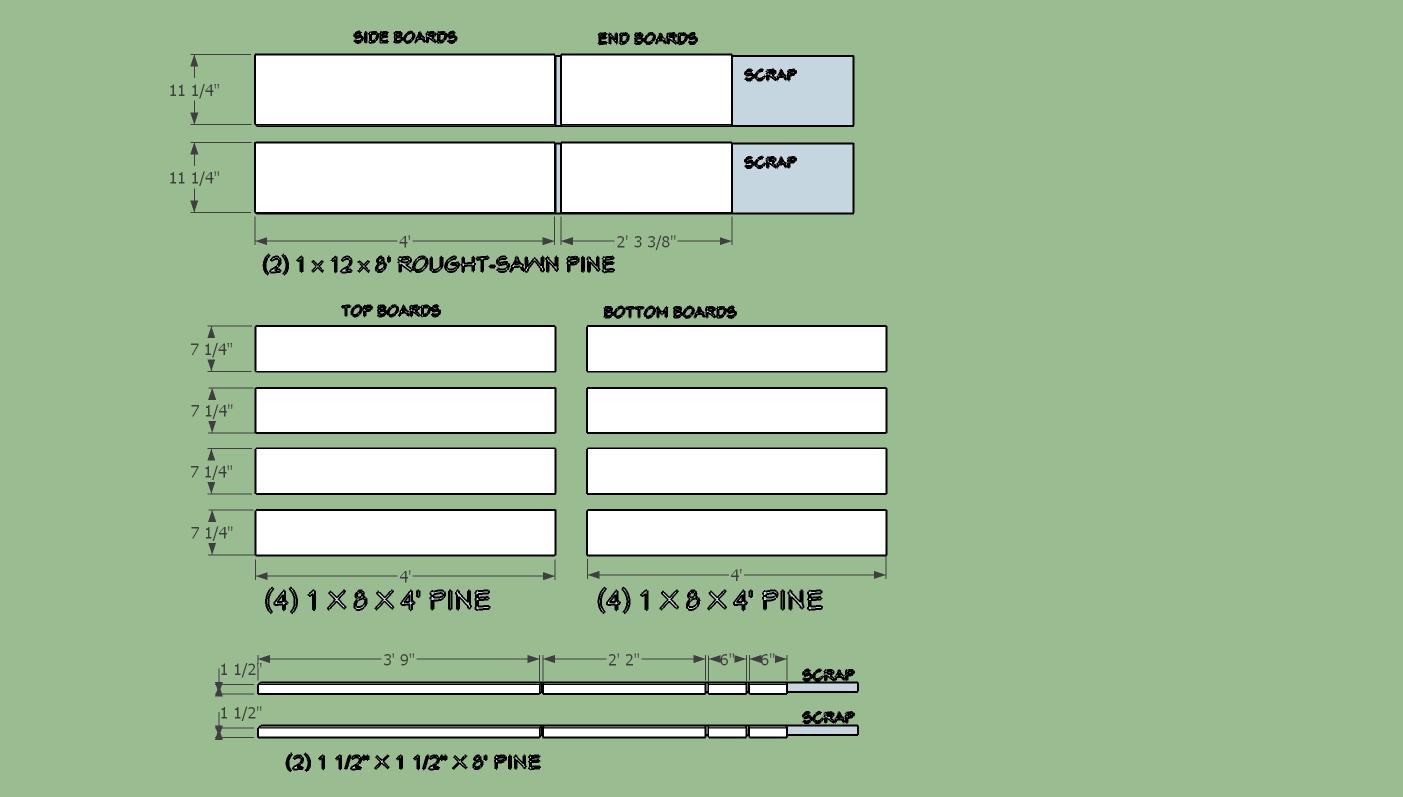
- 2 Board , 2x2 , 96"
- 2 Board , 1x12 , 96"
- 8 Board , 1x8 , 48"
Hardware & Supplies
- 1 Pair - Rockler 6'' Medium-Duty Quiet Action Lid Support
- 1 30" continuous hinge
Cut List & Parts
- 2 Box part , 13/16" x 11 1/4" x 96"
- 8 Top and bottom parts , 3/4" x 7 1/4"" x 48"
- 2 Base parts , 1 1/2" x 1 1/2" x 96"
Directions
-
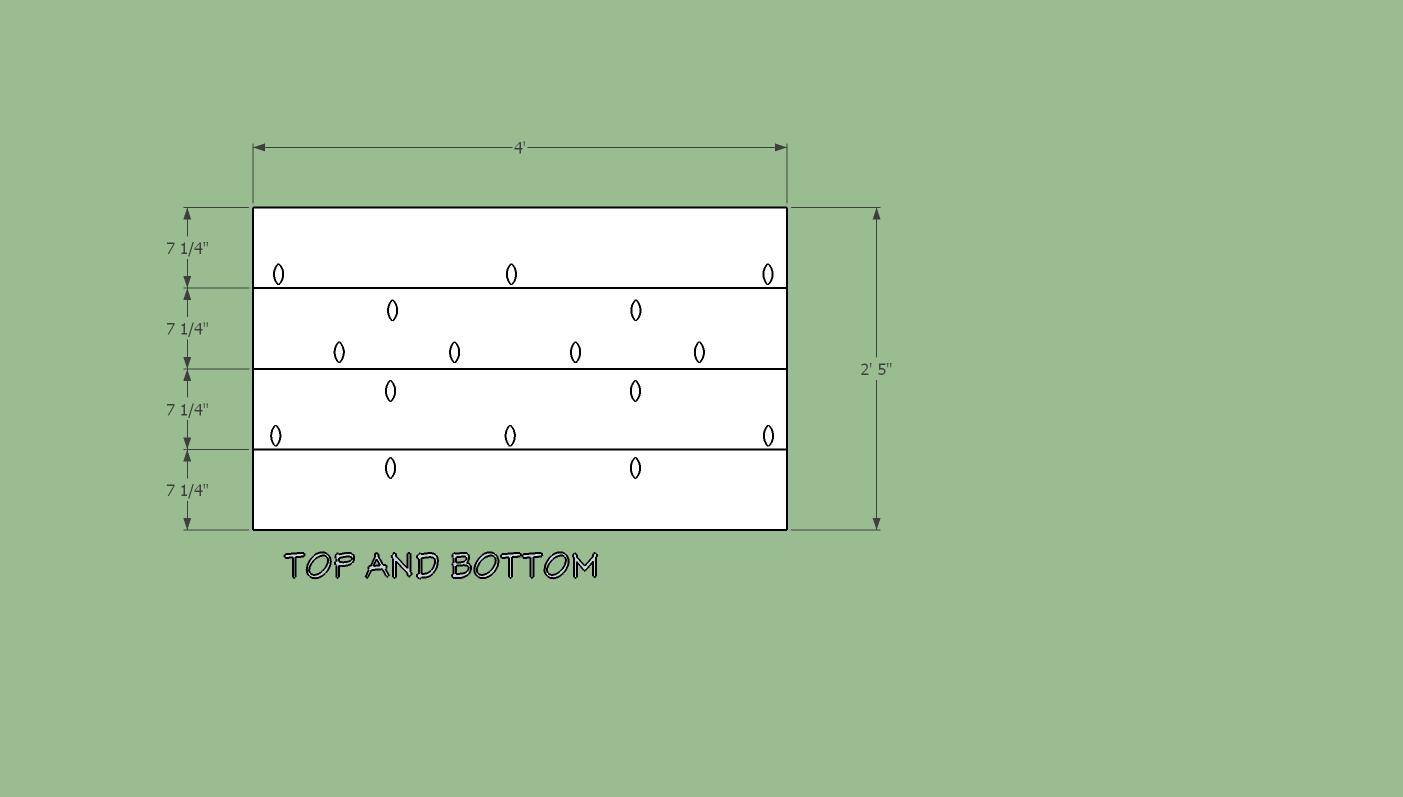
Drill holes in top and bottom board
Drill holes for 1 1/4" pocket hole screws as shown to create the top and bottom of the coffee table storage box and assemble the panels as shown
-
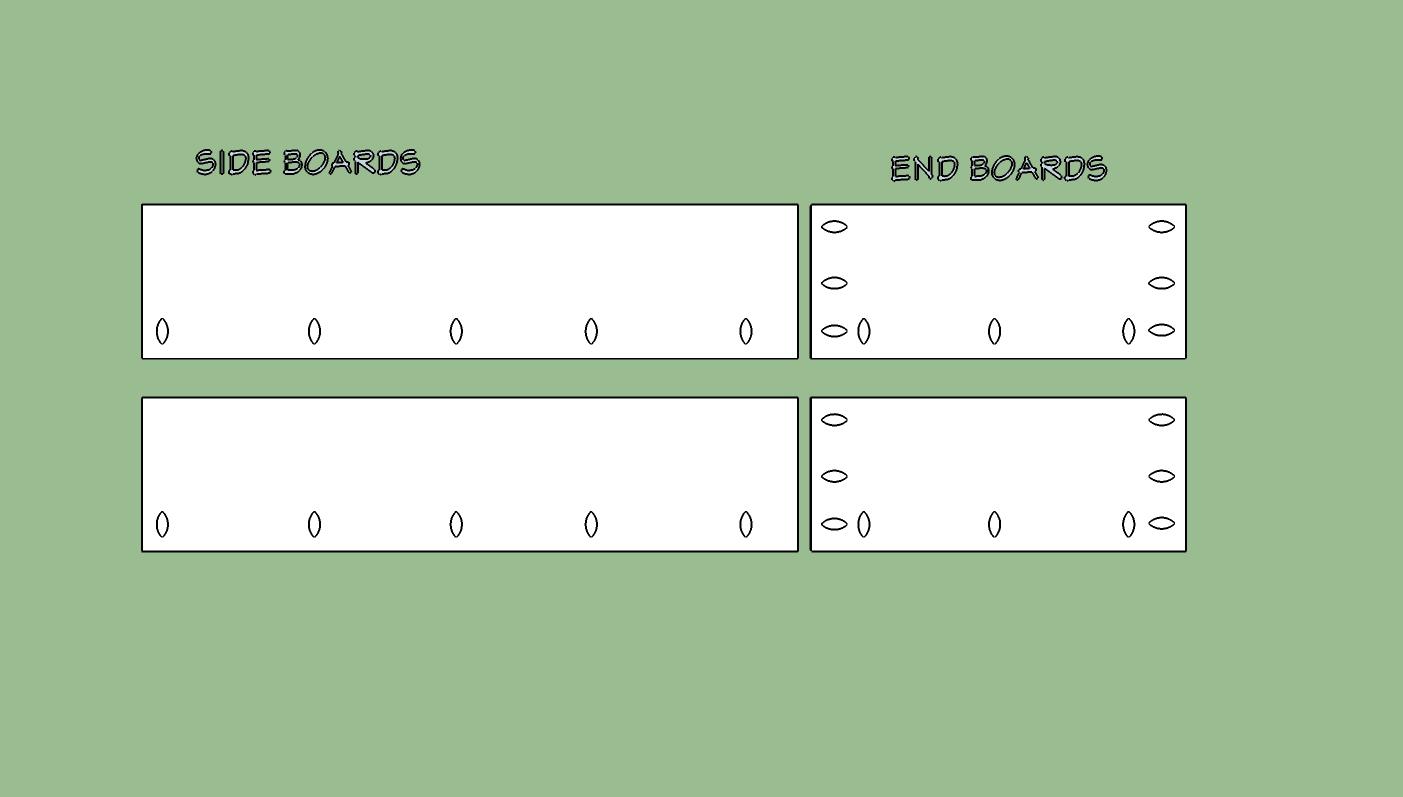
Drill holes in side and end boards
Drill holes for 1 1/4" pocket hole screws as shown on the side and end boards
-
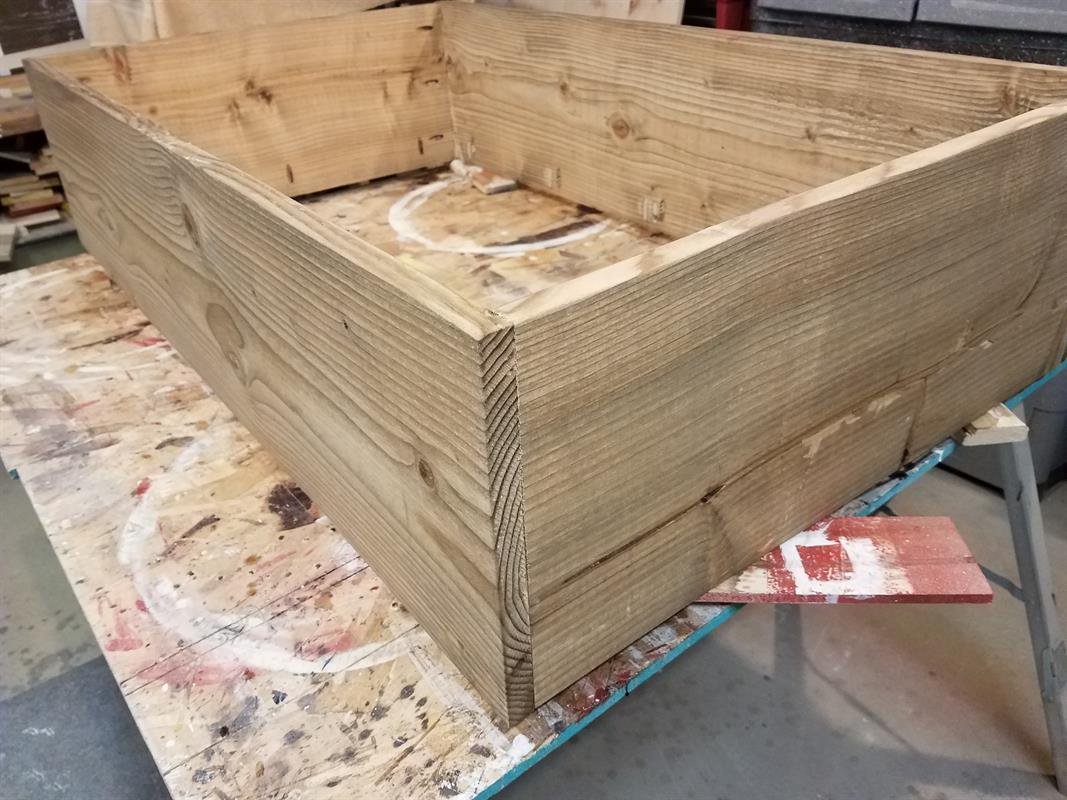
Assemble the side and end boards
Attach the side and end boards together with 1 1/4" pocket hole screws and and then attache the end assembly to the side assemblies to create the box as shown with 1 1/4" pocket hole screws
It is recommended that you stain and finish the box at this time.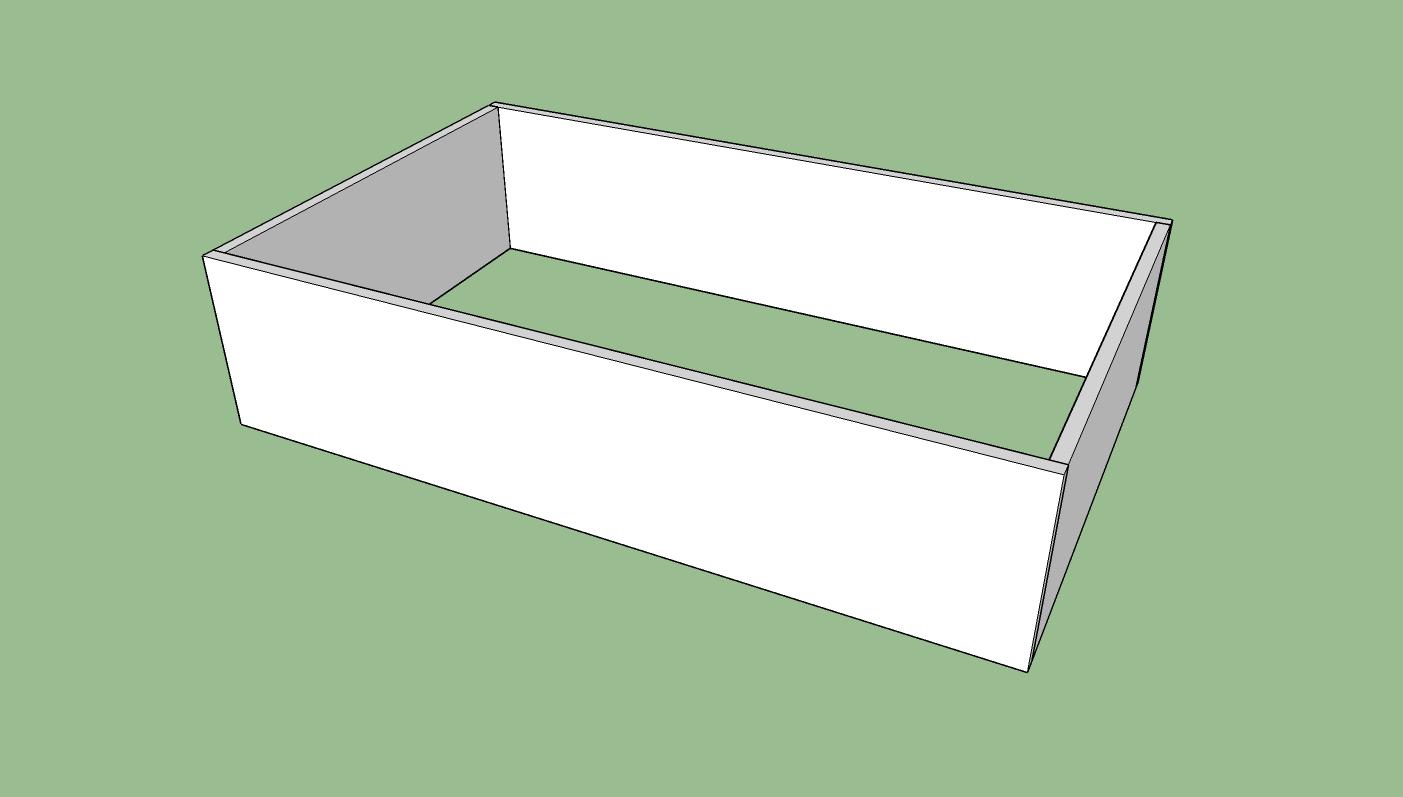
-
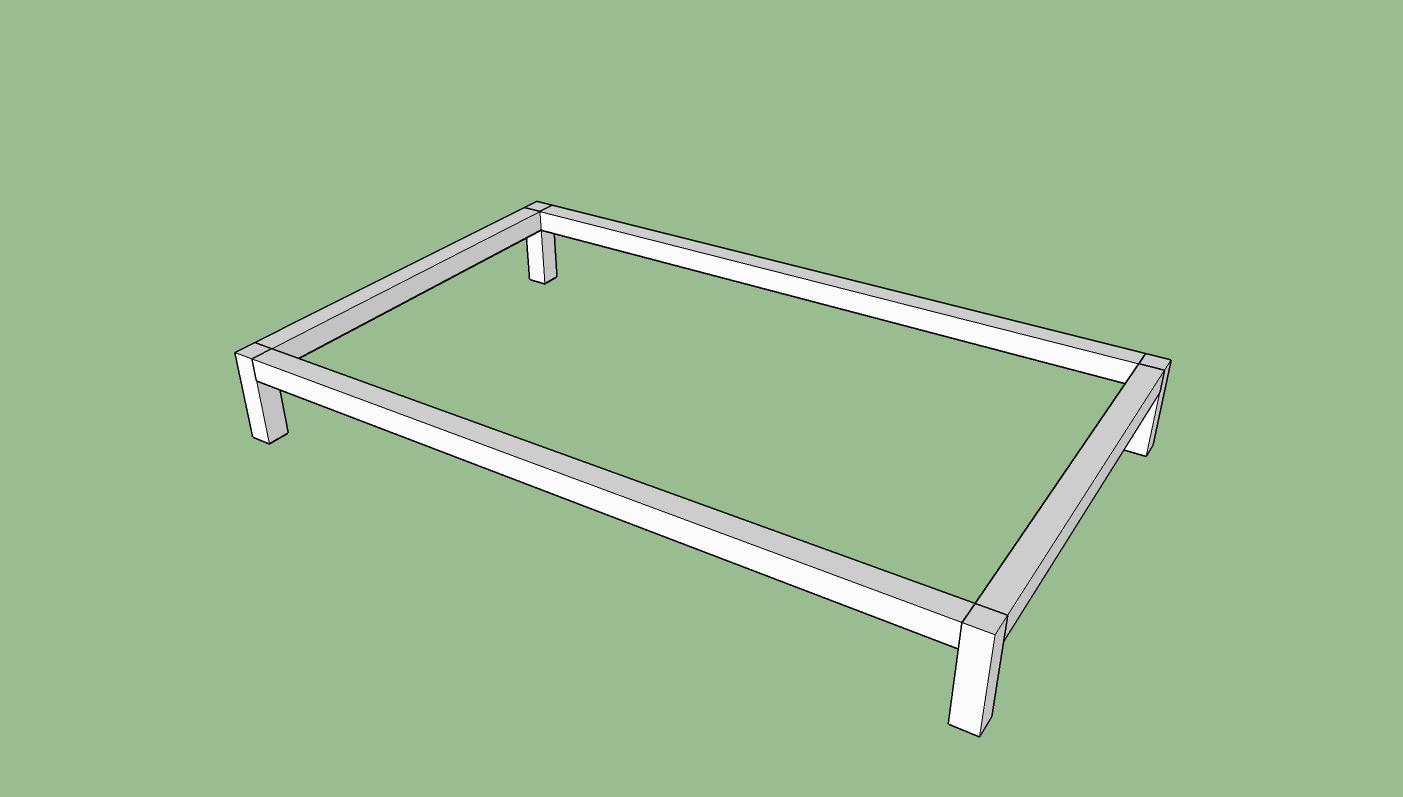
Assemble the base components
Assemble the base utilizing 1 1/4" pocket hole screws
-
Add trim pieces to the base
Add 2 1/2" high x 1/4" horizontal trim pieces and 1 1/2" wide x 4 1/2" high trim pieces to each leg.
These trim pieces hide the bottom panel and give the base the appearance as being made of metal
It is recommended that you paint the base assembly at this time.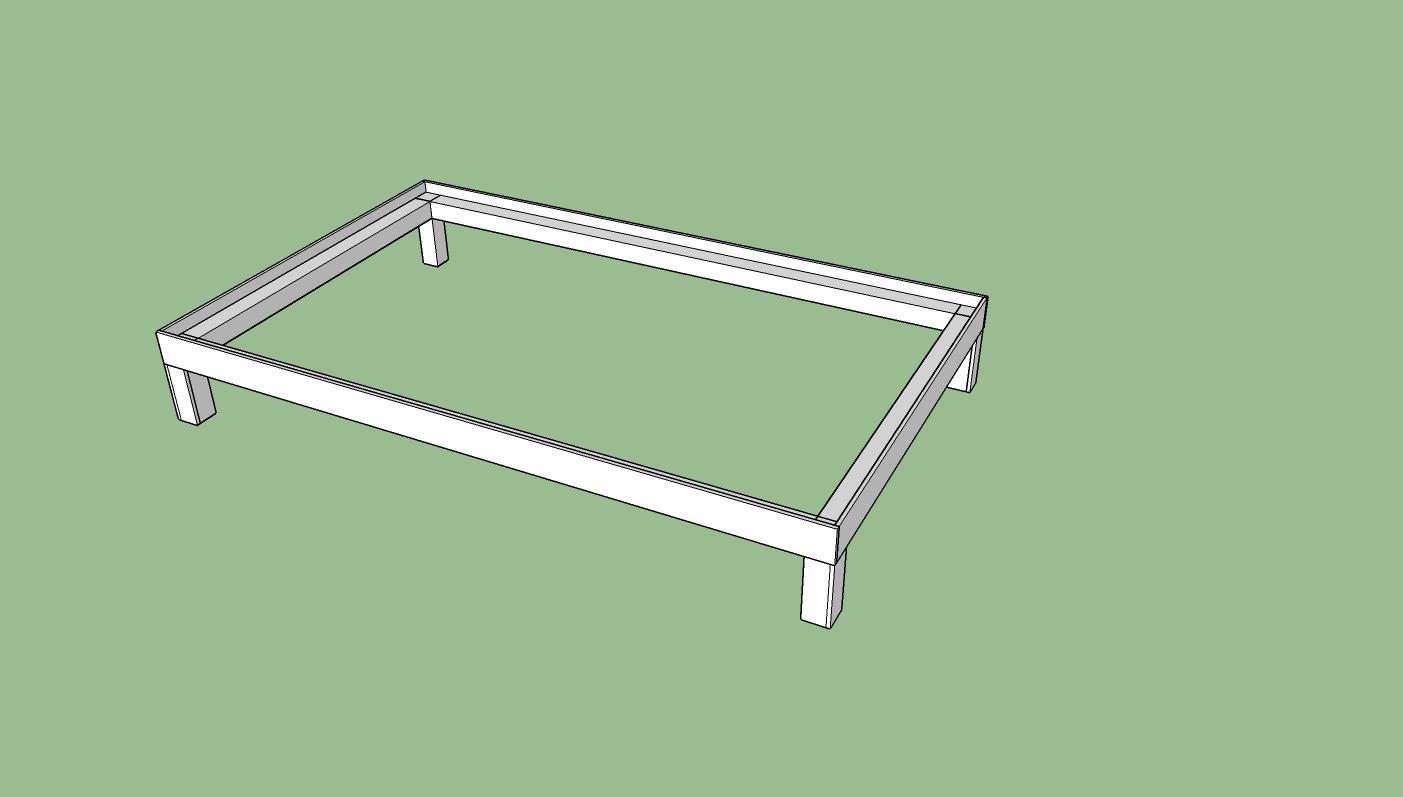
-
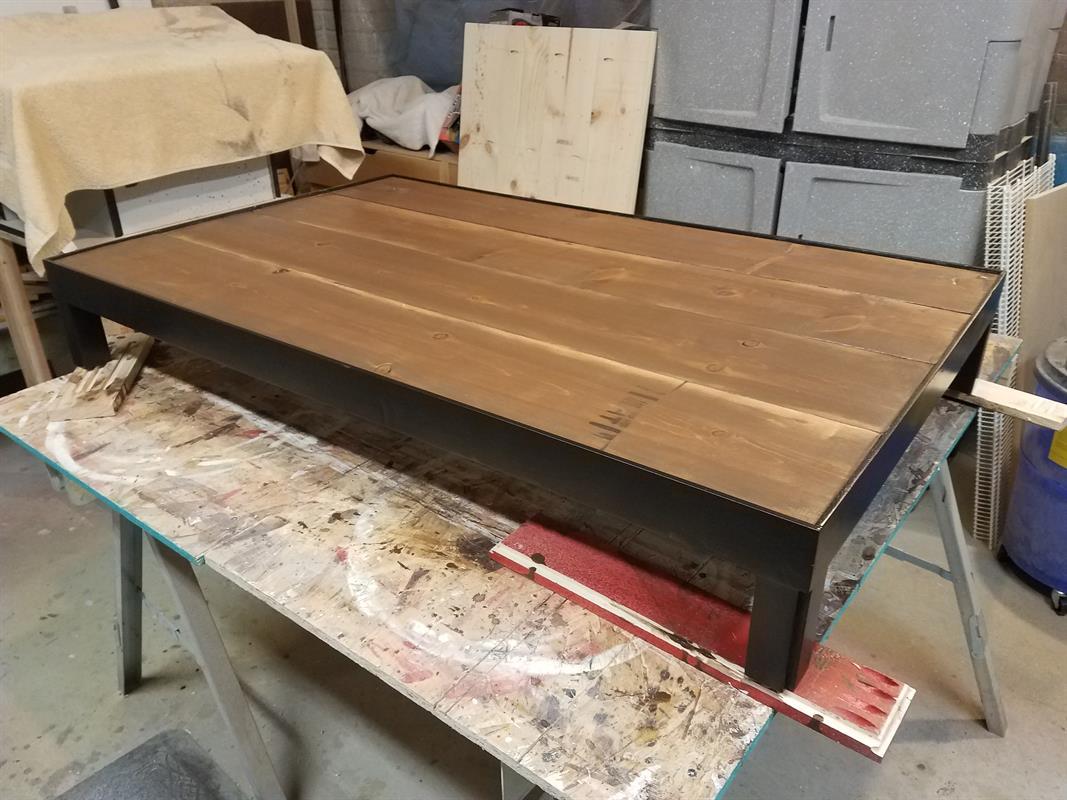
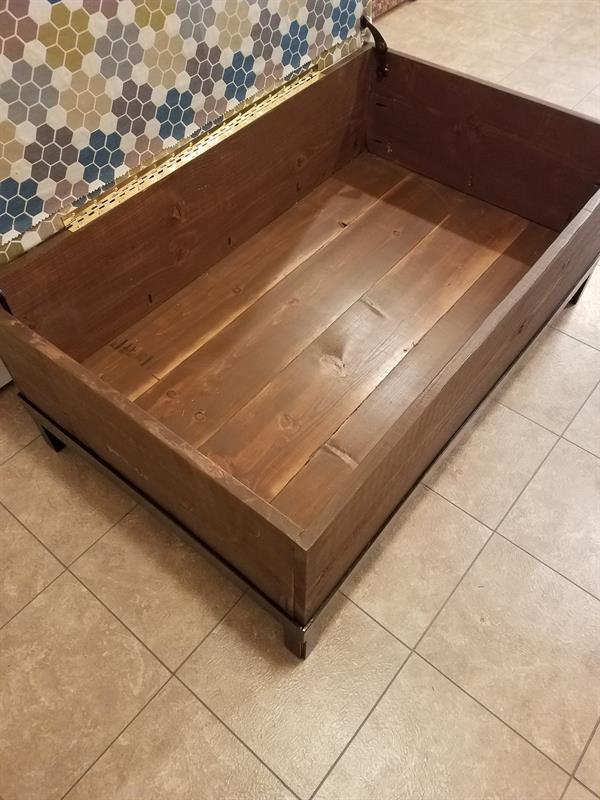
Add bottom assembly to base
It is recommended that you stain and finish the bottom assembly prior to installing on the base
Install the bottom assembly to the base.
Utilize 1 1/2" nails to attache to the base.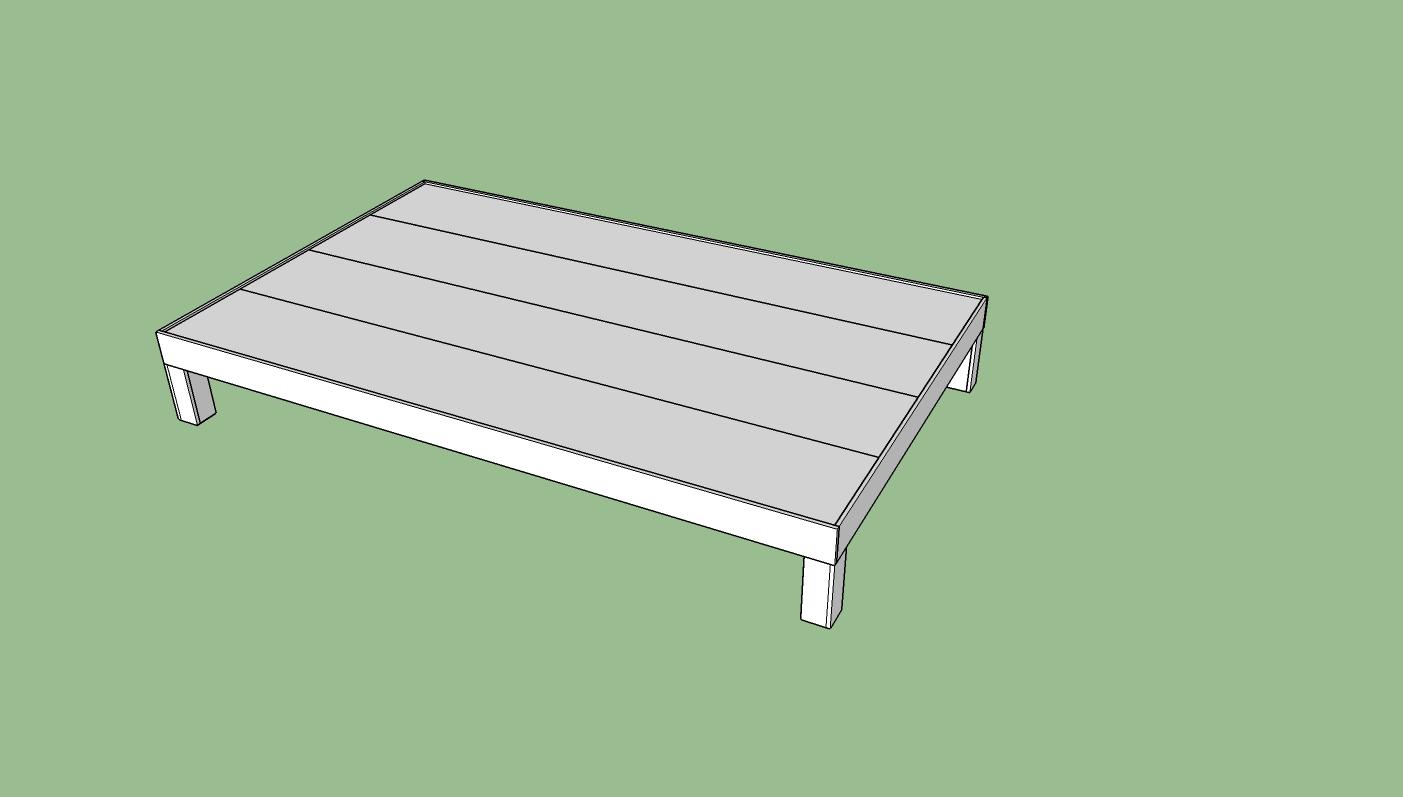
-
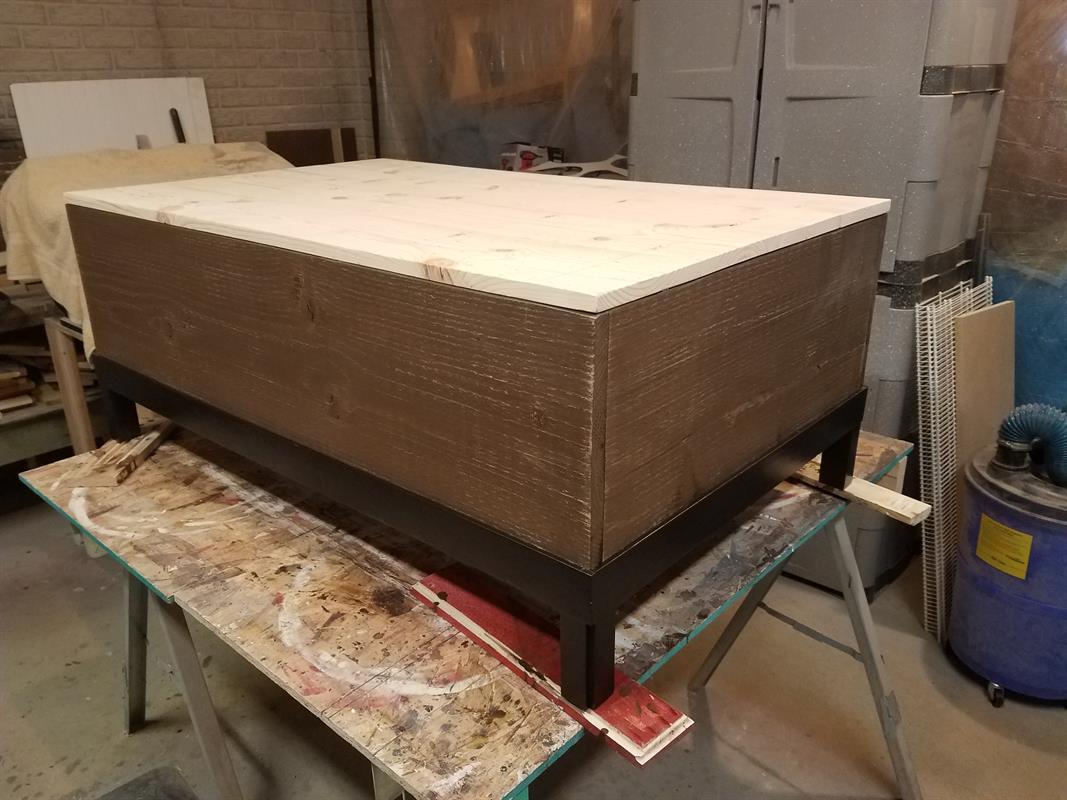
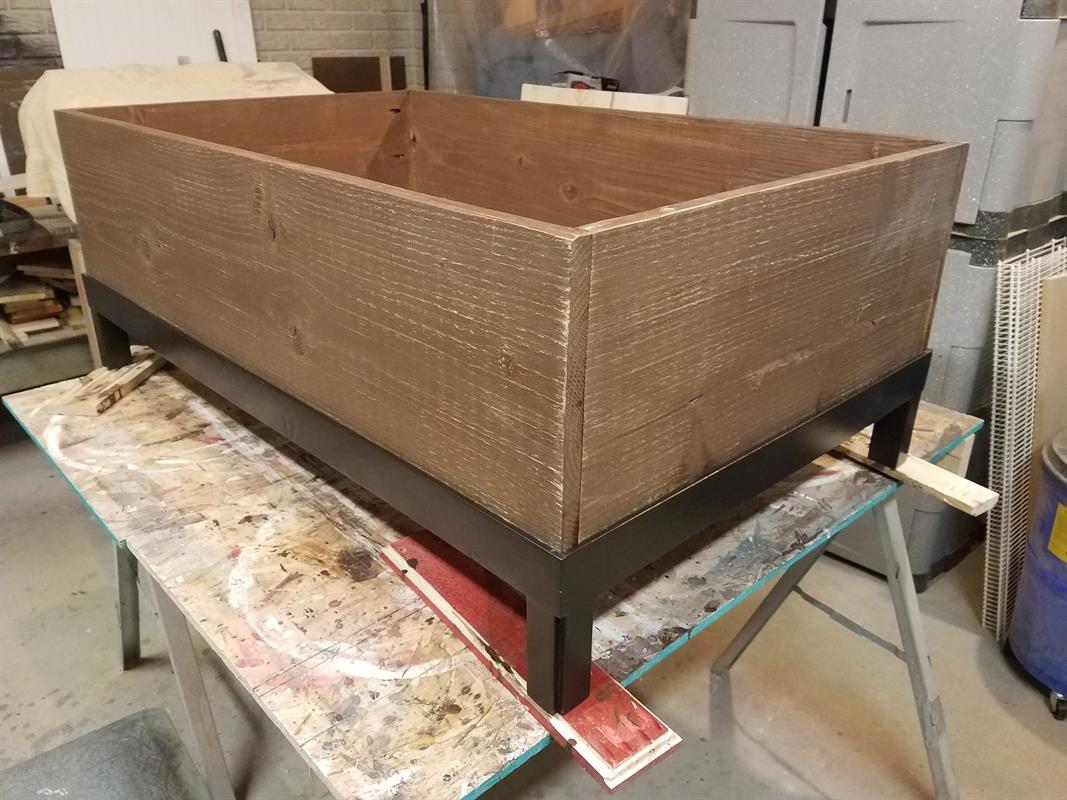
Add the box assembly to the base
Screw the box assembly thru the bottom boards into the base assembly with
1 1/4" pocket hole screws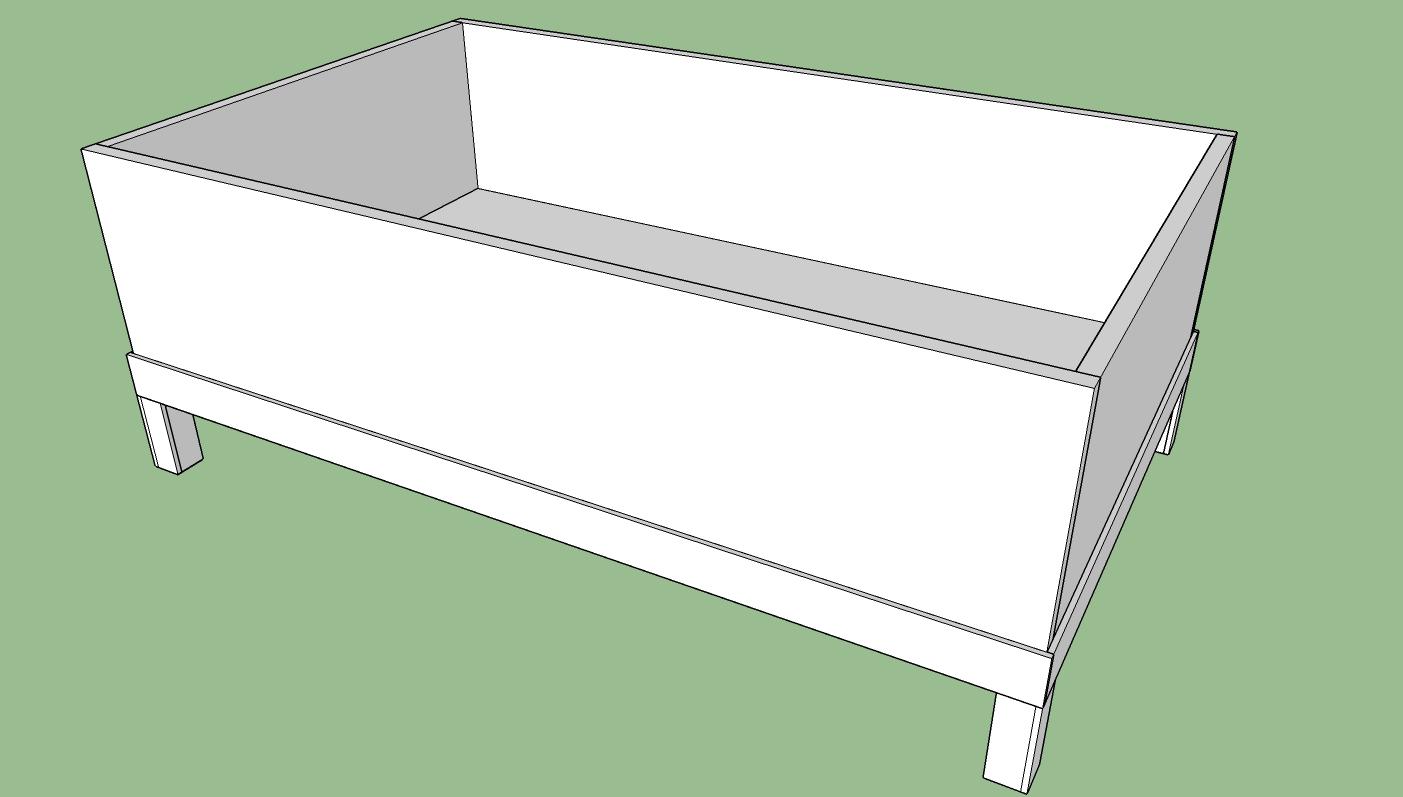
-
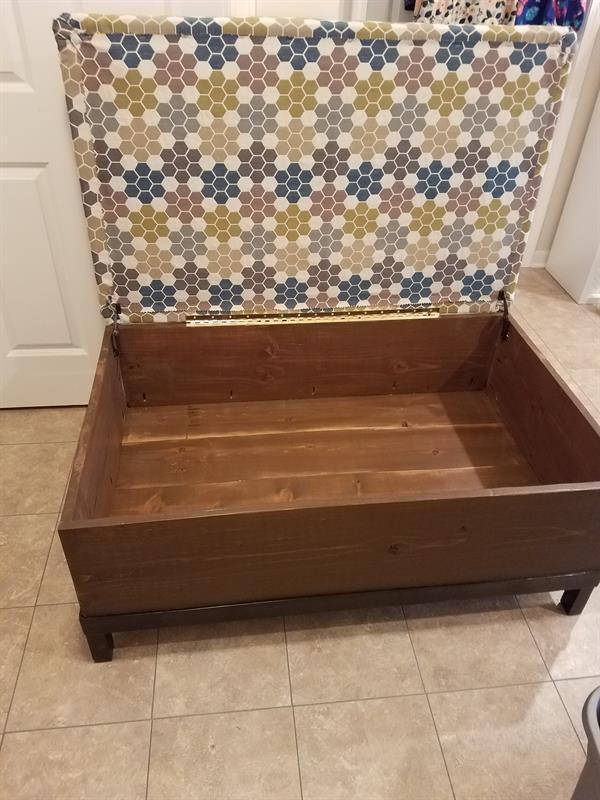
Install pad and fabric
Spray glue the foam to the top assembly. Add a layer of fleece over the foam and staple to the top edges. Install fabric and staple to the inside of the top assemble. Staple a piece of fabric on the inside of the lid to hide the top board assembly.

-
Install hinges
Install the top assembly to the box with a 30" continuous hinge and a lid support hinge at each end.