

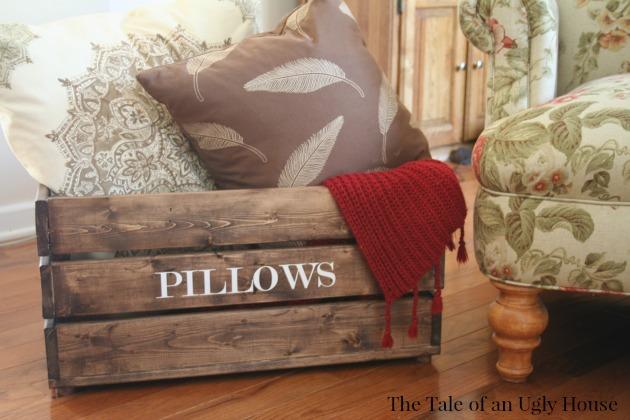


Large, wooden storage crate
Tools
Other Tools
-
Miter Saw

-
Table Saw
-
Nail Gun
-
Sander
Materials
Wood Products
- 7 Board , 1x4 , 72"
- 1 Board , 1x4 , 96"
- 1 Board , 2x2 , 48"
Hardware & Supplies
- 72 Brad Nails
- 1 Stain or paint of choice
- 1 Sandpaper
Directions
-
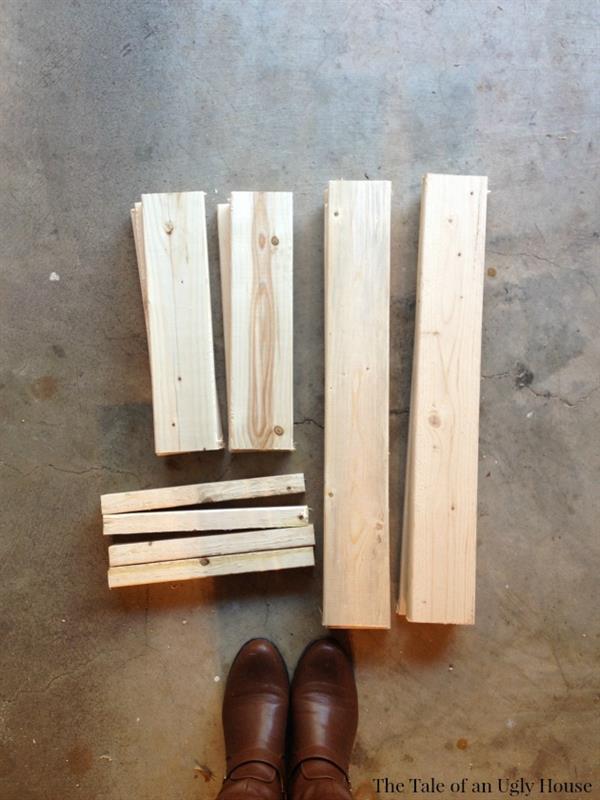
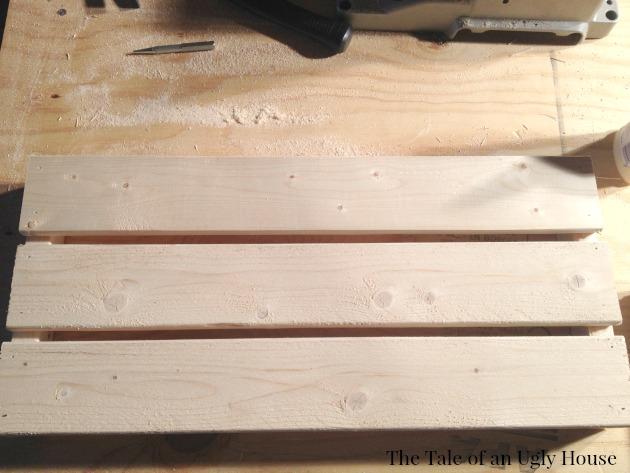
Step 1
Cut 6 - 1×4″ to 22″ (side slates)
-
Step 2
Cut 3 - 1×4″ to 24″ (bottom slates)
-
Step 3
Cut 6 - 1×4″ to 15″ (small side slates)
-
Step 4
Cut 4 - 1×1″ to 12″ (inner supports – we ripped ours from 2×2’s.)
-
Step 5
After you make all your cuts, get started nailing it together! I started by gluing and nailing the long sides to the 1×1’s first.
Note-Make sure to place the 1×1 flush with the bottom of your 1×4 so that it will not be as noticeable from the top.
-
Step 6
After both longer sides are together, nail on the 1x4's on each end. You may have to trim a little off of each board before nailing in place to make sure that they sit flush on the corners.

-
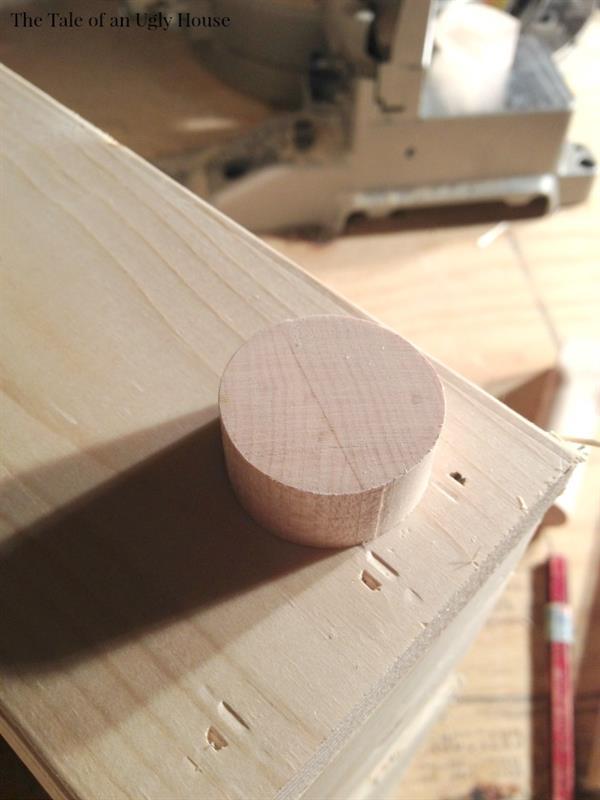
Step 7
After we nailed the bottom slates on, we added feet made from round dowels that we had. This step is completely optional. I just like the cuteness that they added!
-
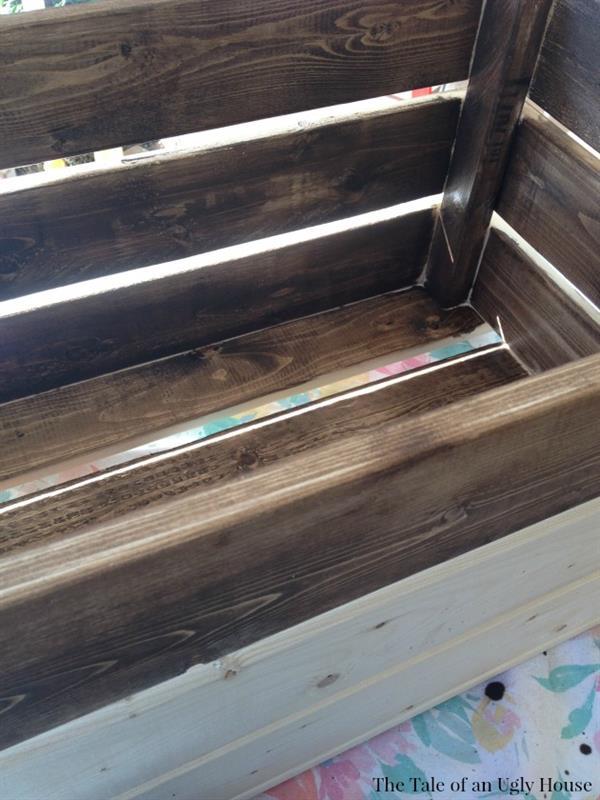
Step 8
Before staining, I sanded and sanded and sanded some more! It can be a little difficult to get into all the cracks. You might do better to sand before putting it together. It’s completely up to you. Once I finished sanding the crate I stained it with a dark walnut stain by Rust Oleum. I used a q-tip to get the stain into all the little grooves.
-
Step 9
Let it dry over night before putting anything in it.
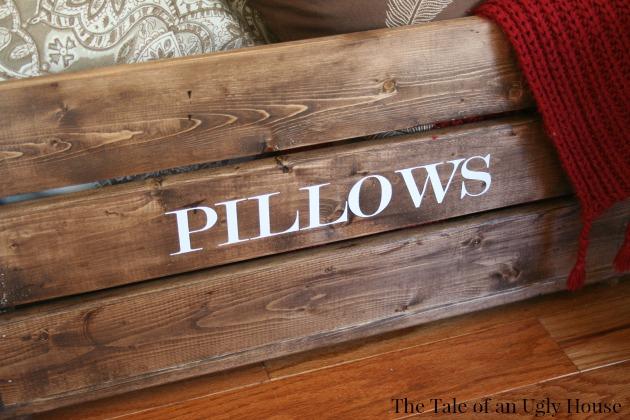
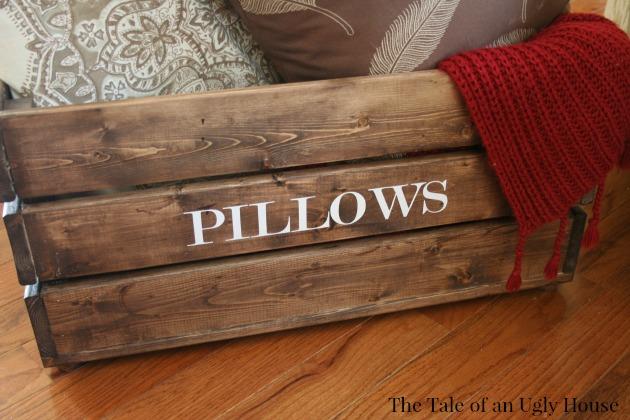
The next day I added the word “Pillows” on white vinyl using my Silhouette Cameo. You could easily paint this on your crate if you don’t own a Silhouette or Cricket.
