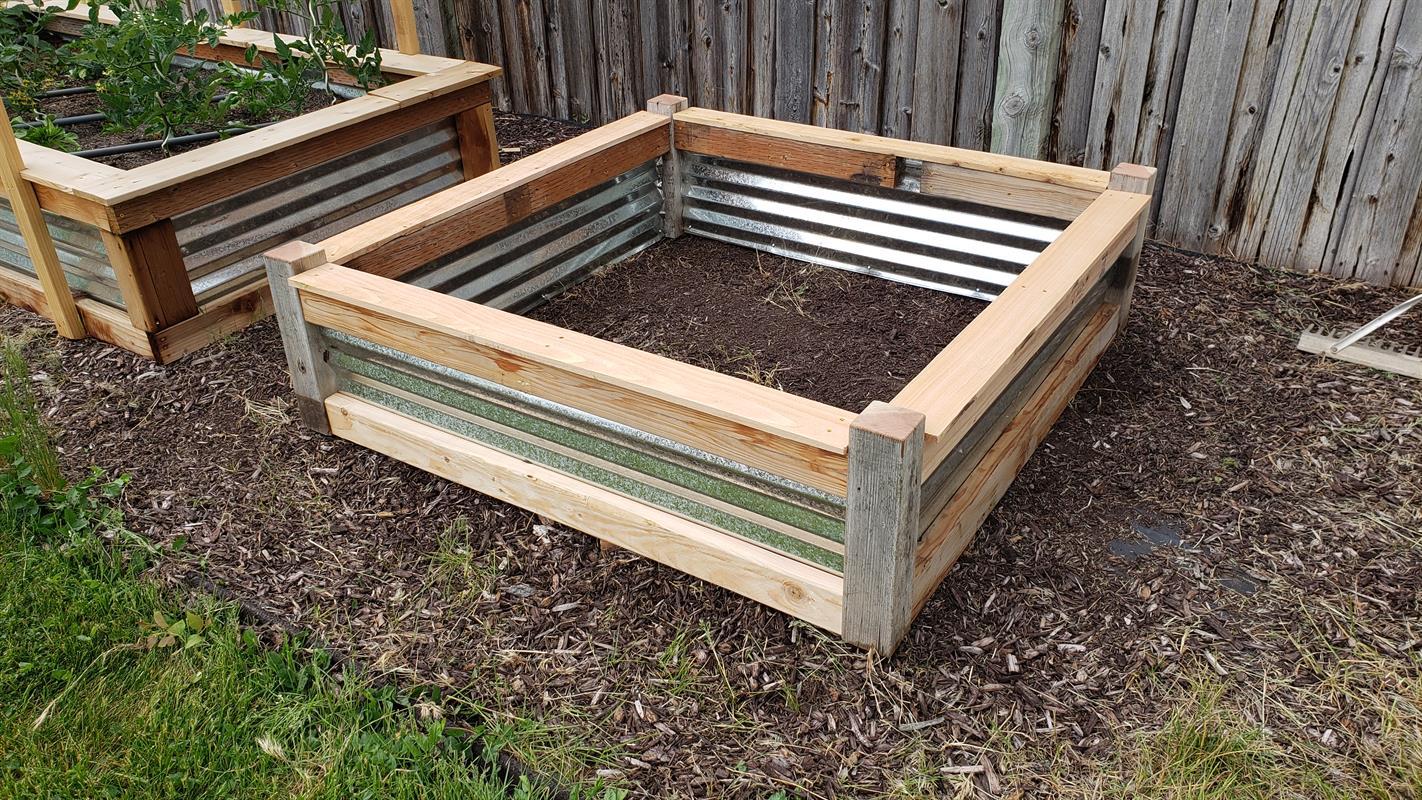

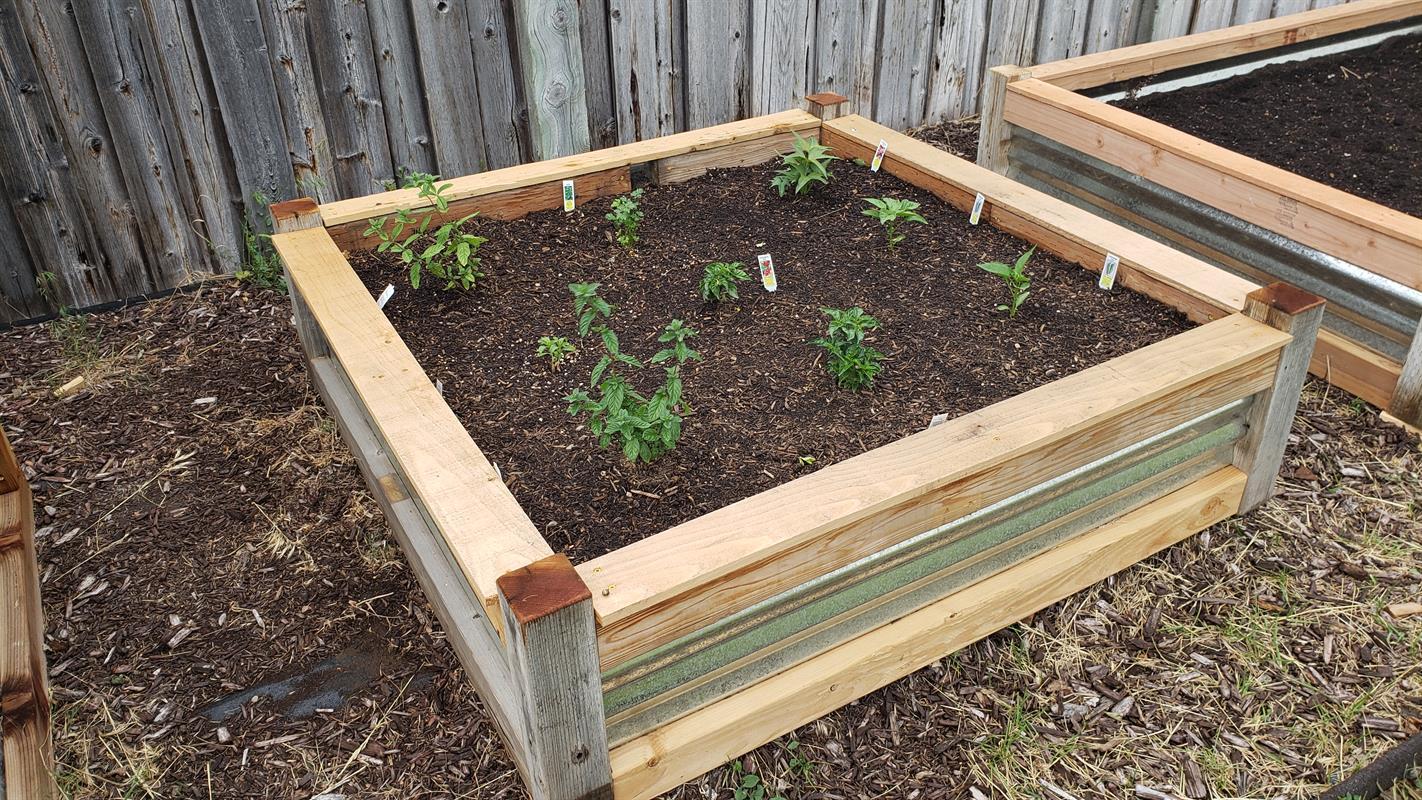


Build this DIY raised garden bed in an afternoon for less than $40. This bed uses common construction lumber and corrugated roofing for a rot-resistant, durable bed that is as easy to use as it is to build.
Tools
Kreg Tools

Other Tools
-
Circular Saw (cordless)

-
Miter Saw
-
Table Saw
-
Tape Measure
-
Clamps
-
Drill (cordless)
-
Sawhorse
Materials
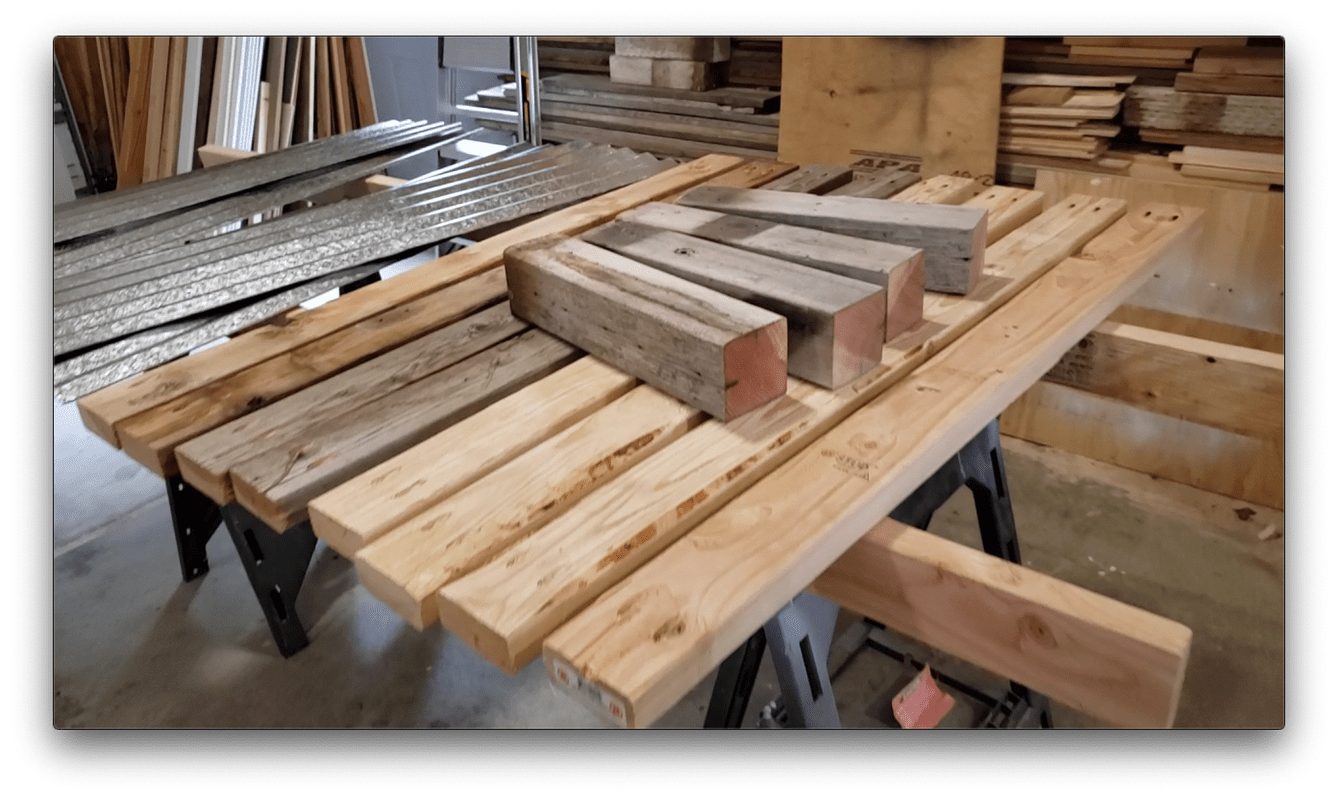
Wood Products
- 4 Board , 2x4 , 96"
- 1 Board , 4x4 , 96"
- 4 Board , 1x4 , 48"
Hardware & Supplies
- 1 Kreg 2.5" Pocket Hole Screws (box)
- 1 Kreg 1" Pocket Hole Screws (box)
- 1 2.5" Deck Screws (box)
- 1 27" x 8' Corrugated Panel
Cut List & Parts
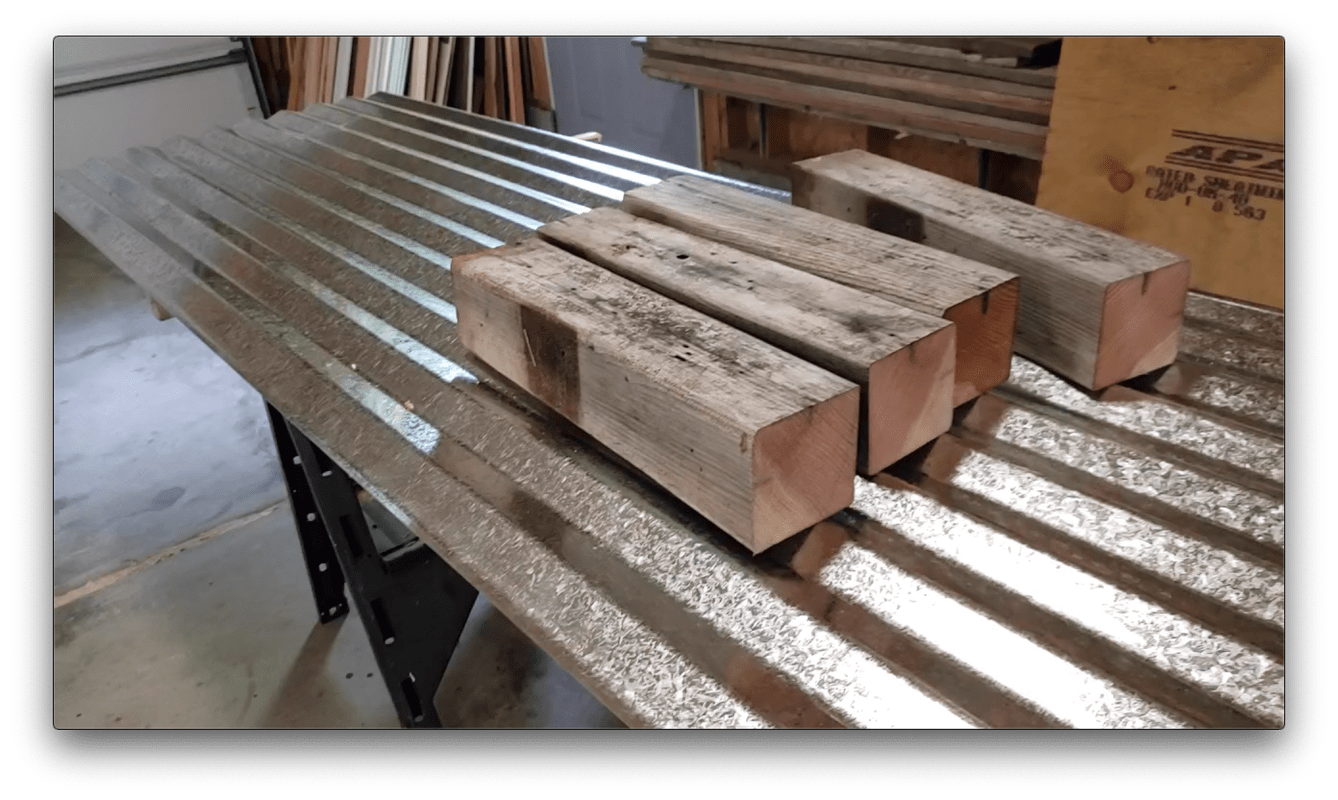
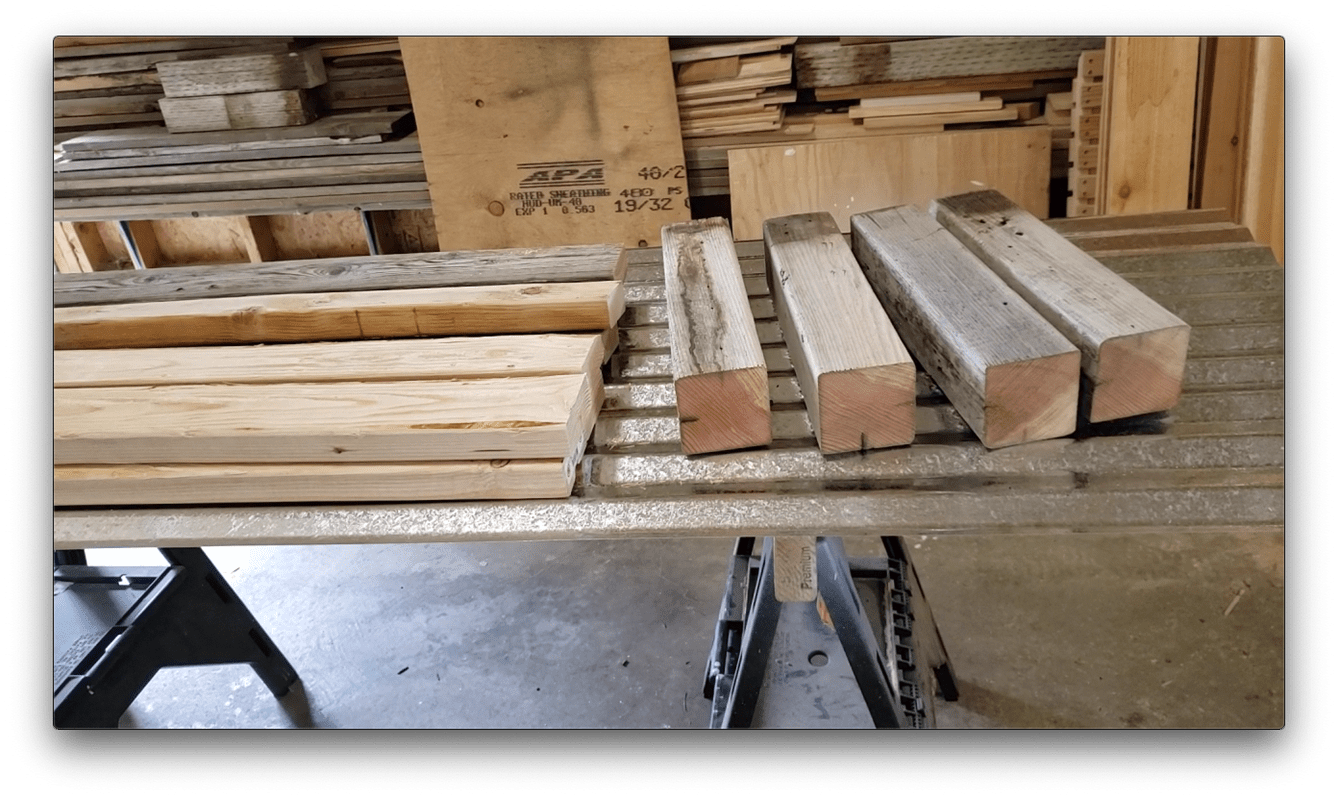
- 4 Legs , 4"x4"x16"
- 8 Cross Braces , 2"x4"x48"
- 4 Top Plate , 1"x4"x48"
- 4 Corrugated Panels , 4'x13.5"
Directions
-
Legs
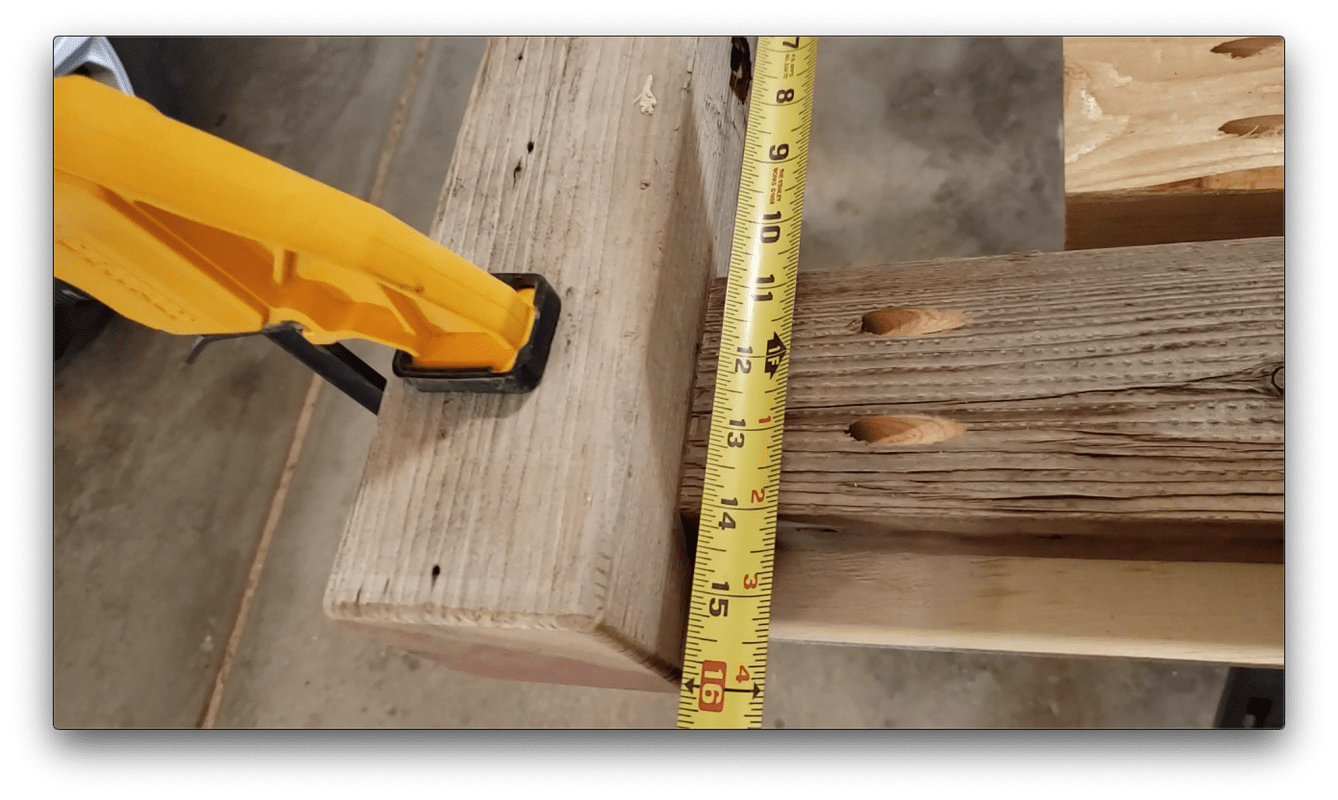
First step is to cut your 4 legs from the 8 foot 4"x4". Each leg should be 16" in length.
-
Cross Braces
Next you need to cut your cross braces from your 8 foot 2"x4"s. You should have 8 boards cut to 48" in length.
-
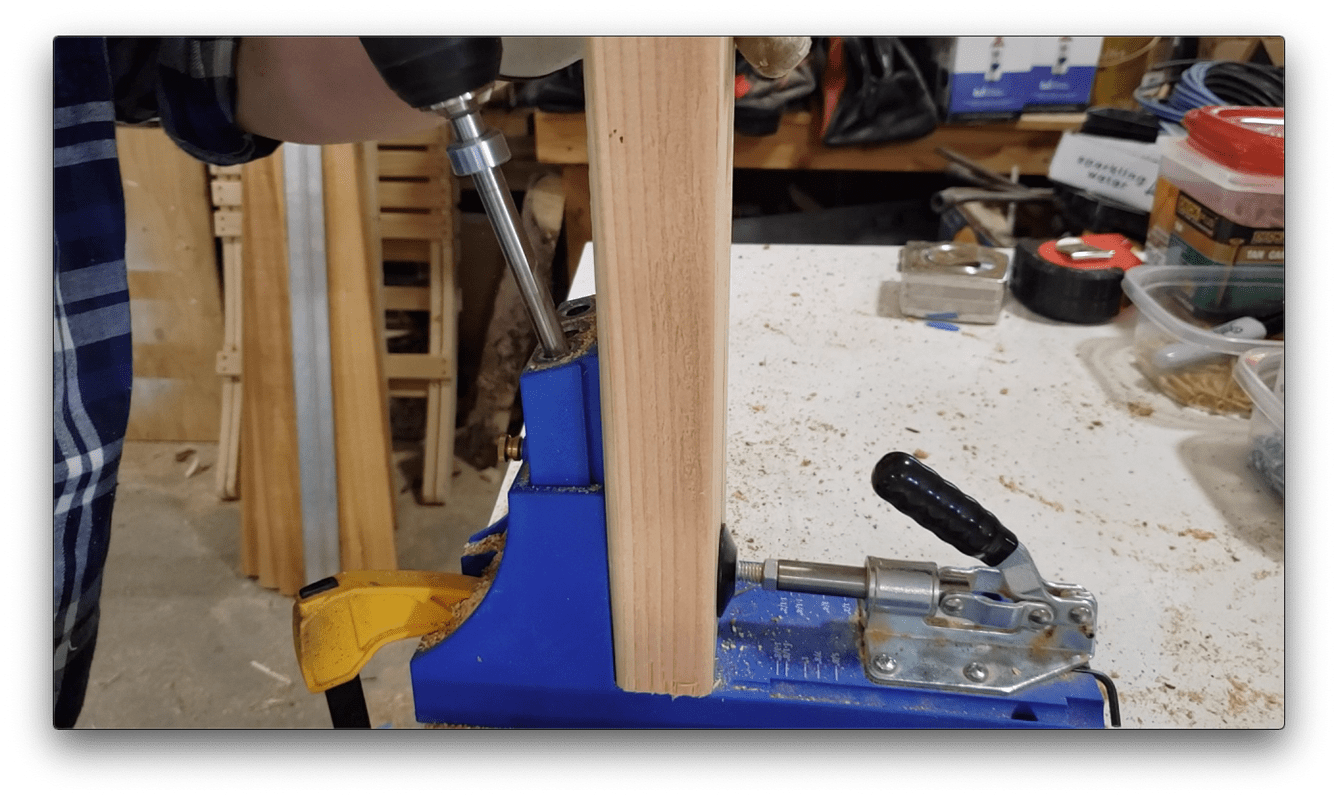
Pocket Holes
Next you want to add 2 pocket holes to each end of the 8 cross braces, using your Kreg Jig.
-
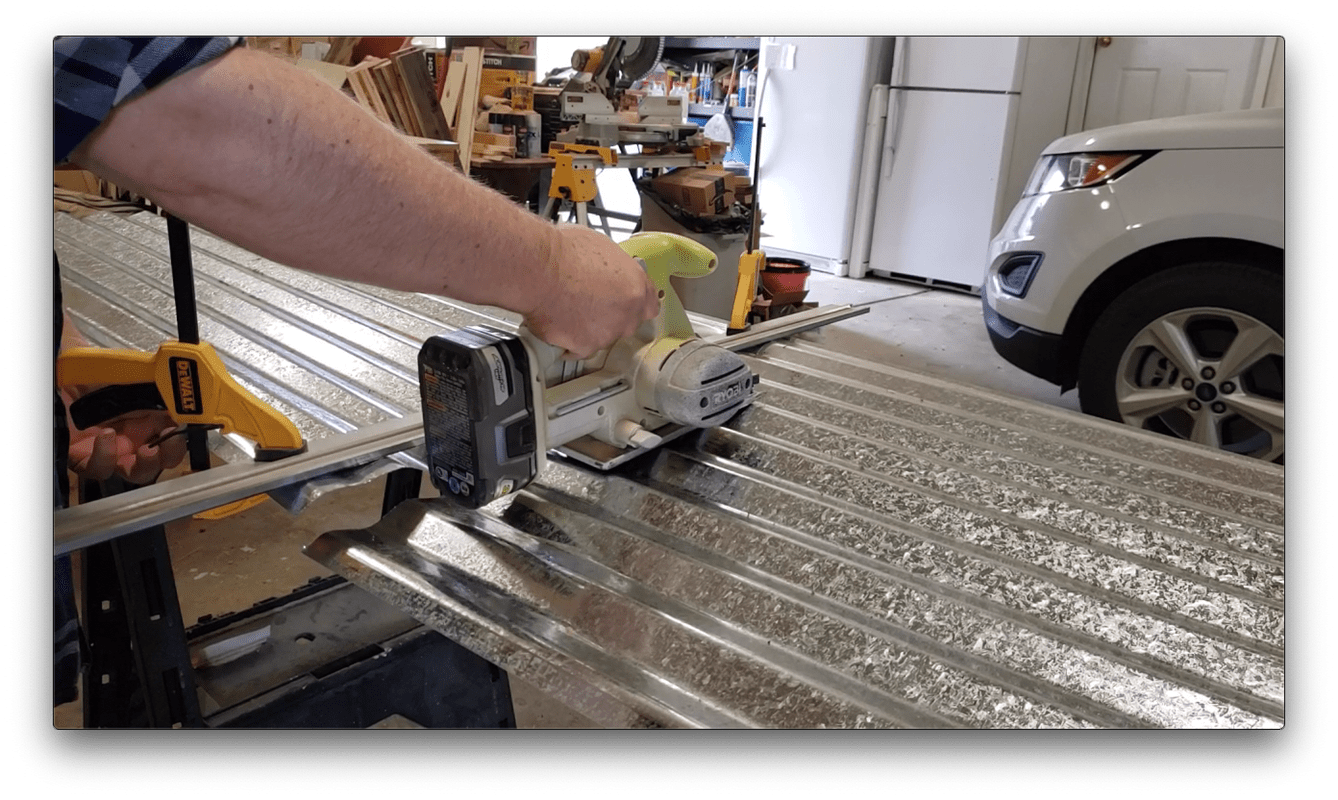
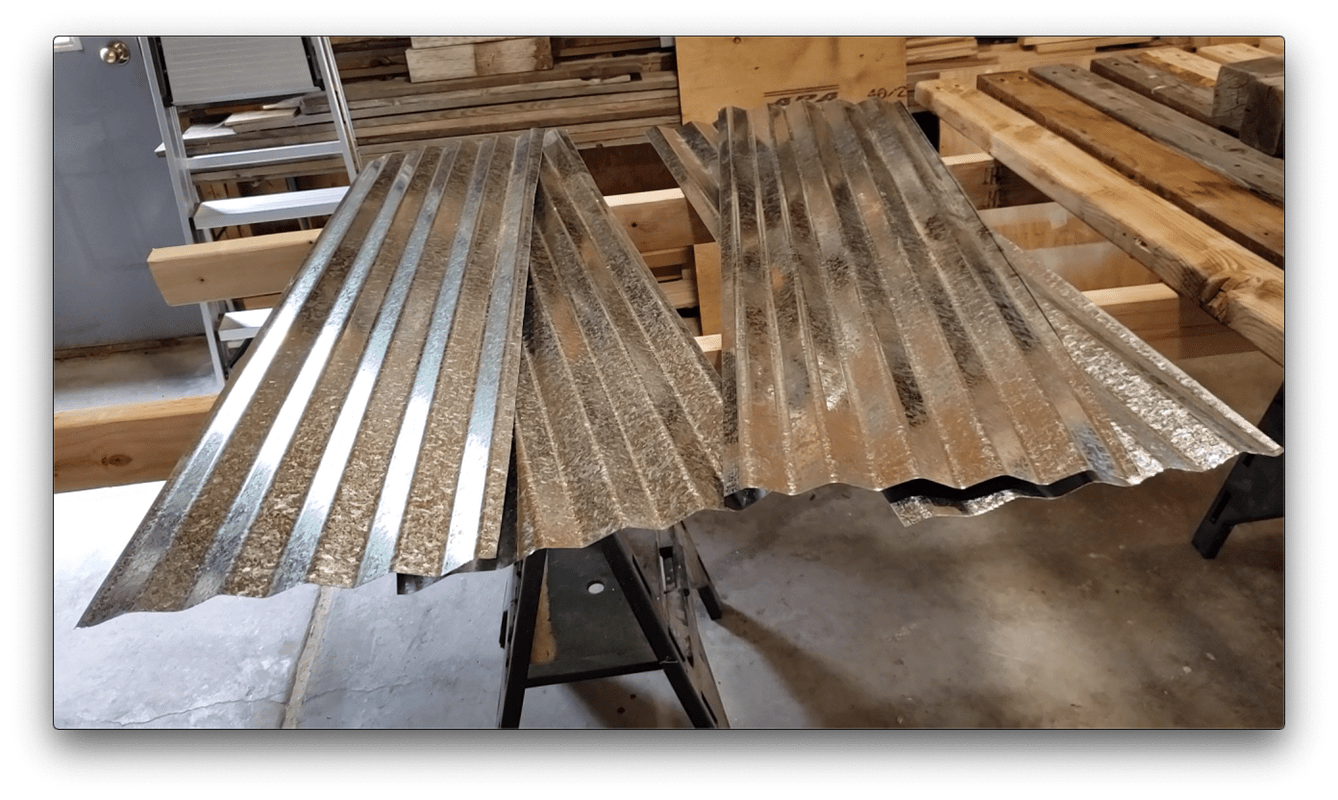
Cut Side Panels 1 of 2
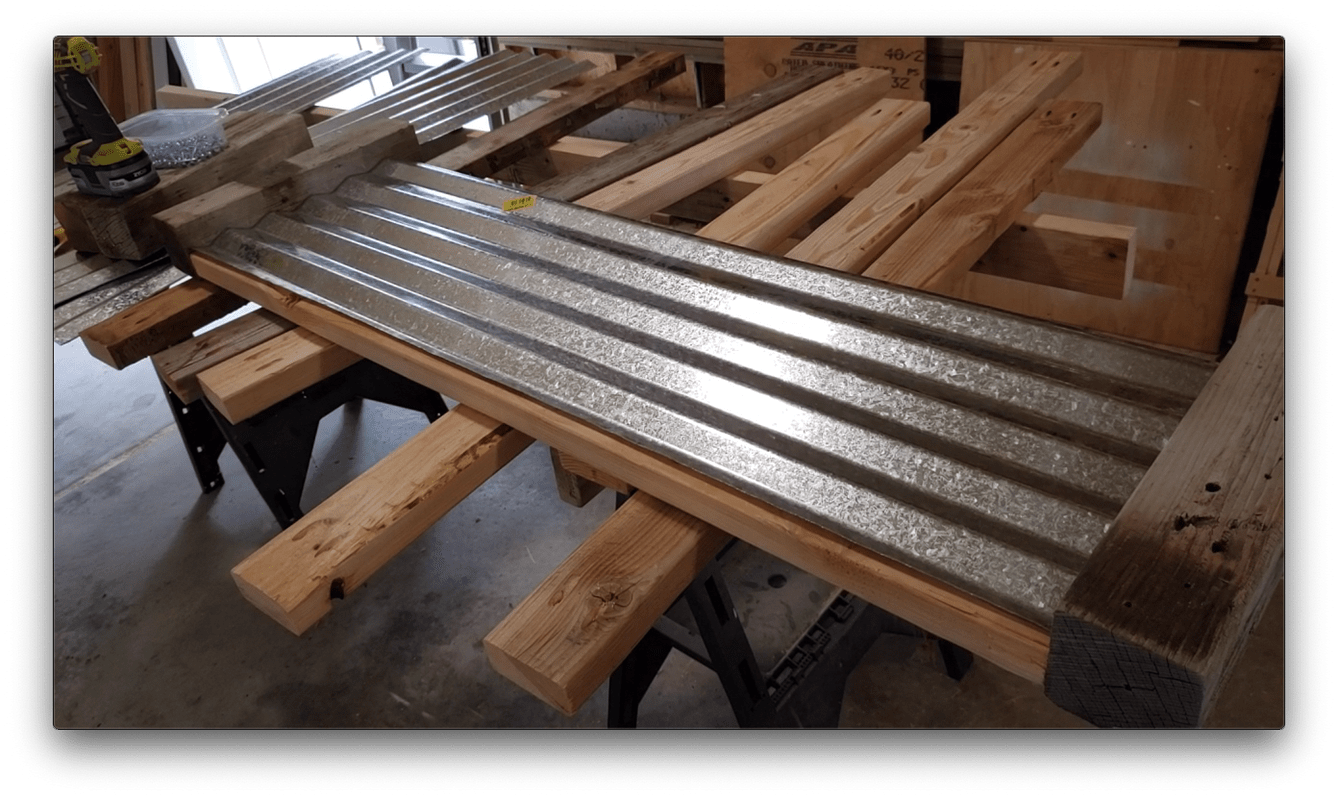
Next you want to cut 4 side panels from the 27"x8' corrugated panel. To do this, you want to make your first cut across the panel creating 2 panels that are 27"x4'. These panels are very thin and can be cut using a circular saw.
-
Cut Side Panels 2 of 2
Next you need to take the 2 side panels from the previous step and cut them into 4 panels that are 13.5"x4' in size. After this step you should have four 13.5"x4' corrugated panels.
-
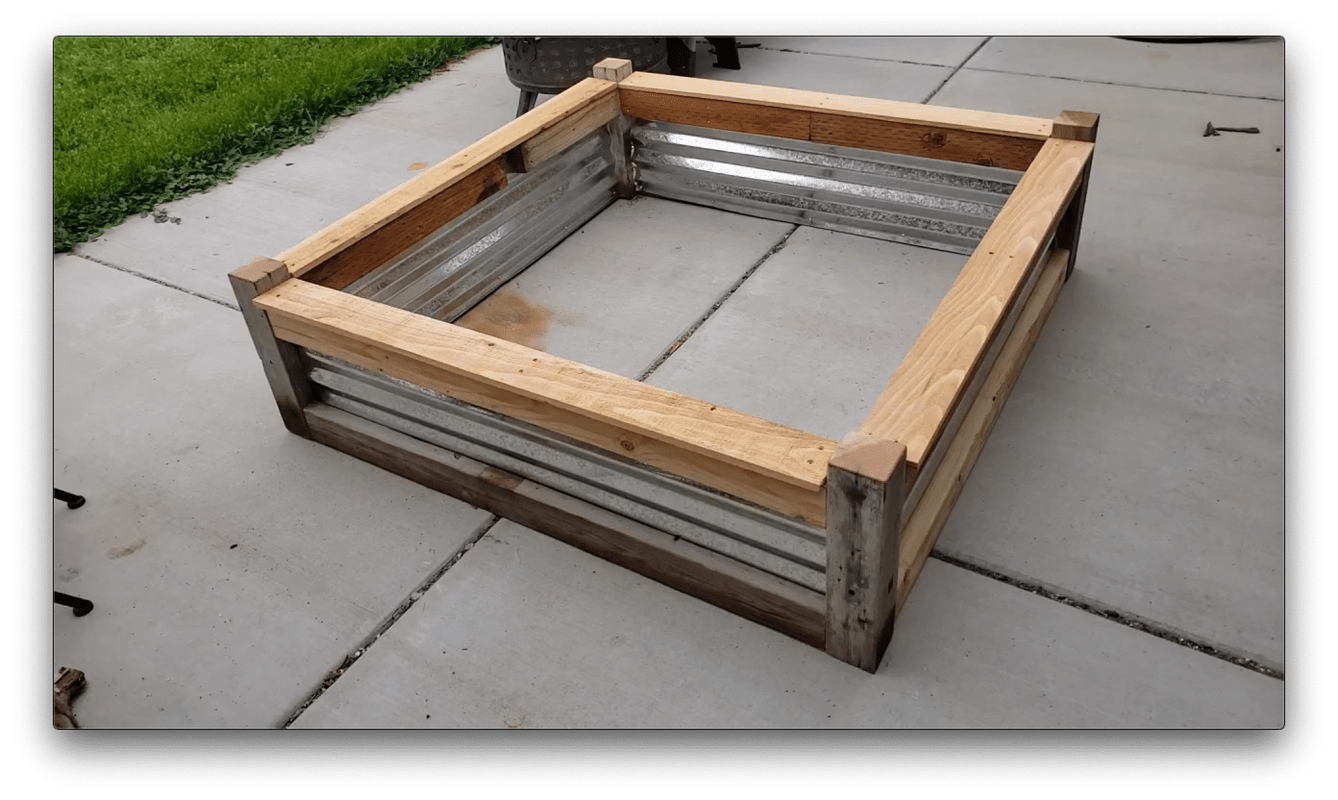
Build Sides 1 of 3
Next you want to attach 2 of the legs to 1 of the cross braces. The cross brace should be flush to the bottom and side of each leg. You will be attaching these using 2.5" Kreg Pocket Hole screws.
-
Build Sides 2 of 3
Next you need to attach the top cross brace to the legs from the previous step. This brace will not be flush with the top of the leg, but will have a slight offset. The distance from the bottom of the bottom brace to the top of the top brace should be 14". Again, use 2.5" Kreg Pocket Hole Screws to attach the brace to the legs.
-
Build Sides 3 of 3
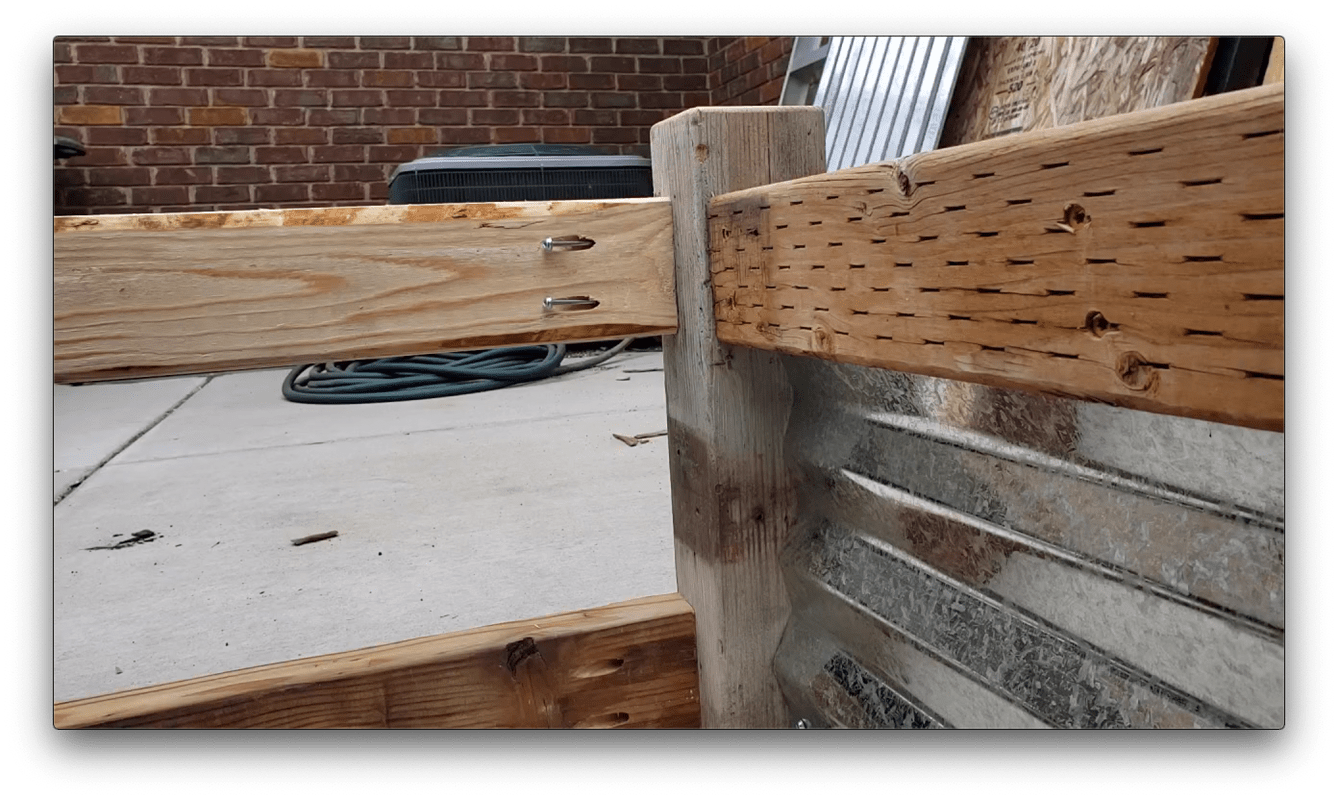
Once the legs are connected with the 2 cross braces, it's time to attach one of the corrugated panels. Place the panel across the side, leaving approximately 3/8" at the top and bottom. Attach using 1" Kreg Pocket Hole Screws.
-
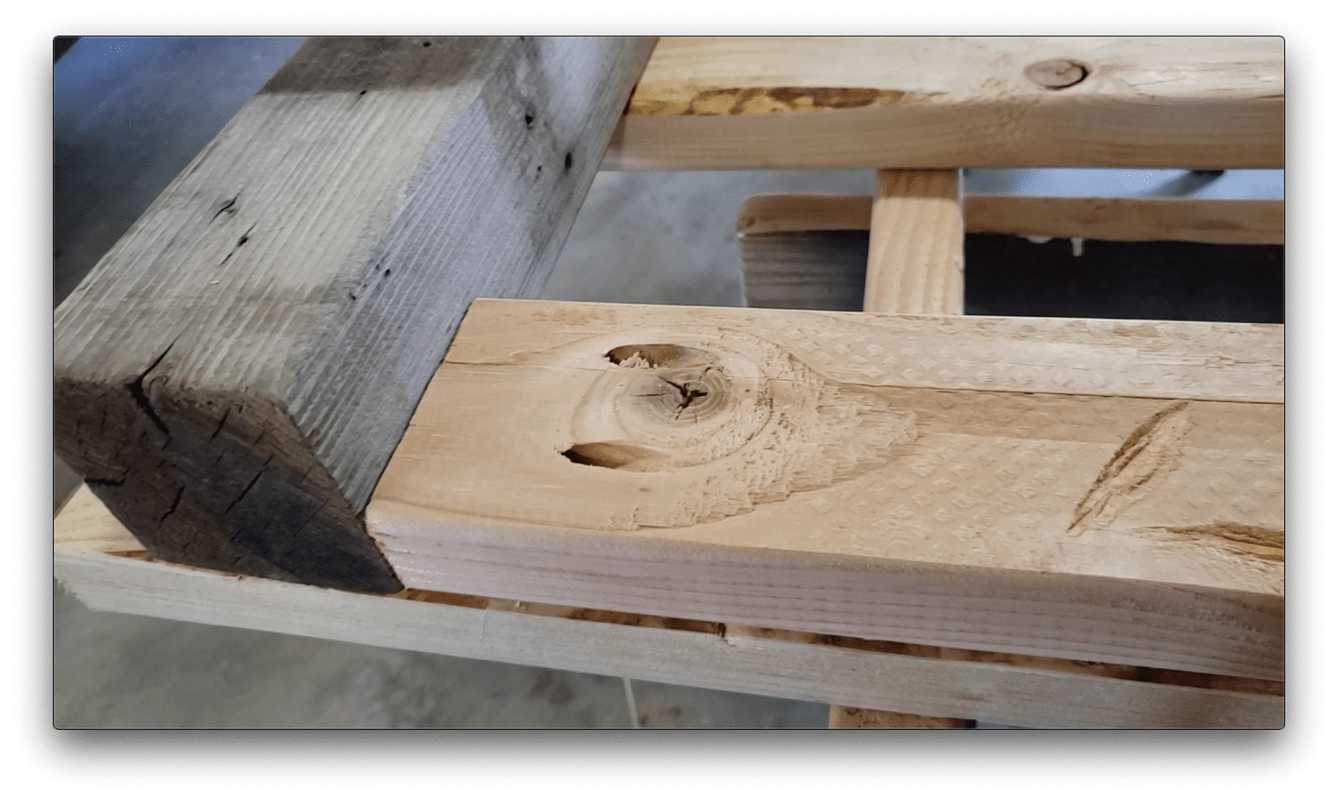
Additional Support (Optional)
If you will be attaching a top plate to the sides, it is a good idea to add some additional support to attach the 1"x4"x48" cedar fence slats to. These are attached using exterior deck screws. It helps to clamp the board to the panel before permanently attaching to prevent slipping.

-
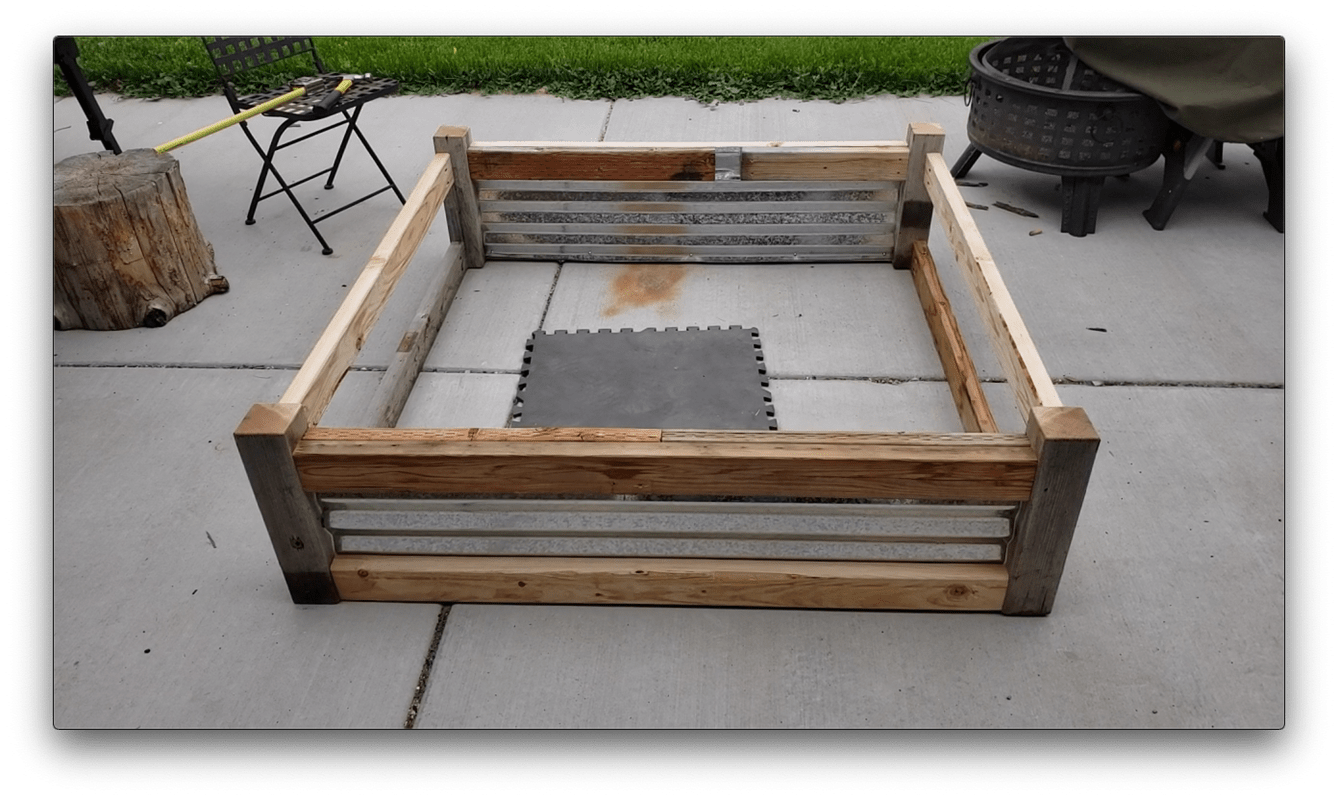
Connect Sides
After building 2 of the sides, you need to connect them with the remaining cross braces. The easiest way to do this is to stand up the 2 build sides and place the 2 bottom cross braces between them (pocket holes facing the inside of the bed). Next hold them in place using a 60" clamp (or daisy chain two 36" clamps together). Once secured, attach the cross braces using 2.5" Kreg Pocket Hole screws. Repeat this step for the top braces.
-
Assessment
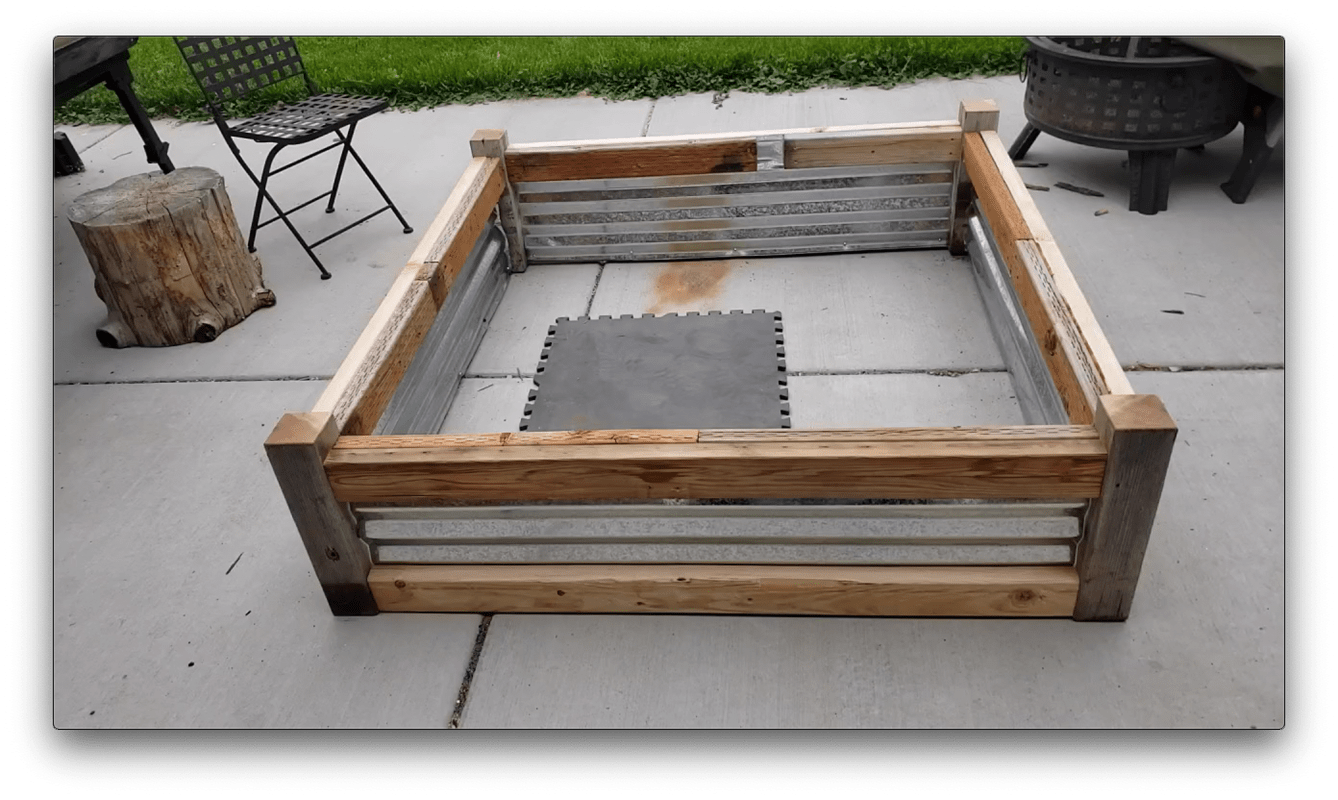
At this point you should have 2 sides connected using the remaining cross braces.
-
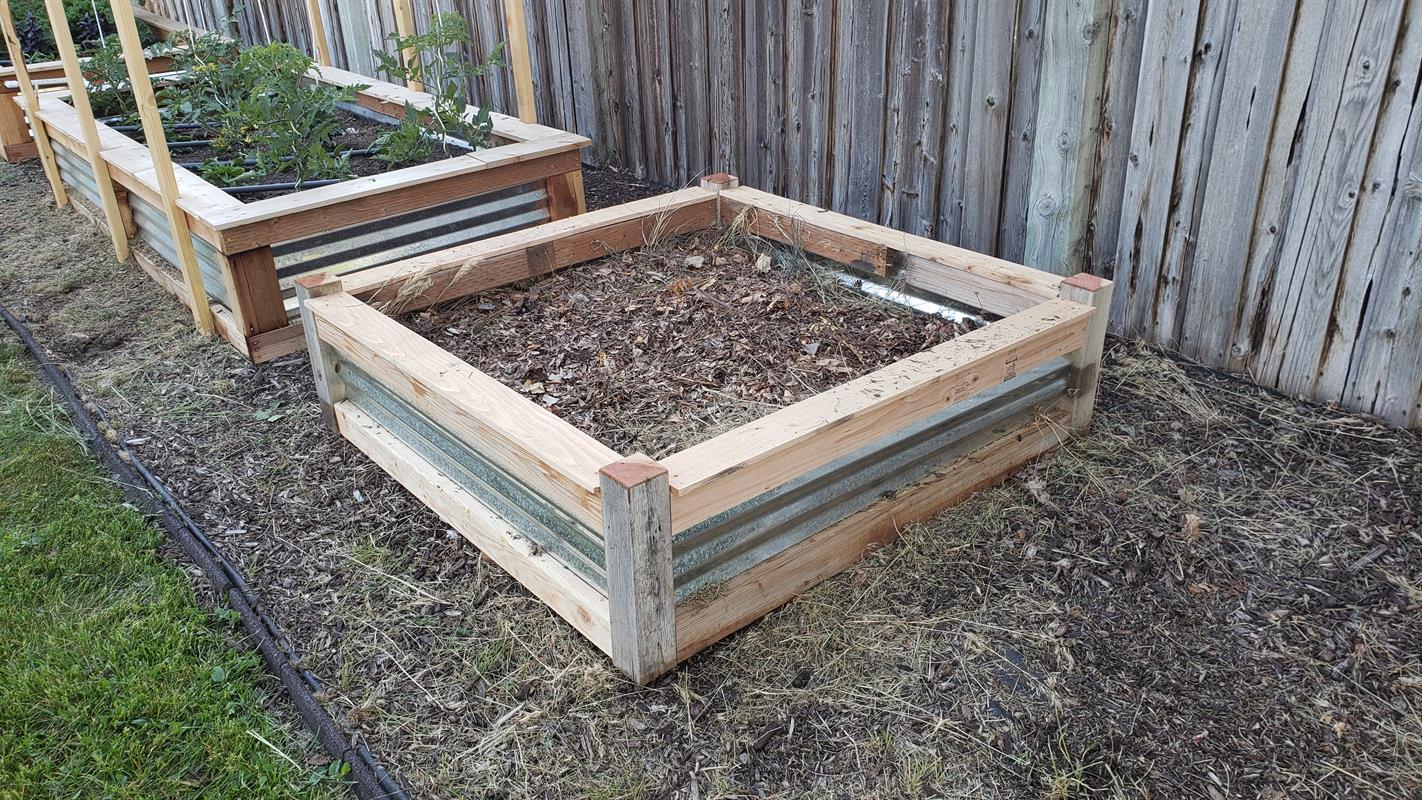
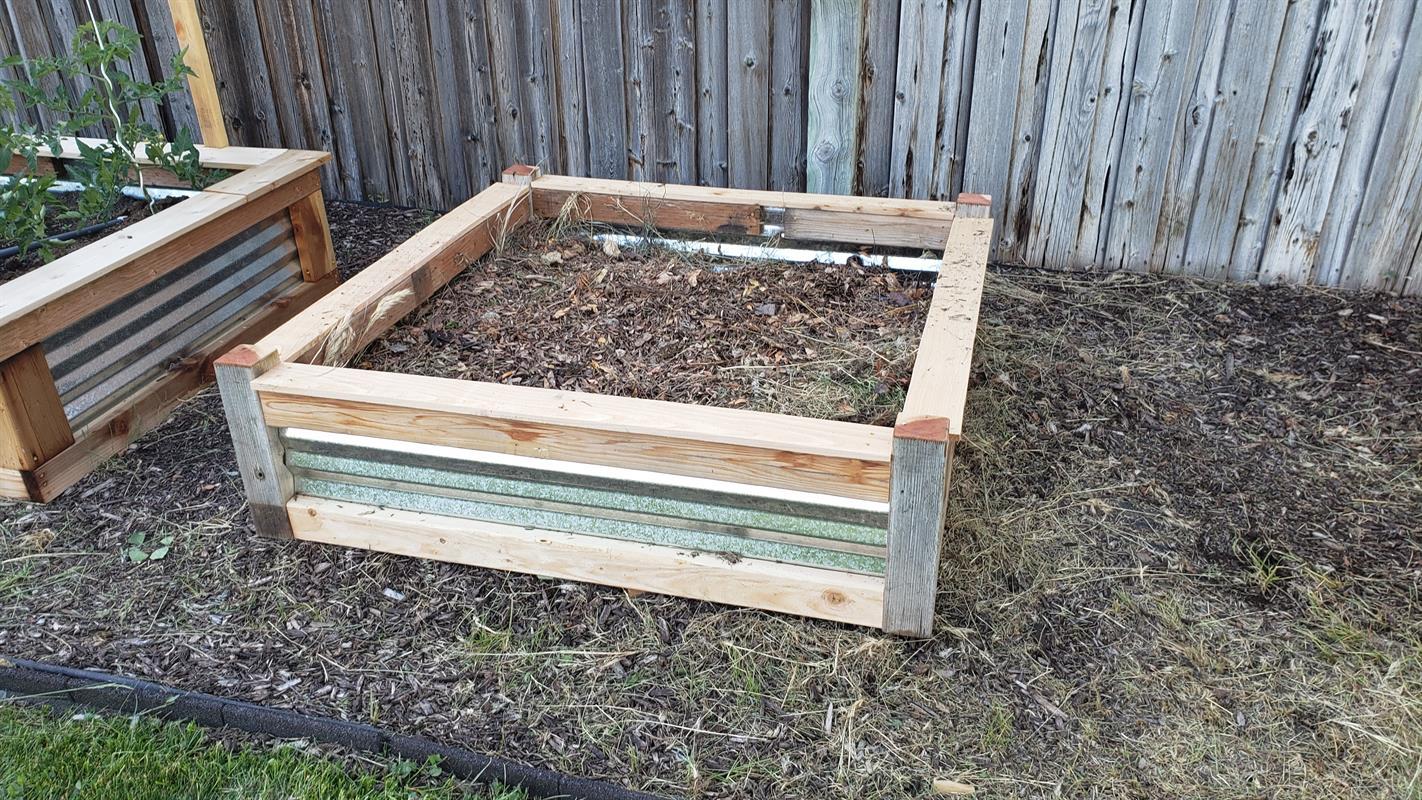
Add Remaining Corrugated Panels
Next you need to attach the remaining 2 corrugated panels using 1" Kreg Pocket Hole screws. Once attached, add the additional support boards (optional) for the top plate.
-
Add Top Plates (Optional)
Cut four 1"x4" cedar fence slats to 48" in length and attach to the top of each side using 1.25" exterior deck screws. At this point the project is complete. Move the bed to the desired location and fill with compost and garden soil.
-
4'x8' Version
If you are looking for a larger garden bed, you can double the size for only about $20 more. Replace the front and back 2"x4"x4' boards with 2"x4"x8' boards and replace the front and back 13.5"x4' corrugated panels with 13.5"x8' panels. This will add 2 additional 2"x4"x8' boards and 1 additional 27"x8' corrugated panel.

-
Tip & Video Tutorial
A tip would be to fill the bottom half of the bed using Huglekultur method.
For a complete video tutorial on this build and Huglekultur, watch the YouTube video listed below.