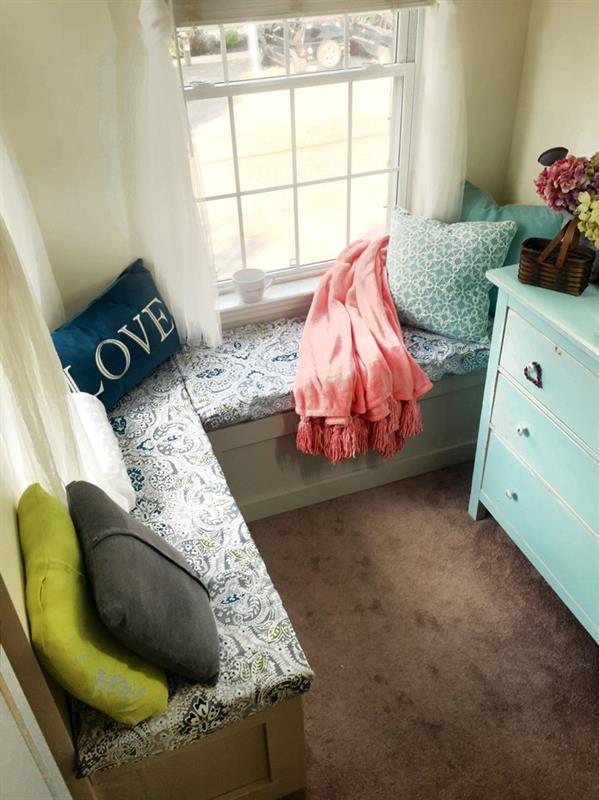


Instructions on how to build a custom-sized window seat with built-in storage. Use your measurements and my tutorial to quickly and easily build a window seat customized for your space.
Remember: the length of your window seat(s) will differ from mine. Cut your wood according to your specs.
Tools
Kreg Tools

Other Tools
-
Miter Saw

-
Reciprocating Saw
-
Table Saw
-
Tape Measure
-
Drill (cordless)
-
Hammer
-
Brad Nailer
-
Shop Vacuum
Materials
Wood Products
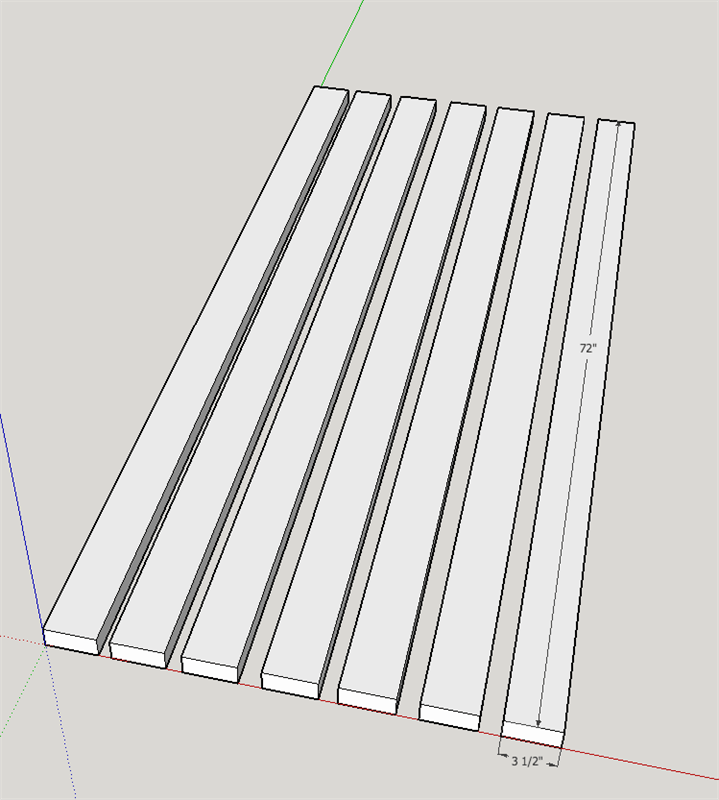
- 4 Board , 1x4 , 72"
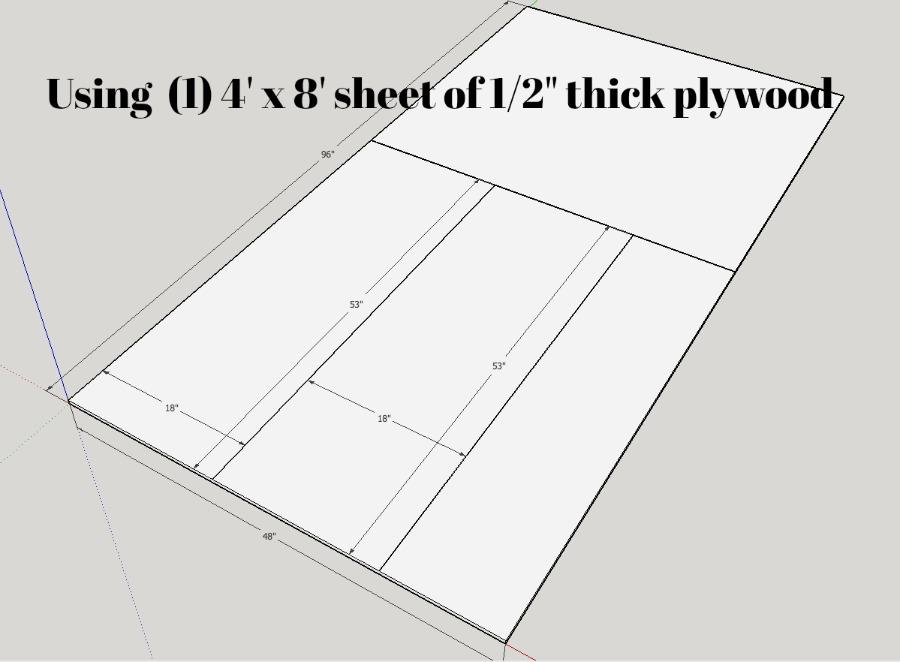
- 3 Plywood , 1/2" Thick , Quarter Sheet
- 3 Plywood , 1/4" Thick , Quarter Sheet
- 8 Board , 2x4 , 96"
- 4 Board , 1x4 , 72"
Hardware & Supplies
- 1 Box 2-1/2" Kreg Pocket Screws
- 1 Wood glue
- 1 Sanding sponge
- 1 Box 1-1/2 brad nails
- 1 Primer
- 1 Paint
- 1 Paintable wood filler
- 2 1-1/2" x 72" Continuous Hinges
- 1 Pen or pencil
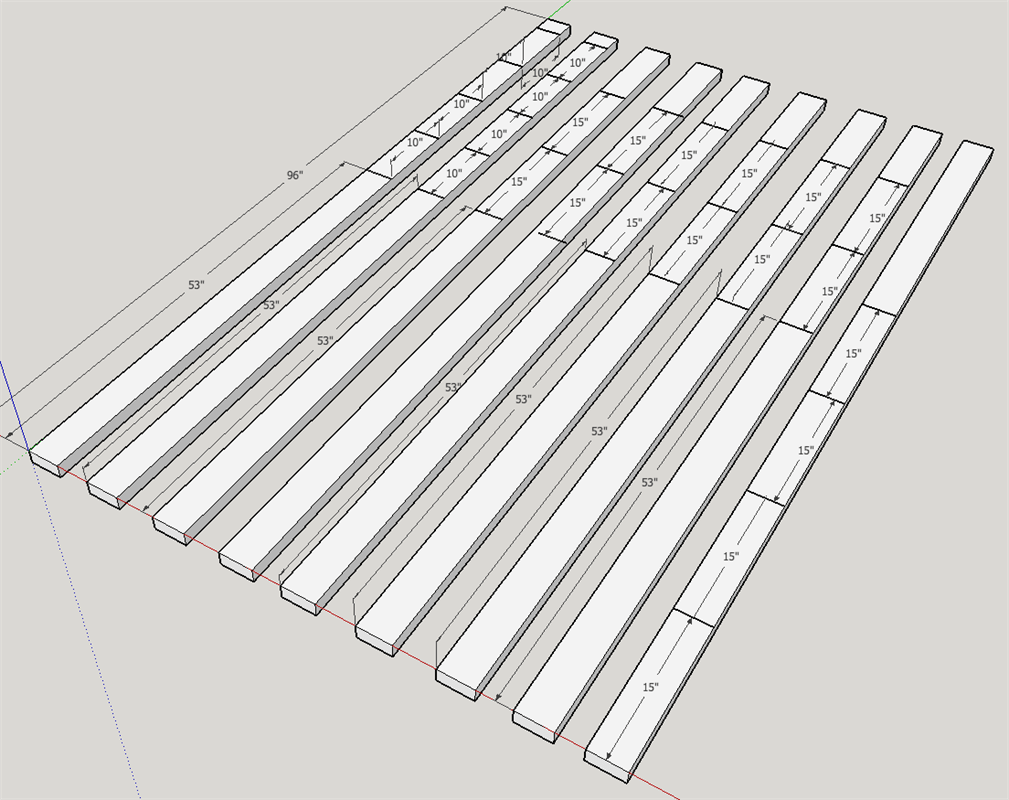
Cut List & Parts
- 8 Top and bottom rails , 2" x 4" x 53"
- 8 End rails , 2" x 4" x 10"
- 16 Braces , 2" x 4" x 15"
- 2 Lids , 1/2" x 53" x 18"
- 12 Trim pieces , Various
Directions
-
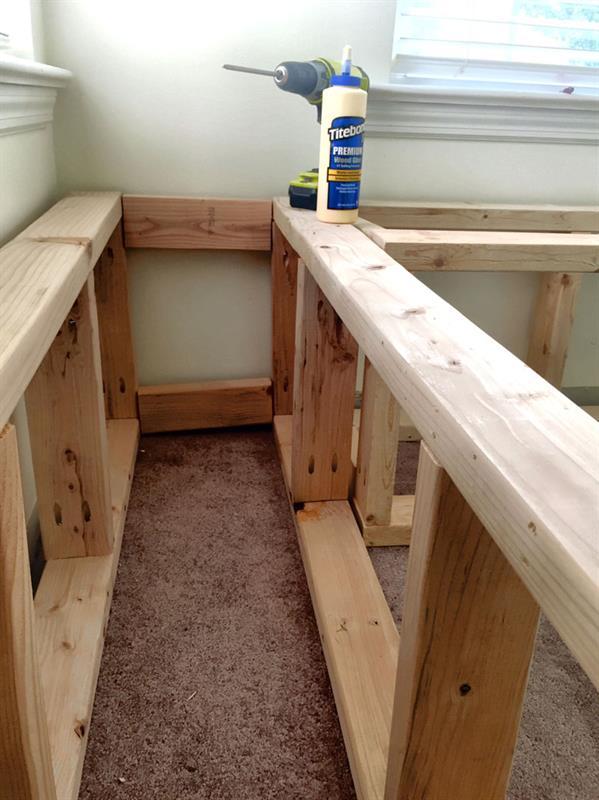
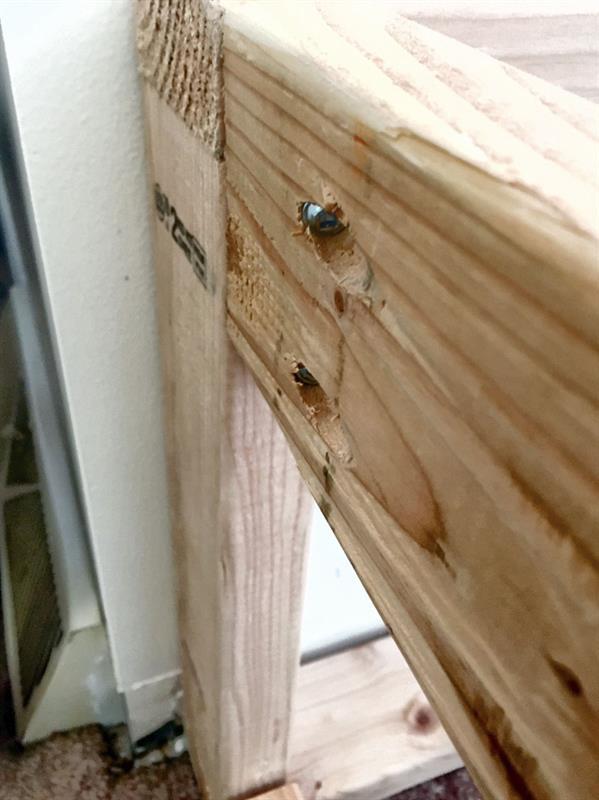
Build Frame
After all wood is cut to size, begin construction of the window seats by drilling pocket holes in the ends of each board and assemble using wood glue and 2-1/2" pocket screws.
-
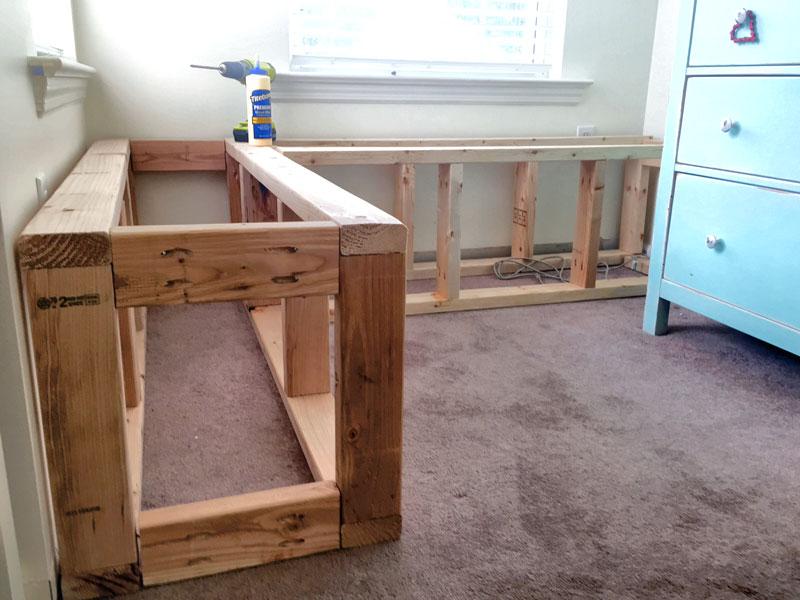
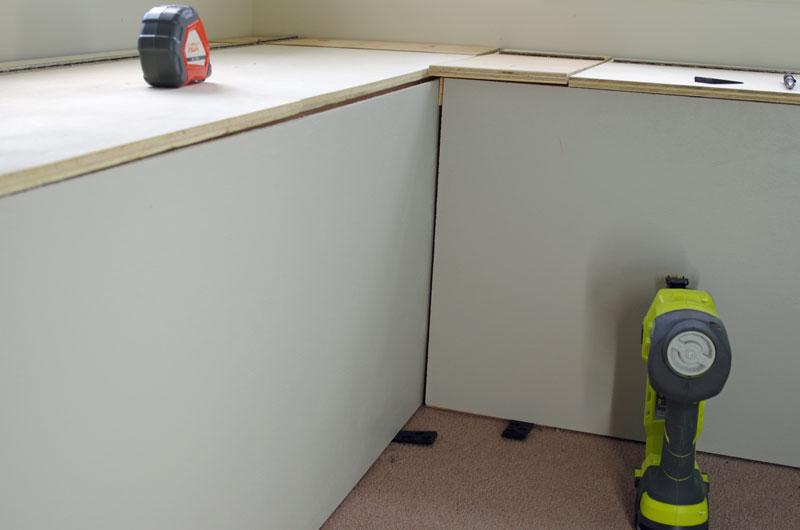
Install Frames
I removed the baseboard where the window seat would be placed against the walls. I did not secure the framing of the window seats to the walls or floor. While it has the look of being "built-in", it is removable.
-
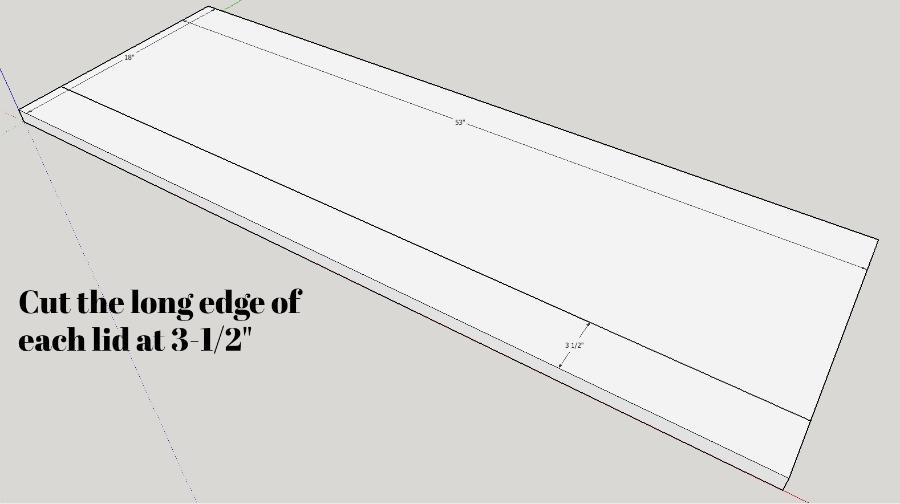
Hinged Lid
On a table saw, cut each lid piece at 3-1/2" inch on the 48" long side. Nail the 3-1/2 pieces to the back of each window seat with a brad nailer.
-
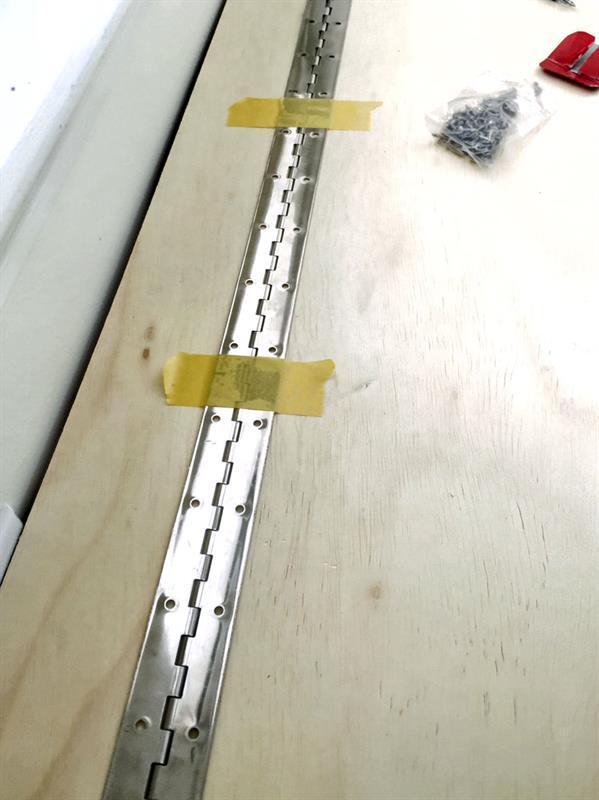
Cut Hinge
Cut the hinge to length needed with a reciprocating saw (metal cutting blade).
-
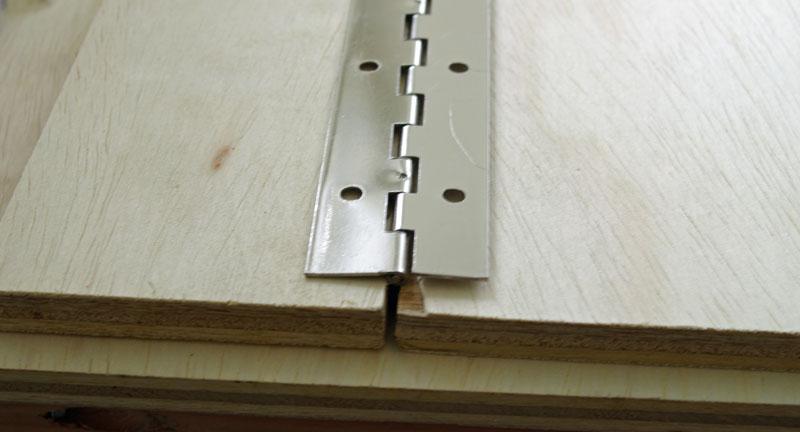
Mark placement of hinge
With hinge placed upside down between the two pieces of lid material, use a pencil (or pen) to mark the screw holes. This will determine exact placement of hinge.
-
Hinge (next step)
Flip hinge over and tape into place, lining up holes with markings. Use power drill to drive screws.
-
Cover frame
Using a brad nailer, attach 1/4" sheets to frame. I painted my plywood first. The brads will be covered up with the trim pieces so there's no need to fill and sand any holes left by the brads.
-
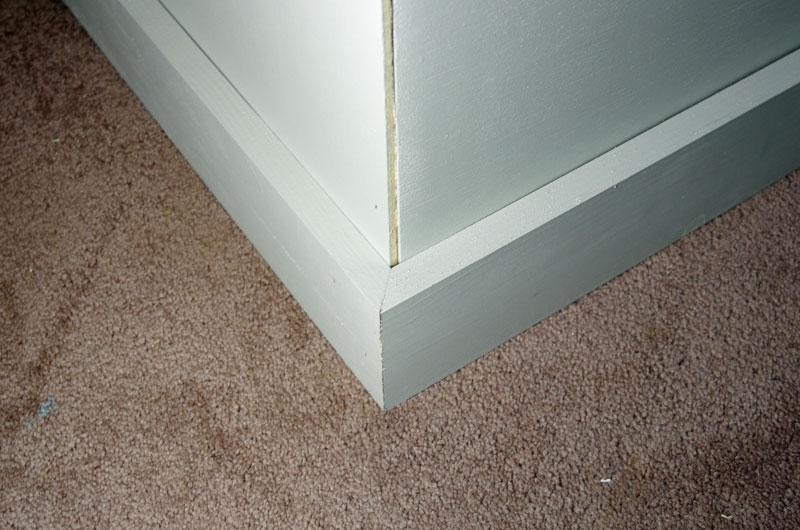
Attach trim
Using the brad nailer, attach the pre-painted trim pieces. Miter cut any outside corners. Fill holes, sand, and touch up paint as needed.
-
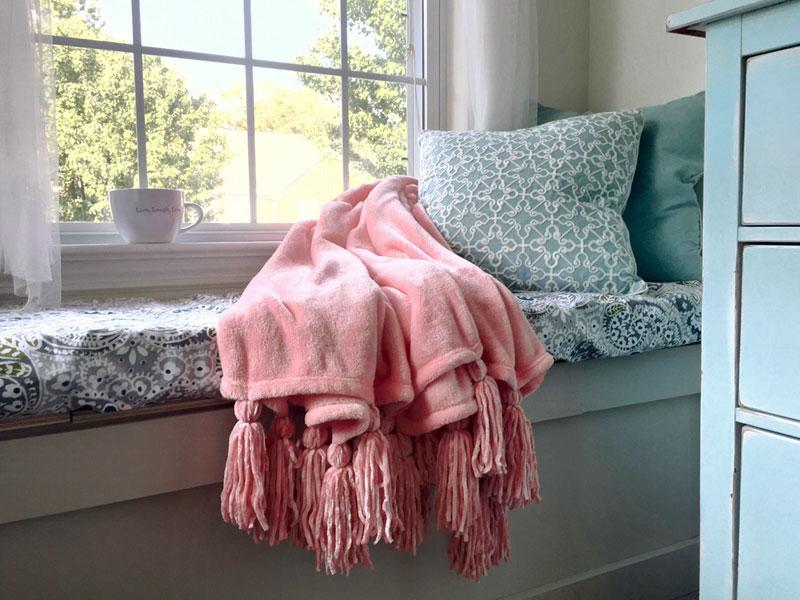
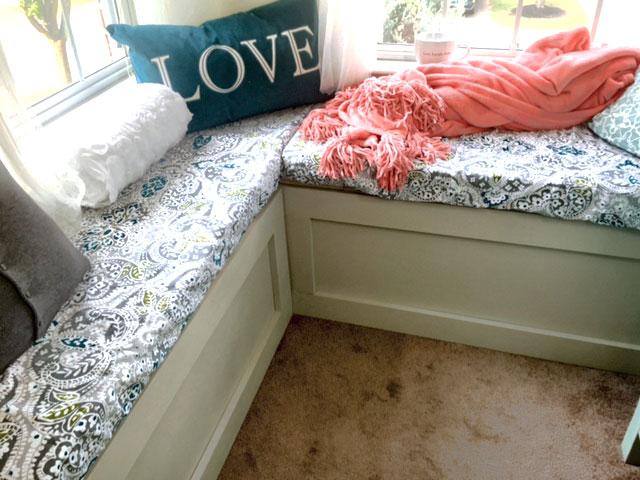
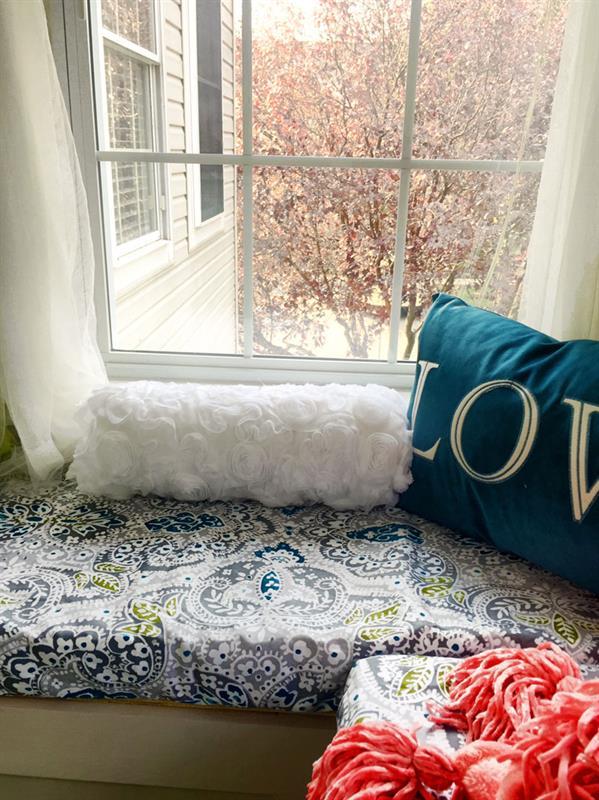
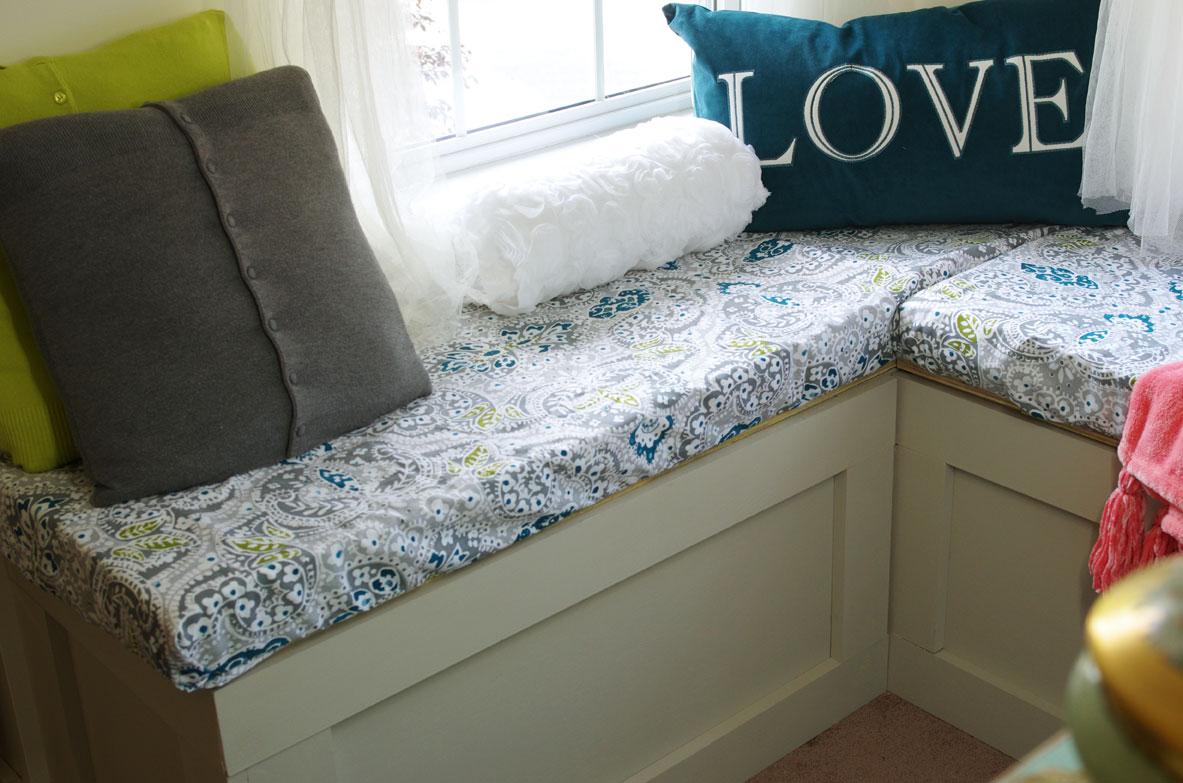
Decorate!
Use purchased cushions, pillows, and throws to personalize your new window seat. I have chosen to buy 3" foam and make cushion covers. Please visit https://createandbabble.com/ for an upcoming tutorial on making cushions and covers in an upcoming article. I will also list the sources for the accessories shown in the final project photos.
-
Cut wood
The dimensions that I used for the seat height and depth are standard. The length however will be different for each window seat. Keep this in mind when you are purchasing and cutting the wood.