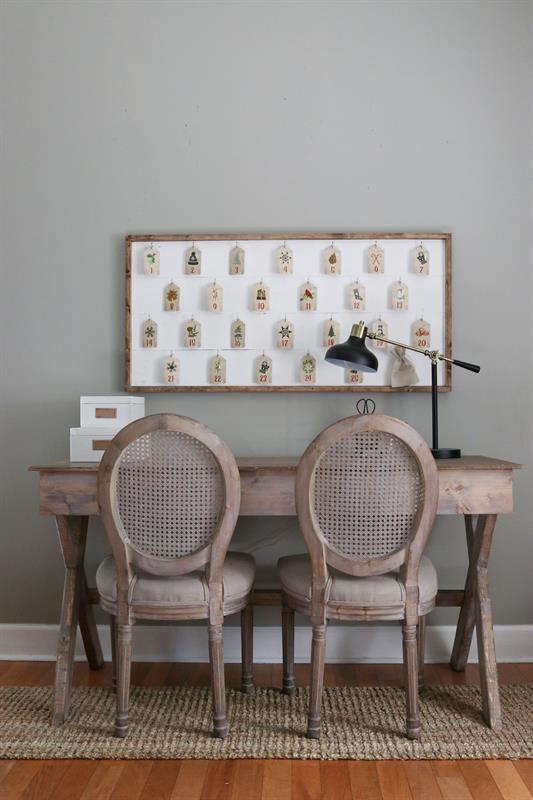
Shiplap Advent Calendar
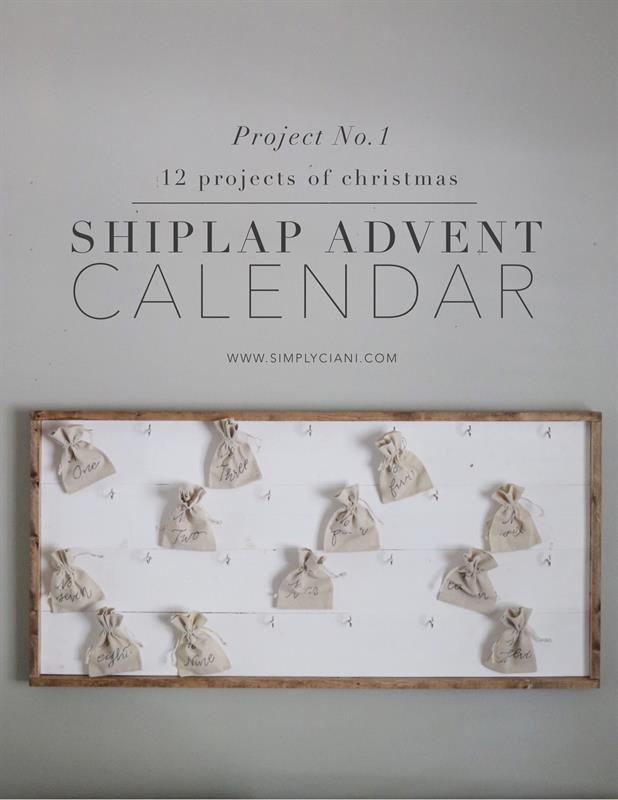
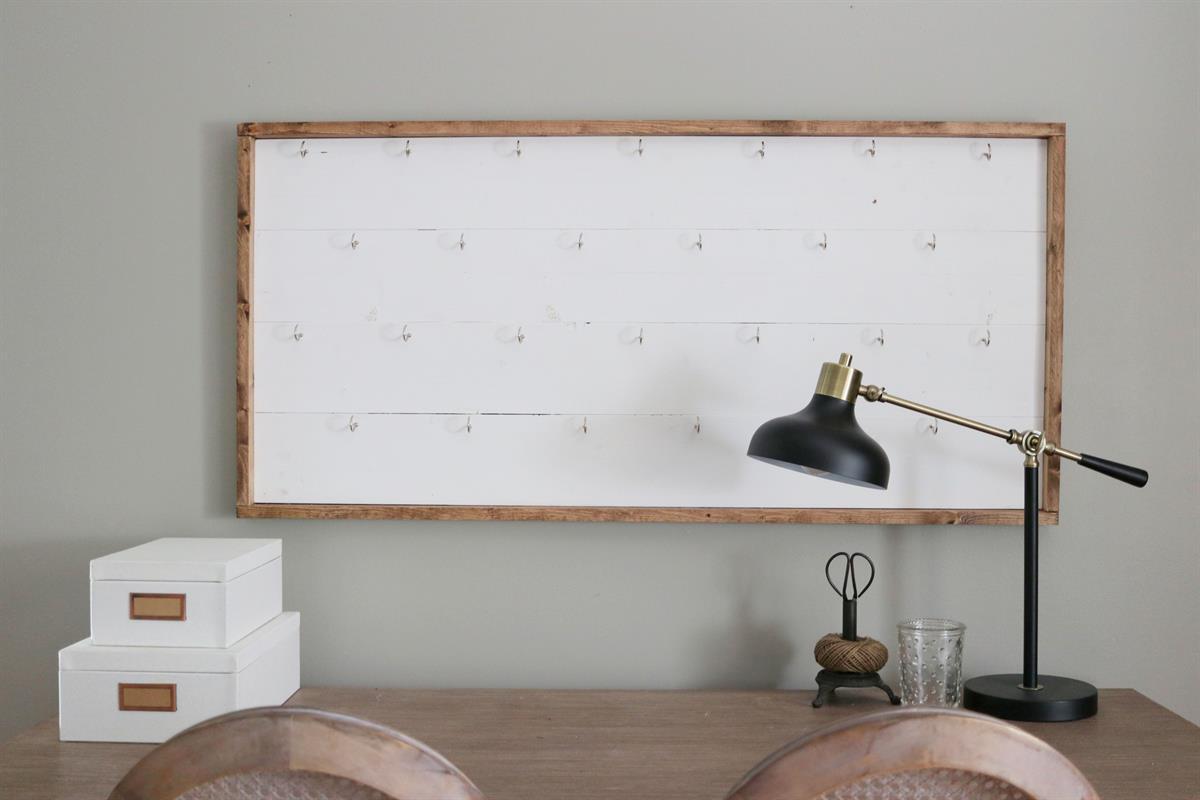
By Simply CianiProject No. 1 of our "12 Projects Of Christmas" series kicks off with this easy to build DIY shiplap advent calendar. This advent calendar is the perfect addition to any farmhouse decor for the holiday season. Just think about all of the memories you will make with your family year after year!
Directions
-
Step 1:
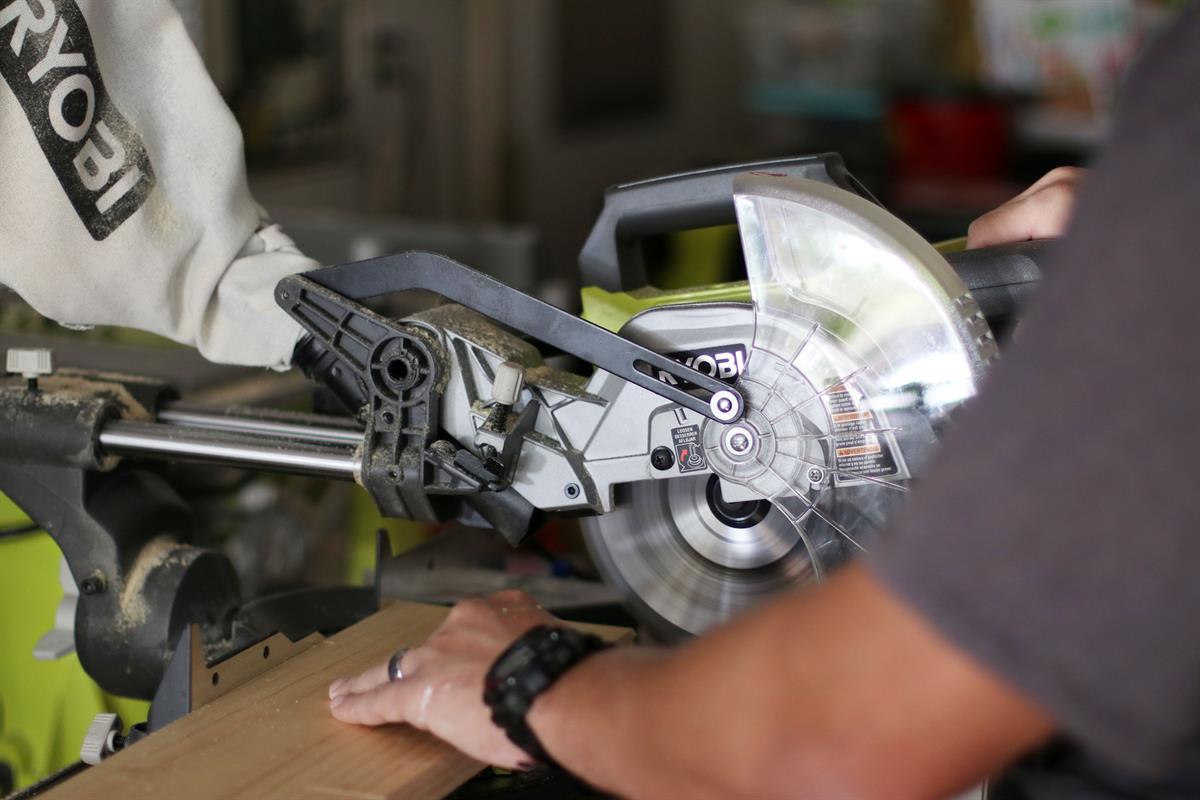
Cut down your 1" x 6" x 8' pine boards down to 47-1/16" each using your miter saw. This will leave you with 4 separate boards. Then, cut your 1" x 2" trim pieces, (2) of them being 48-9/16" long and (2) being 21-7/8" long.
-
Step 2:
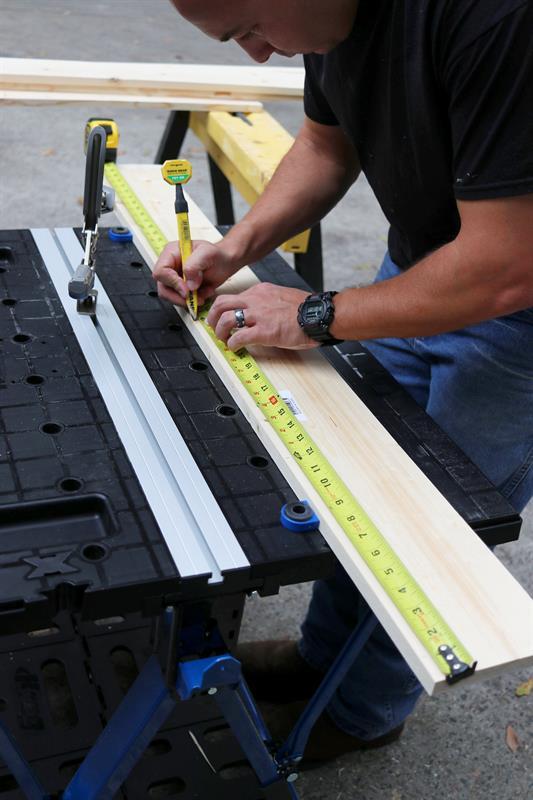
Using a tape measure, mark out on your 6" boards where to drill your pocket holes. We recommend one pocket hole every 12".
-
Step 3:
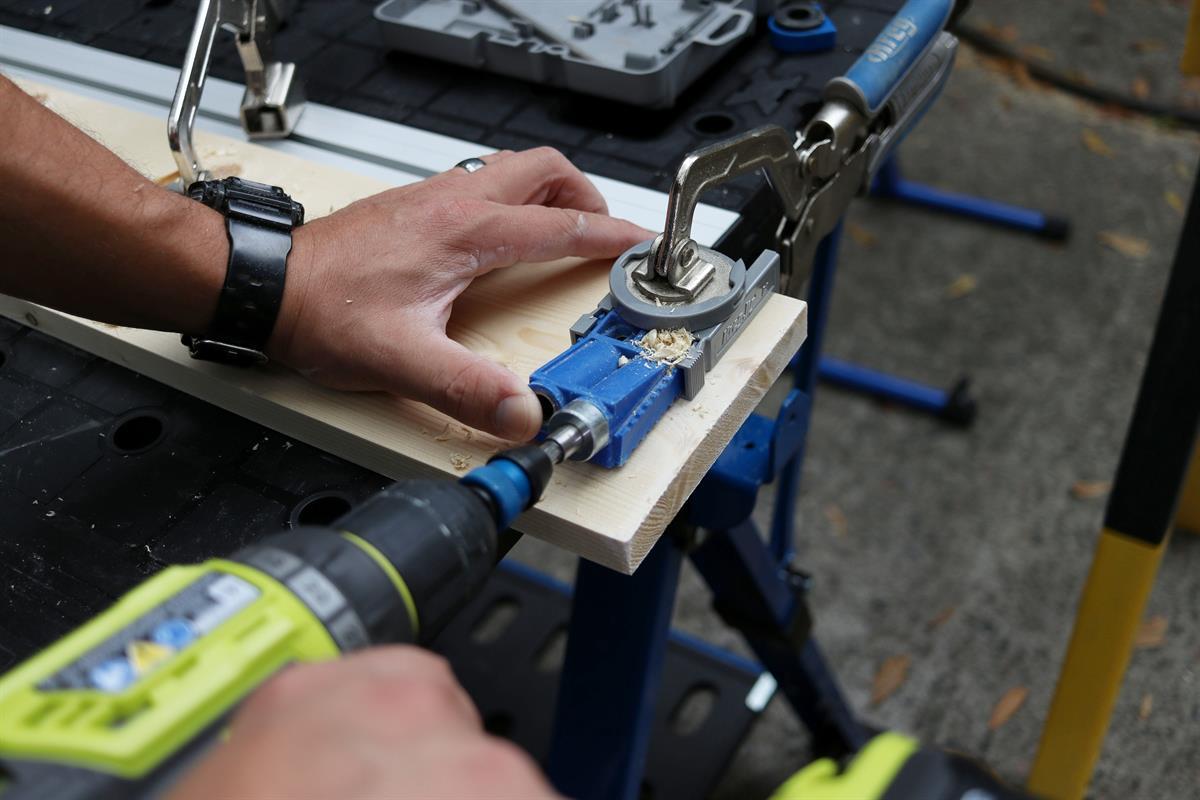
Start drilling your pocket holes. You will do this by first adjusting the setting on your Kreg Jig. You can easily determine which setting you will need by using KREG'S SCREW SELECTOR WHEEL. For this project we have set it at 3/4". You will then set your drilling depth using the drill bit and stop collar. You will find the directions how to this in the owners manual inside of your KREG JIG R3. You will only drill pocket holes on one side of 3 boards.
-
Step 4:
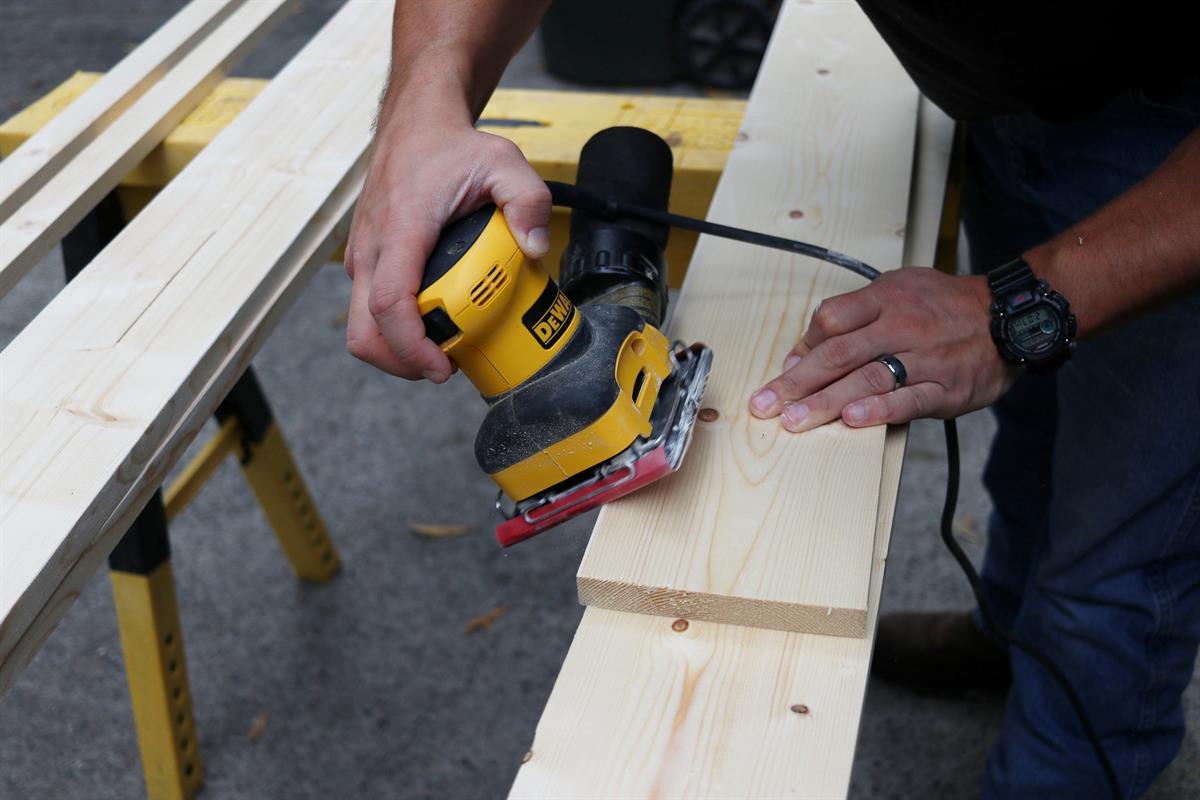
Once you have all of your pocket holes drilled, take a moment to quickly sand all of the front facing edges with an electric sander.
-
Step 5:
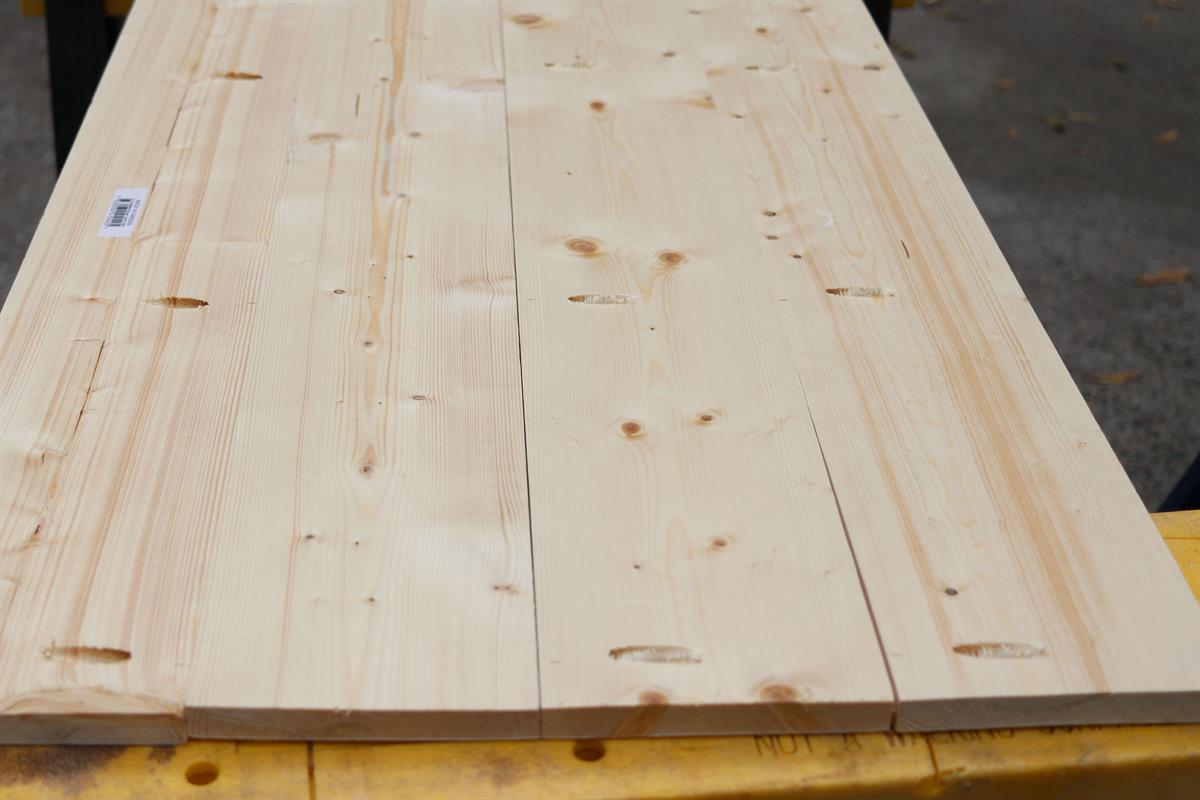
Now that your boards are drilled and sanded, you will line up your (4) 6" boards evenly and clamp them together using a 36 INCH CLAMP.
-
Step 6:
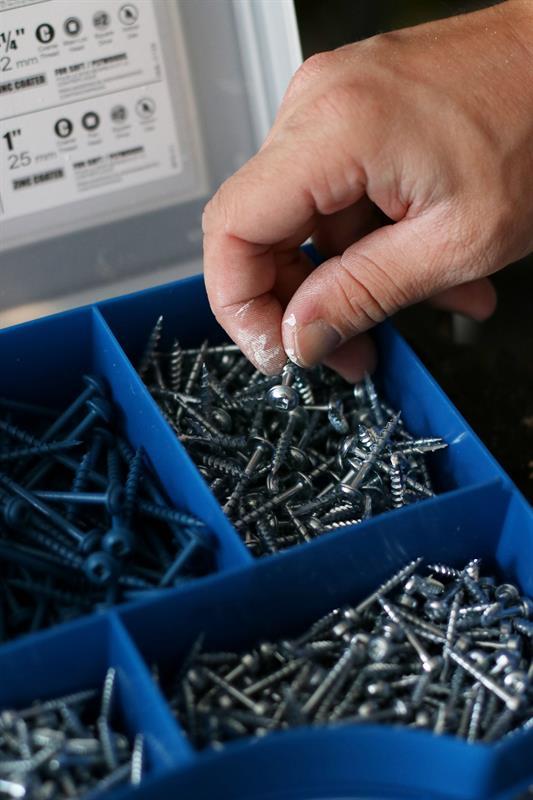
Now you are ready to begin screwing your boards together using KREG 1-1/4" ZINC COARSE THREAD POCKET HOLE SCREWS.
-
Step 7:
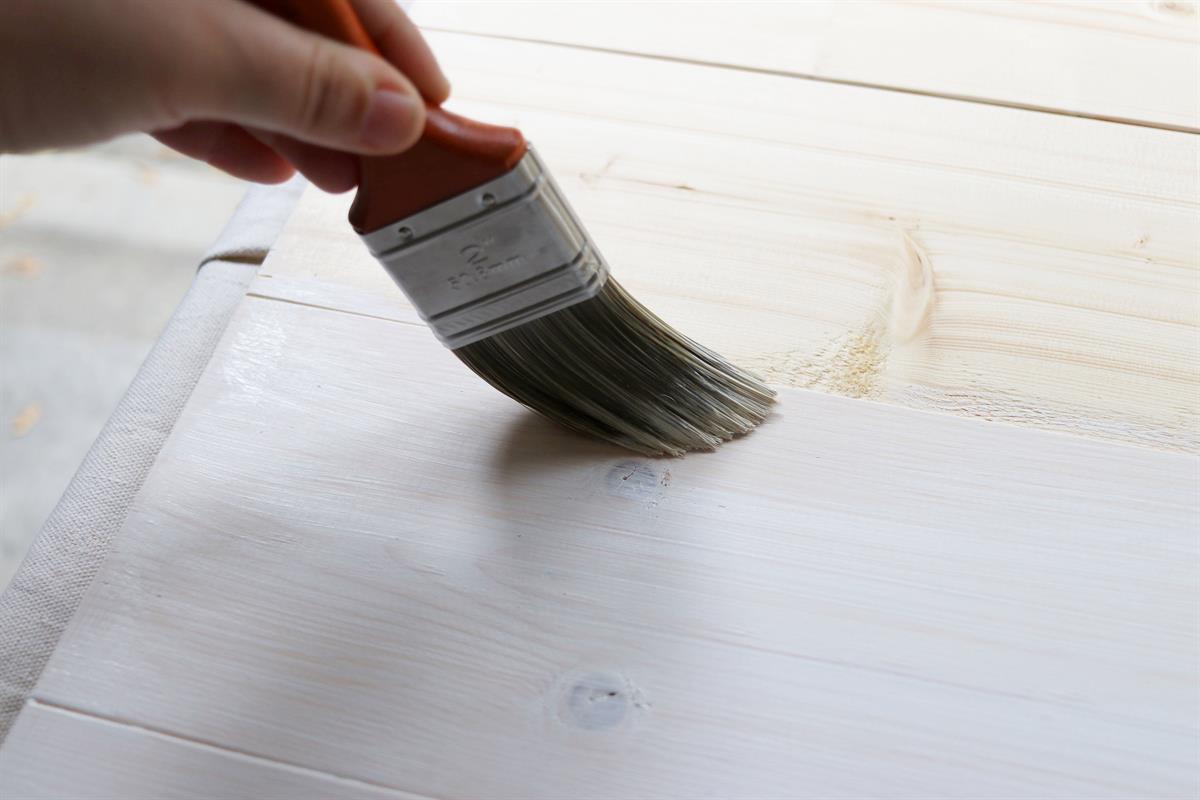
After your boards are securely together, you are ready for paint! You can use any white paint for this, I chose to go with my go-to paint for every indoor home decor project - Annie Sloan chalk paint in Pure White. Two coats are all that were needed
-
Step 8:
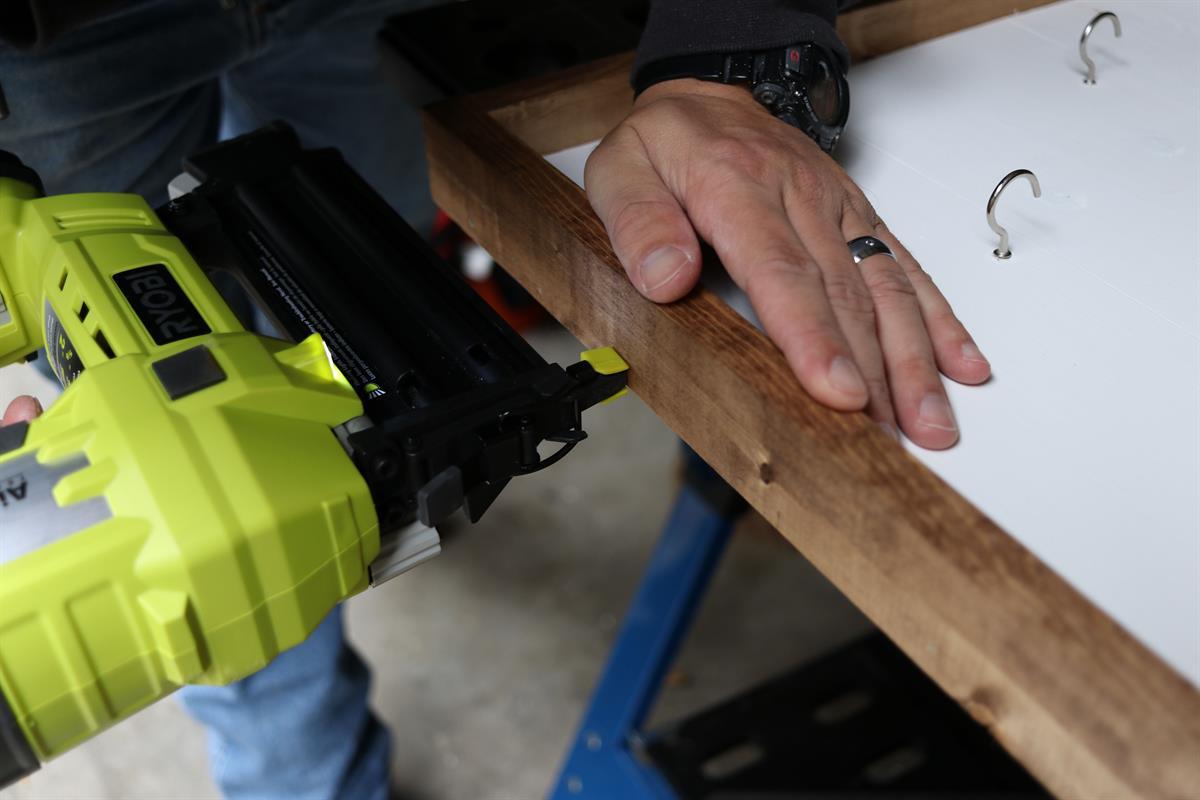
Lastly, it's time for trim. Take your pre-cut trim pieces and stain them in your desired stain color first before attaching to the main boards. After they are dry, take your brad nailer loaded with 2" brad nails and nail in your trim
-
Step 9:
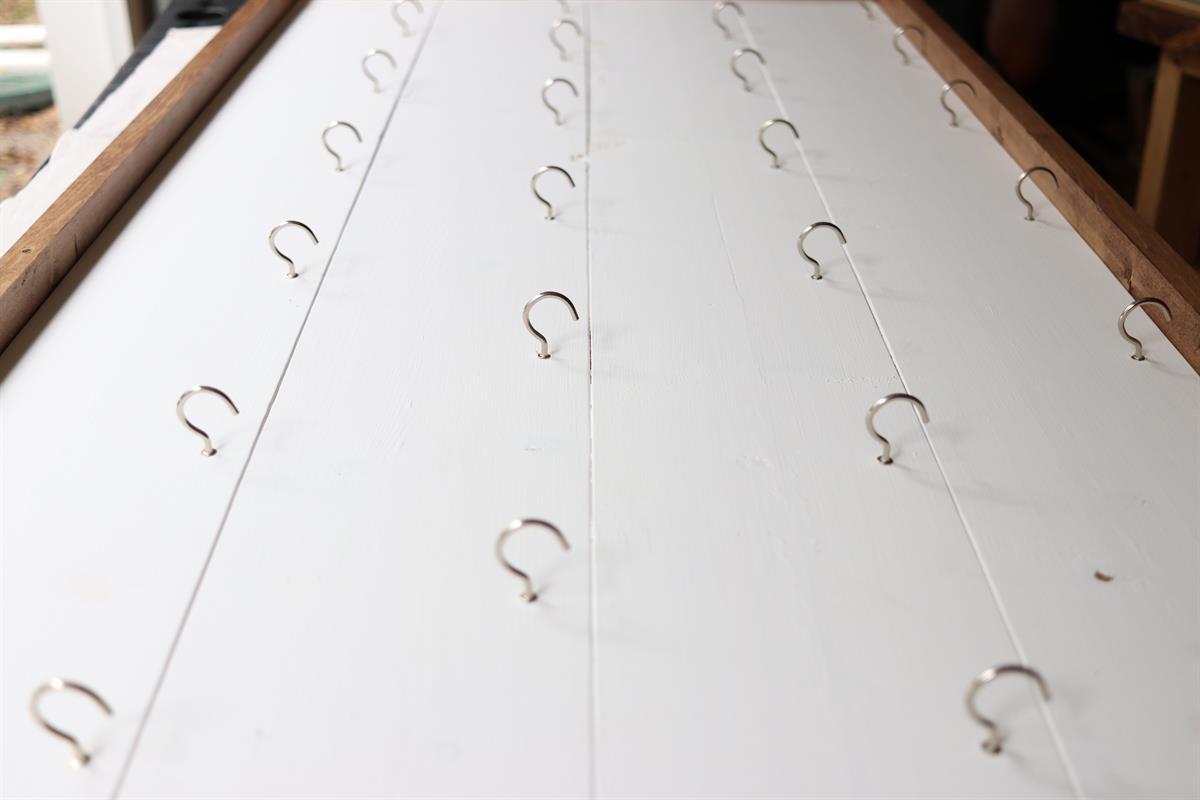
First off, give yourself a pat on the back, because your are almost at the finish line! The last step is to add the HOOKS to hang your daily advent cards/ bags. We alternated ours, having 7 hooks on one board, and 6 on the next, having 26 hooks in total. You may ask, why 26? Well, the perfectionist in me just wasn't okay with how an odd number looked spaced out, and secondly that 26th hook actually comes in handy! As you count down your days and complete your advent, you can stack up the past day's cards or bags on that extra hook. As far as how we spaced out the hooks, each one is approx placed 1" down from the top of the board and 6" apart from each other. To be completely honest, I laid them all out first and just eyeballed what looked best. If you are one that needs precise directions, start with your second row, measure 6" in from the trim and place your first hook. You screw these in by hand. You then can continue measuring 6" apart for each hook on that row, giving you a total of 6 hooks in all. Then head back up to your first row and place the hooks in the middle distance of what you did on the second row.
-
You're Finished:
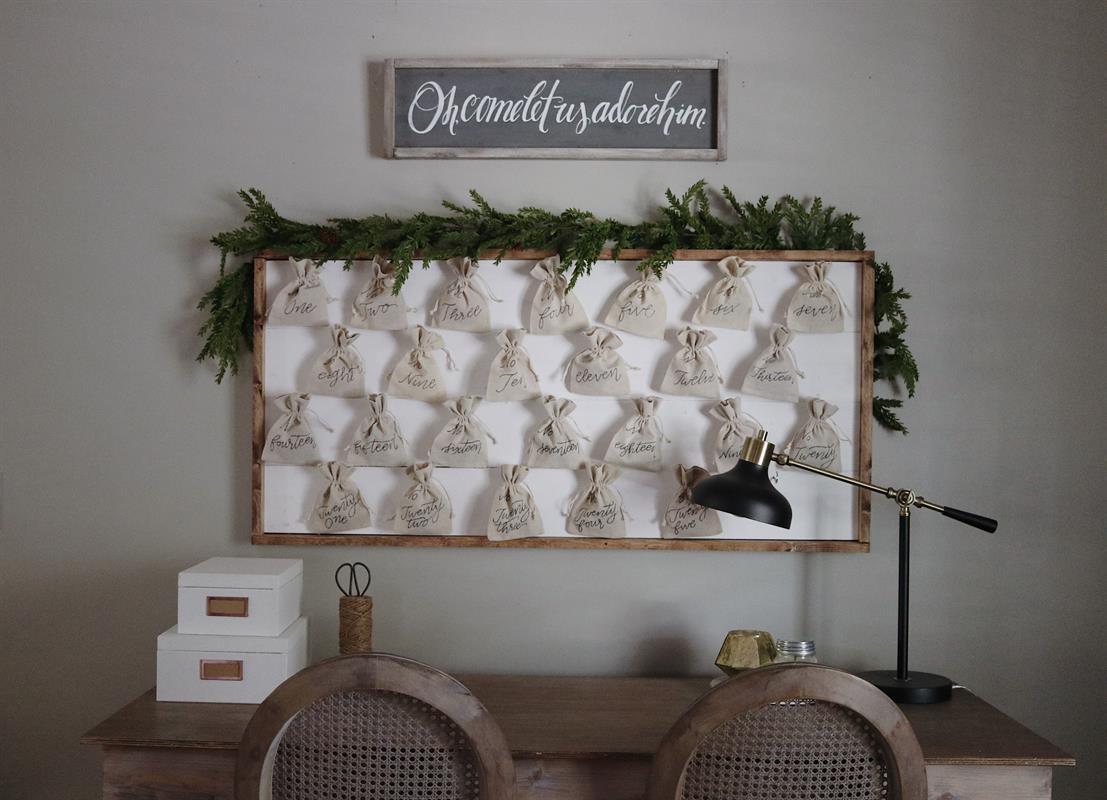
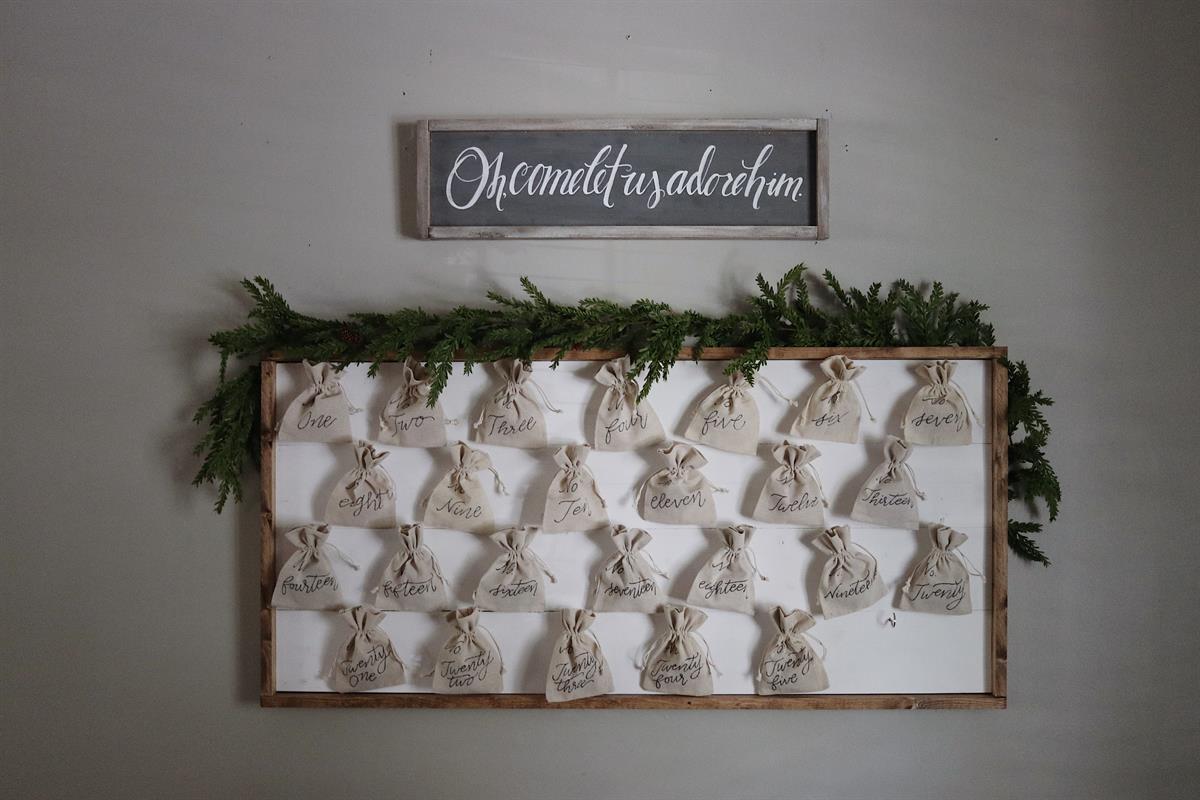
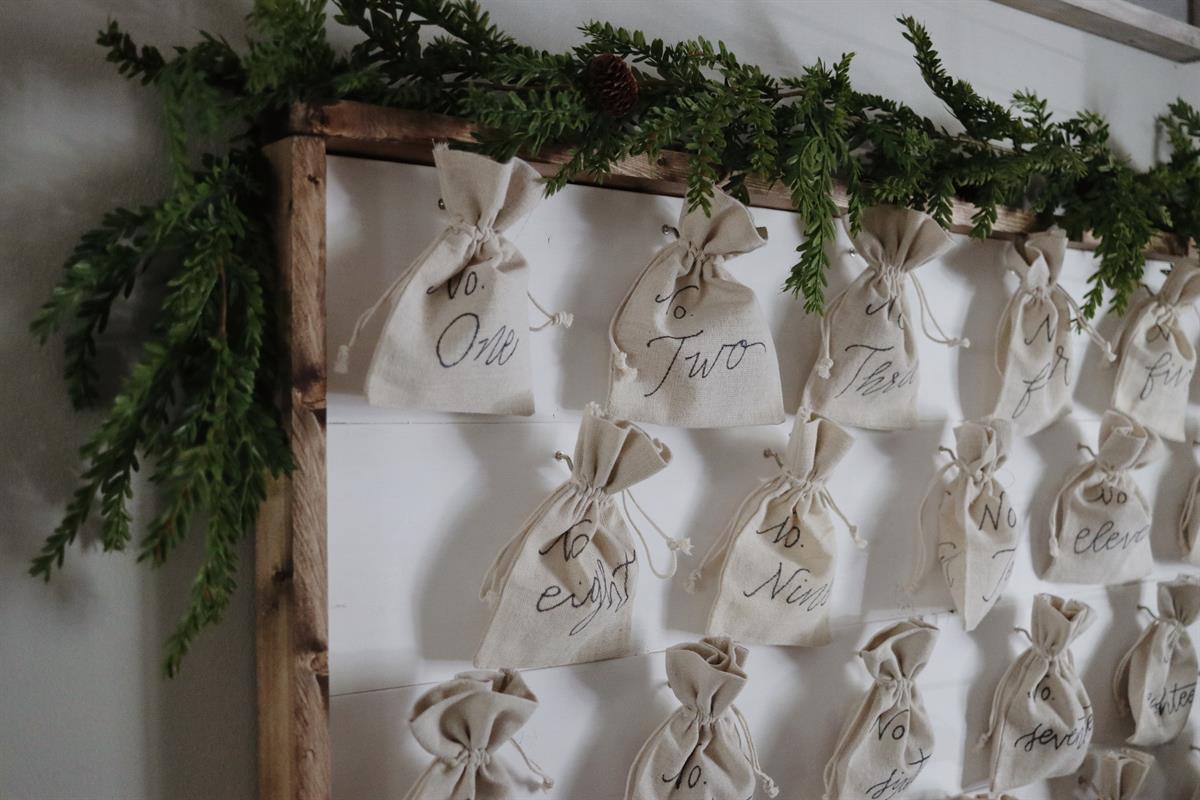
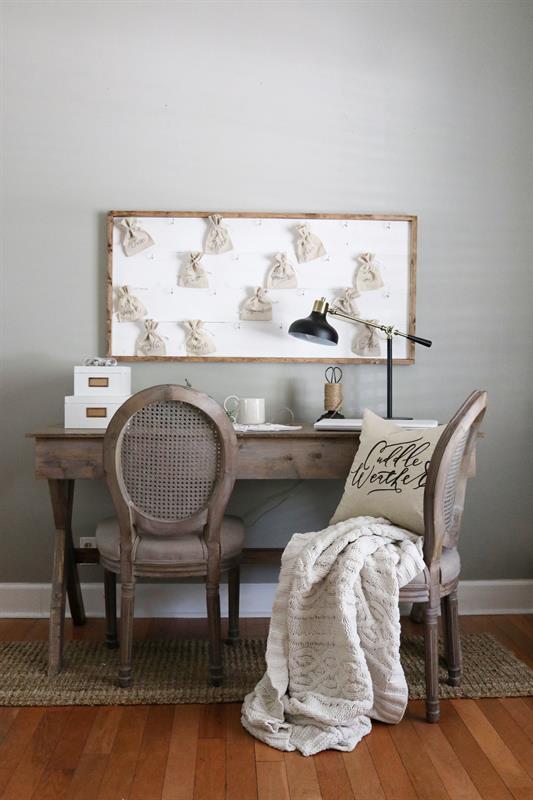
Photographed here, I opted to use CLOTH FAVOR BAGS from Amazon and hand letter the numbers by using a sharpie. My plan is to add a fun little surprise in them each day for my girls. Some days will be a small toy or piece of candy, others I have planned to add in a fun holiday activity we could do that day and even how we can give back to others. One of the most special ideas I have planned to incorporate into our advent this year, is having my husband, myself and some of our extended family members write notes to the girls of what they love most about them.
You can find more detailed photos of the build process and completed photos of this project on our blog: www.SimplyCiani.com
-
Optional Idea:
If you are one for a simple and easy advent, Michaels this year has a ton of adorable numbered cards that are perfect for adding on these hooks, and taking it a step further, you can easily just write on the back of them.


