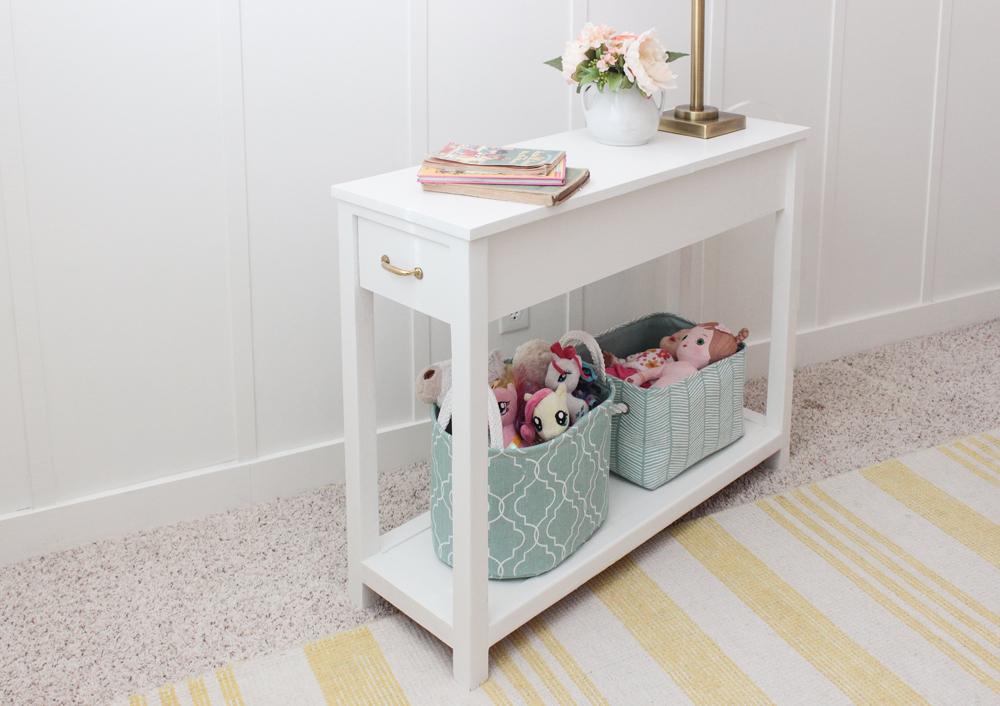
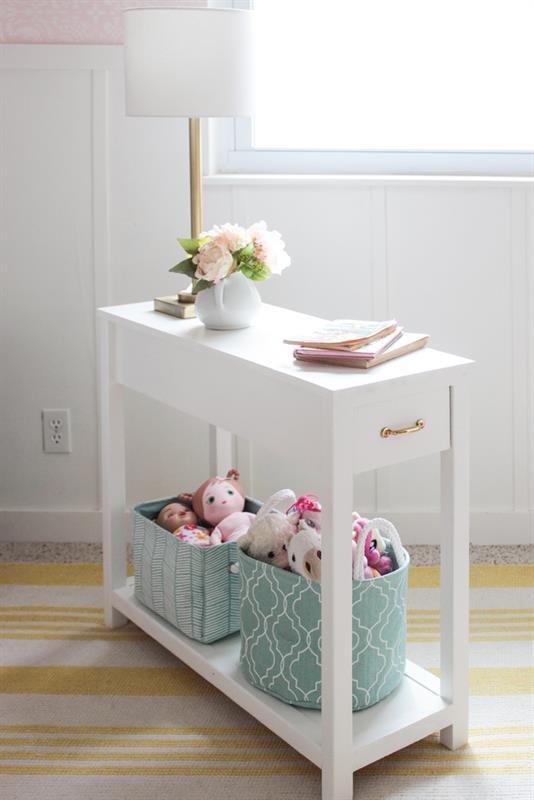
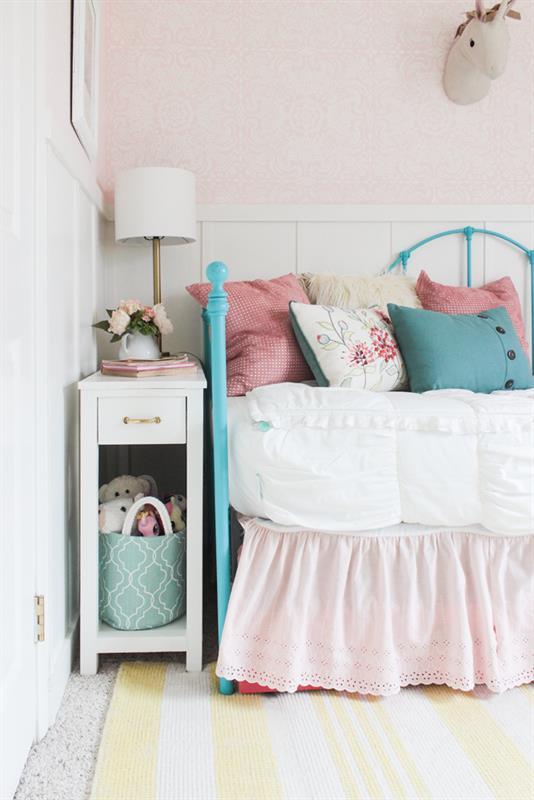
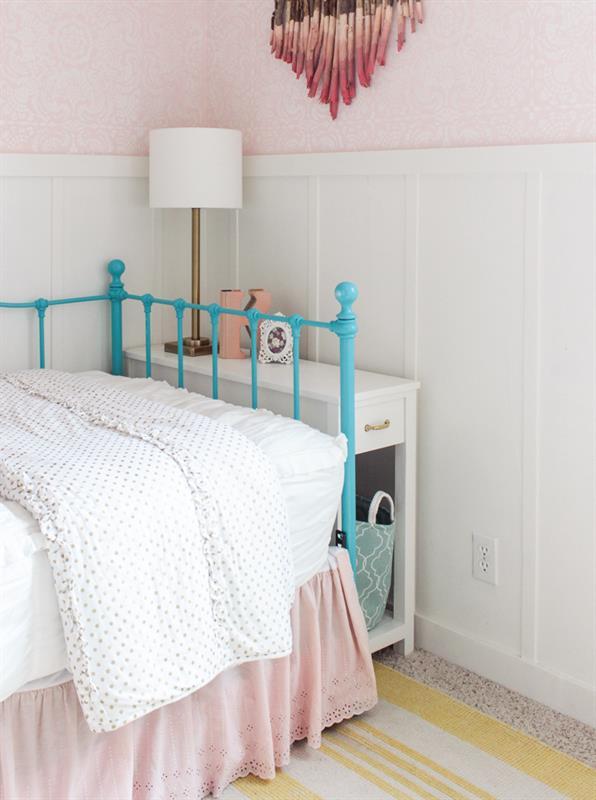
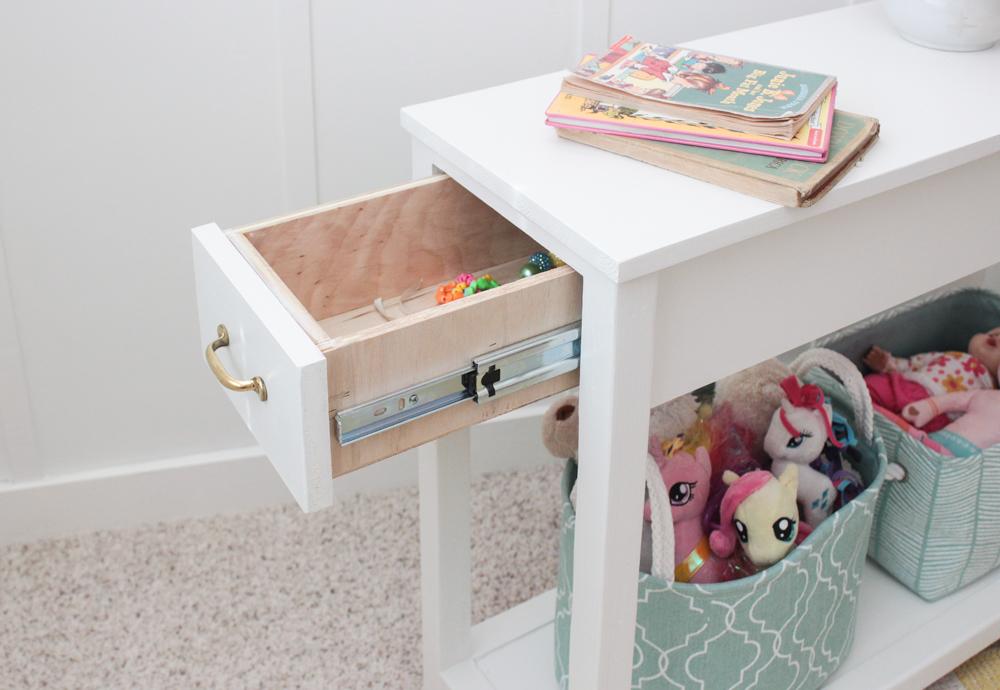


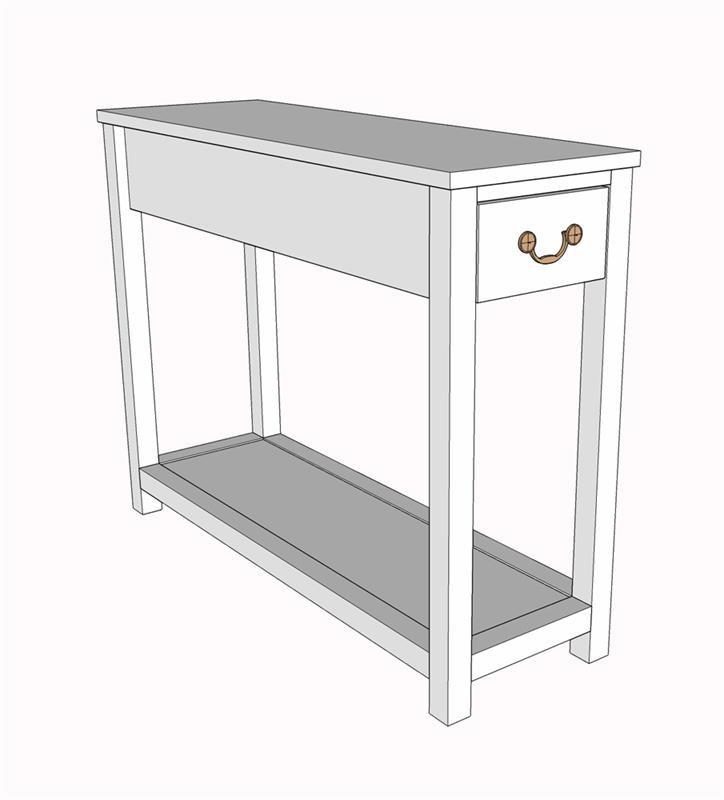
A nightstand or bedside table designed ideal for a daybed. With a bottom shelf for baskets or books, and a small drawer, this table fits perfectly in narrow spaces but gives ample storage on the side of the bed. Would also work great as an end table for a deep sofa. 3' deep x 1' wide x 28" tall.
Tools
Kreg Tools


Other Tools
-
Miter Saw

-
Table Saw
-
Tape Measure
-
Drill (cordless)
-
Nail Gun
-
Sander
Materials
Wood Products
- 2 Board , 2x2 , 96"
- 2 Board , 1x6 , 120"
- 1 Board , 1x2 , 12"
- 1 Board , 1x16 glued board , 48"
- 1 Plywood , 1/2" Thick , Half Sheet
Hardware & Supplies
- 1 Side-Mount Ball-Bearing Drawer Slide
- 16 1 1/4" pocket hole screws
- 22 1" pocket hole screws
- 16 2 1/4" pocket holet screws
- 4 3" wood screws
- 1 Drawer pull
- 1 Wood filler
- 1 Wood glue
- 1 220 grit sandpaper
- 25 1 1/4" nails, 18 gauge
Directions
-
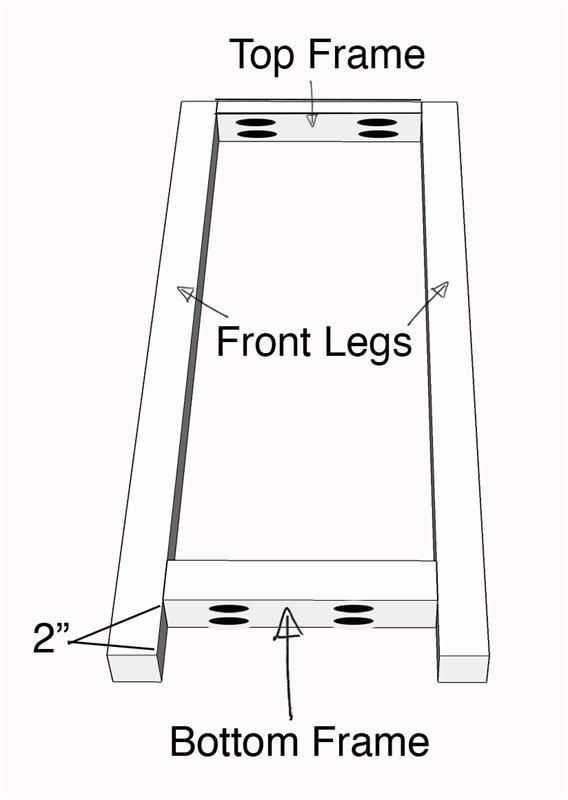
Build Front Frame
Drill 2- 1 1/2" pocket holes in both ends of the bottom frame 2x2s. Drill 2- 3/4" pocket holes in both ends of the top frame 1x2 and back apron 1x6. Using a clamp, wood glue, and 1 1/4" pocket hole screws, attach the 1x2 top frame in between the front legs, flush with the top. Make sure the pocket holes are facing down. Attach the bottom frame using a clamp, wood glue, and 2 1/4" pocket hole screws, 2" up from the bottom of each leg. Optional: Position bottom frame so the pocket holes are facing out instead of down, as pictured, so it is easier to attach pocket hole screws.
-
Build Back Frame
Repeat step 1 but for the back frame, with the exception of using the back apron 1x6 instead of the top frame 1x2. Optional: Position bottom frame piece so the pocket holes are facing out, just as in step 1. Once the shelf is attached the pocket holes won't be visible.

-
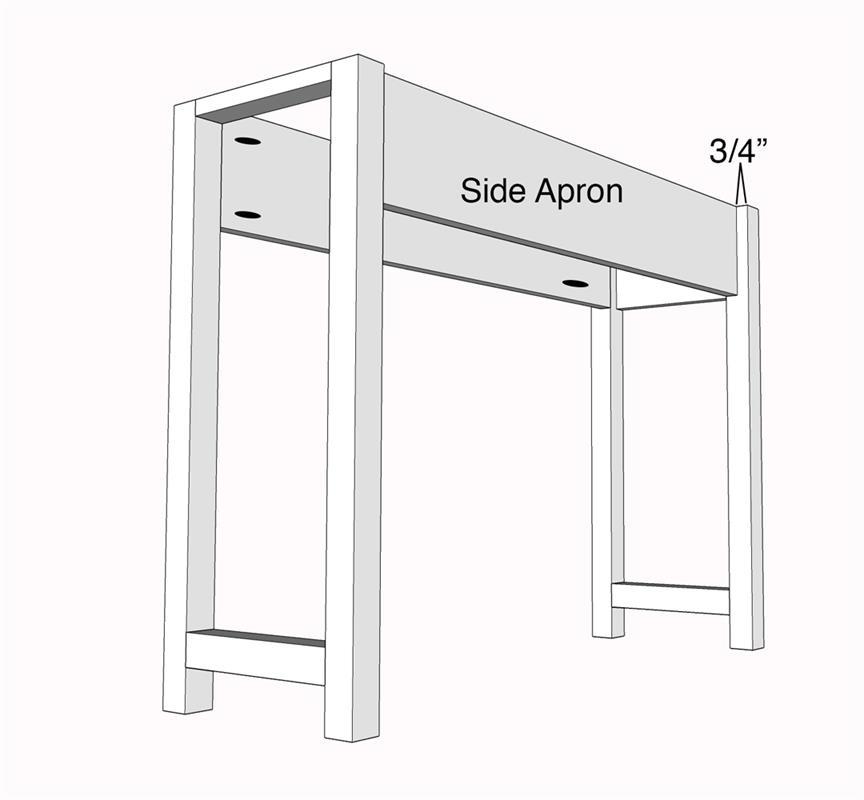
Attach Side Aprons
Drill 2- 3/4" pocket holes on both ends of both side apron boards. Place 3/4" board on the ground and then the 1x6" side apron on top and then both the front and back frames on either side, so that the 1x6 is flush with the top of the legs. Make sure the pocket holes on the back apron (and bottom frames if you attached them that way) are facing inward. Clamp the legs to the side apron (might need a spacer board 32 1/2" long at the bottom) and attach using wood glue and 1 1/4" pocket hole screws. Repeat this for the other side apron.
-
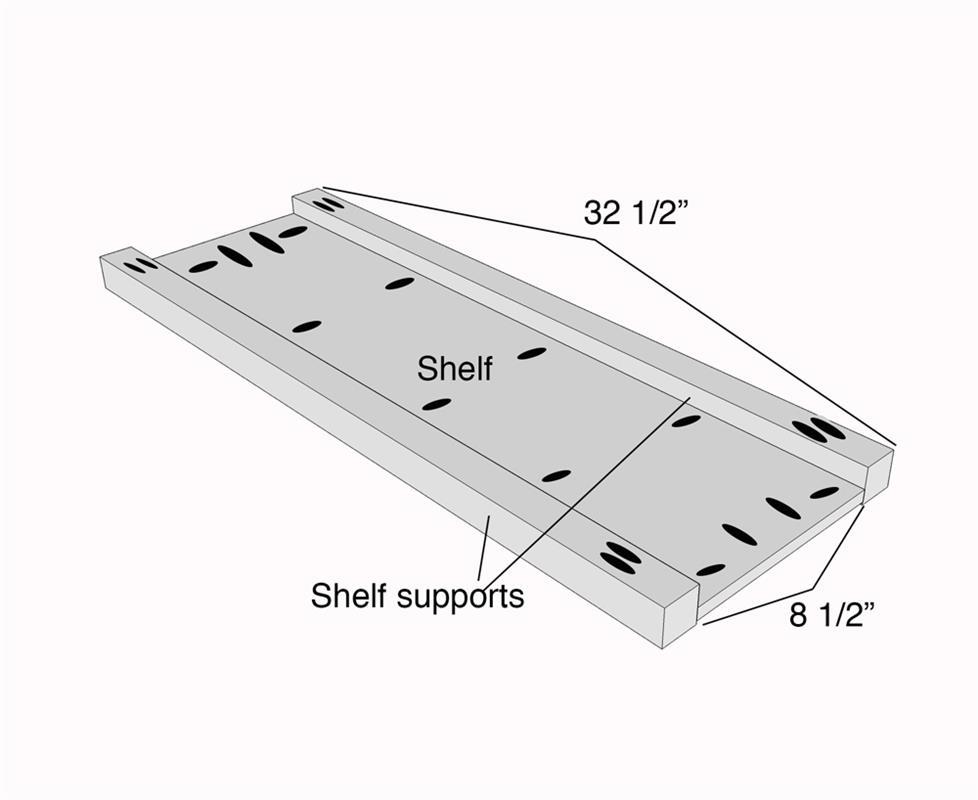
Build Bottom Shelf
Drill 2- 1 1/2" pocket holes on both ends of the shelf supports. Drill 5- 1/2" pocket holes on both long sides of the 1/2" shelf and 2- 1/2" pocket holes on both short sides. Place a 1/4" plywood spacer piece on the ground with the 1/2" shelf on top and the 32 1/2" long shelf supports lined up flush on either side. Glue, clamp, and attach the shelf to the shelf supports using 1" pocket hole screws.
-
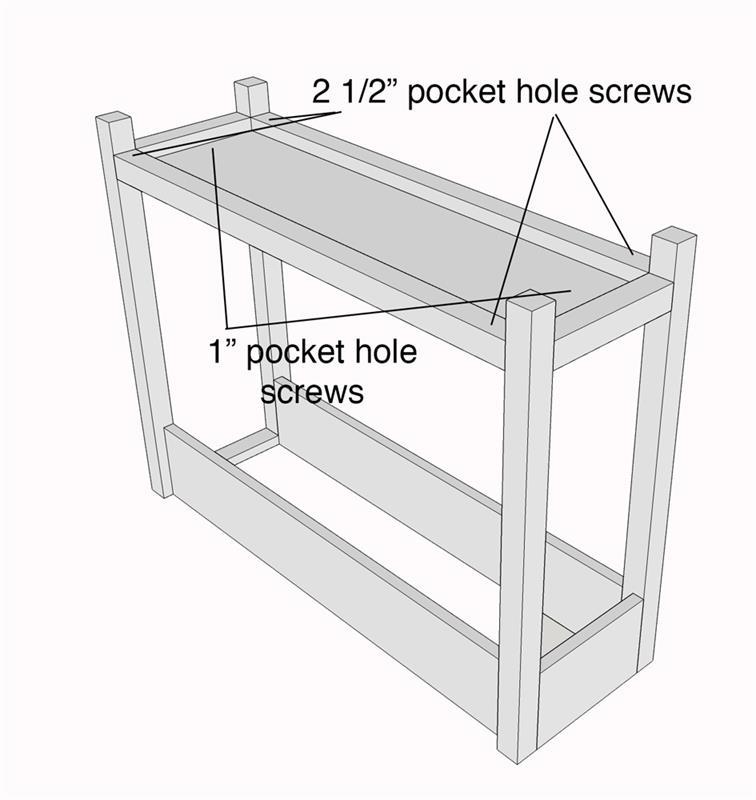
Attach Shelf to Legs
Turn the in-progress nightstand upside-down and place scrap wood blocks or stacked paint cans to support the shelf while you position it and attach it to the legs. I used 3 paint cans stacked on both ends and it was almost perfect. Line up the shelf supports so they hit at the same height as the bottom frames (2" from the bottom of the legs). Clamp, glue, and attach the shelf supports to the legs using 2 1/2" pocket hole screws. Attach the shelf to the bottom frames using 1" pocket hole screws.
-
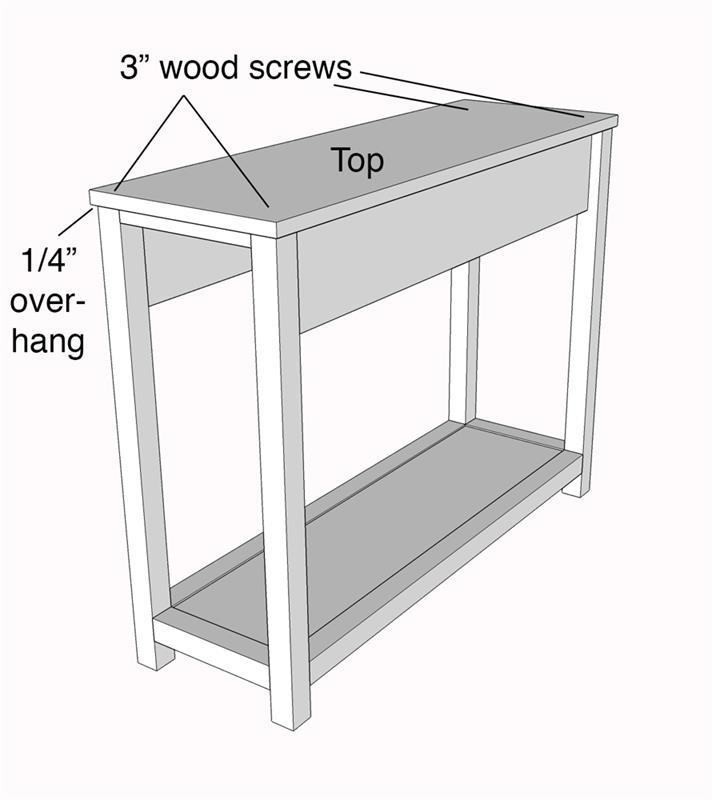
Attach Top
Glue the tops of the legs and the aprons. Position top board so that there is a 1/4" overhang on all sides. Pre-drill holes from the top into the center of each leg. Attach the top using 3" wood screws drilled into the pre-drilled holes. Table top dimensions are 12"x36", which is the 1x16 glued board that is 48" long from the materials list, ripped down to 12" exactly.
-
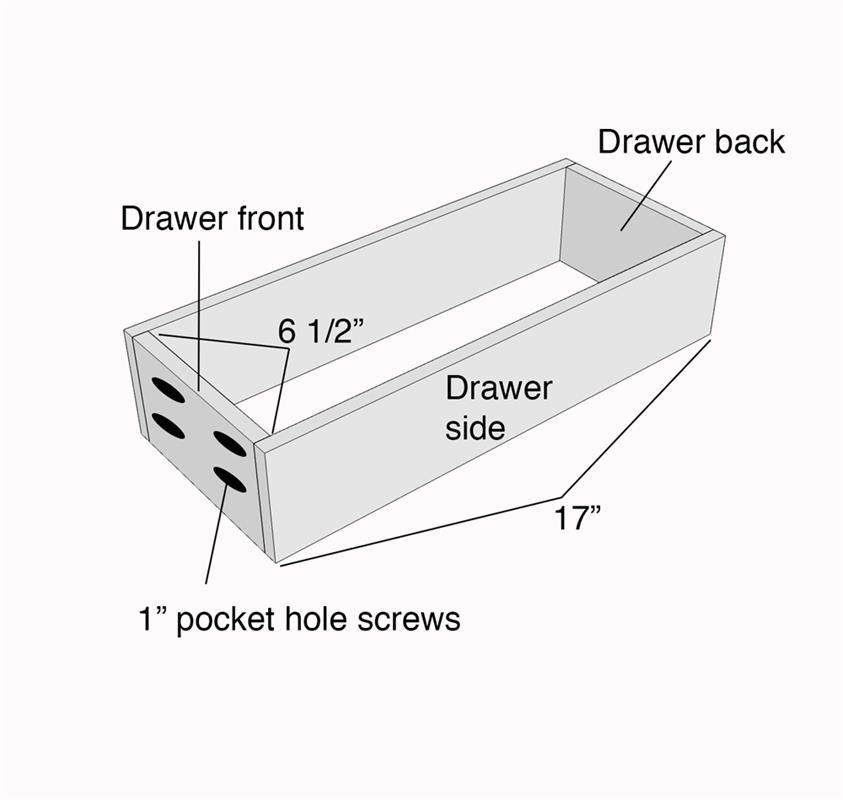
Build Drawer Sides
Drill 2- 1/2" pocket holes on both ends of the drawer front and back pieces (6 3/4" long). Clamp, glue and attach the drawer front and back pieces flush with both ends of the drawer sides using 1" pocket hole screws.
-
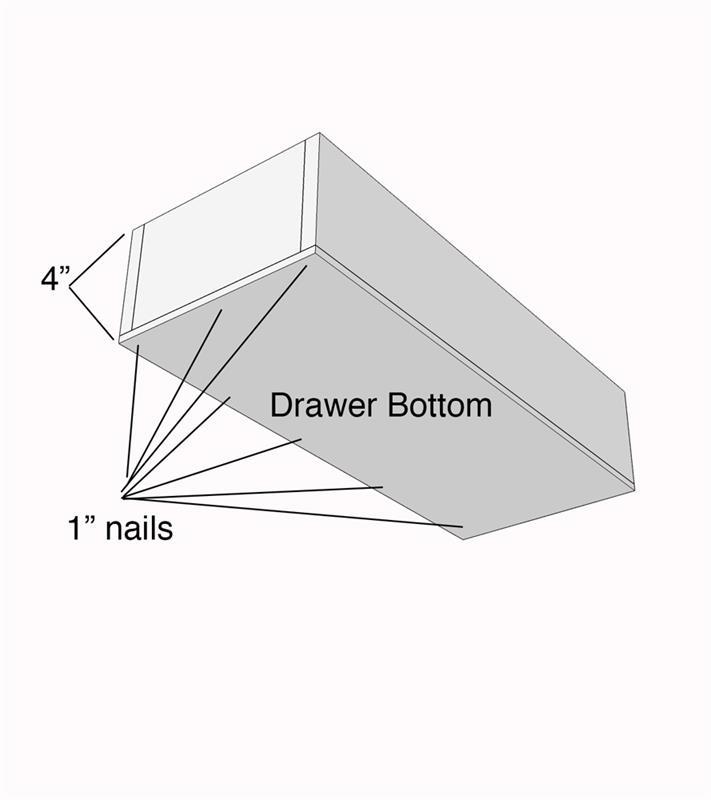
Attach Drawer Bottom
Attach 1/4" plywood drawer bottom to the bottom of the drawer sides using 1 1/4" nails and an electric nail gun and glue.
-
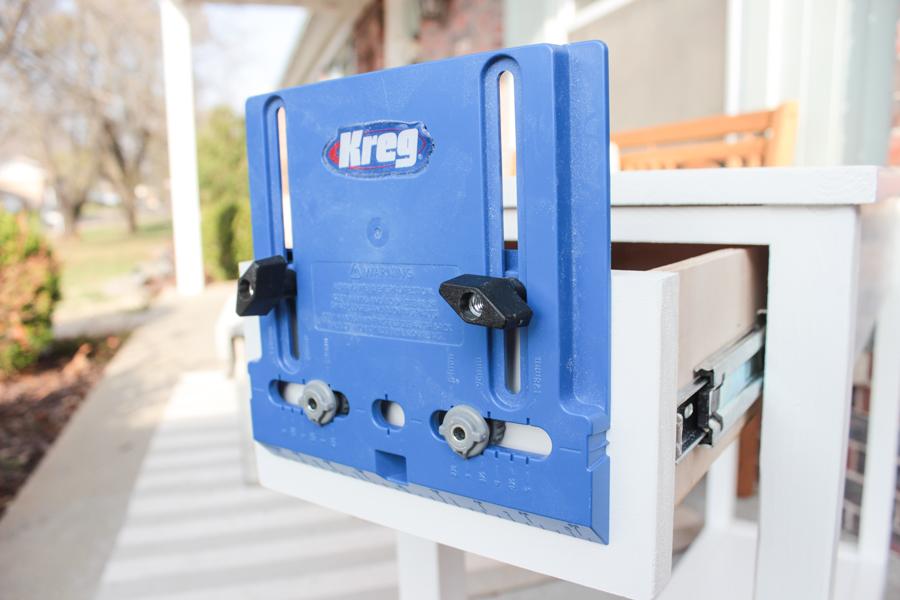
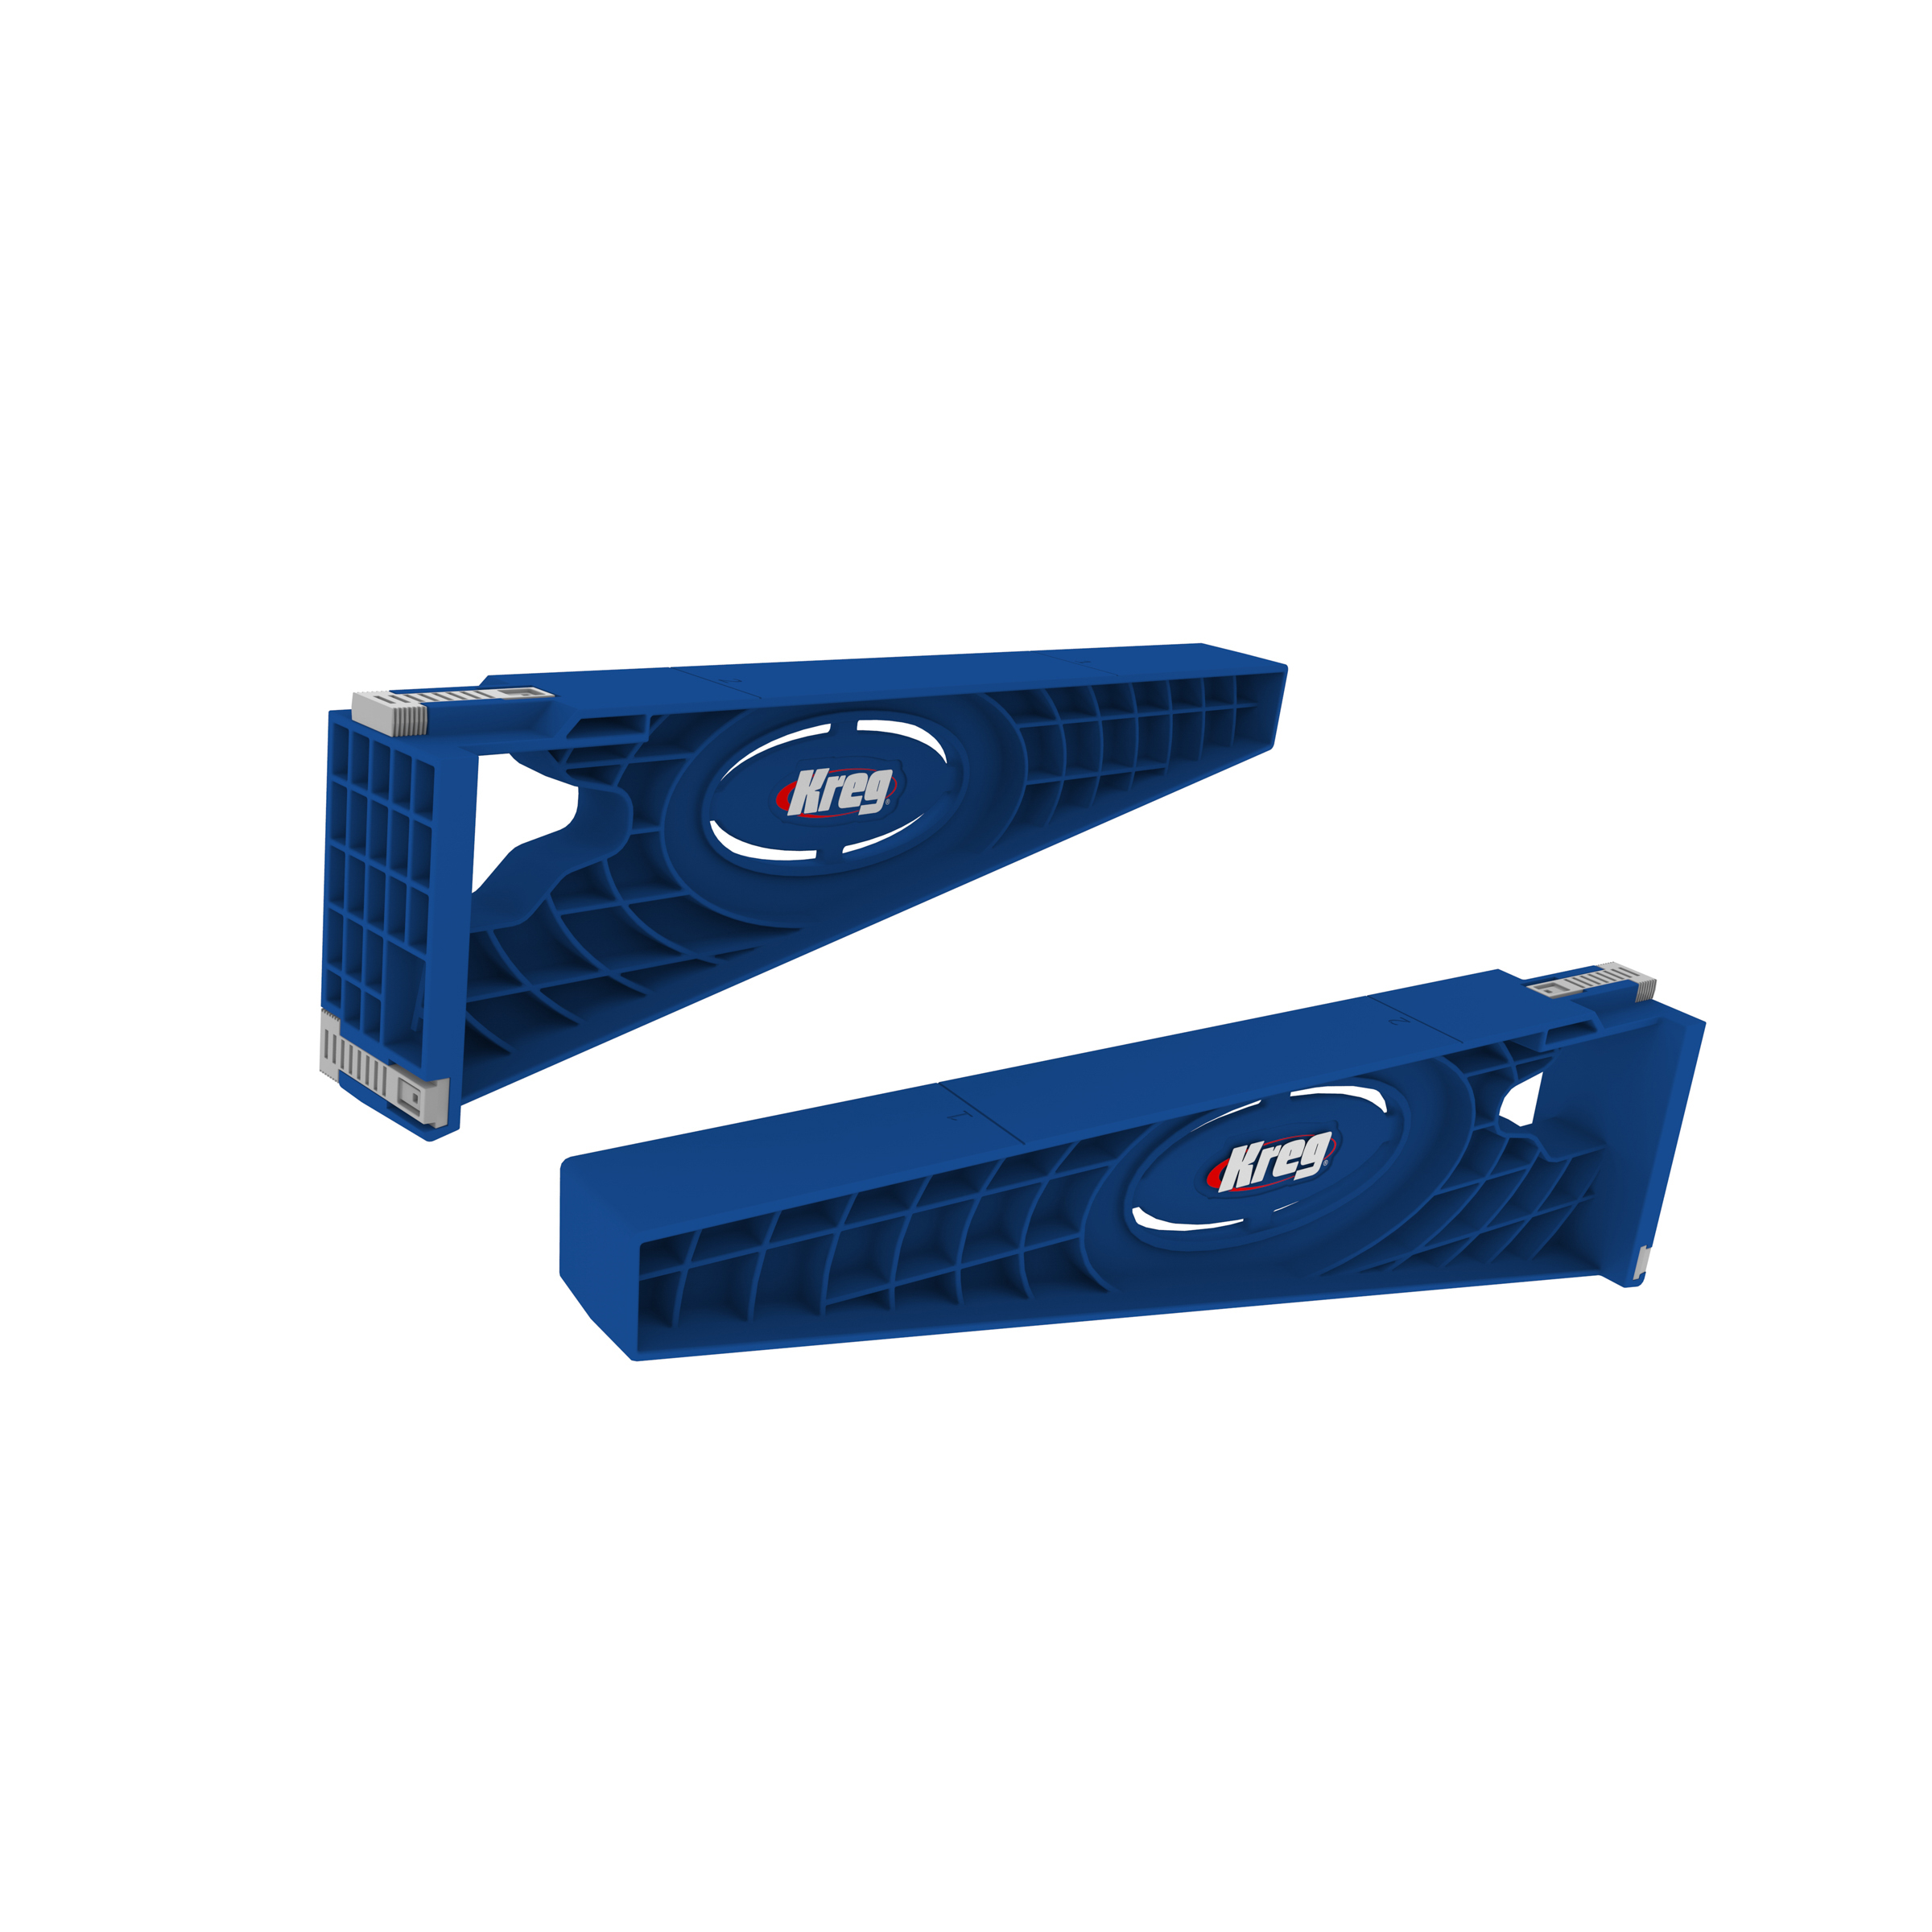
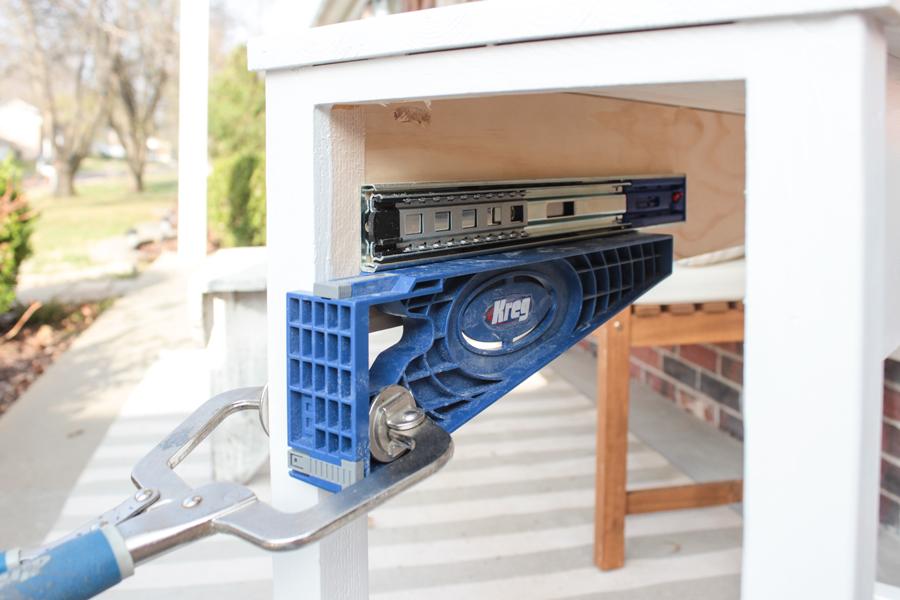
Attach Drawer Slides
Using a Kreg Drawer Slide Jig, position and attach the side-mount drawer slides to the inside of the nightstand. Attach the part of the drawer slide that mounts to the sides of the drawer by first placing the drawer carcass inside the nightstand and mark where the slides needs to attach to the drawer side. Once the drawer slide is installed, place the drawer carcass into place.
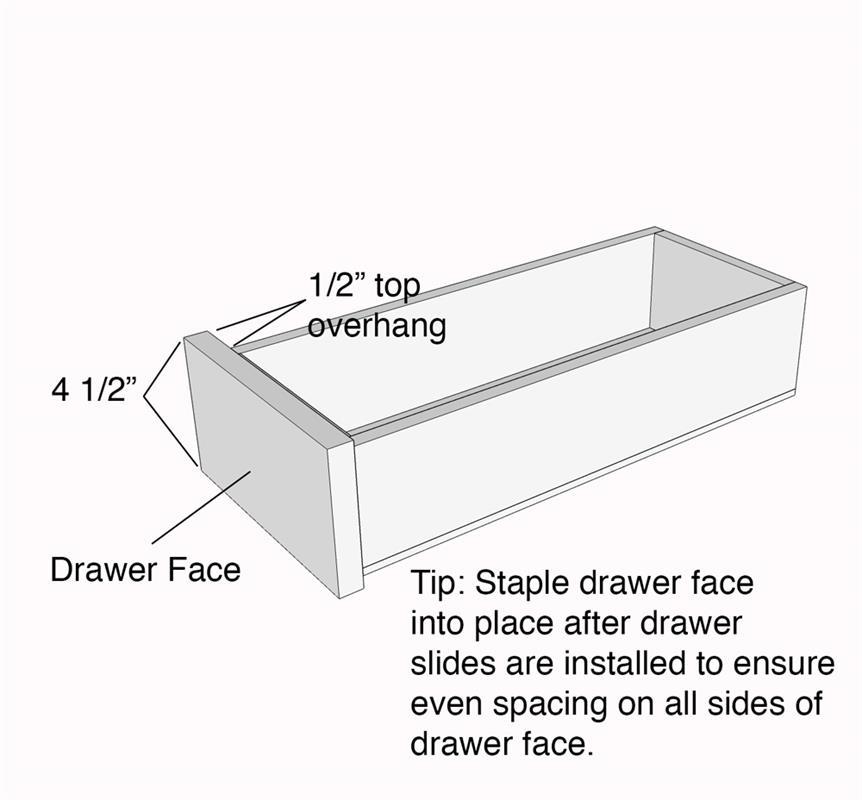
-
Attach Drawer Face
Position drawer face over the drawer front so that there is 1/8" space on all sides. Hold steady and nail the drawer face into the drawer sides using 1 1/4" nails and a electric nail gun.
-
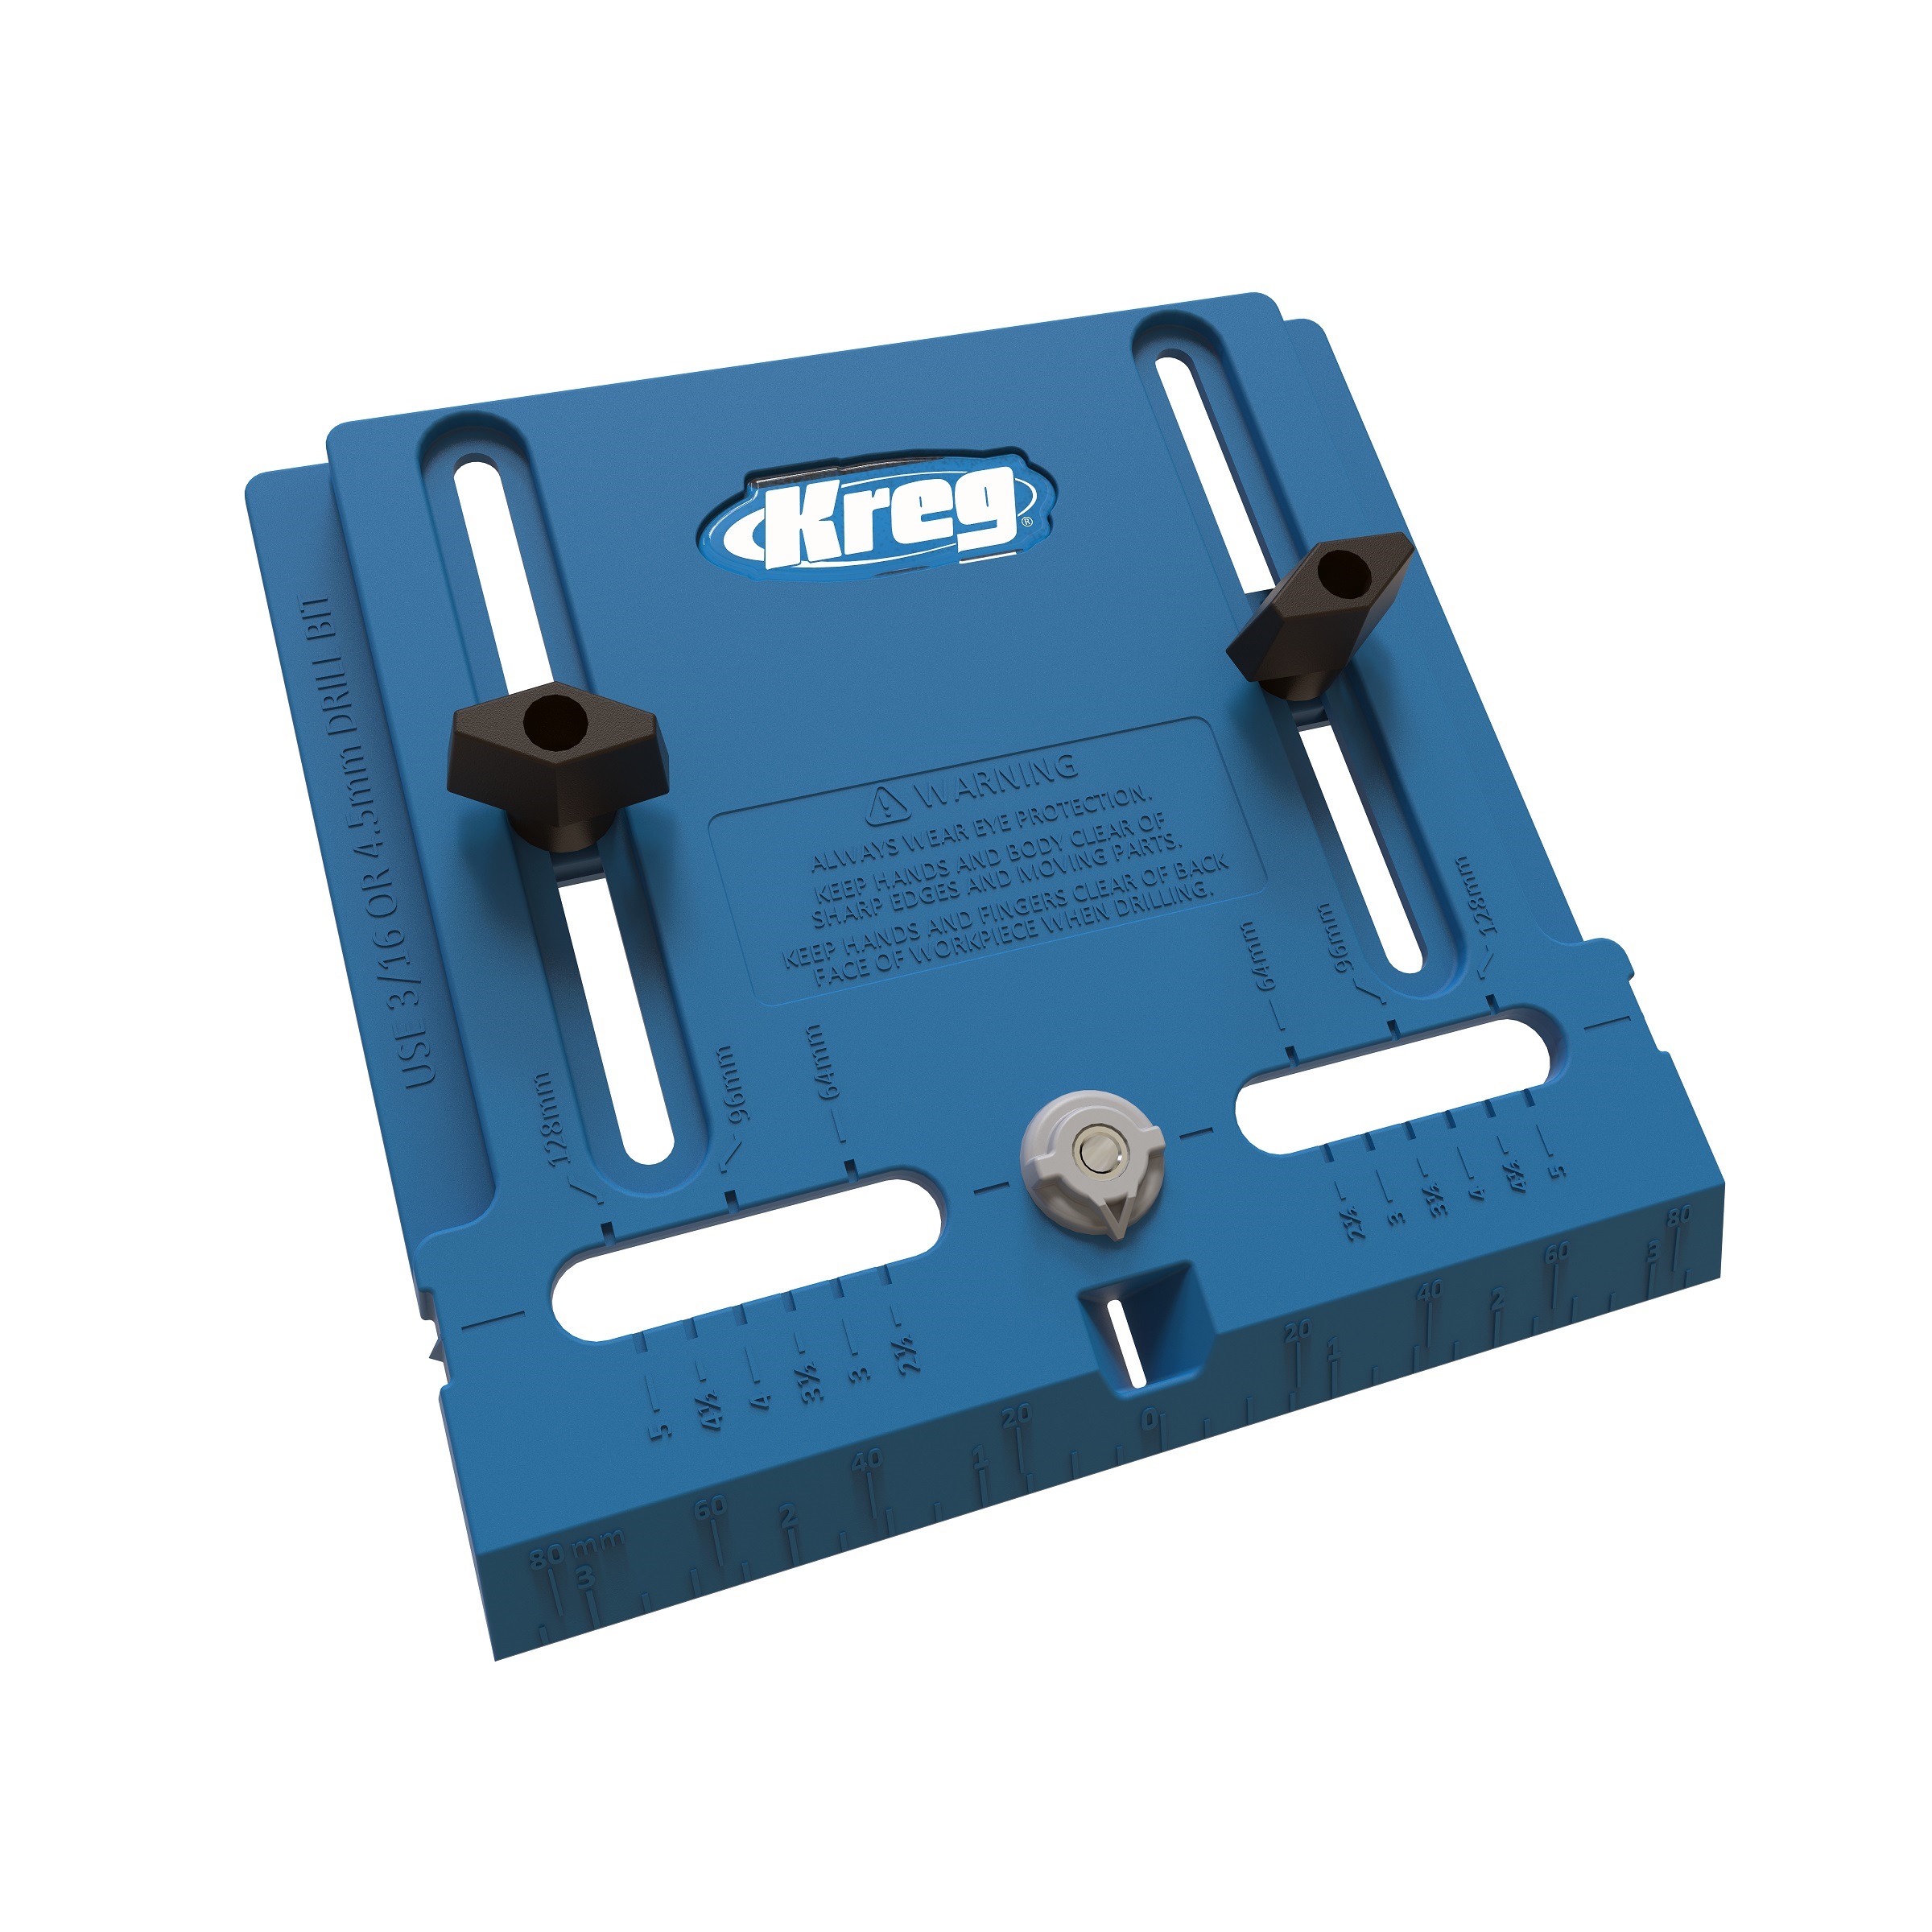
Fill Holes, Paint, Attach Hardware
Fill holes, seams, and knots with wood filler and let dry. Once everything is dry, sand everything smooth with 220 grit sandpaper and an orbital sander. Prime and paint with paint of choice (I used white semi-gloss) or use wood conditioner and stain. Once paint or stain is dry, use the Kreg Hardware Jig to measure and pre-drill holes for drawer pull. I adjusted the jig to have a height of 2 1/4" (half way up the drawer face) and 3" apart. Attach drawer pull.
-
Drawer Hardware Jig Tip
Place drawer hardware jig over drawer face as pictured, for step 11.