


Project No. 2 of our "12 Projects Of Christmas" series continues with this easy to build DIY Christmas tree stand box. This box is the perfect finishing touch for any tree and fits most standard tree stands.
Tools
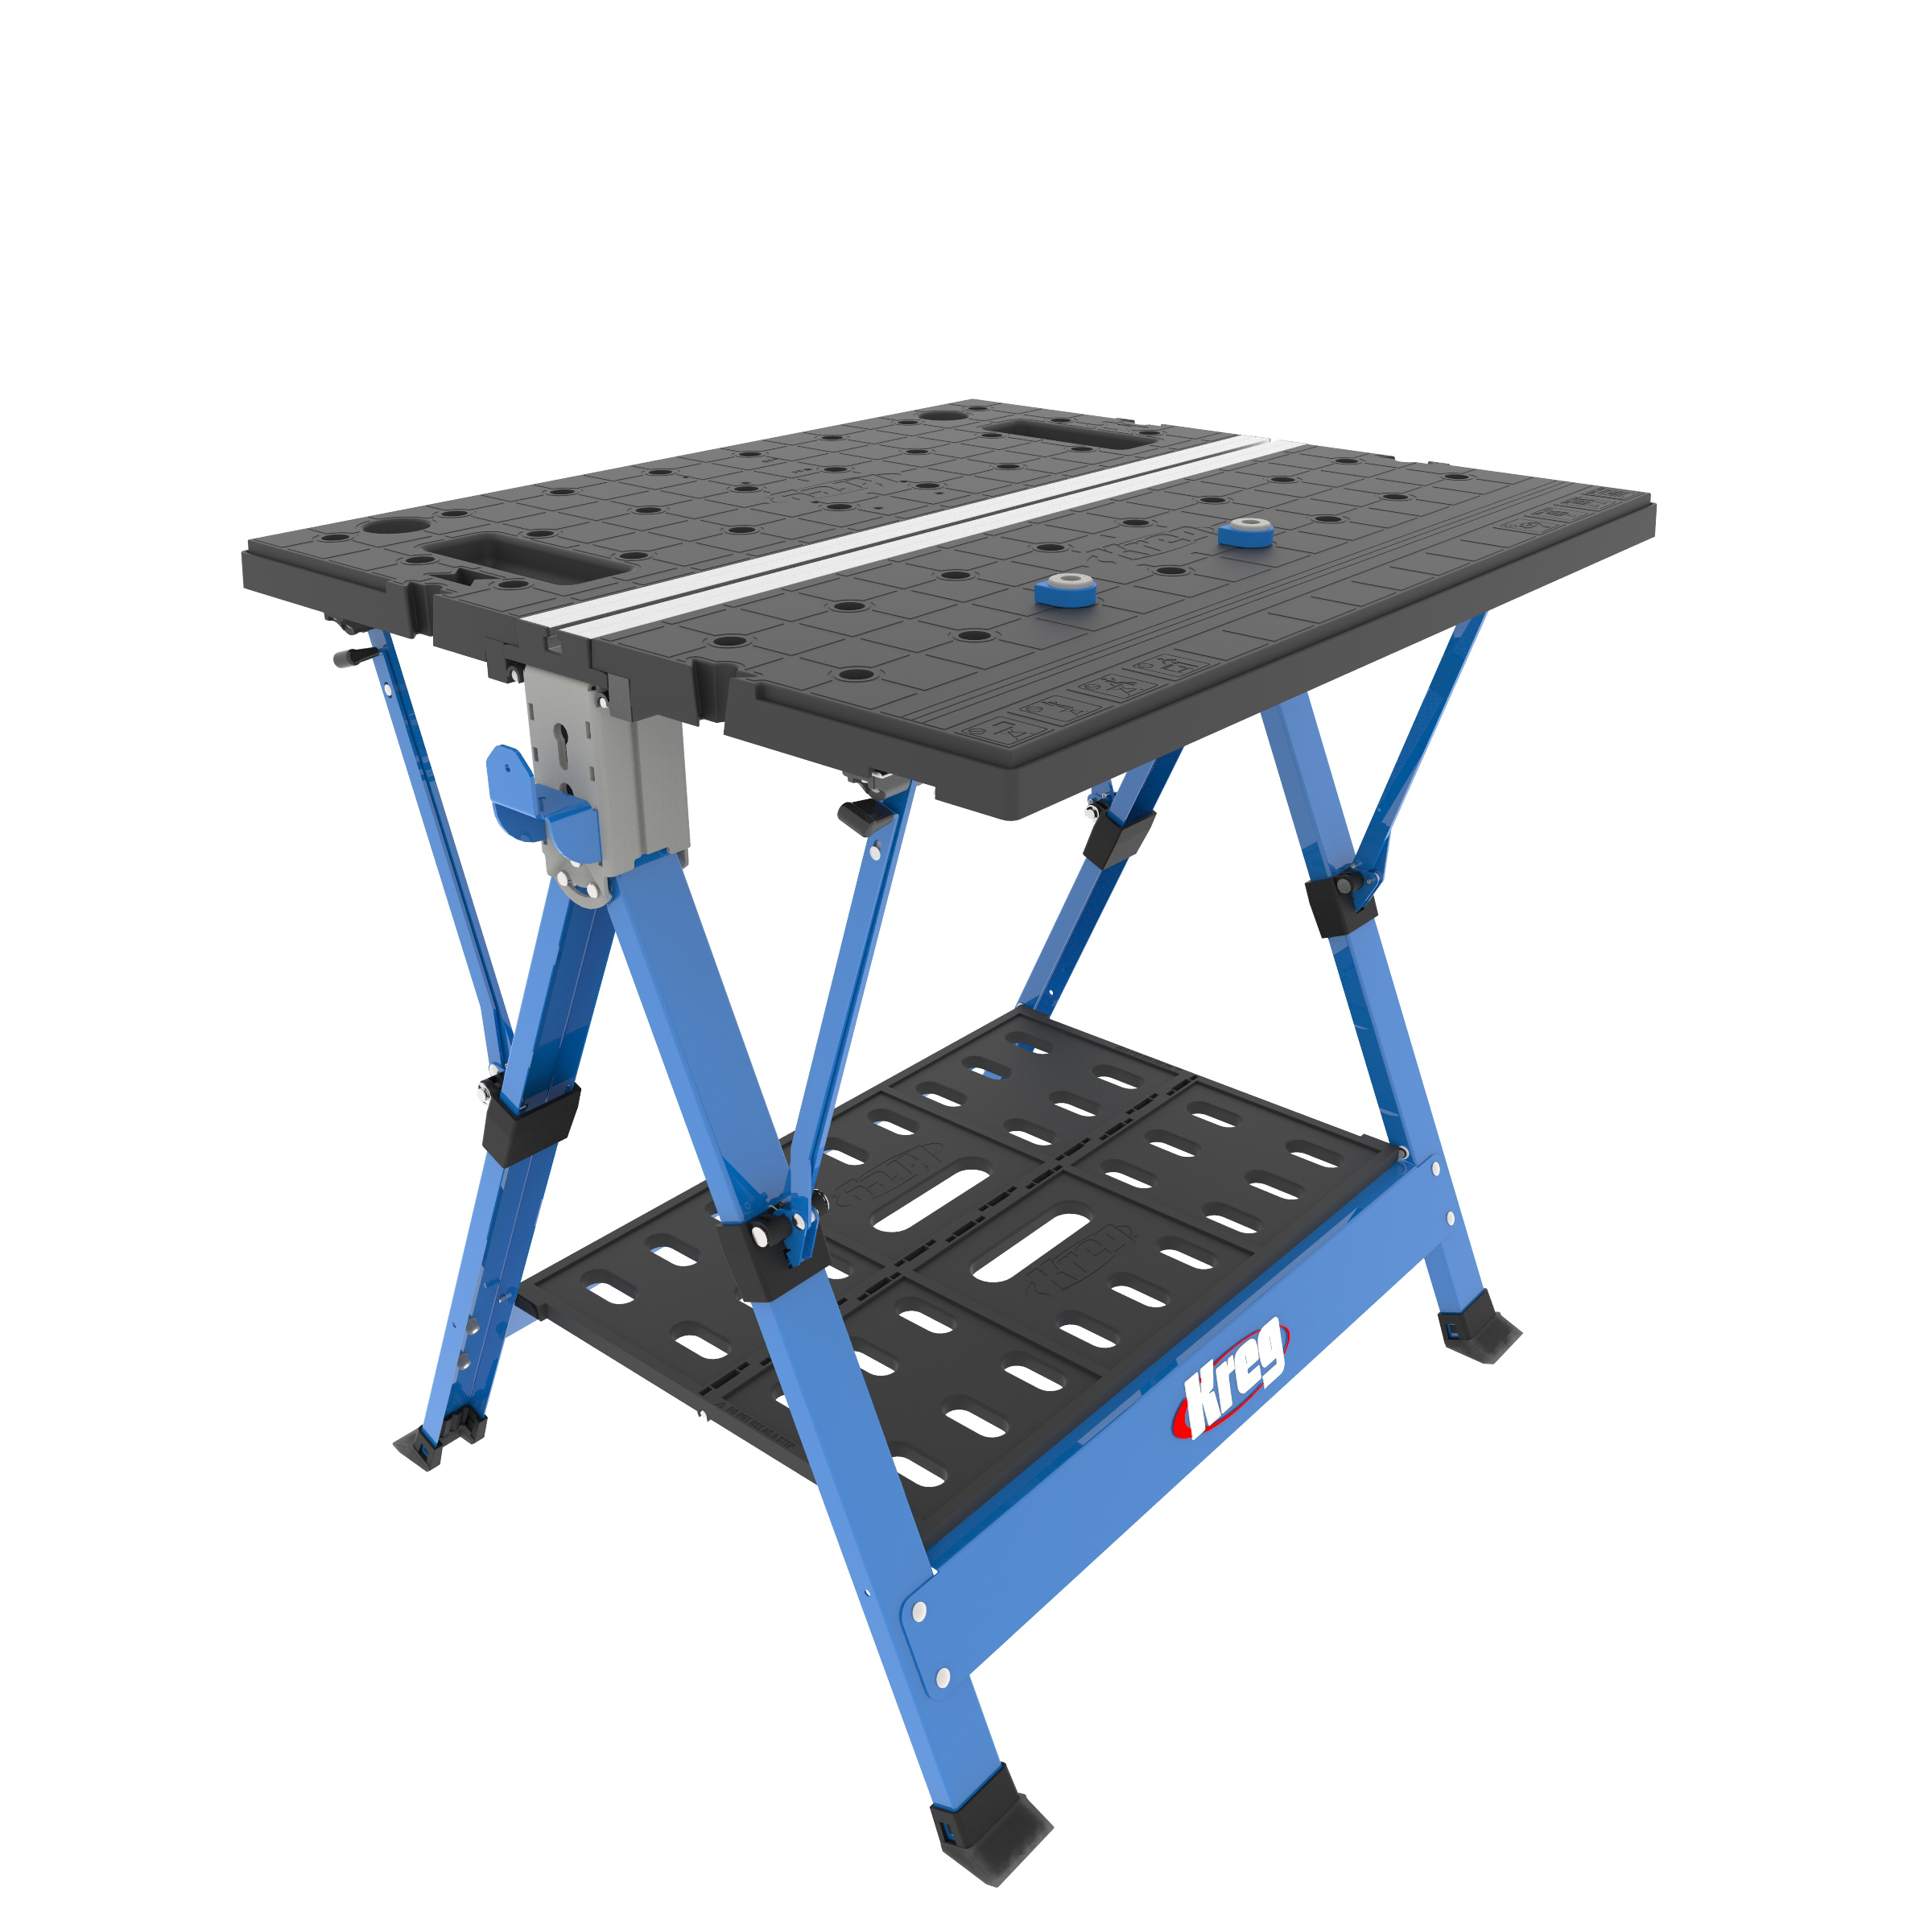
Kreg Tools


Other Tools
-
Miter Saw

-
Tape Measure
-
Drill (cordless)
-
Impact Driver
-
Nail Gun
Materials
Wood Products
- 4 Board , 2x4 , 72"
- 3 Board , 1x2 , 72"
Hardware & Supplies
- 1 1-1/2" Brad Nails
- 1 2-1/2" Kreg Zinc Pocket Hole Screws
- 1 Sherwin Williams - White Batten Interior Paint
Directions
-
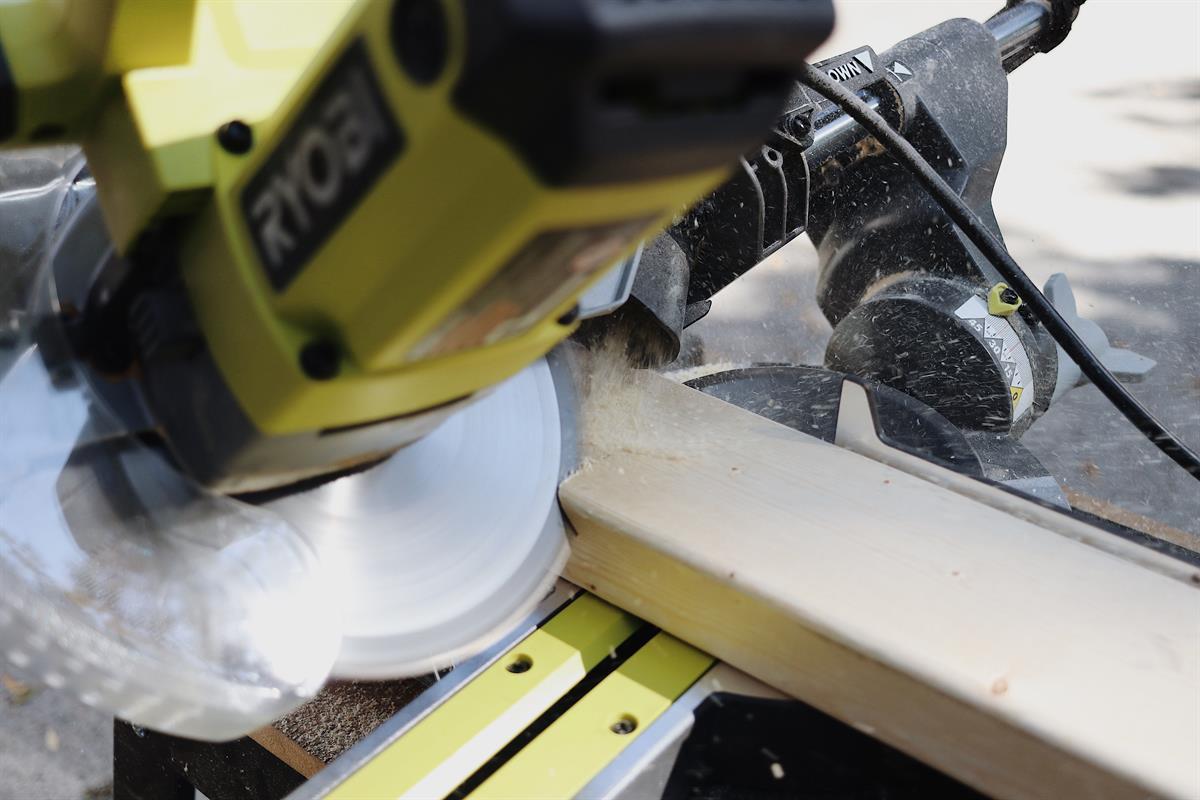
Step 1:
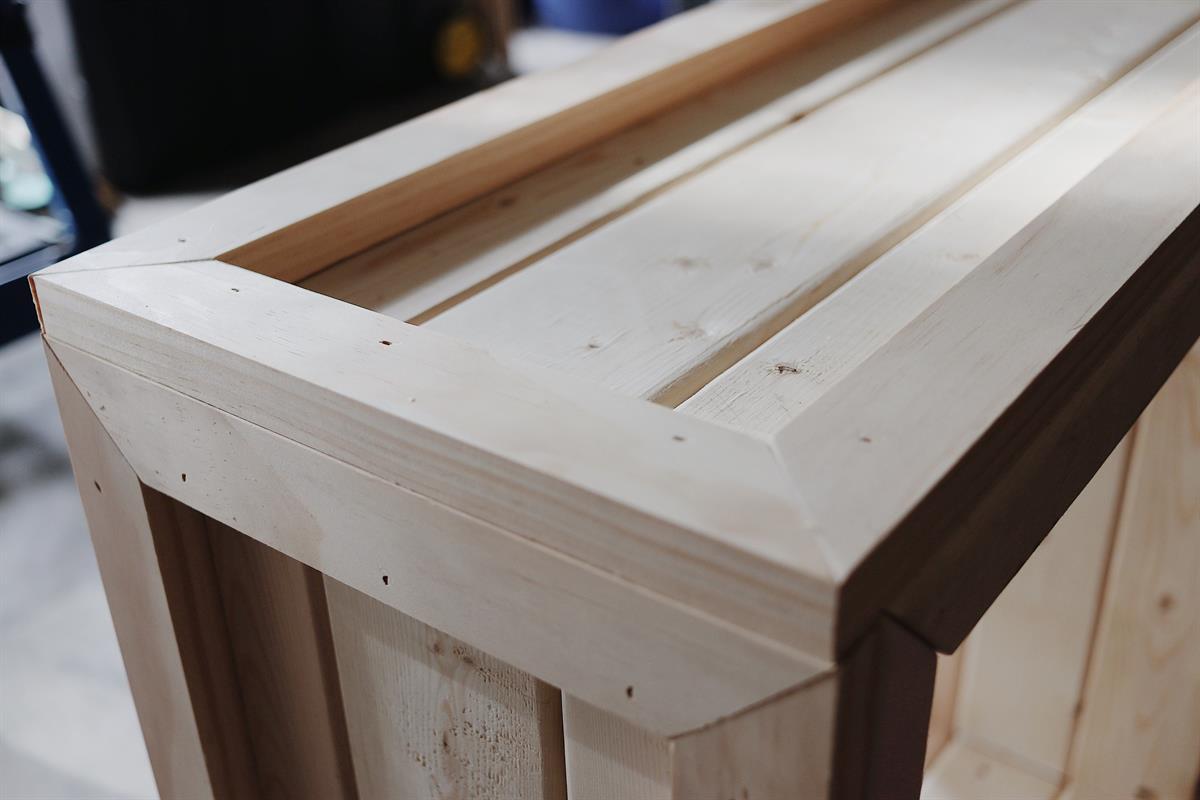
Laying your 2" x 4" board flat on the 4" side, cut one end of your 2" x 4" using your miter saw set at a 45 degree angle bevel cut (as shown). After one end is cut, flip your board over to the reverse side and then from the longest point of that angle, measure down your board 23-1/4" and make a mark. You will then make another 45 degree cut. Repeat this process until you have 12 identical boards. (Angles should be angled in towards each other.)
-
Step 2:
(Note: Two sides of your box, your horizontal trim will line up flush, the opposite sides, the horizontal and vertical trim will be overlapping the flush trim, making the horizontal trim slightly longer.)
For the overlapping (longer) horizontal sides: Laying your 1" x 2" board flat on the 2" side, cut one end of your 1" x 2" trim using your miter saw set at a 45 degree angle miter cut. After one end is cut, flip your board over and then from the longest point of that angle, measure down your board 24-3/4" and make a mark. You will then make another 45 degree cut. Repeat this process until you have 4 identical trim pieces.
You will repeat this process for cutting also (4) 23-1/4" and (8) 10-1/2" trim pieces.

-
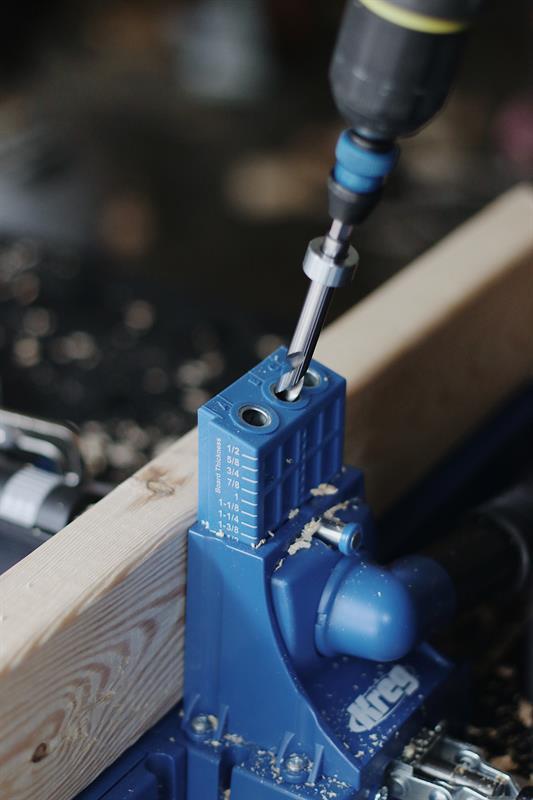
Step 3:
Before drilling your pocket holes, begin by first setting your Kreg Jig K5 to 1-1/2" and drill bit to accommodate a 2-1/2" screw.

-
Step 4:
Begin drilling your pocket holes into the top and bottom 2" x 4" boards of your sides only. Drill 3 holes evenly spaced, each one should be leading into the middle board once you place them together.
-
Step 5:
Screw your boards together using your 2-1/2" Kreg screws.

-
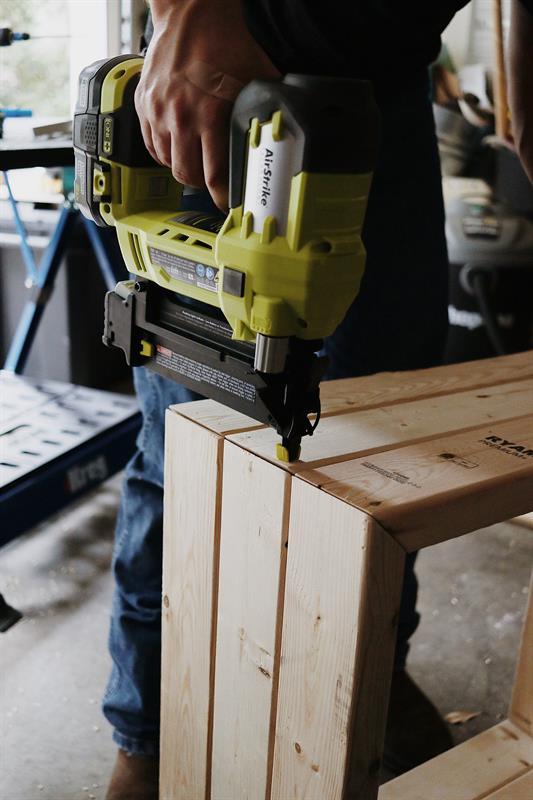
Step 6:
Once your sides are assembled, you are ready to attach them together. To do this, you could use pocket holes to attach them, but this time we opted to use our braid nailer with 1-1/2" brad nails, shooting the nails into each end where the angles meet.
-
Step 7:
(1) After your sides are securely attached together, lay your box flat on one side and place (2) of the shorter horizontal trim pieces and (2) vertical trim pieces flush so they meet evenly with all sides of the sides of the box. Nail down using 1-1/2" brad nails and your brad nailer. Flip your box to the opposite parallel side and repeat this process. (2) Once flush sides are trimmed, flip the box to the adjoining side, this will be where you add the longer horizontal trim. Your (2) longer horizontal trim pieces and (2) vertical trim pieces should overlap the trim on the joining sides. Nail in securely with 1-1/2" brad nails and your brad nailer. Repeat this process on the opposite side.
-
Step 8:
Your box should now securely be put together! The last step is optional but it sure makes hiding those cords a breeze... Lastly, we used a 1-3/4" HOLE DOZER to drill out a hole in the back center 2" x 4" board.

-
Step 9:
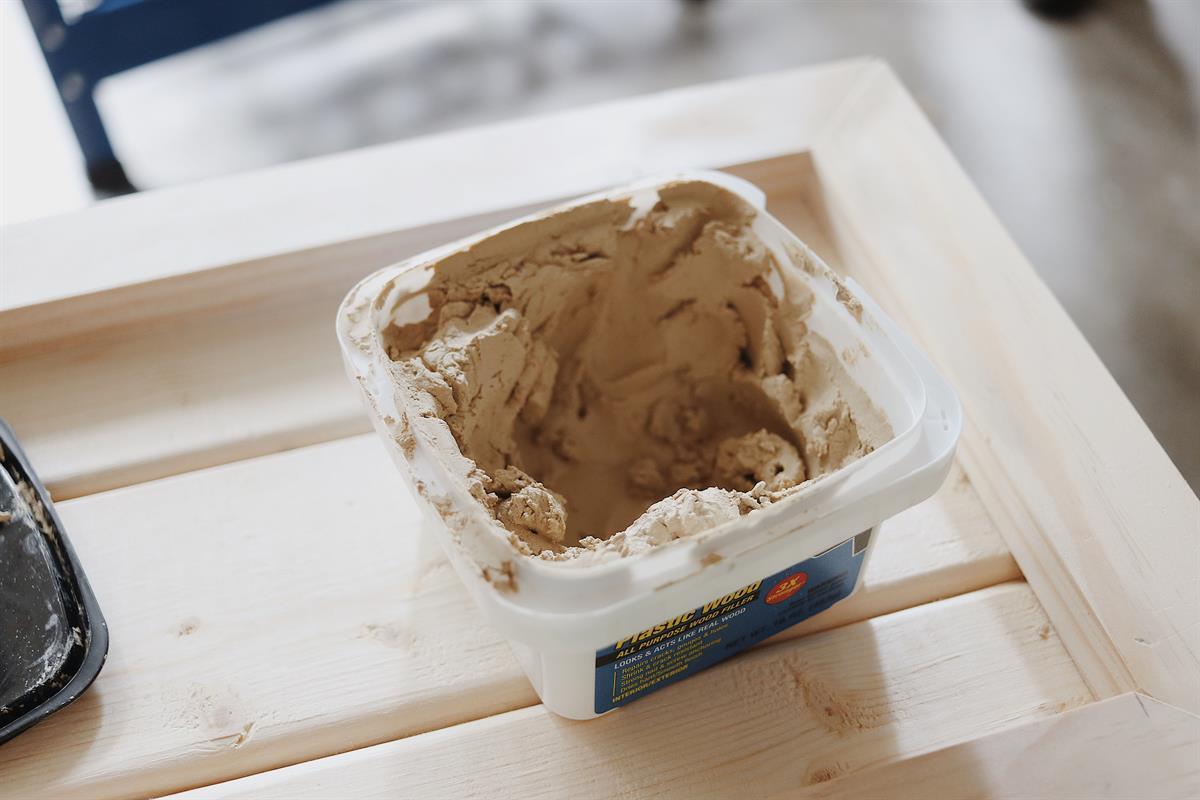
Fill all gaps and nail holes with wood putty. Then sand to smooth one dry.
-
Step 10:
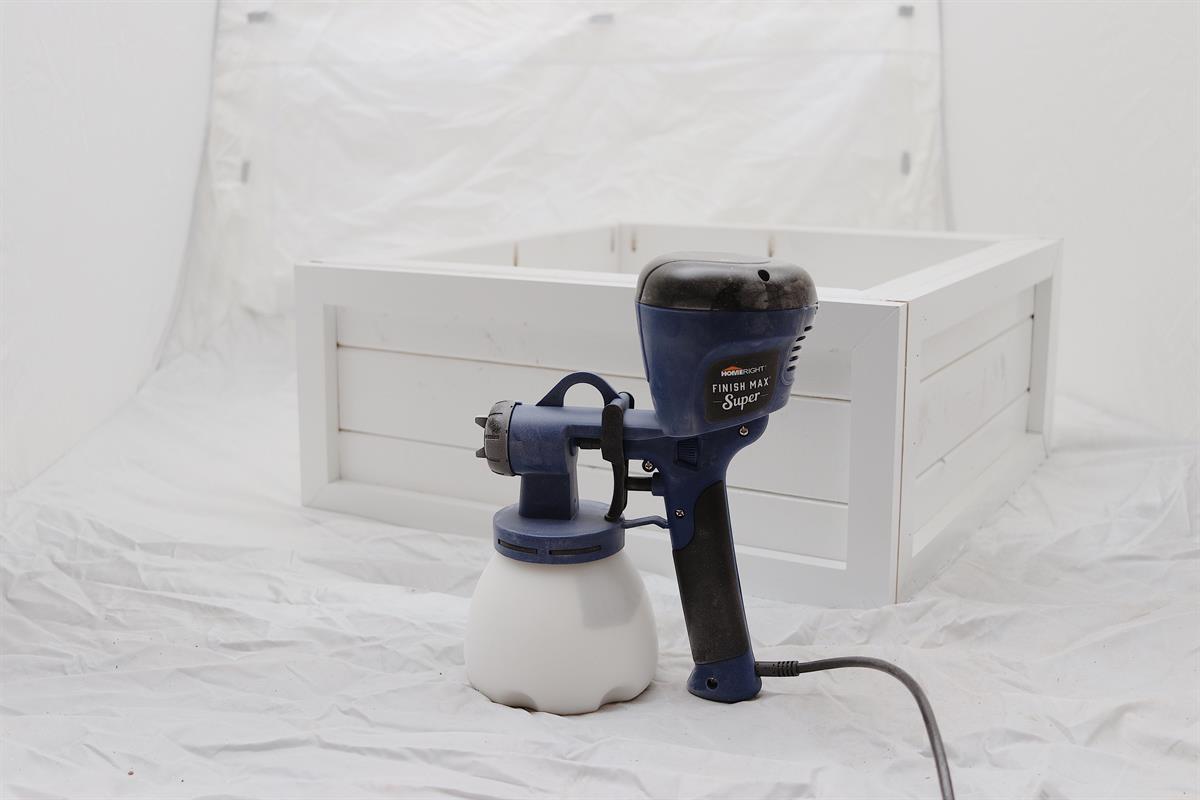
Lastly, you are ready for paint, or stain. For this project we whipped out our HOME RIGHT FINISH MAX PAINT SPRAYER and HOME RIGHT MEDIUM SPRAY SHELTER.
-
You're Finished:
Now you have a beautiful box to neatly display your beautiful Christmas tree in! Paint it your color of choice, or stain to match your existing furniture.
You can find more detailed photos of the build process and completed photos of this project on our blog: www.SimplyCiani.com
