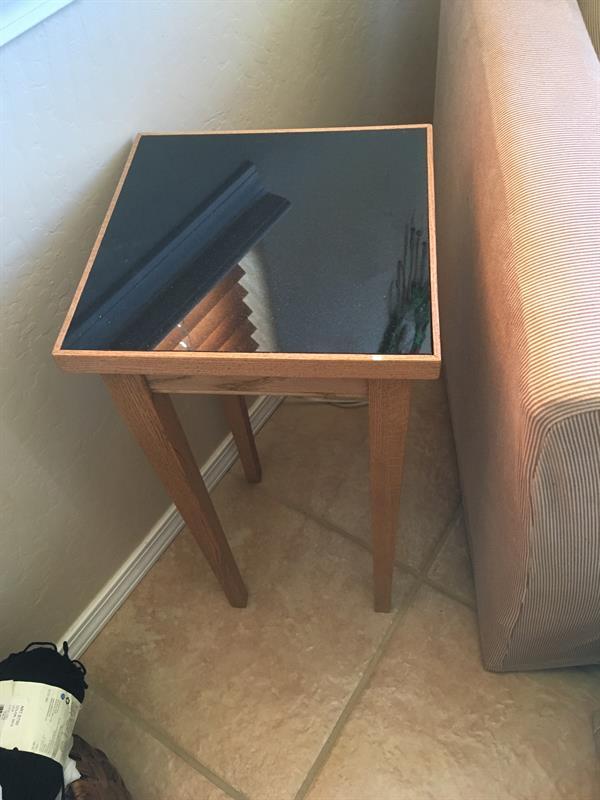
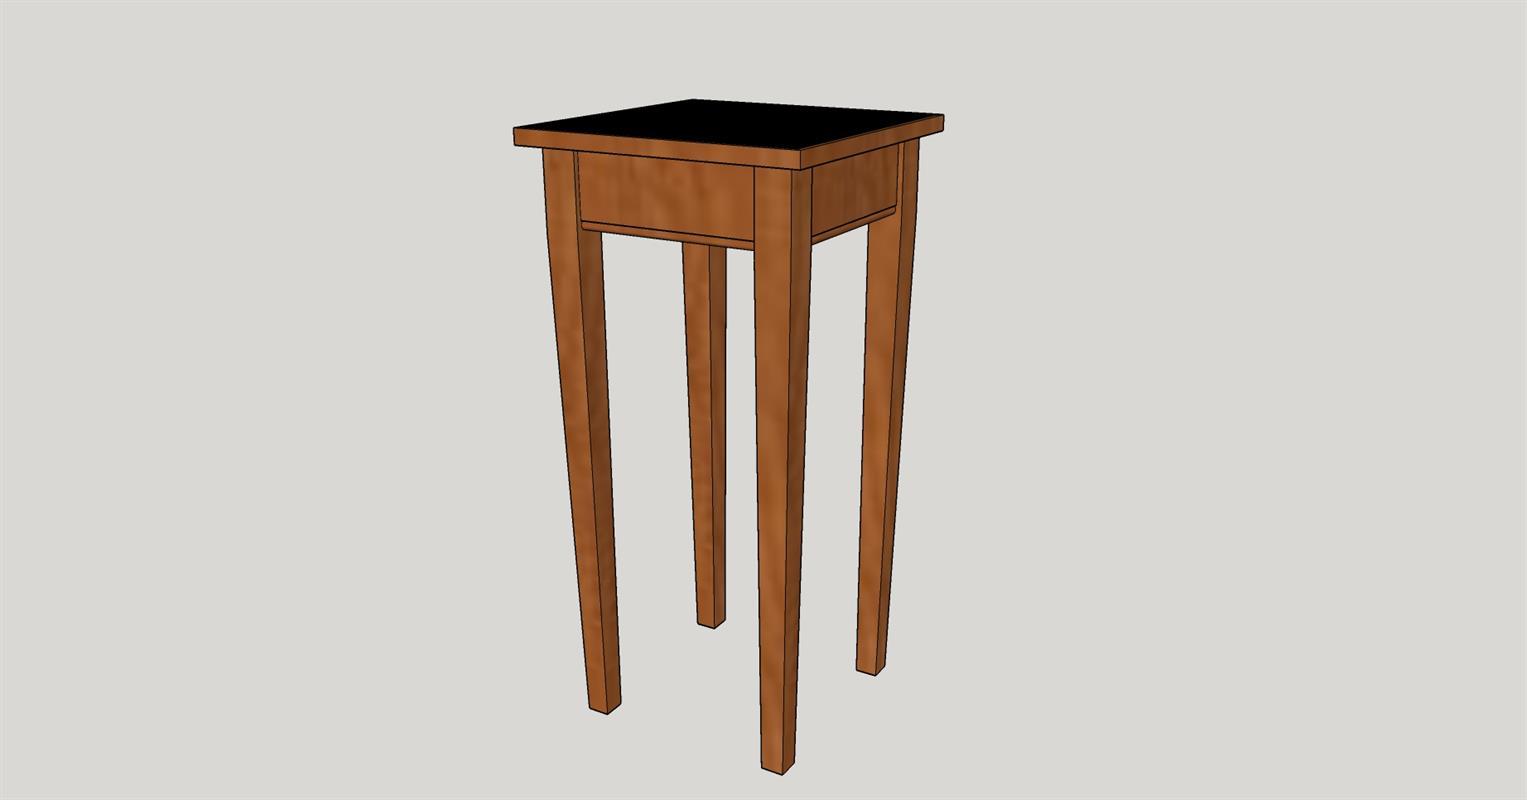
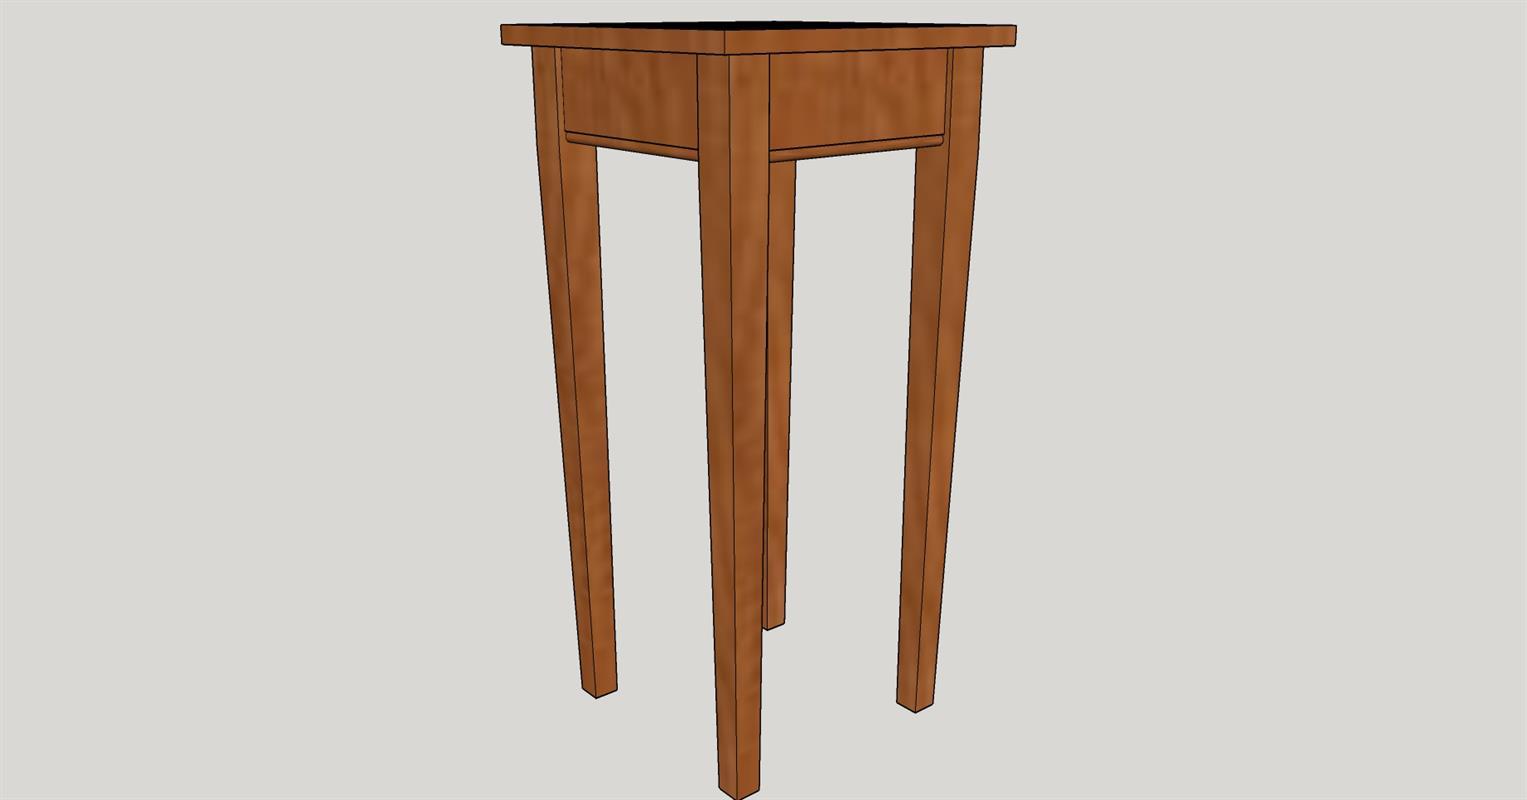
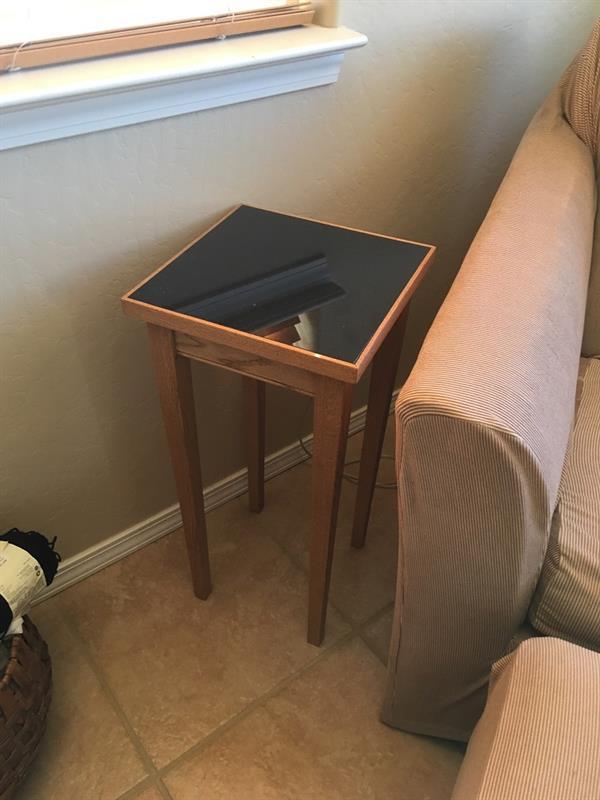


Tile topped end table. Built with red oak, this end table was designed for the easy chair in our master bedroom. This simple design is easily built and very stylish.
Tools
Kreg Tools


Other Tools
-
Miter Saw

-
Square
-
Table Saw
-
Tape Measure
-
Tapering Jig
-
Drill (corded)
-
Drill (cordless)
-
Nail Gun
-
Router
-
Router Bit
-
Air Compressor
-
Shop Vacuum
Materials
Wood Products
- 1 Board , 1x8 , 72"
- 1 Plywood , 1/2" Thick , 12 1/8" X 12 1/8"
Hardware & Supplies
- 16 Kreg 1 1/4" fine thread pocket screws
- 4 Kreg 1" coarse thread pocket screws
- 1 12' X 12" Tile
- 12 5/8" pin nails
- 1 Titebond 1 wood glue
- 3 100, 150 & 220 grit sandpaper
- 1 Minwax Weathered Red Oak Stain
- 1 Minwax Tung Oil Finish
Cut List & Parts
- 4 Leg blanks , 1 1/2" x 1 1/2" x 25 1/8"
- 4 Table skirts , 3/4" x 2 1/2" x 8"
- 4 Top framing sides , 1/4" X 7/8" x 12 3/4"
- 1 Top , 1/2" X 12 1/32" x 12 1/32"

Directions
-
Introduction
Please be sure to read through complete instructions before you begin any work on this project. It is also a good idea to dry fit the components before adding glue and doing final assembly. I built the end table from 3/4" red oak to match the rest of the craftsman style furniture in our master bedroom (plans also available on buildsomething.com). You can build it from any wood you like and stain or paint it to your taste.
-
Cut Legs
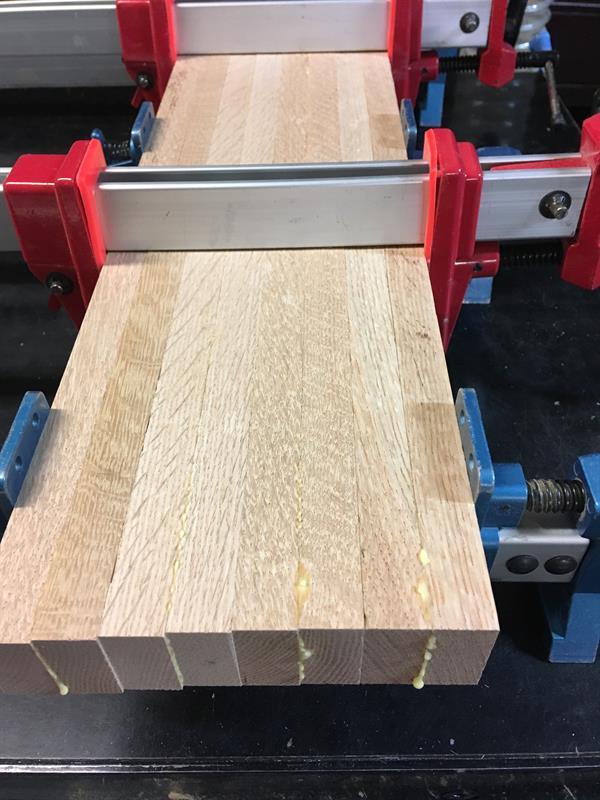
Cut the four legs as mentioned in the parts list. If you cannot locate 1 1/2" thick wood you can use two 3/4" boards that you glue together, like I did (see picture). Once the legs are cut to size you need to taper two adjacent sides of each leg. I have linked a very good U Tube video (Extras section) that describes how to do this on a table saw using a tapering jig. The two tapers start 2 1/2" from the top of the leg, I adjusted the taper so the bottom of each leg was 1" square. Make sure to mark the tapered sides as you will need to assemble the table with the edge between the tapers facing the outside of each corner. Use 100 then 150 grit sandpaper to smooth the legs.
-
Table Skirts
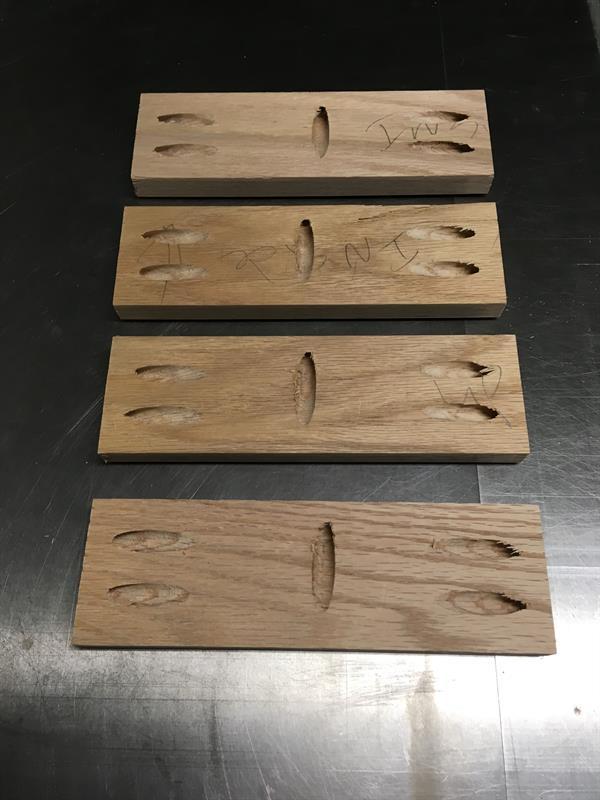
Cut the four table skirts as described in the parts list. Using a 3/16" beading router bit (I use a Freud 80-104...see extras section) cut a bead along the lower edge of all four skirts. Using a Kreg pocket screw jig (set to 3/4" for all pockets on this project), drill two pocket holes in both inside ends of the four skirts and one pocket hole in the inside top edge to hold the top assembly on as shown in the attached picture. It is a good idea to mark where you are putting the holes to prevent mistakes. Use 100 then 150 grit sandpaper to smooth the skirts.
-
Cut Top
Cut a piece of 1/2" plywood slightly larger than the tile you are using. My tile was exactly 12" x 12". I traced the tile size on the plywood and cut the plywood so the pencil line remained on two of the sides. Final size of the plywood was approximately 12 1/32" x 12 1/32".
-
Assemble Skirts and Legs
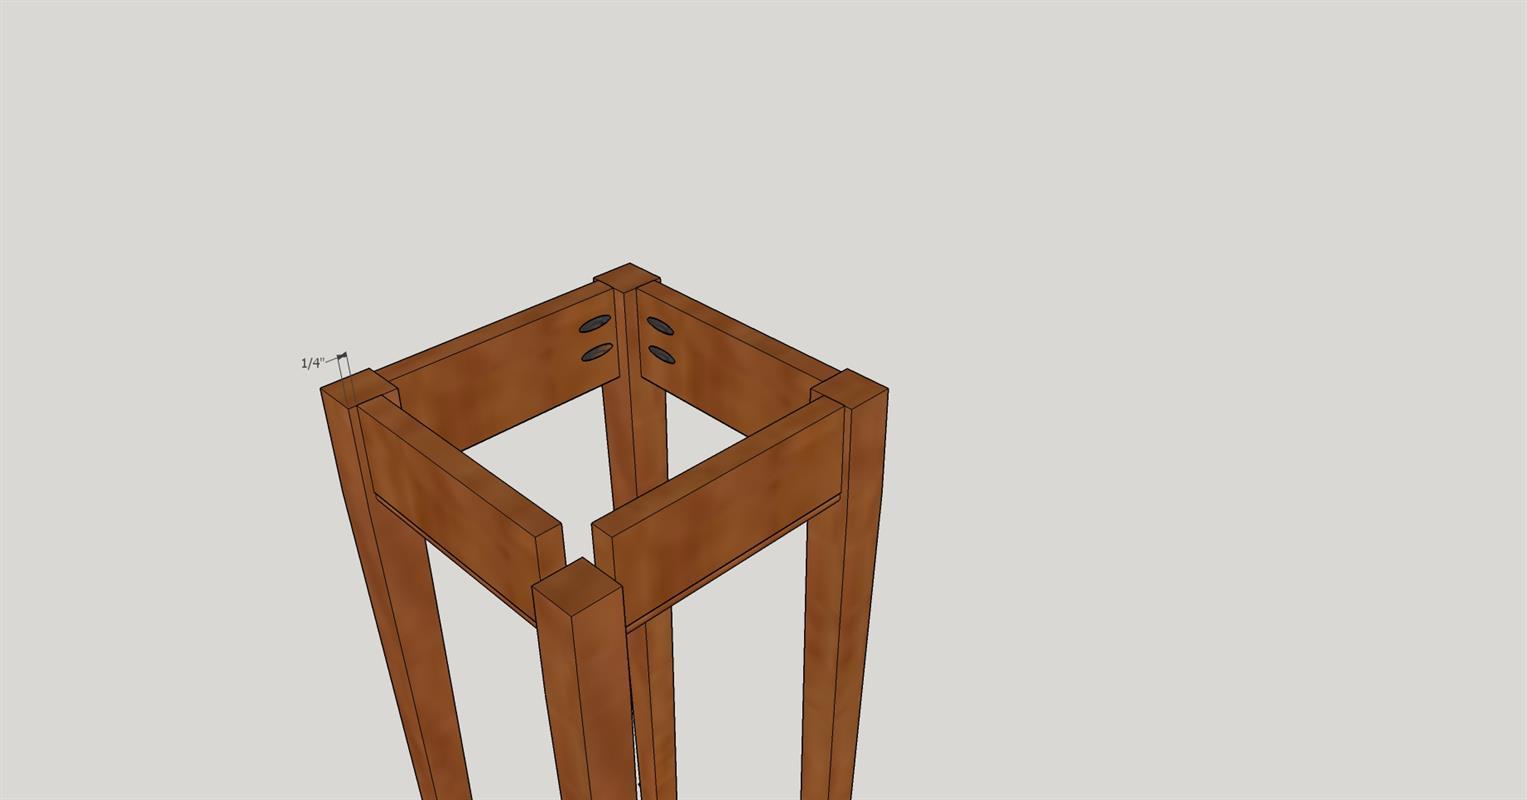
Use Titebond I wood glue and Kreg 1 1/4" pocket screws to assemble the skirts and legs. The skirts should be inset 1/4" from the outside of the legs. See attached diagram. Keep in mind that the edge between the two tapered sides of the legs should face out at each corner.
-
Attach Top
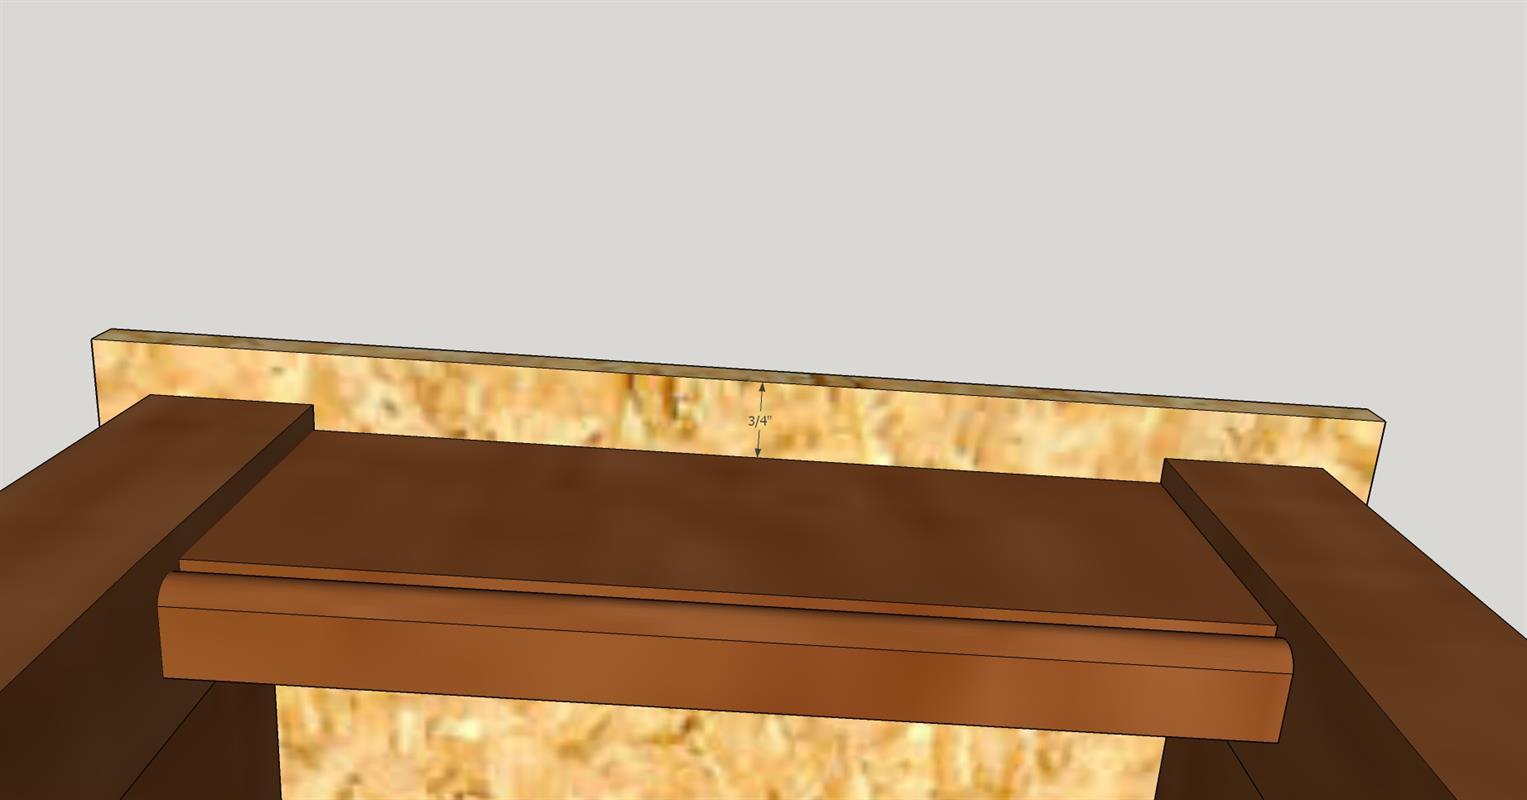
Use four Kreg 1" pocket screws to attach the leg/skirt assembly to the top. The spacing on each side should be equal...on my table it was approximately 3/4" from the center of the skirt to the edge of the top. See attached diagram.
-
Finishing
Now that the build is complete use 220 sandpaper to do a once over on all surfaces in preparation for the finish. Clean well to remove all dust. (I use compressed air and clean dry rags). I used Minwax Weathered Red Oak Stain and finished with two coats of Minwax Tung Oil.

-
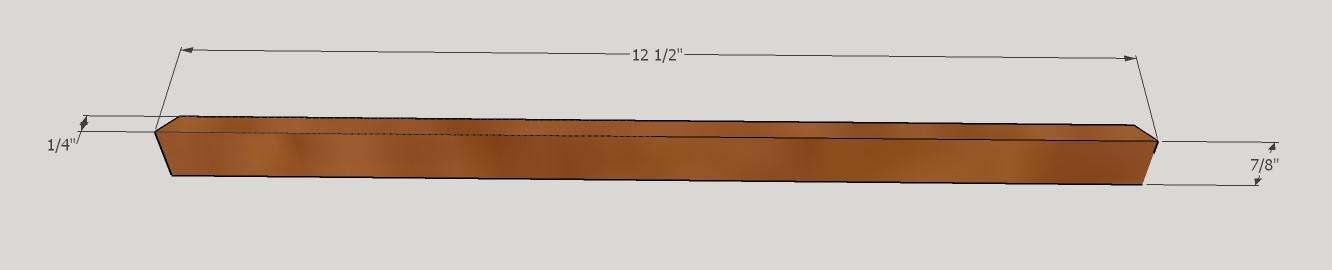
Frame the Tile Top
Place the tile onto the table top. Cut the four 1/4" top framing strips as described in the parts list. Please note that the 7/8" thickness for my table framing was the thickness of the plywood top (1/2") plus the thickness of the tile (3/8"). You may need to adjust this depending on the thickness of your tile. The cut listed length of 12 3/4" is a little longer than actual finished size. This is so there is enough material to cut 45 degree angles on both ends to form the top frame. My finished outside dimension for each side was 12 1/2". I attached the frame using Titebond glue and 5/8" pin nails.