

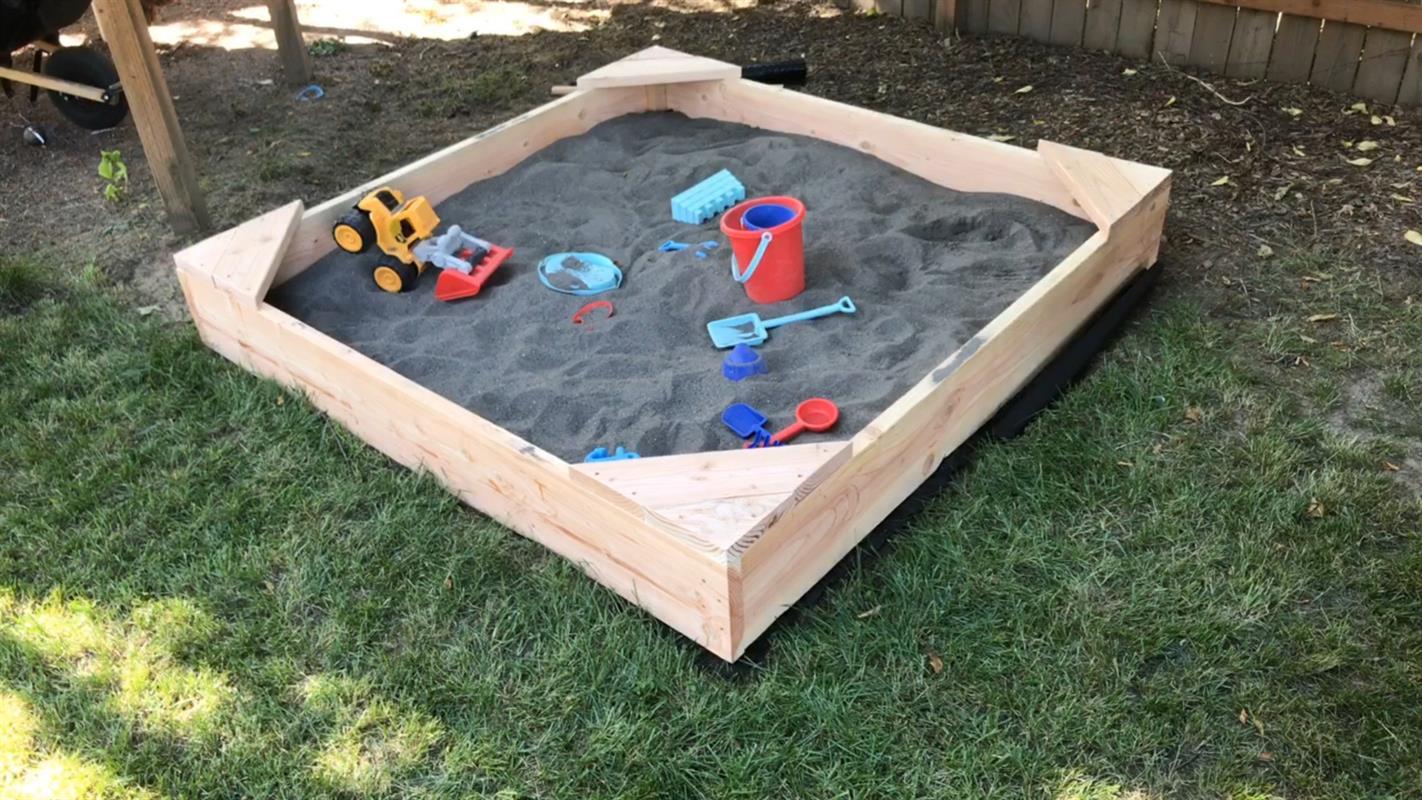


We wanted to add a sandbox in the backyard for our son and his future brother. Wanting to avoid the blastic turtles of our youth, my wife and I decided to build a simple sandbox, complete with seating in the corners.
Tools
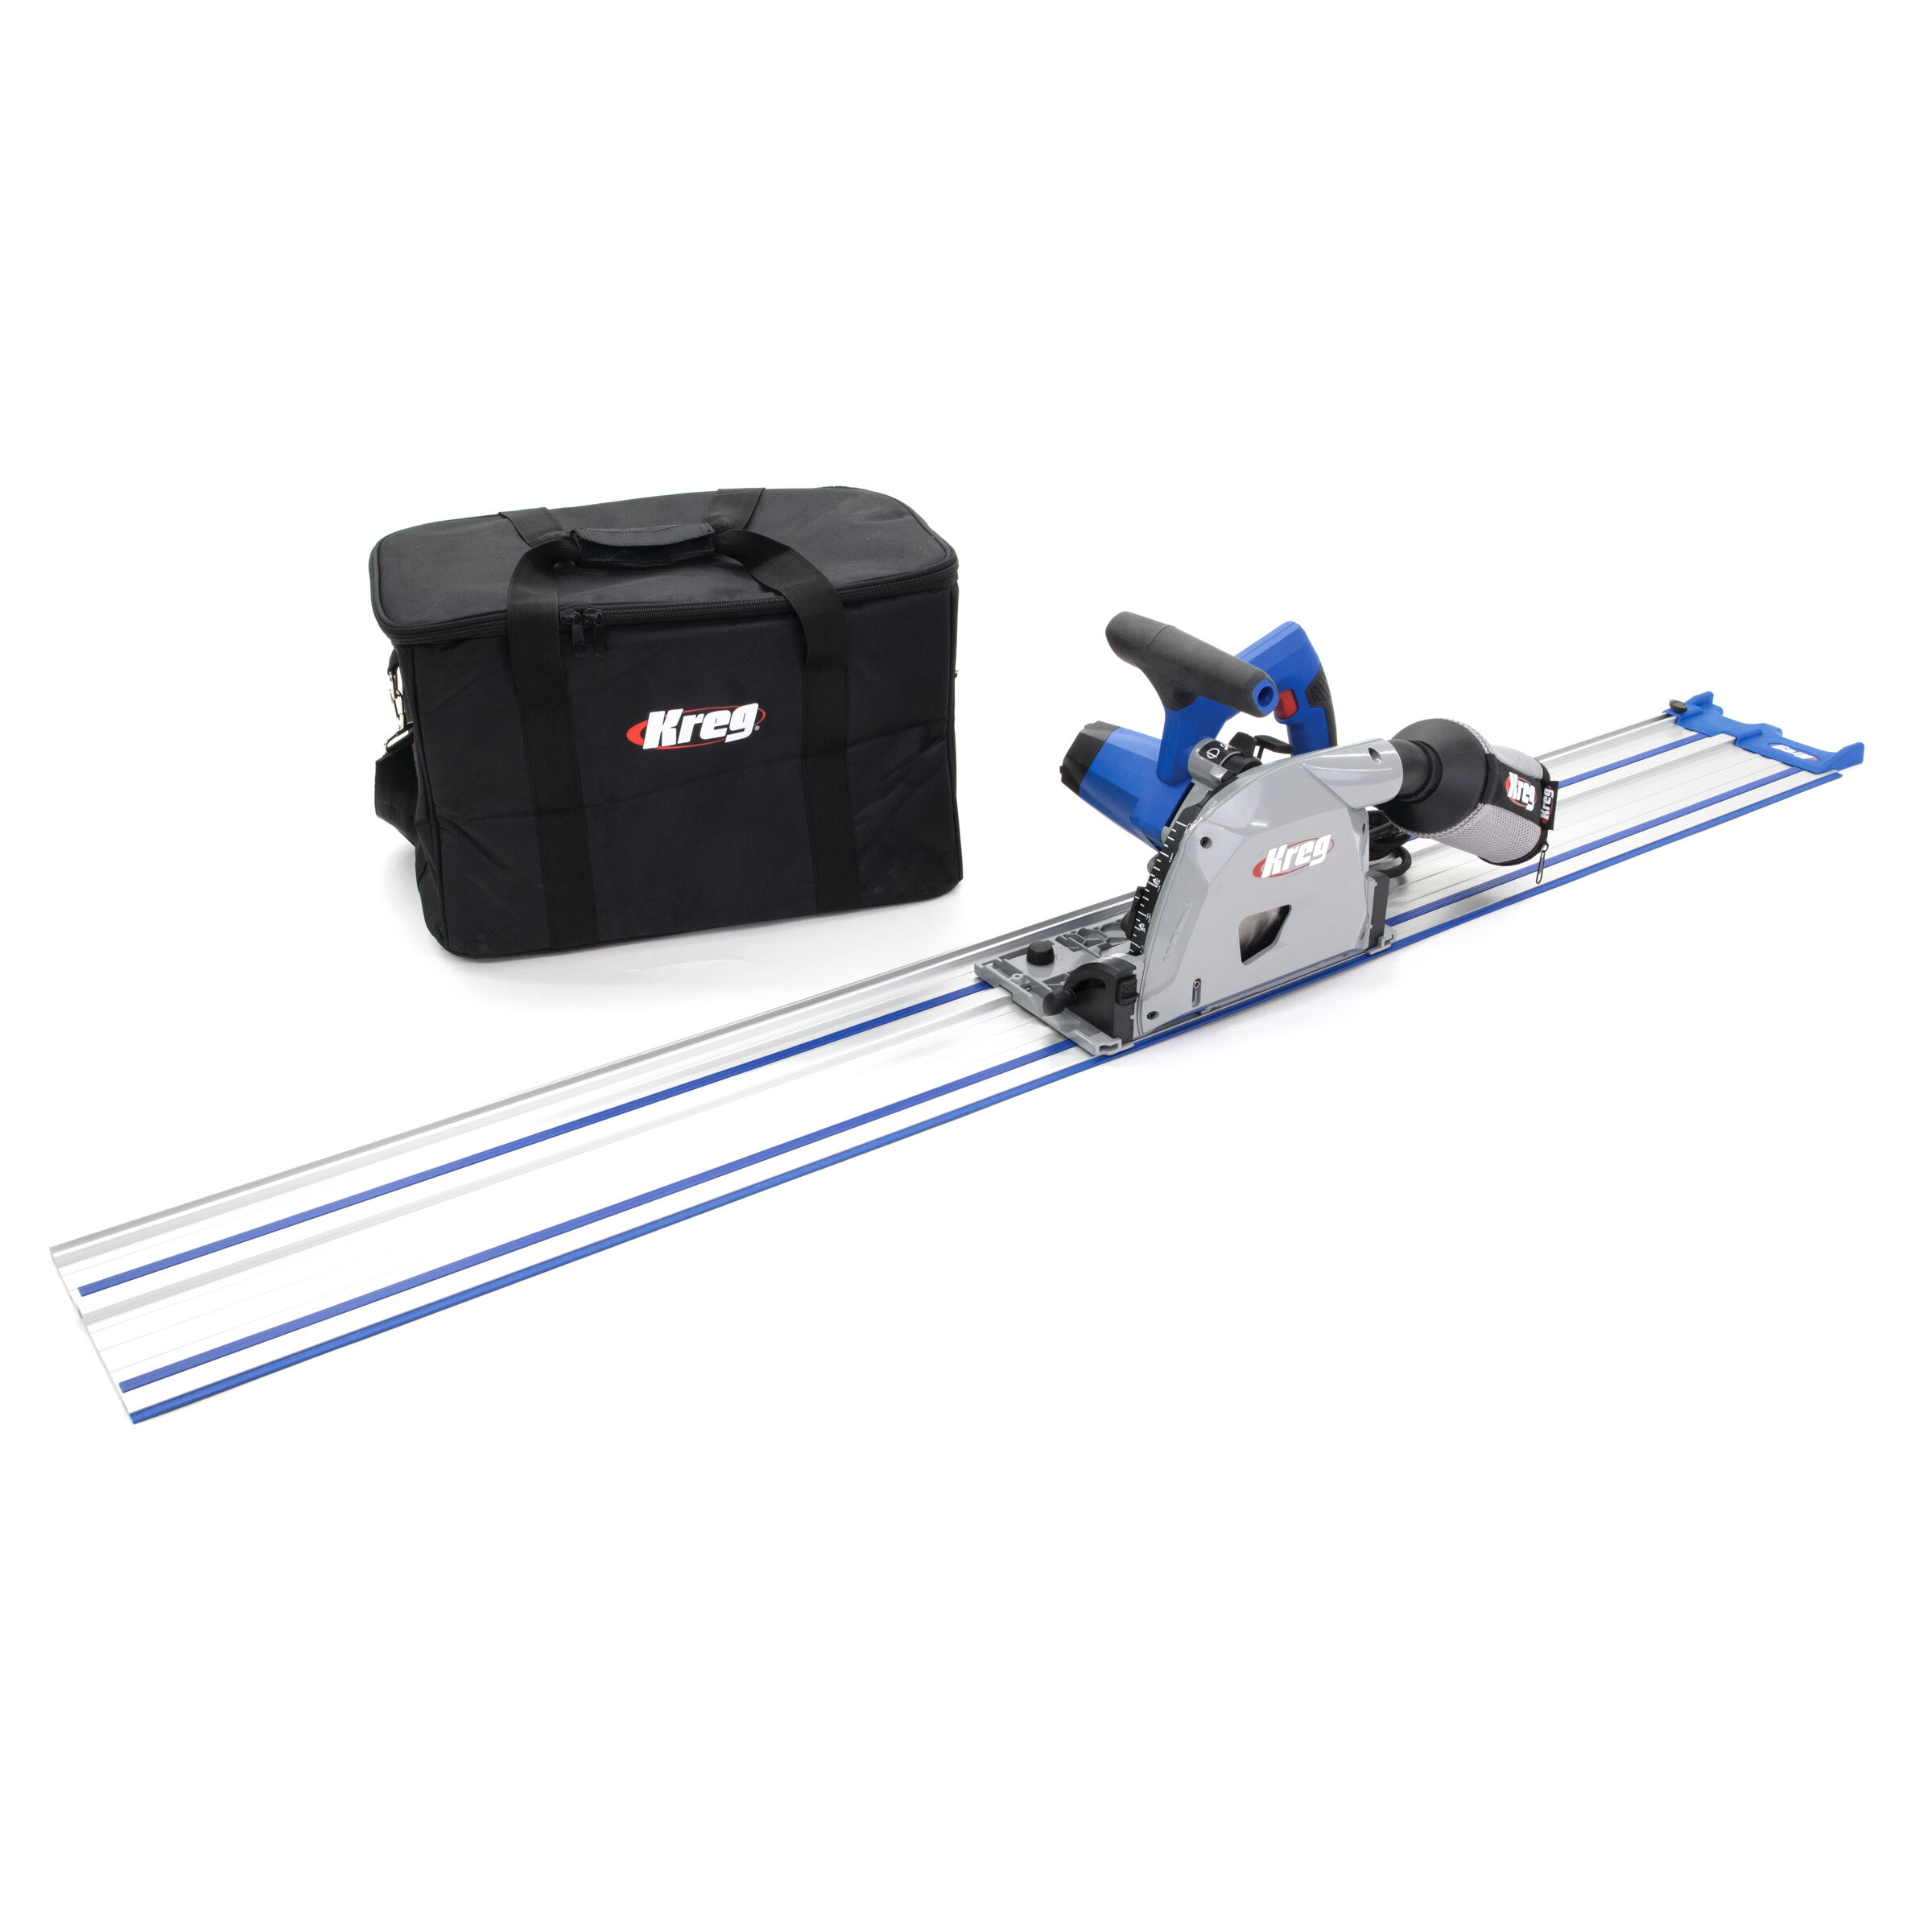
Kreg Tools
Other Tools
-
Miter Saw

-
Clamps
-
Drill (cordless)
-
Stapler
-
Sander
Materials
Wood Products
- 2 Board , 2x10 , 12
- 2 Board , 2x6 , 96"
- 1 Board , 2x3 , 96"
Hardware & Supplies
- 1 Box of 2" Screws
- 1 Bottle of Wood Glue
- 1 Roll of weed block fabric
- 1 Box of staples
- 20 50 pound bags of play sand
Directions
-
Break down the stock
Like with any build that comes from wood, you’ll need to break your lumber down into smaller, usable pieces.
-
Sand
Look, I don’t feel like you need me to explain to you why splinters will make your child less likely to play in a sand box that you’ve spent hours building for them. I hate sanding as much as the next guy, but unless you’re the type of parent who wants to turn splinters into a metaphor about life and have 90s-sitcom-esque sit downs where you put your arm around your kid and have a heart to heart where you tell them that everything going to be alright and what a good lesson in overcoming adversity this is, just sand the dang wood. Make sure it’s smooth. Thank you, next step.
-
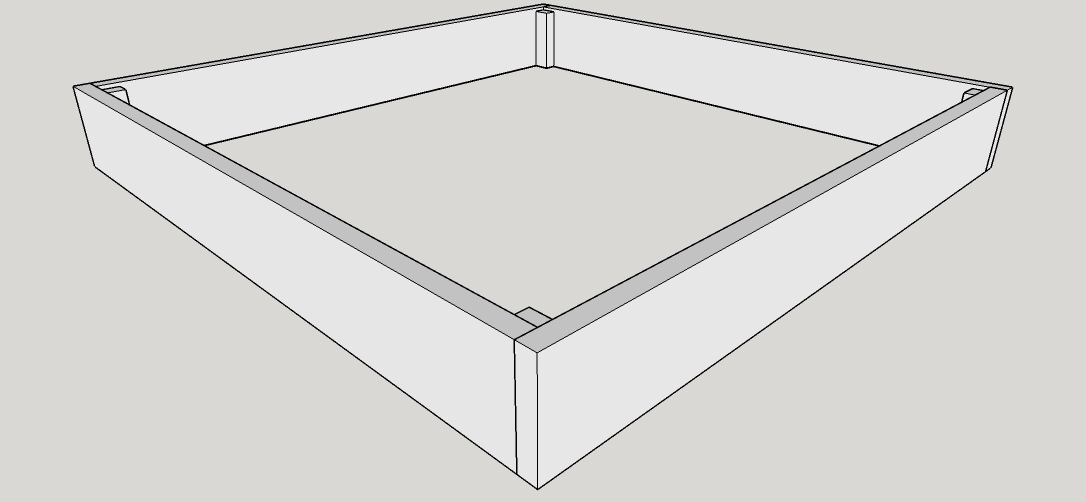
Assemble the box sides
So to start out, pair off one of your 2×10 sides with one of your 2×3 (or 2×4 or 4×4–I really don’t care which you selected, so long as it is sturdy enough to handle screws). If, for some reason, you get to this step and somehow don’t have all four of the side pieces and/or all four of the corners, I’d recommend going back to the cut list and seeing what you’ve missed. You should have an even number of both.
Once paired off, I started by attaching the 2x3s at one end of the 2x10s. The box is all butt joints. I spread some glue on one of the 3′ faces, clamped it squared with one end of the board, then screwed it in.
I then completed assembly on site–I applied wood glue to one of 3′ faces, clamped it squared with one end of the board.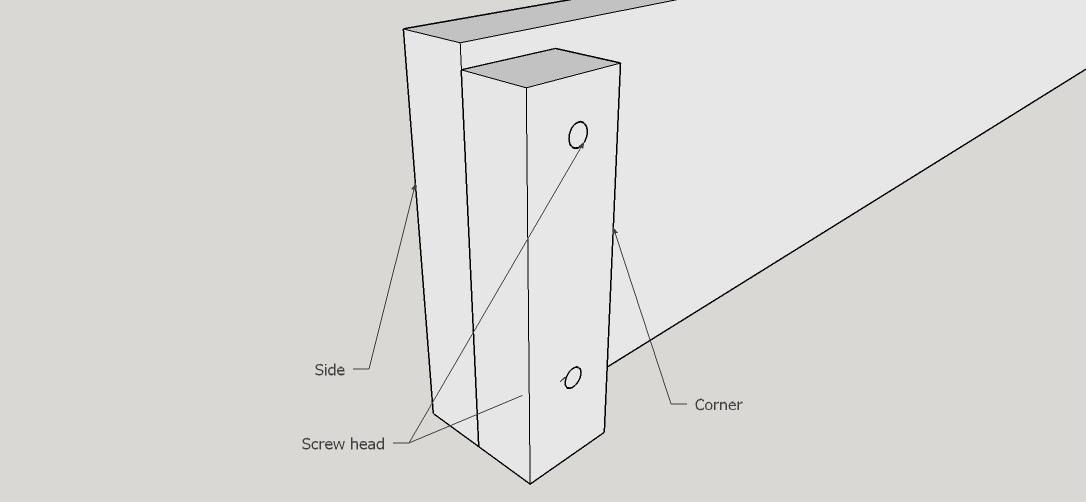
-
Assemble the box
I applied wood glue to the end of the 2x10 and the edge of the 2x3, clamped the opposite end of one of the other sides to the 2x3, then drove more screws in (making sure to offset the screws from where I had driven the screws on the other side of the corner). Once finished, I had--you guessed it! A large wooden box!
-
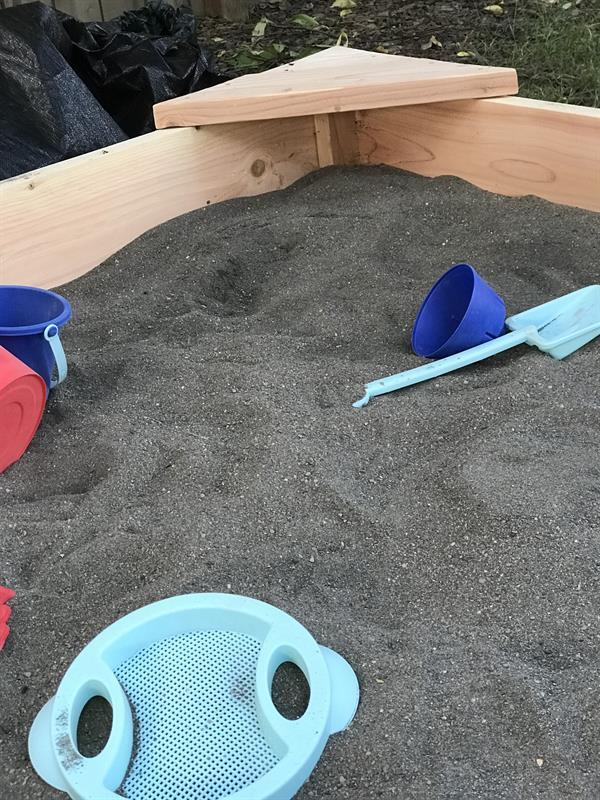
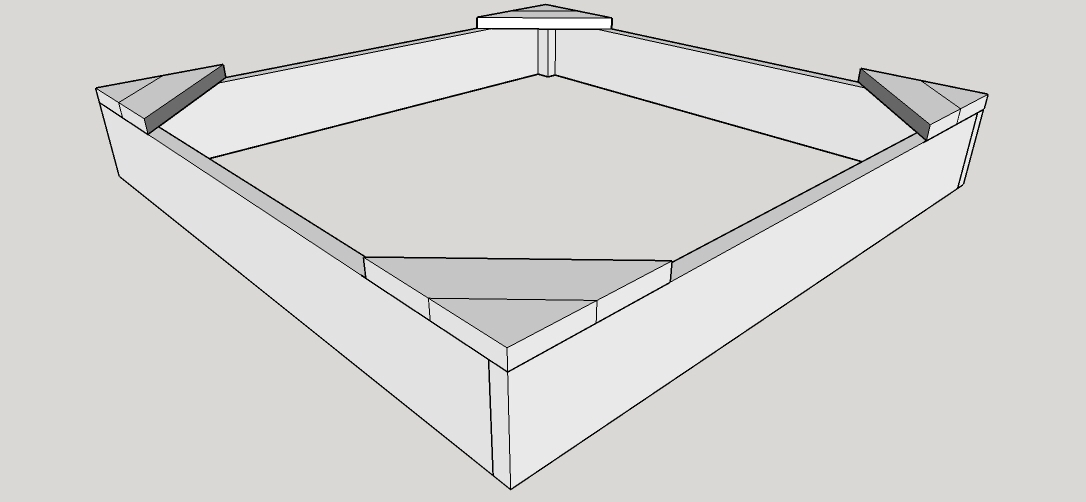
Add the seats
I took my 2x6 and "foot clamped" (see: stepped on/kneeled on) it while marking where my triangle needed to be cut from. Once I had the corner triangle cut, I foot clamped that one onto the corner and marked my trapezoid cuts. The good news is, once I had the first set, I was able to set up my Kreg ACS to make the repeating cuts pretty painlessly. If you don't have an ACS, no worries--you can also do this with your miter saw. Just set up your cutting angle and use your first of each board as the template. The seats were affixed with screws.
-
Add Weed block fabric
I started by adding weed block fabric to the bottom of the box, then stapled the fabric around the edges of the box
-
Add sand & enjoy!
Once the fabric was laid, I dumped in the sand and spread it as evenly as possible across the sandbox.