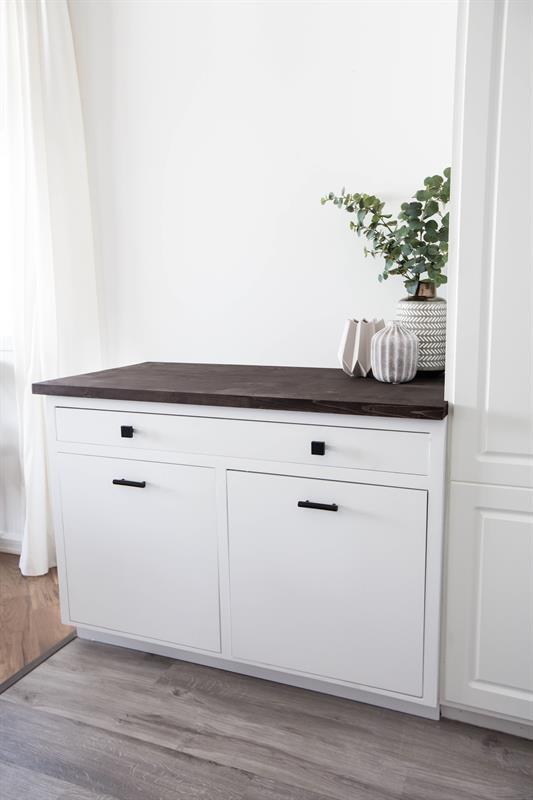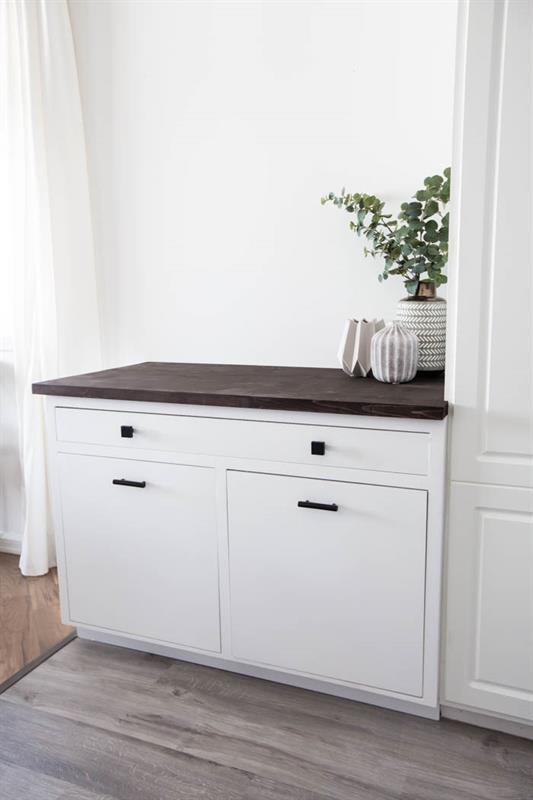
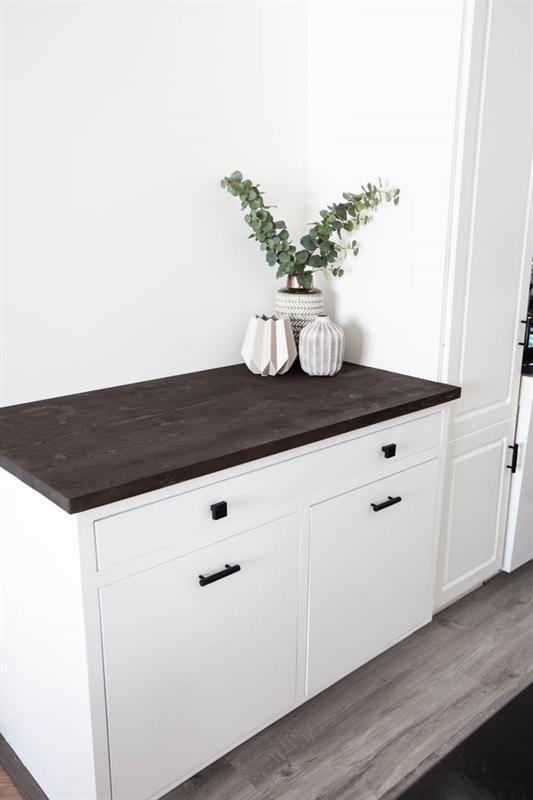
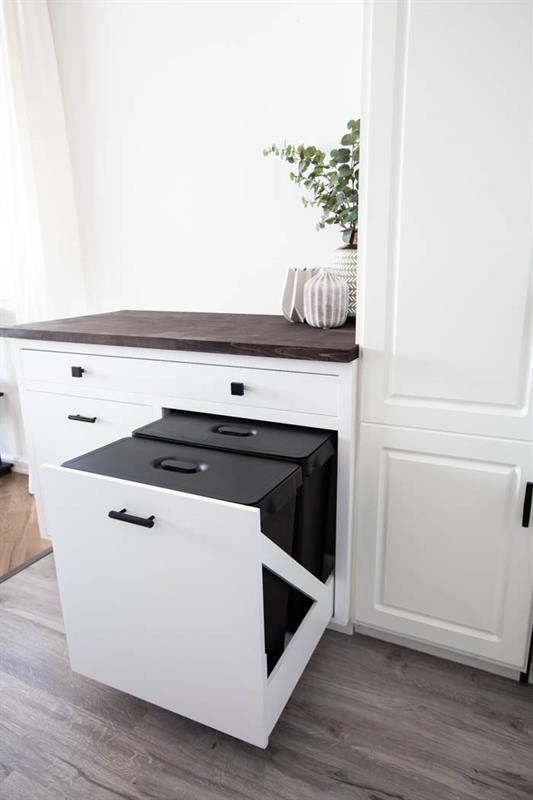
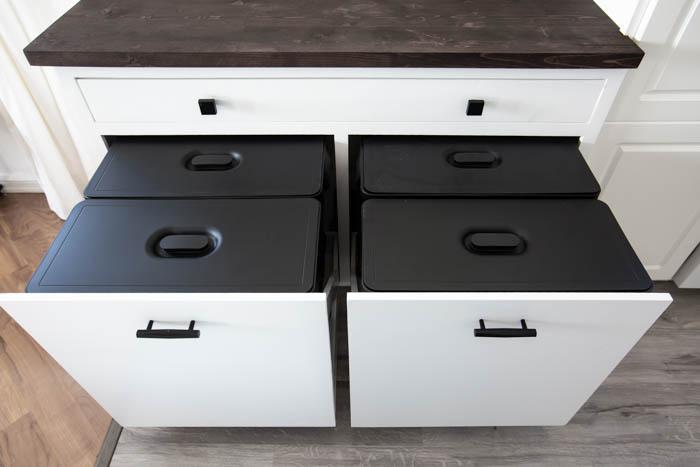


Four bin cabinet to hide trash and recycling bins
Tools
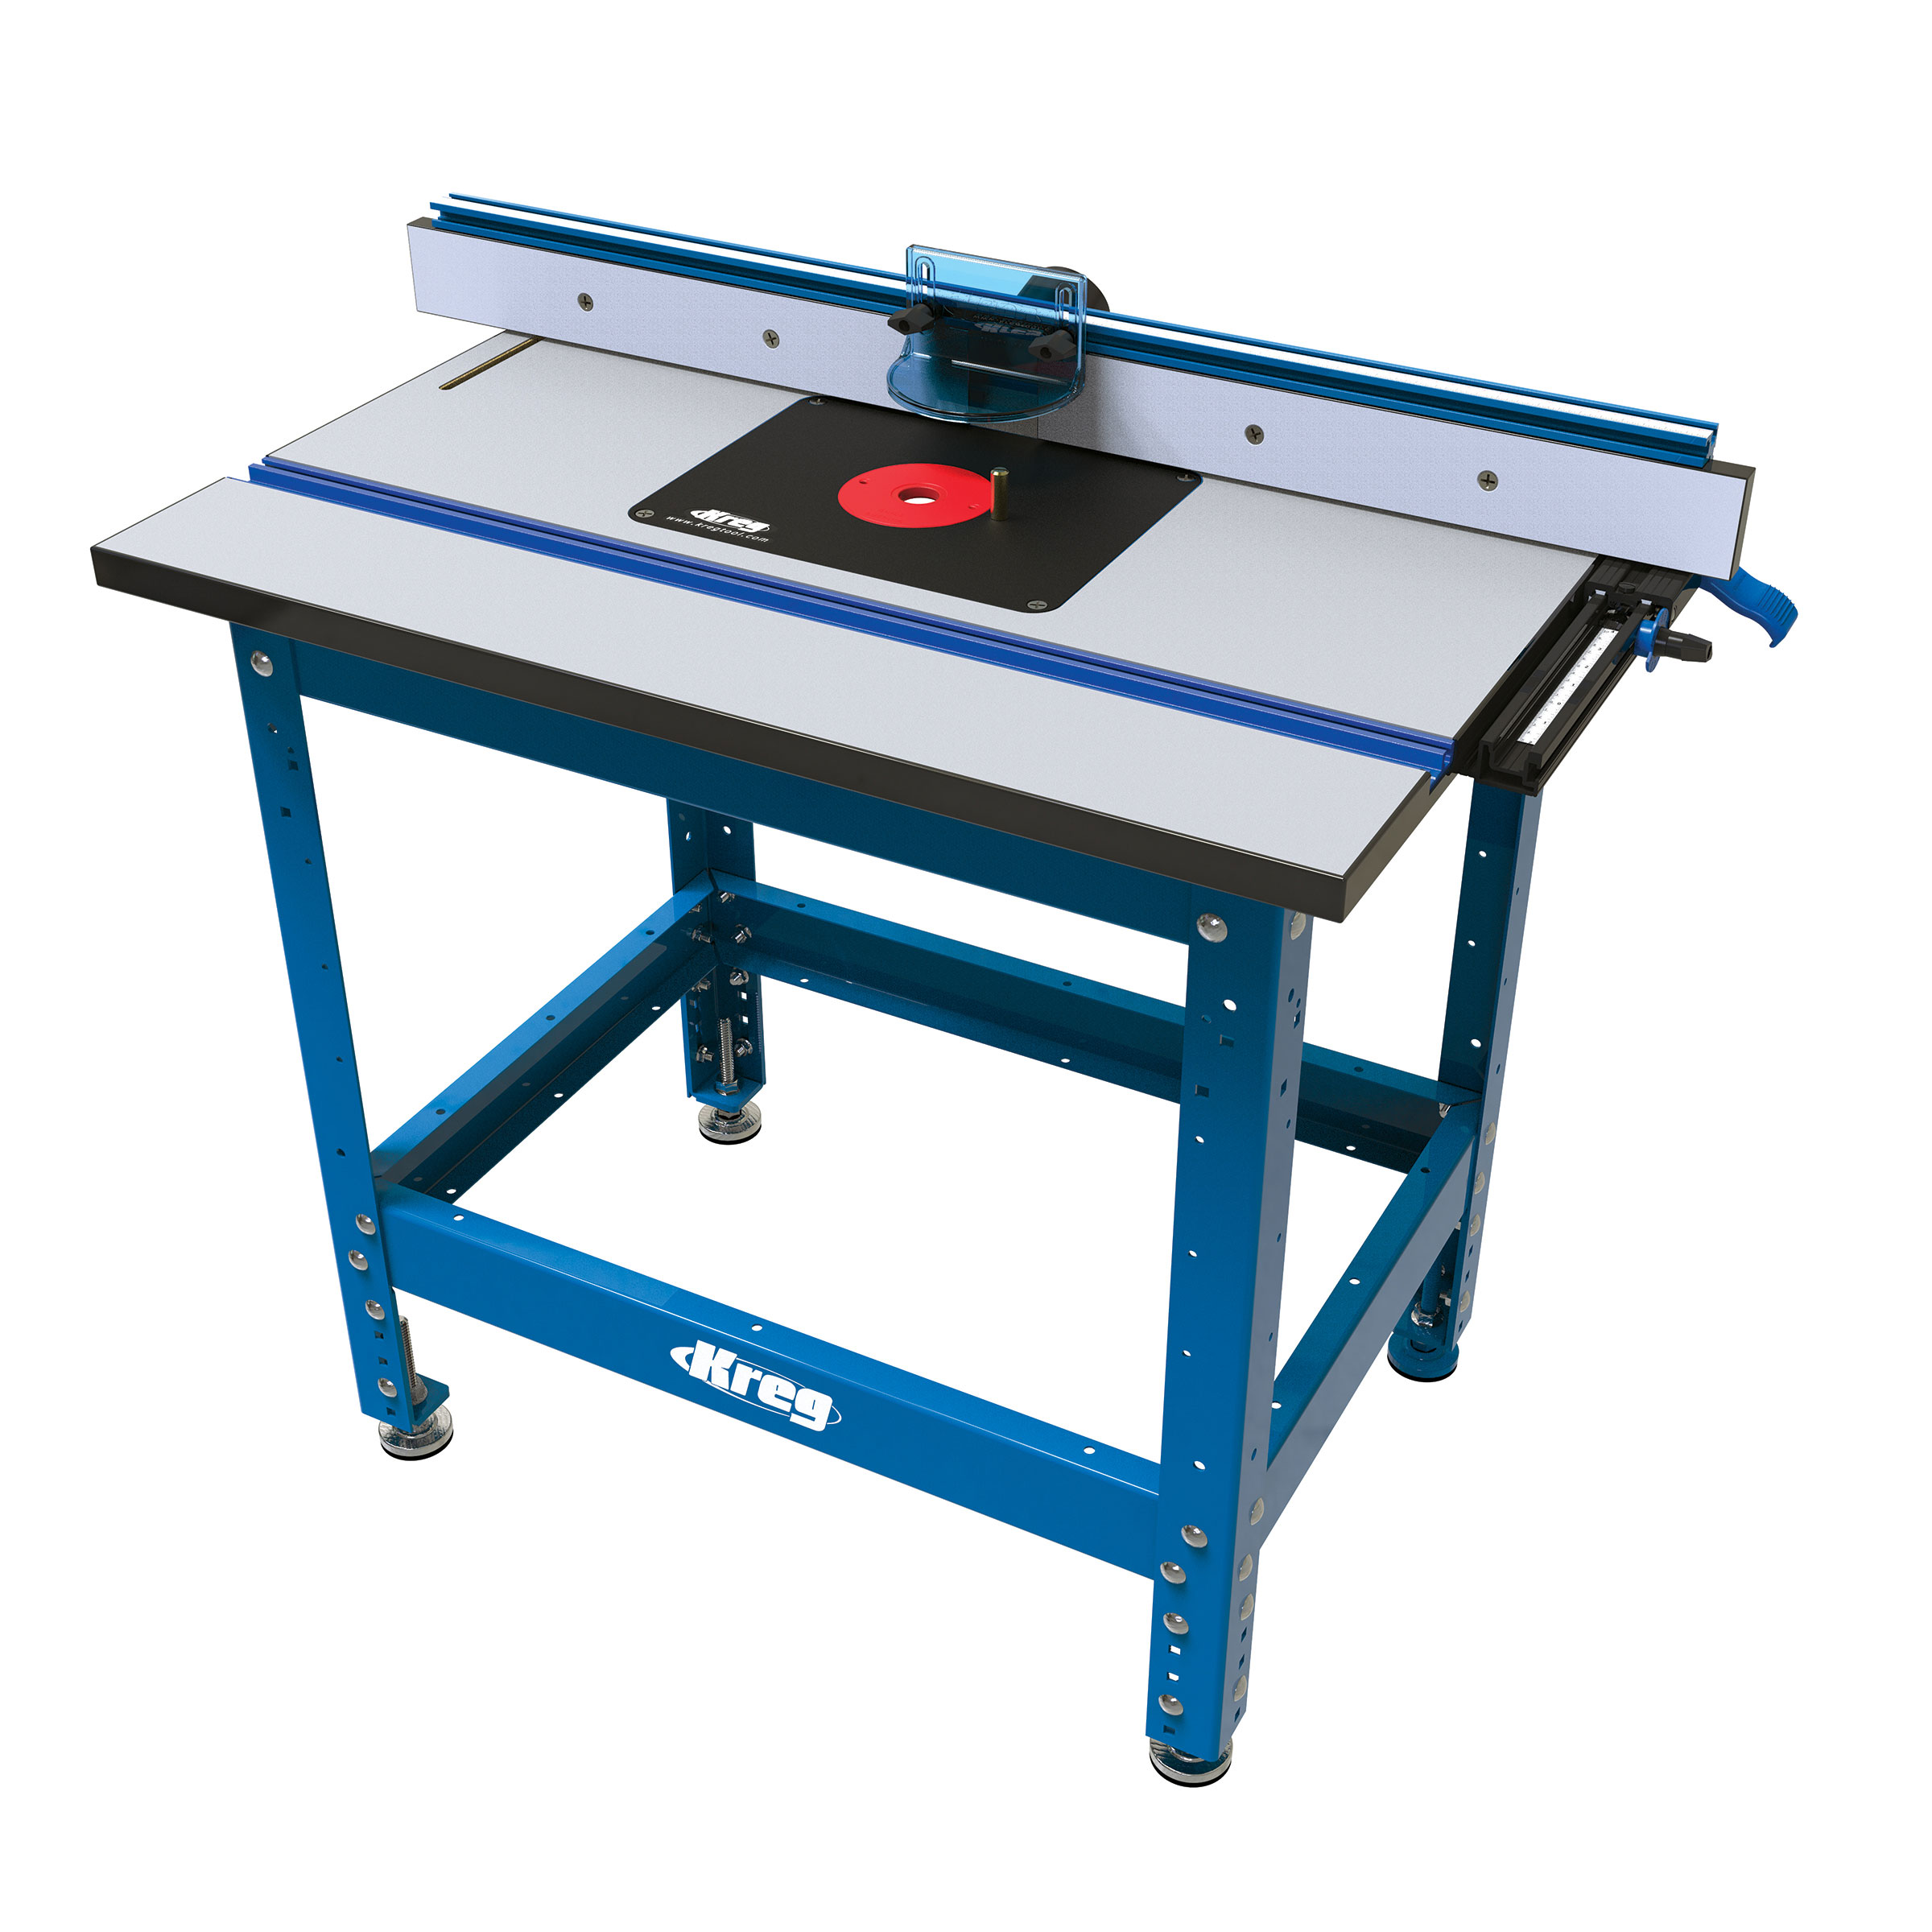
Kreg Tools

Other Tools
-
Miter Saw

-
Rotary Tool
-
Table Saw
-
Tape Measure
-
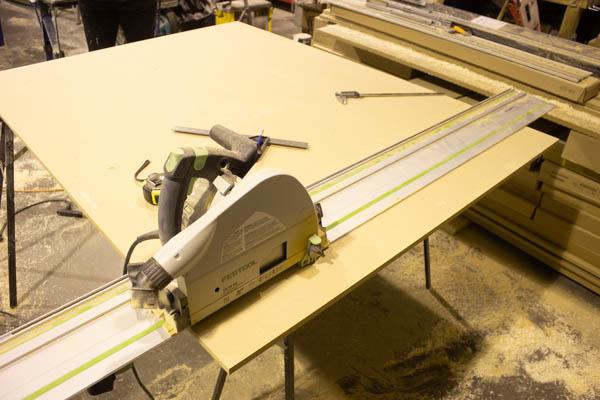
Track Saw
-
Thickness Planer
-
Clamps
-
Drill (cordless)
-
Hammer
-
Impact Driver
-
Nail Gun
-
Router
-
Sander
Materials
Wood Products
- 2 MDF , 5/8" thick , Full Sheet
- 5 Board , 2x4 , 96"
- 5 Board , 2x6 , 72"
Hardware & Supplies
- 3 Drawer slides (3 sets)
- 4 Garbage bins - We used Ikea article number: 802.635.73
- 3 Handles/drawer pulls
Directions
-
Cut MDF Materials
Using the cut guide at the back of the plans cut and label all the MDF pieces
-
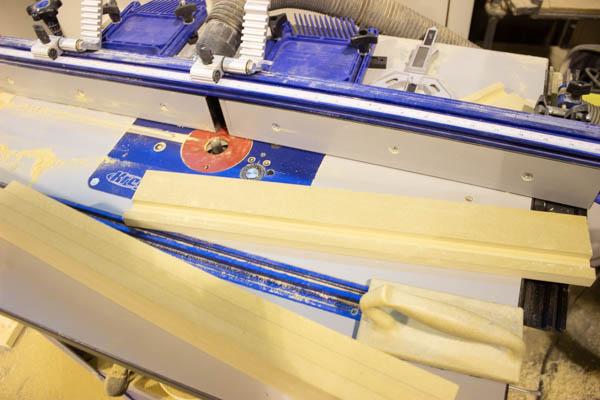
Route Grooves
Using a router, cut 5/8" grooves in the drawer front, sides, and back. The groove should be 1/2" from the bottom of the drawer and 3/8" deep. You may want to make the groove slightly larger (1/16" or so) to allow for the pieces to fit easily together and room for the glue
-
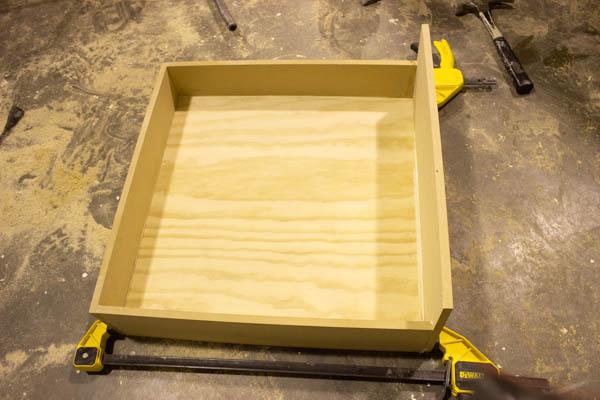
Assemble Drawers
Once the materials are cut and grooves routed, assemble the one top drawer and 2 bottom drawers (front/sides/backs only - not face pieces). I glued and screwed the drawers together.
-
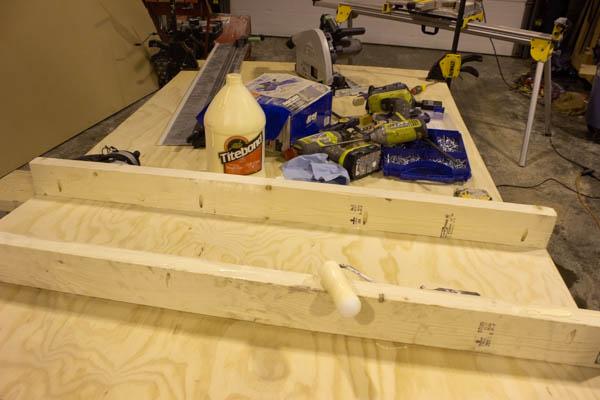
Build Base Frame
Using 2x4 cut as per the drawings build the base of the cabinet. I used pocket holes to attach the base together and the base board to the frame (along with wood glue)
-
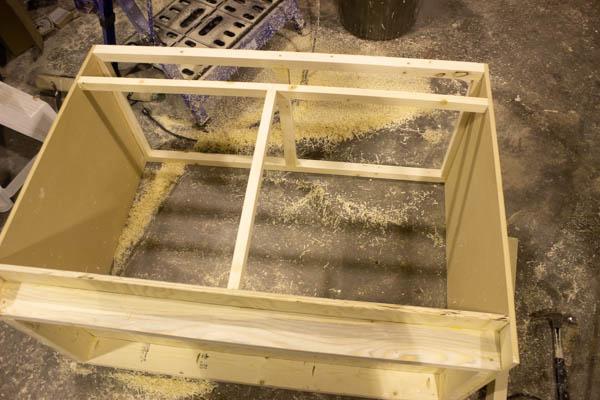
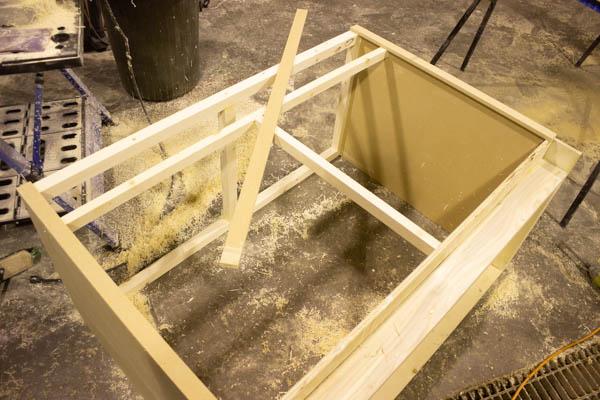
Frame Cabinet
Frame out the cabinet with 1x1 (2x4 cut down)as per the drawing and photo.
-
Finish Framing Cabinet
add bracing to the sides and top of the cabinet as per the drawings and photos

-
Add Trim
Add MDF trim/face to front of cabinet as per drawings. I glued and nailed the trim into place. Check for square and your measurements as this is important for fitment later on.
-
Add Drawer Hardware
Fit and add Drawer hardware - depending on your choice of slide this may effect the bracing you need on the sides of the cabinet.
-
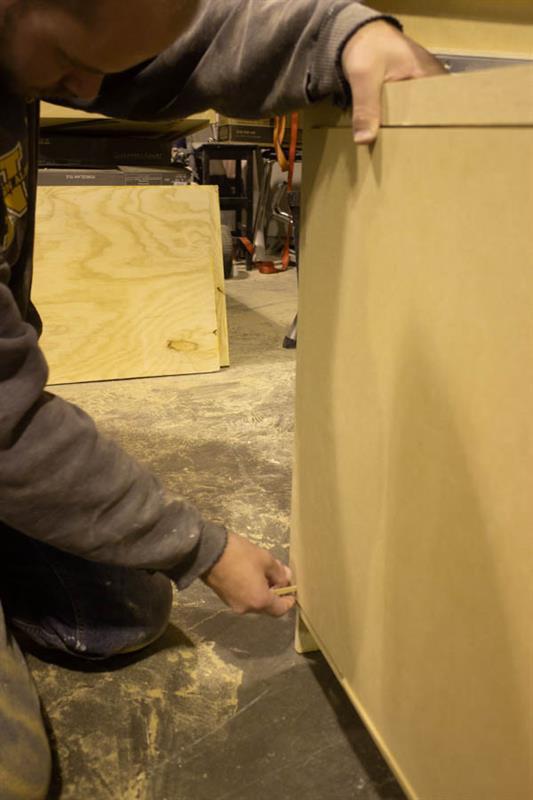
Test fit drawers
Test fit drawers and adjust hardware as required.

-
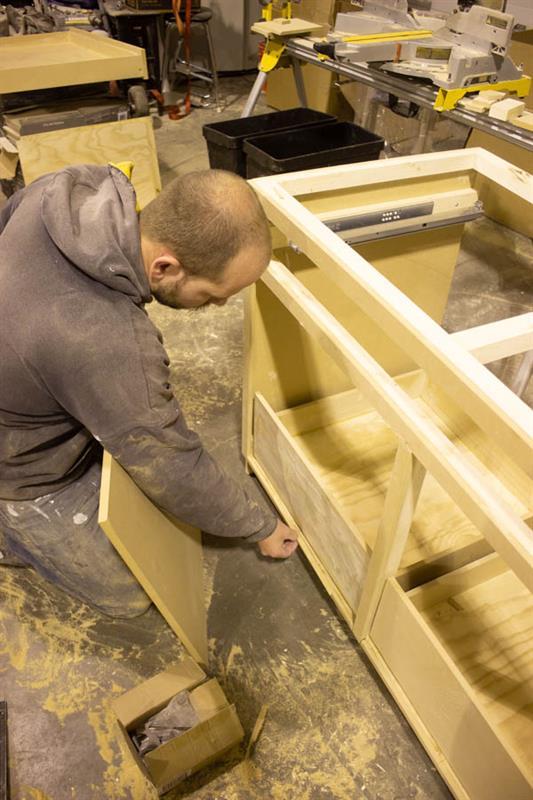
Fit Face plates
Fit face plates and adjust sizes as required. You can use shims to hold and place and secure fronts to drawers. Once you have the desired fit, mark your slide hardware as you may want to remove it when you go to paint the cabinet.
You can install the diagonal braces on the drawers at this point. I used them to pull in the face plates slightly so they sat flush with the cabinet face. I used pine 2x4 (cut down as per drawings) so it wouldn't crack and used screws and glue to hold in place.
-
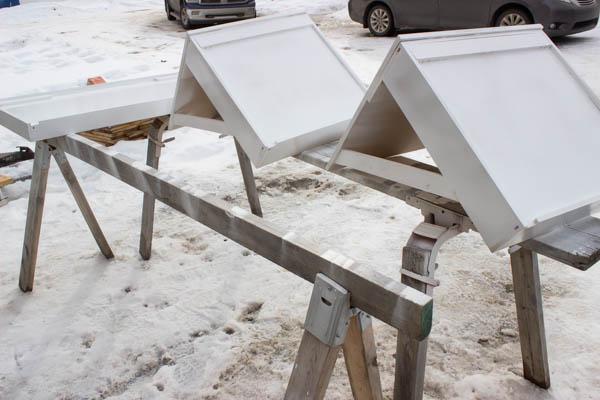
Paint
Once you ensure all drawers fit nicely, and are happy with how they open and close, remove all drawers and hardware and prep for paint.
You can use drywall mud to patch holes/edges. Sand and prime
We used a paint sprayer for primer and first coat and rolled the final top coat on all exposed faces.
-
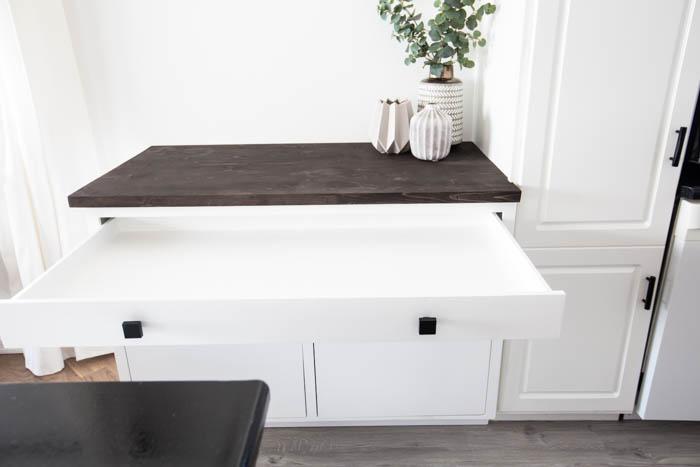
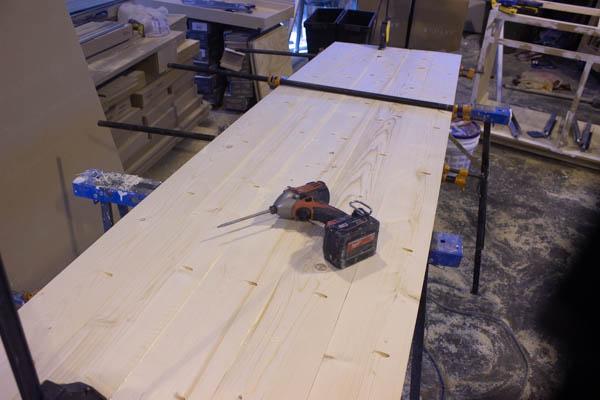
Counter Top
Install counter top of your choice.
We ended up making out own. It consisted of five 2x6" glued and pocket screwed together and cut down to 26" wide x 50" long.
We stained it with Varathane Kona Premium Wood Stain and applied varnish to protect the top.
-
Install
Install Cabinet - it isn't detailed in the plans but I ended up installing a 4" wide strip of MDF along the back of the cabinet so I could easily secure the cabinet to the wall (and to wall studs).
Once cabinet secured install counter top. I screwed it in all 4 corners and 2 along the center of the cabinet. Reinstall your drawers, install drawer pull hardware, and enjoy your new Trash and Recycling Cabinet!