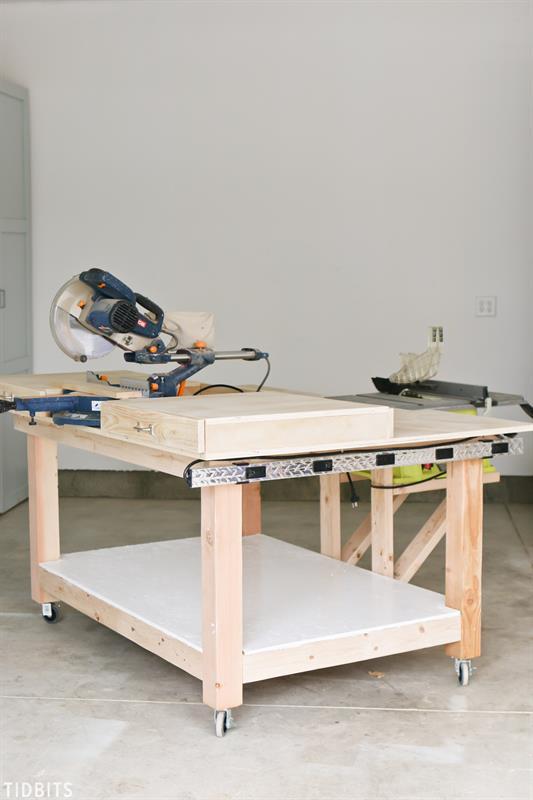


This rolling shop worktable is designed to hold and store your saws, compressors and other cutting and drilling tools. It will provide a convenient surface for wood cuts and building applications. Please visit www.tidbits-cami.com for more details and other DIY building projects.
Tools
Kreg Tools

Other Tools
-
Circular Saw (corded)

-
Miter Saw
-
Square
-
Table Saw
-
Tape Measure
-
Clamps
-
Drill (cordless)
-
Impact Driver
-
Stapler
-
Sander
Materials
Wood Products
- 5 Board , 2x4 , 96"
- 1 Plywood , 3/4" Thick , Full Sheet
- 1 Plywood , 1/2" Thick , Full Sheet
- 1 Plywood , 1/2" Thick , Half Sheet
- 2 Board , 1x4 , 96"
Hardware & Supplies
- 2 24" drawer slides
- 2 Drawer pulls
- 4 Locking casters 4" tall
- 1 Powerstrip
- 1 Box of 1" Kreg jig screws
- 1 Box of 2 1/4" kreg jig screws
- 16 3/8"x 3/4" lags
- 1 Bottle of wood glue
- 1 Box of 1 1/4" staples
Directions
-
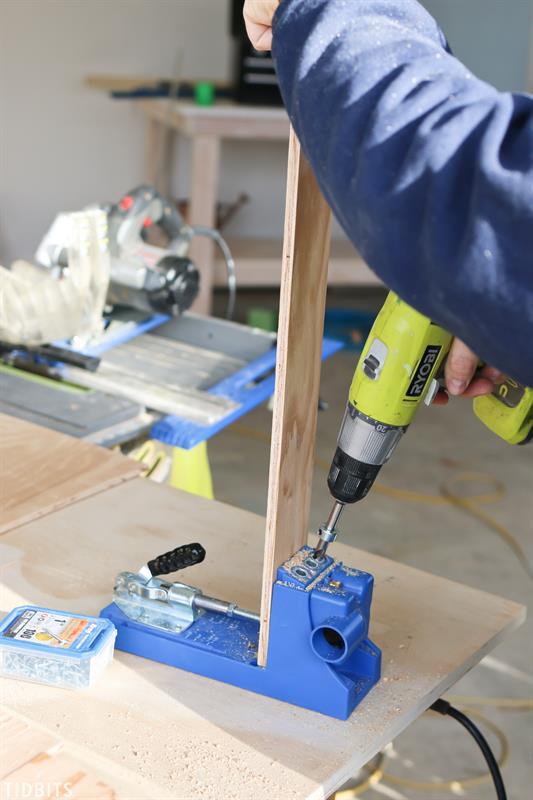
Build the legs
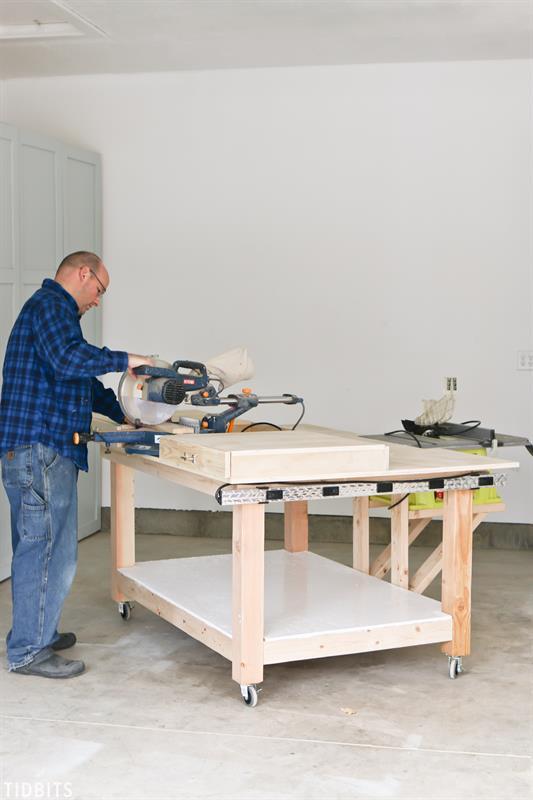
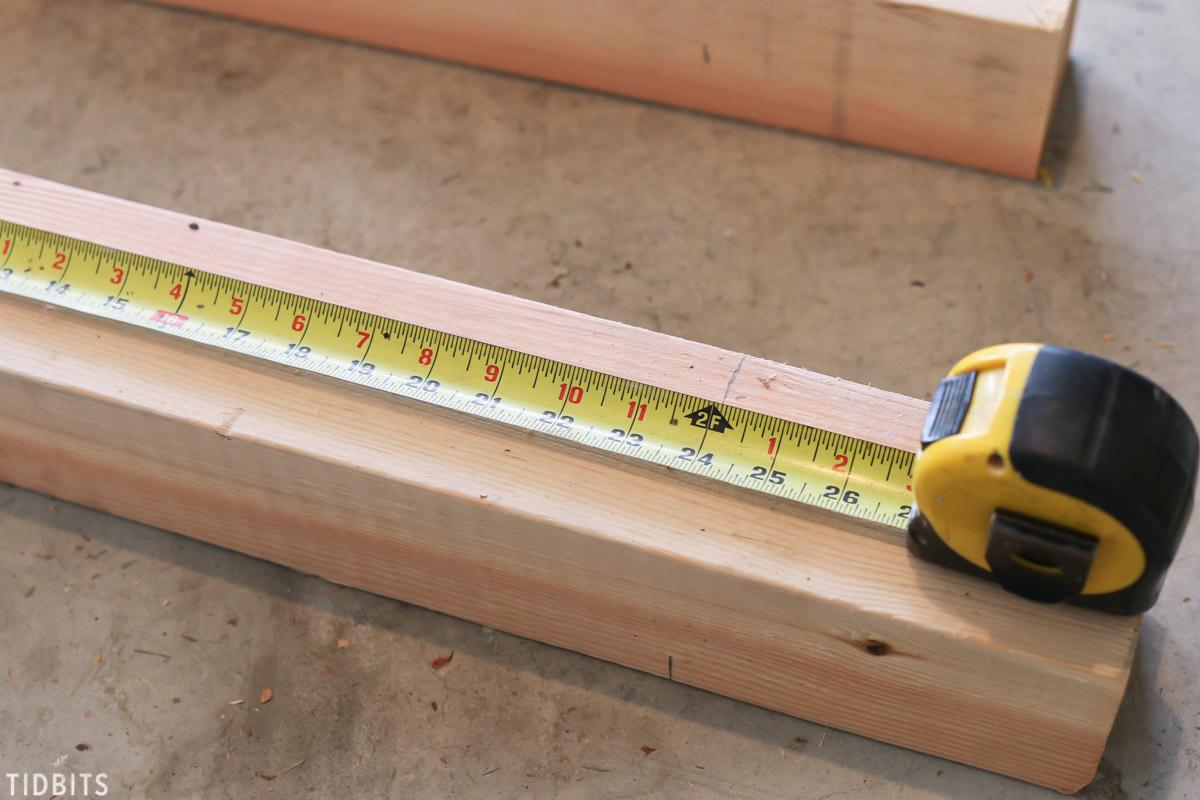
Cut three 4x4 boards at 30 inches long each and make a mark on two conjoining sides at 24 inches. With these legs the table height will be 34 1/2 inches tall. I am 5'10" and this height works for me. You can adjust accordingly.
-
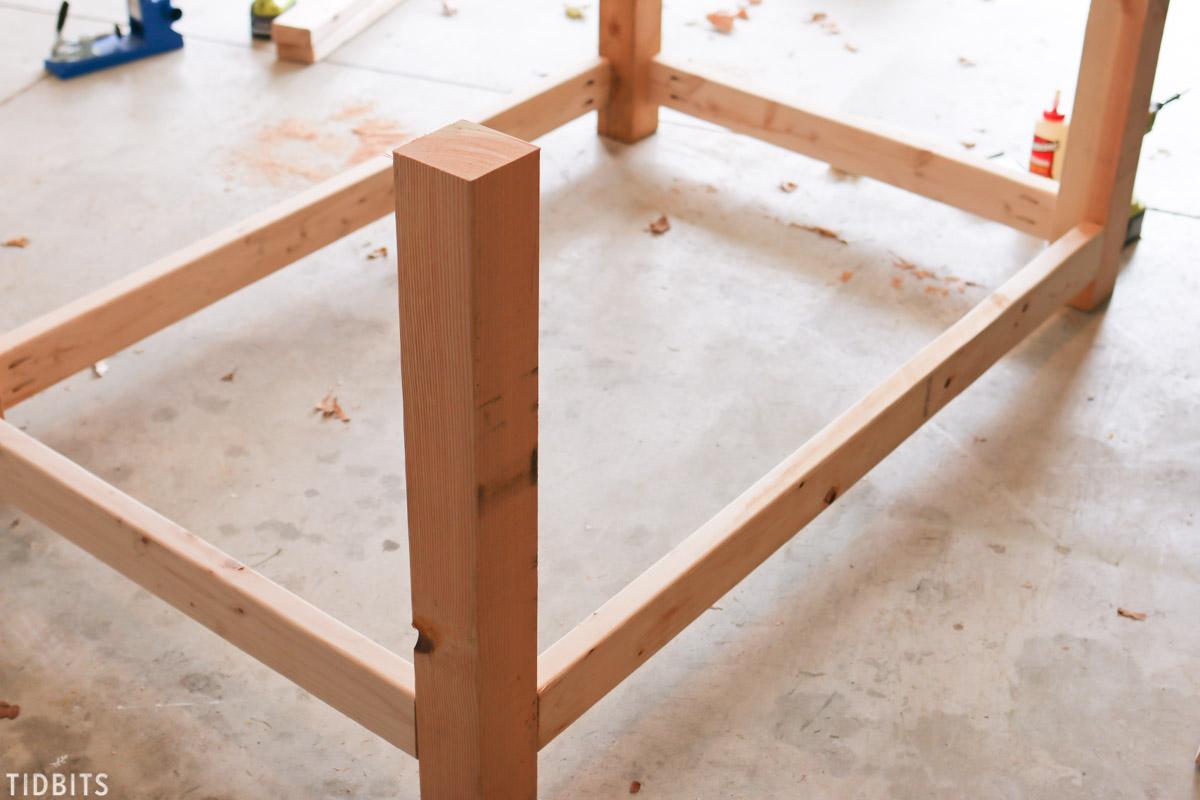
Assemble the bottom of the base
Cut two 2x4's at 53 inches long, and two 2x4's at 32 1/2" long. Using the kreg pocket hole jig, make pocket holes on both ends of all 4 boards. Using glue and screws, attach the boards as the picture below illustrates. The boards should be attached at the 24 inch marks you made in step 1 with the top of the 2x4's on the mark.
-
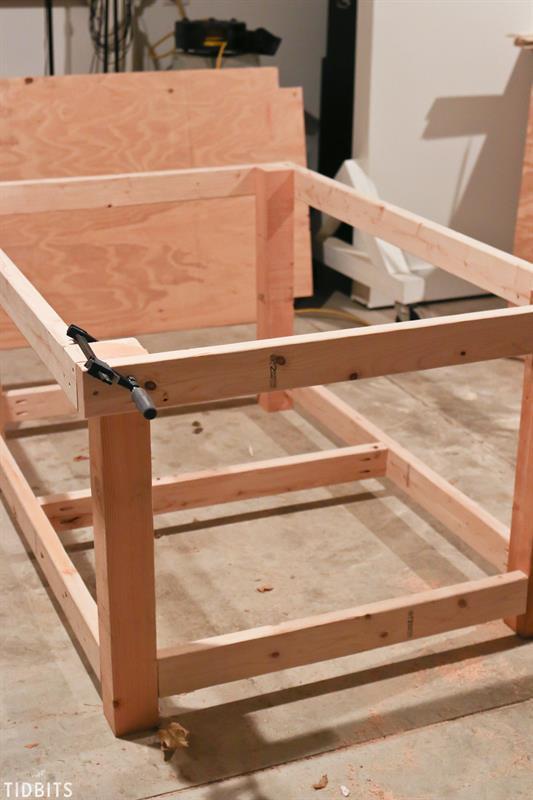
Assemble the top of the base
Cut two 2x4's at 60 inches and two 2x4's at 42 inches. Using clamps, glue and screws, attach the two 60 inch boards on the long side of the table with the tops matching the tops of the legs and the ends matching the sides of the legs. Attach the two 42 inch boards in the same manner as above but with the ends matching the outside edges of the 60 inch boards as pictured.

-
Build the bottom shelf
Cut a 2x4 at 36 1/2" and install using pocket holes on the ends with glue and screws in the center of the bottom shelf as seen in the picture. Cut a 1/2" plywood to 39 1/2"x60". Cut a 3 1/2" square out of each corner for the legs as seen in the background of the picture. Lay the plywood sheet on the bottom of the base and staple it down.
-
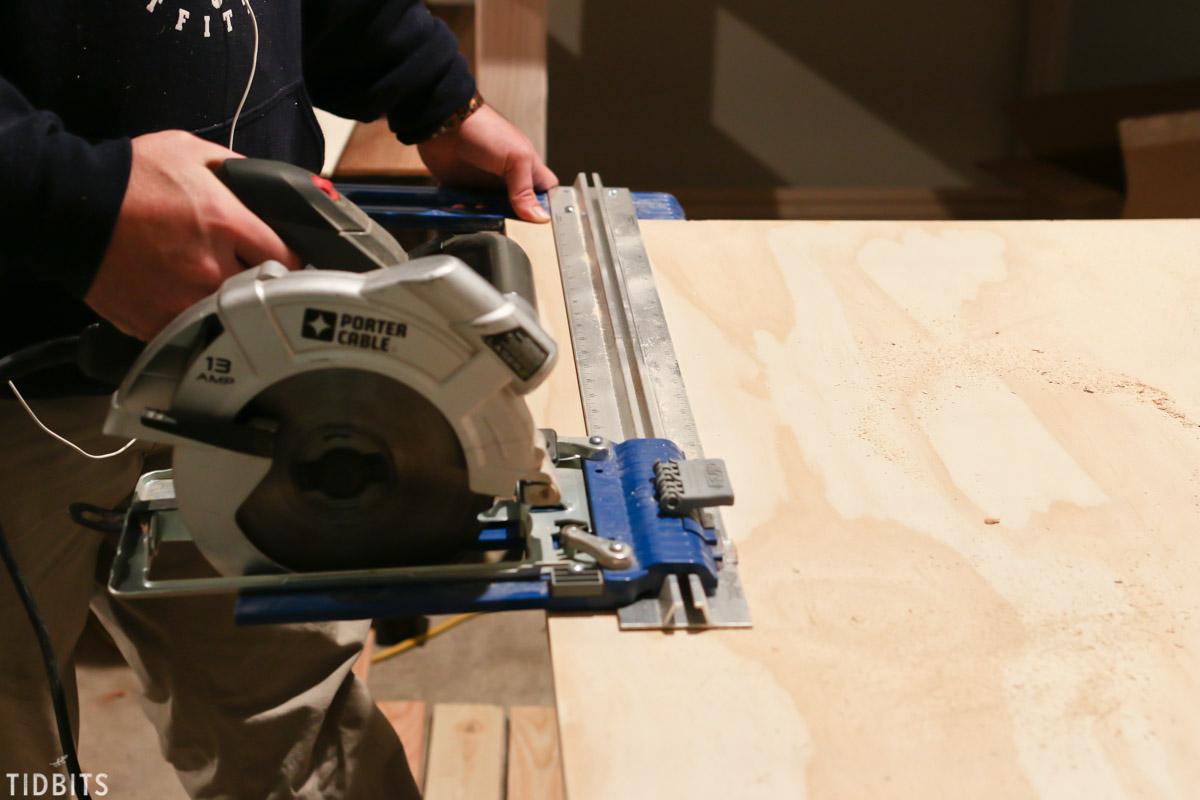
Build the table top
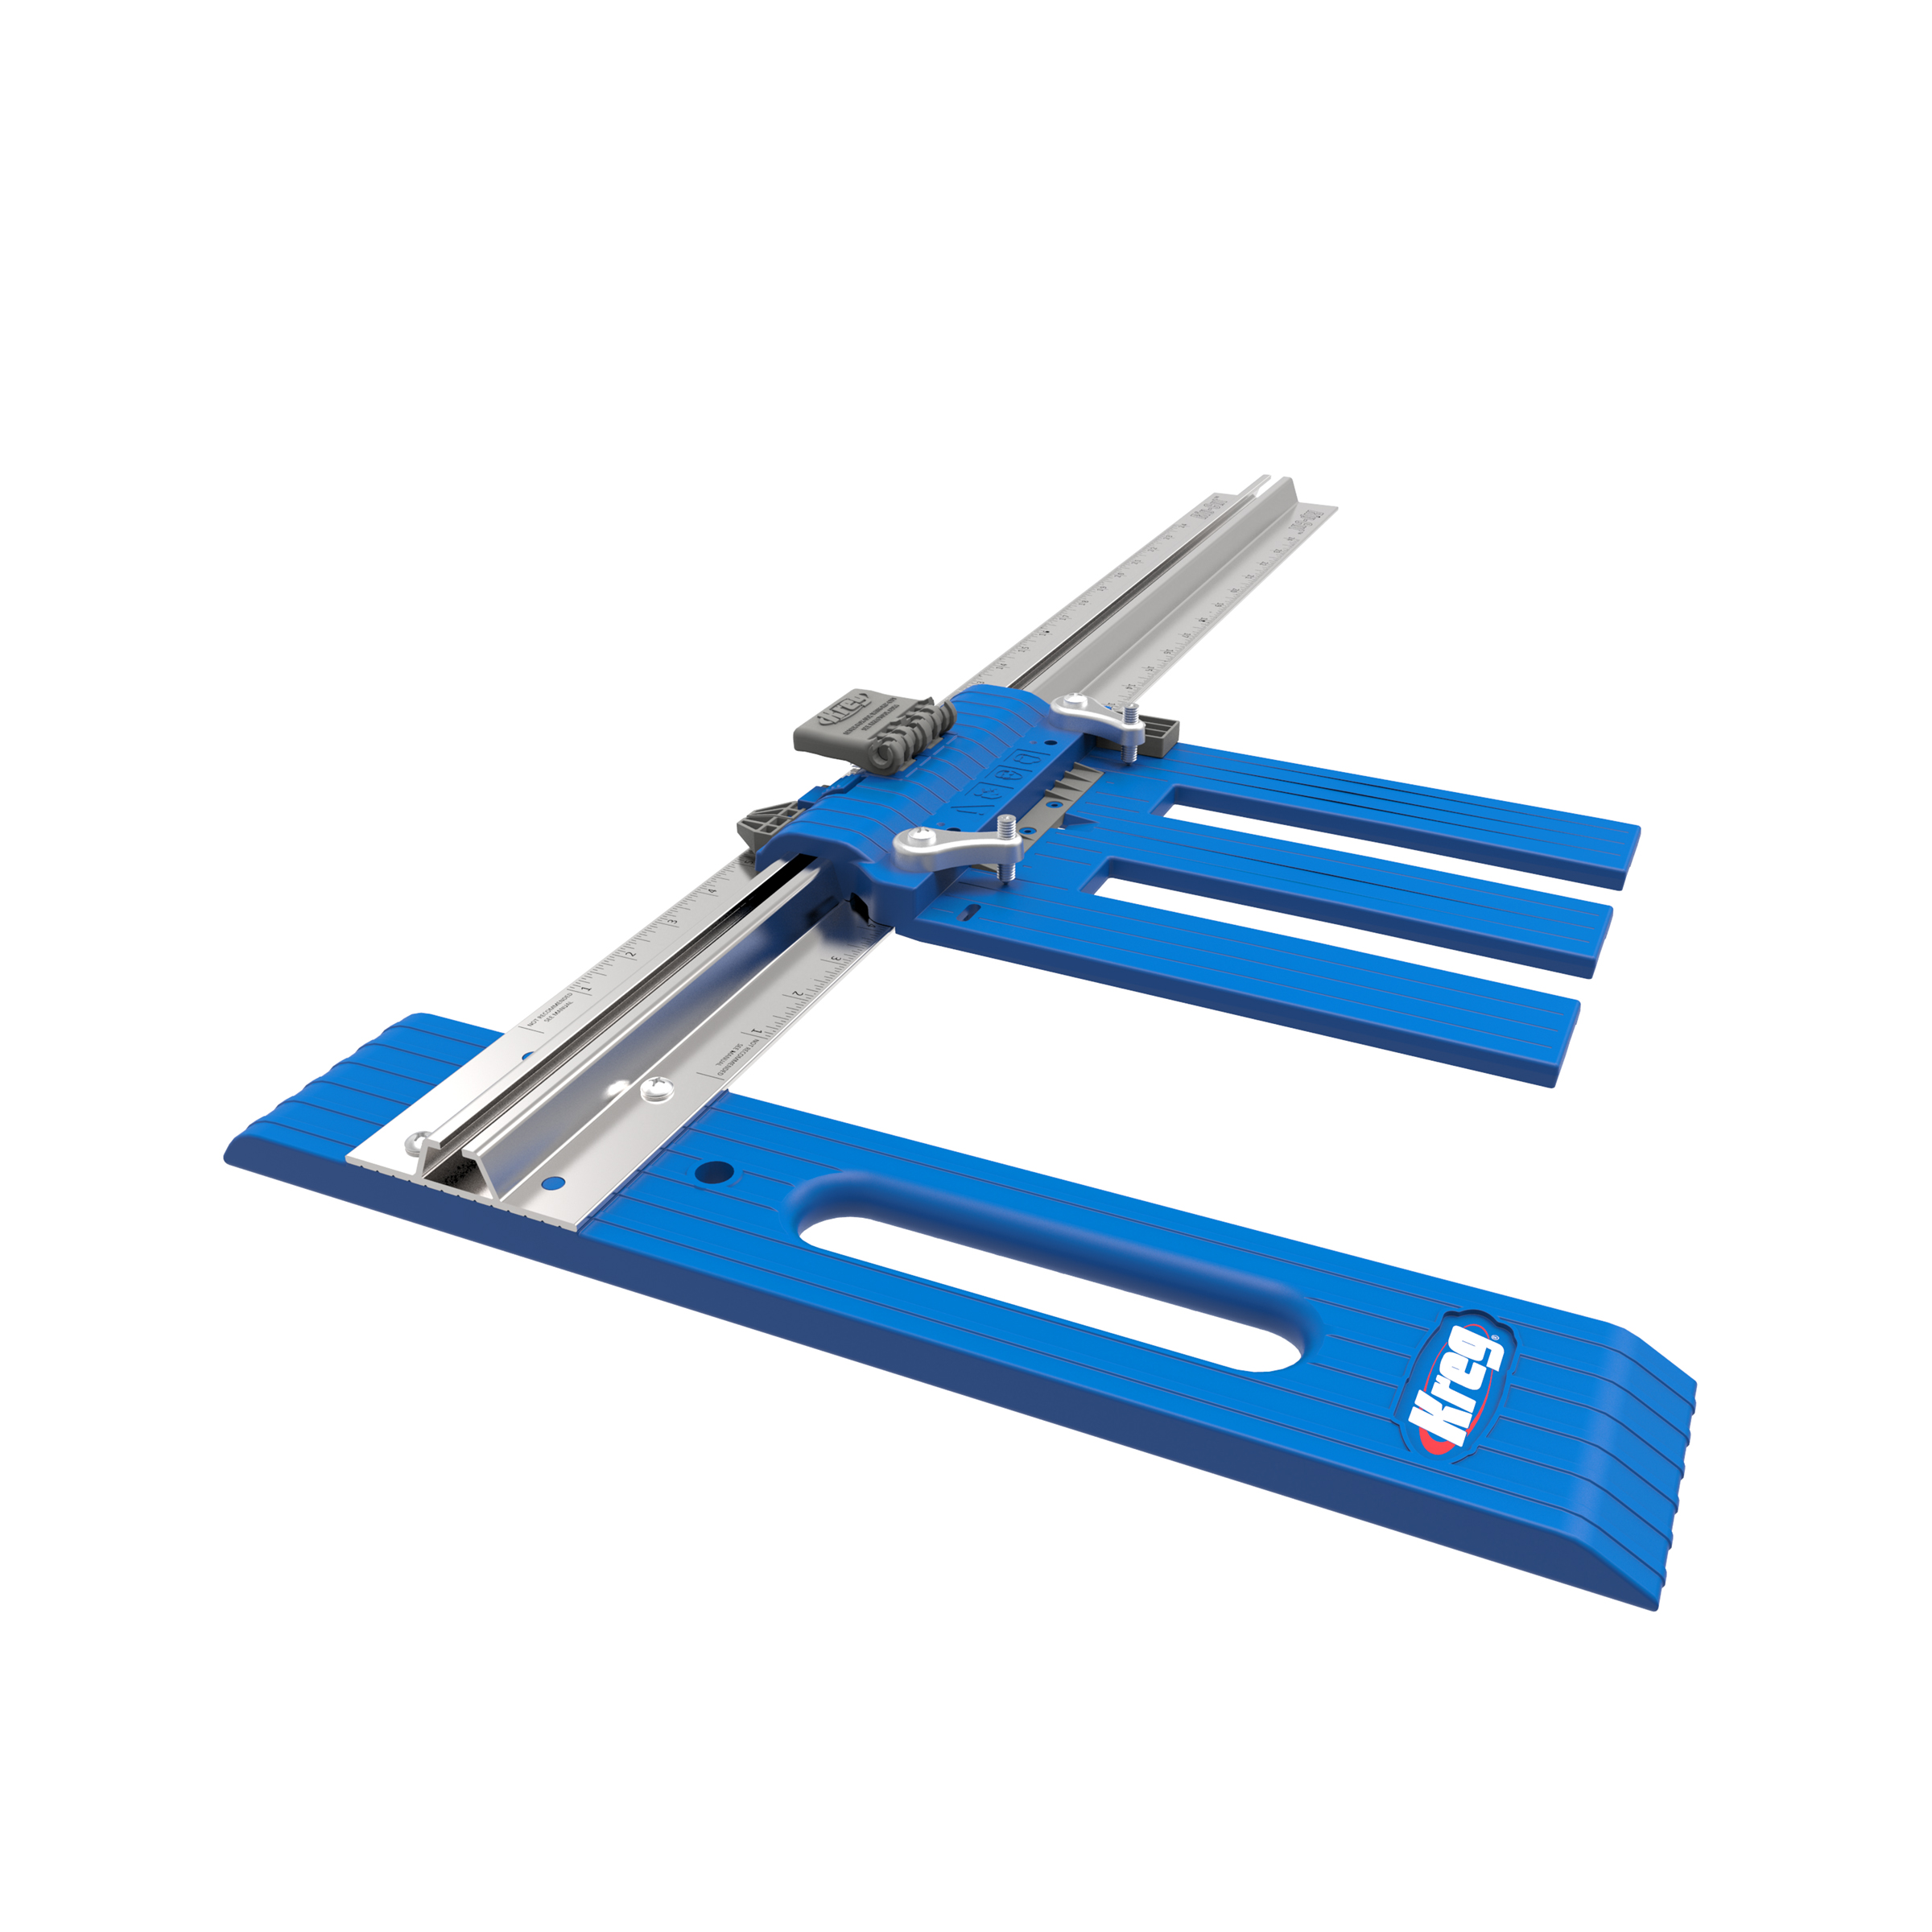
Cut a sheet of 3/4" plywood to 48"x72". Using the Kreg Rip-Cut saw attachment made this a cinch.
-
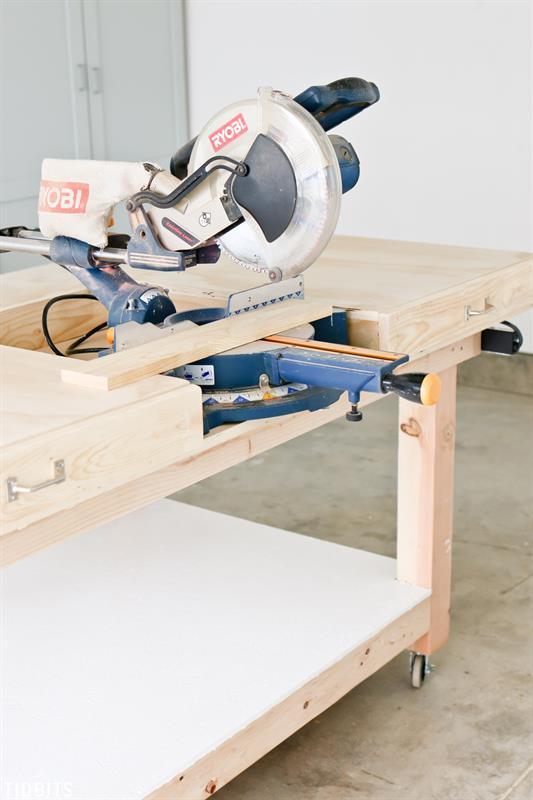
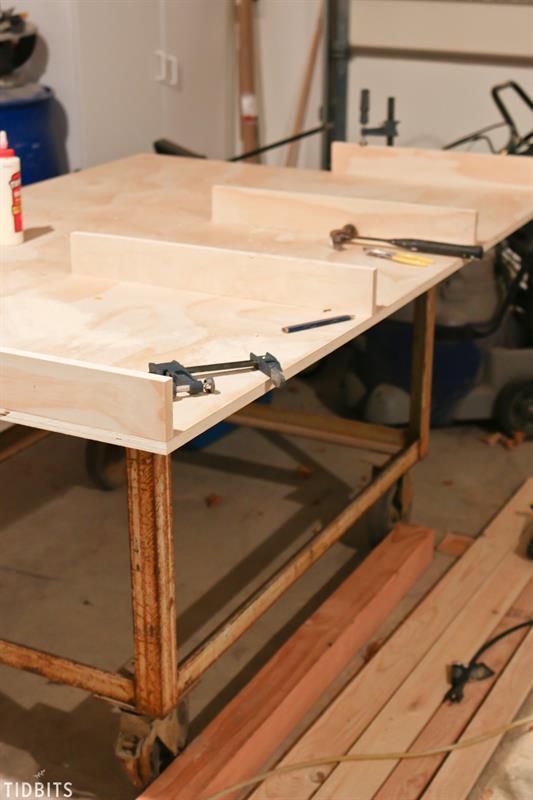
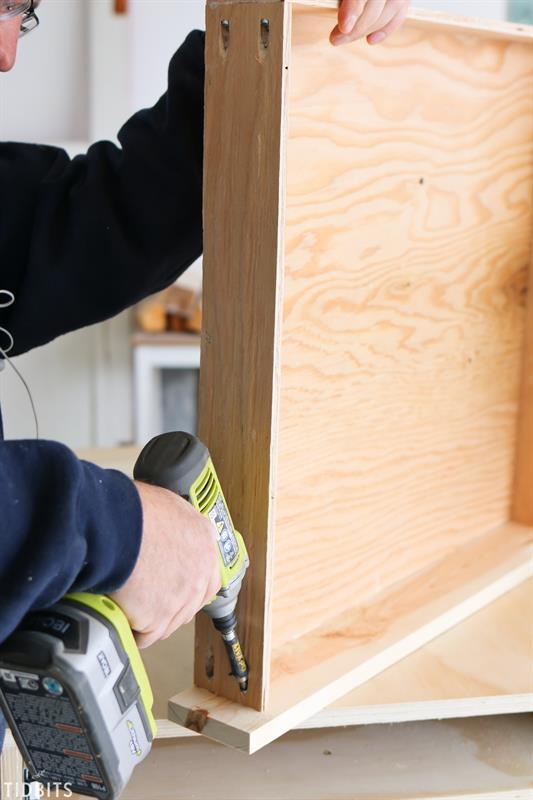
Build the drawer pocket sides
Cut 4 pieces of 3/4" plywood to 3"x24". It is important to note that 3"+3/4" for the pocket top came to the exact height of my Miter saw. Be sure to measure your saw and adjust the height of these pieces accordingly. Attach two boards to the two ends of the table top with glue and staples. Measure to the center of the table and using the measurement of your miter saw width, attach the other two boards. My miter saw measured 20 inches wide so I measured 10 inches on either side of the center board and checked the distance with my saw just to be sure.
-
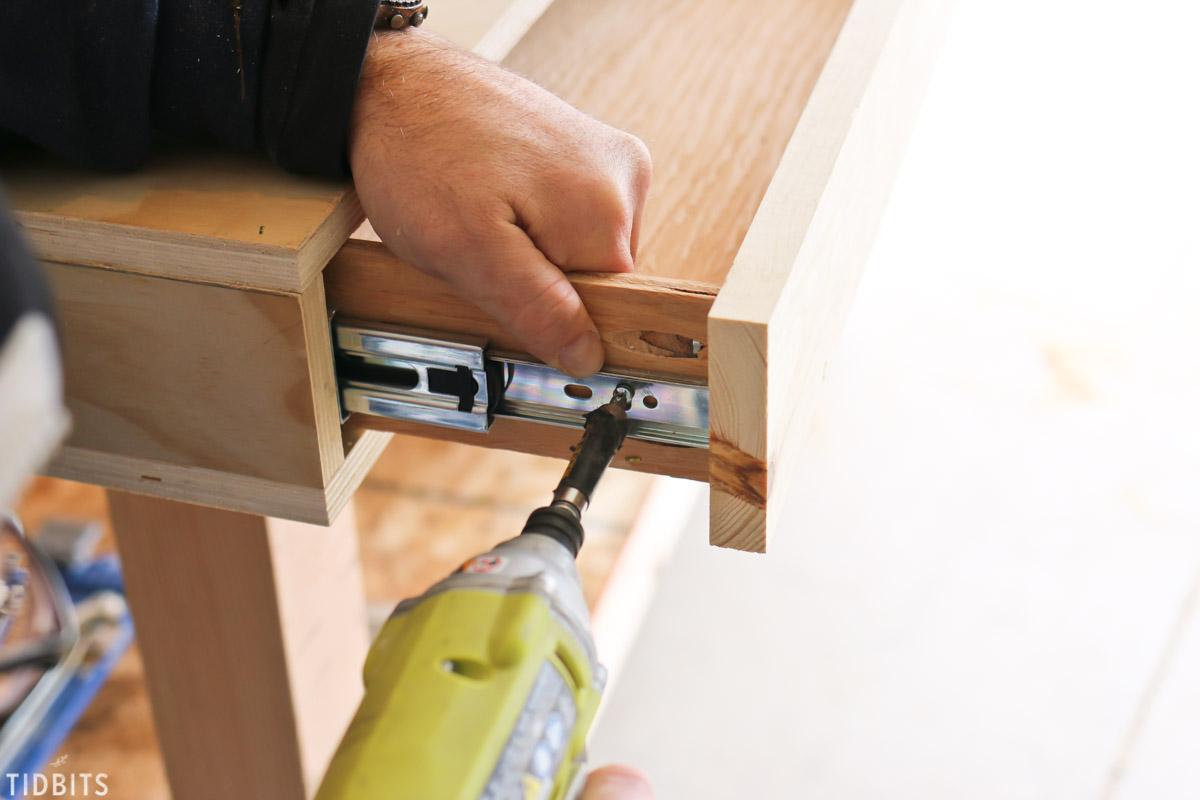
Install drawer slides
Since the drawer pockets are so small I took the time here to install the drawer slides per manufacturers specifications.

-
Install the drawer pocket tops
Cut 2 pieces of 3/4" plywood at 24" x 26". Again the 26" inch measurement was for my saw. Depending on your measurements you may have to adjust this distance accordingly. Using glue and staples, install the tops.
-
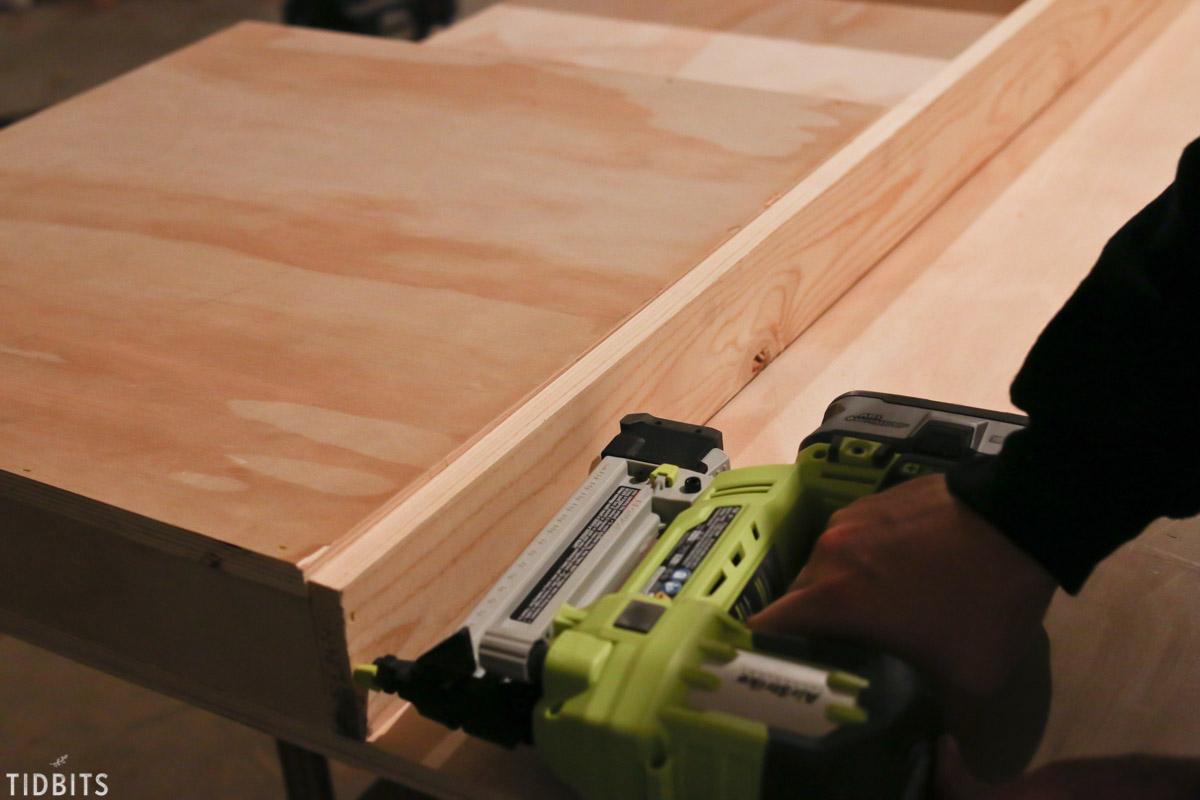
Install drawer pocket back
Cut a piece of 1x4 pine board to 72" long tall, the 3 1/2" tall measurement was really close to the deck of my saw so rather than buy another sheet of plywood I used it. If you need to adjust your height accordingly and purchase a wider board if needed. Use glue and staples to install.
-
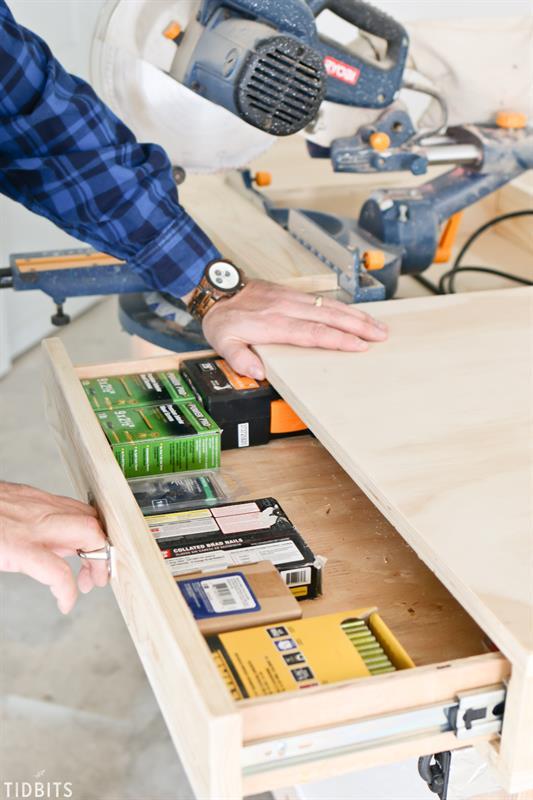
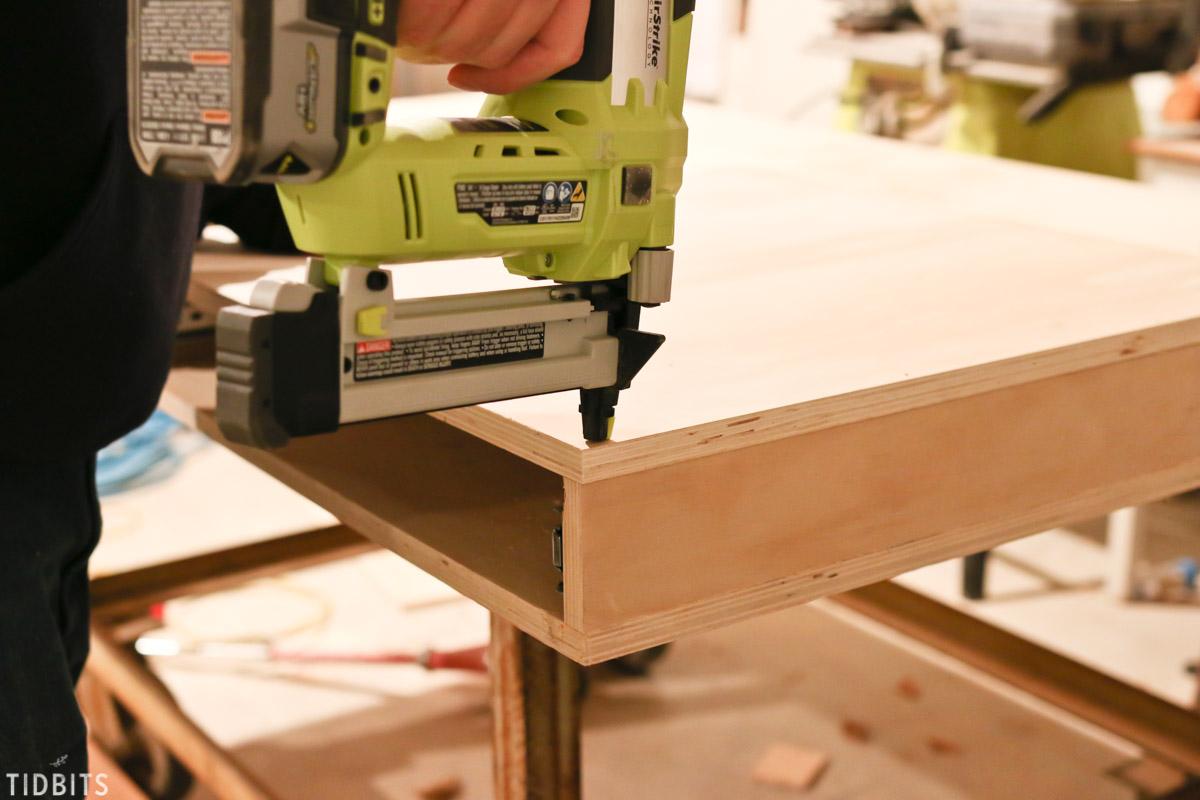
Build sides and back of drawers
Cut four pieces of 1/2" plywood to 2 1/2" tall by 24" long. Drill two pocket holes on one end of each of the four pieces. Cut two pieces of 1/2" plywood to 2 1/2" tall by 22 1/2" long. This measurement will need to be adjusted to your drawer pocket widths. Drill two pocket holes to both ends of each of the two boards. Assembly with glue and screws.
-
Build bottom and face of drawers
Cut two pieces of 1/2" plywood to 23 1/2" x 22 1/2". Adjust the 22 1/2" dimension if needed. Using glue and screws, attach the bottom inside of the already assembled sides and back of the two drawers. Cut 2 pieces of 1x4 pine to 26 inches long, adjust the height if needed. For me the 1x4 pine was wide enough. If your saw is a lot taller then you may have to use plywood or a 1x6 to meet that dimension. Using glue and screws attach to the front of the drawers.
-
Install drawers
Attach the two drawers to the already installed drawer slides. Attach hardware to the drawer faces per manufacturer instructions.
-
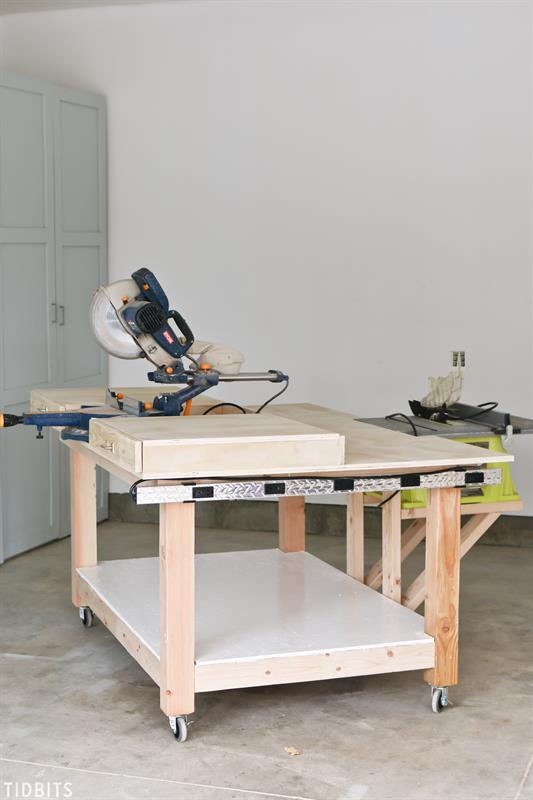
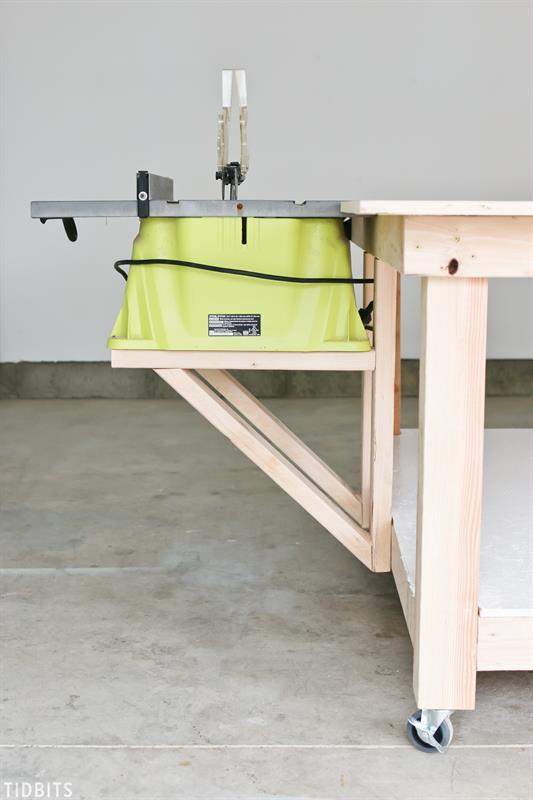
Build shelf for table saw
Since most table saws differ in size and shape I will tell you what I built for my saw shelf and you can adjust accordingly. Cut two 2x4 boards at 24 1/2" inches and attach to the side of the table using pocket hole joinery on the top part of the base and screwing directly into the bottom part of the base. Cut two 2x4 boards at 20 inches long for the table saw shelf. Cut two 2x4 boards at 45° angles on each end at 23 inches long on the long side. Assemble the boards as shown in the picture with glue and screws. I had to notch out the top of the table to make the saw fit flush with the table frame.

-
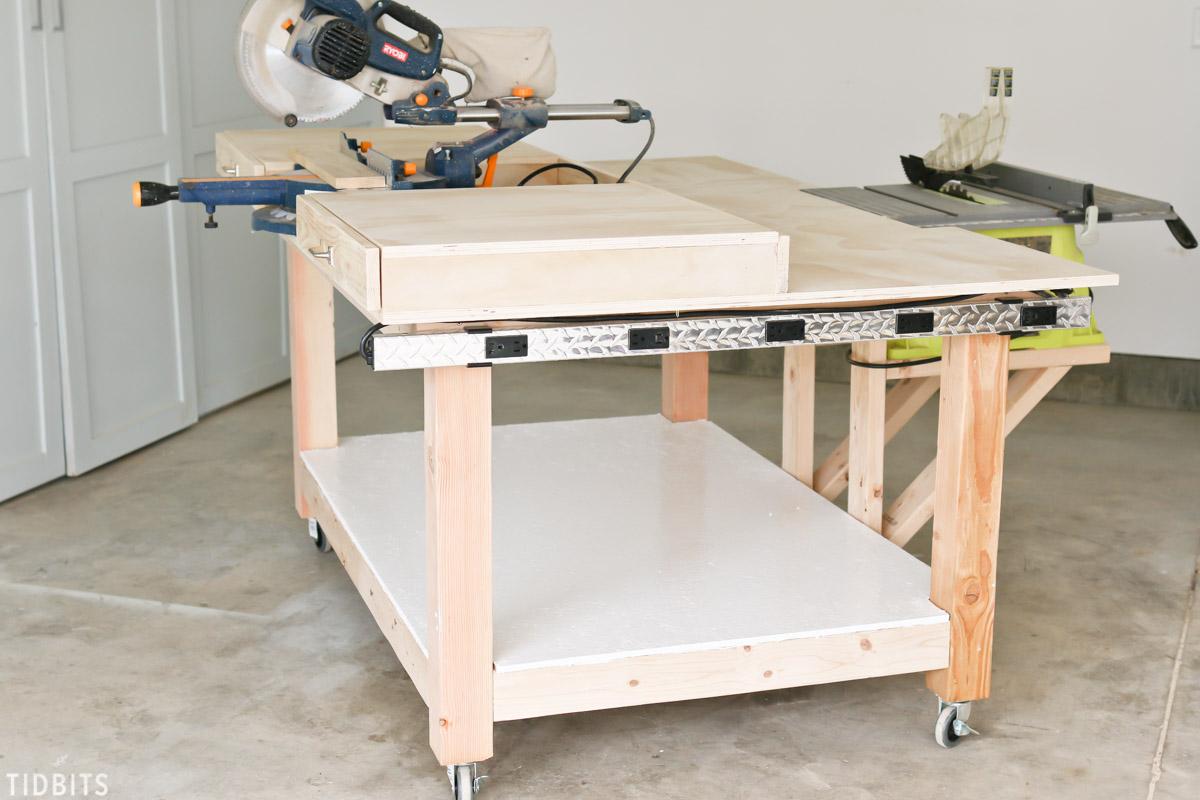
Finishing touches
Install the casters on each of the legs using 3/8"x3/4" lags. Sand the whole table for a finished look. If desired add a powerstrip on one end of the table to consolidate plugs. Enjoy.