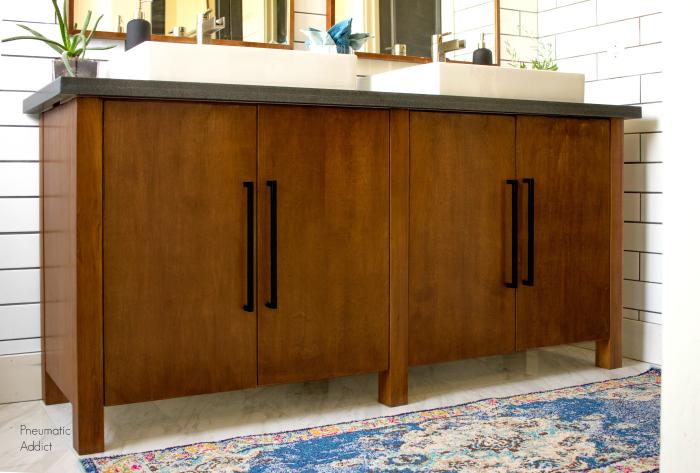


A sleek a simple design with plenty of storage. A double length vanity, generously sized to accommodate two sinks. The dimensions can be easily modified to fit your bathroom perfectly.
Tools
Kreg Tools


Other Tools
-
Circular Saw (cordless)

-
Jigsaw
-
Miter Saw
-
Square
-
Tape Measure
-
Drill (cordless)
-
Impact Driver
-
Nail Gun
-
Sander
-
Workbench
Materials
Wood Products
- 1 Plywood , 3/4" Thick , Full Sheet
- 6 Table legs , 3 x 3 table legs , 36"
- 2 Board , 2x4 , 96"
- 2 Board , 1x2 , 96"
- 2 Melamine , 3/4" Thick , Quarter Sheet
- 4 Board , 3/4" x 3/4" , 48"
Hardware & Supplies
- 8 Inset Concealed Hinges
- 4 Drawer Pulls or Knobs
- 50 1-1/4" Pocket Hole Screws
- 50 2-1/2" Pocket Hole Screws
- 1 Wood Glue
- 50 1-1/4" 18-gauge brads
- 1 7/8" Iron-on Edge Banding
- 1 1-1/2" x 76" x 23" Countertop
Directions
-
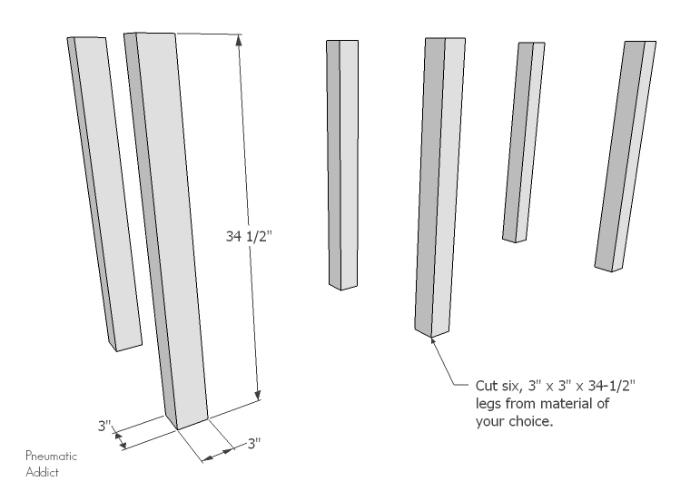
Cut Table Legs
Purchase or laminate six, 3" x 3" x 36", straight table legs. Cut legs to a 34-1/2" length.
-
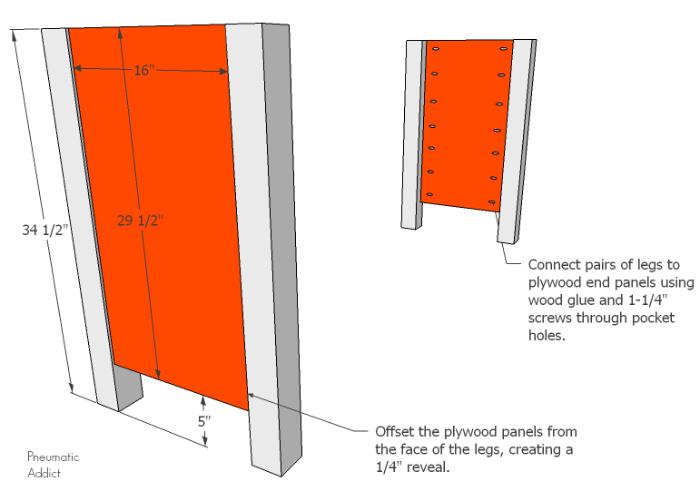
Create End Panels
Use a table saw or Kreg Accu-Cut track system to cut two, 16" x 29-1/2" plywood panels. Connect pairs of legs to plywood end panels. Offset the plywood panels from the face of the legs, creating a 1/4" reveal. Secure using wood glue and 1-1/4" screws through pocket holes.
-
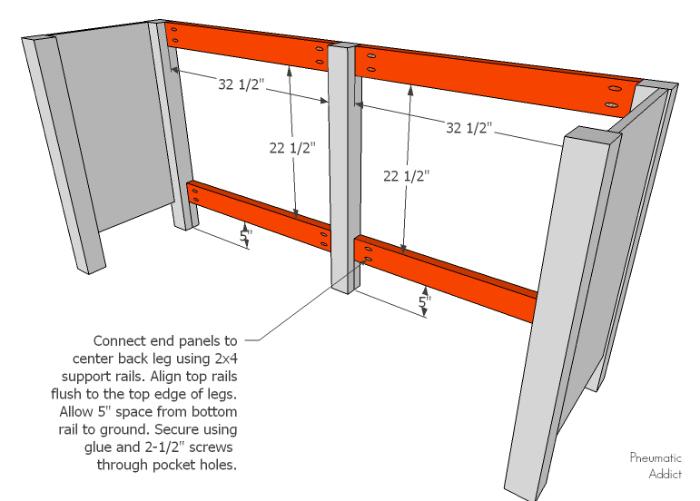
Back Support Rails
Connect end panels to center back leg using 2x4 support rails. Align top rails flush to the top edge of legs. Allow 5" space from bottom rail to ground. Secure using glue and 2-1/2" screws through pocket holes.
-
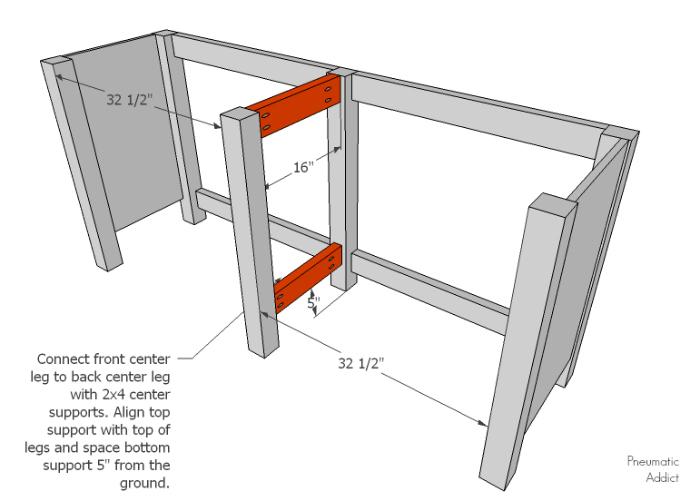
Center Legs
Connect front center leg to back center leg with 2x4 center supports. Align top support with top of legs and space bottom support 5" from the ground.
-
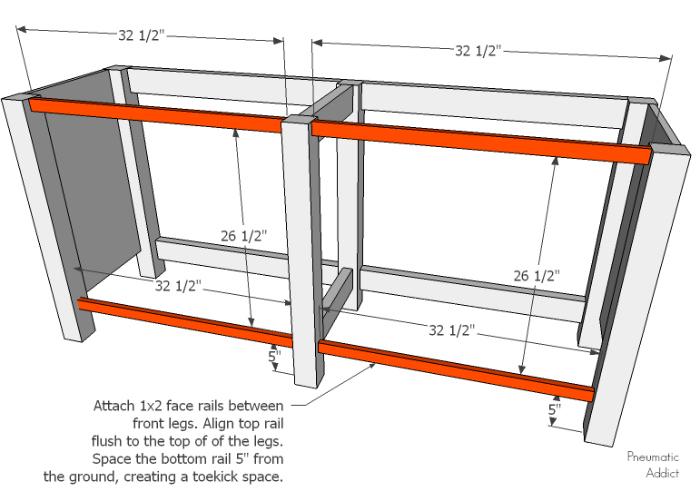
Face Rails
Attach 1x2 face rails between front legs utilizing pocket holes drilled on the inside face. Align top rail flush to the top of of the legs. Space the bottom rail 5" from the ground, creating a toe-kick space.
-
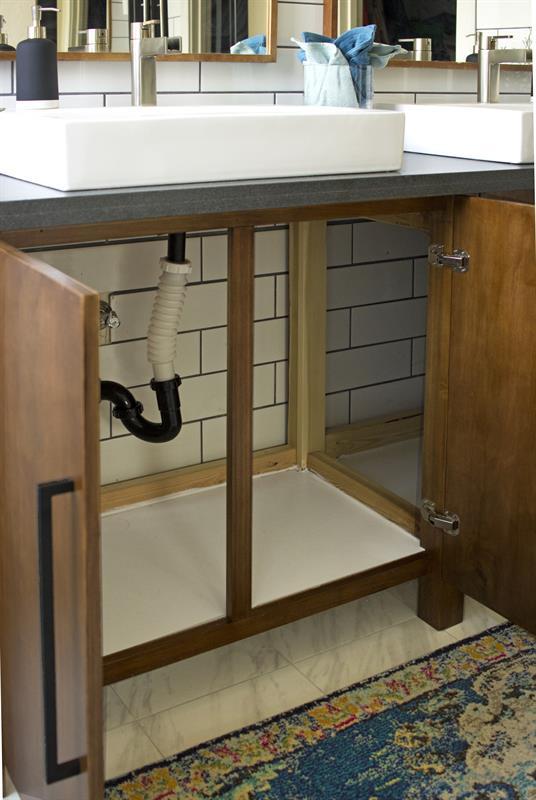
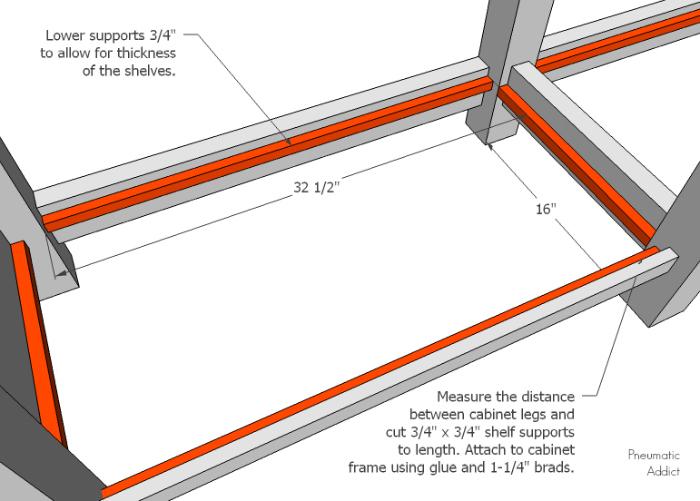
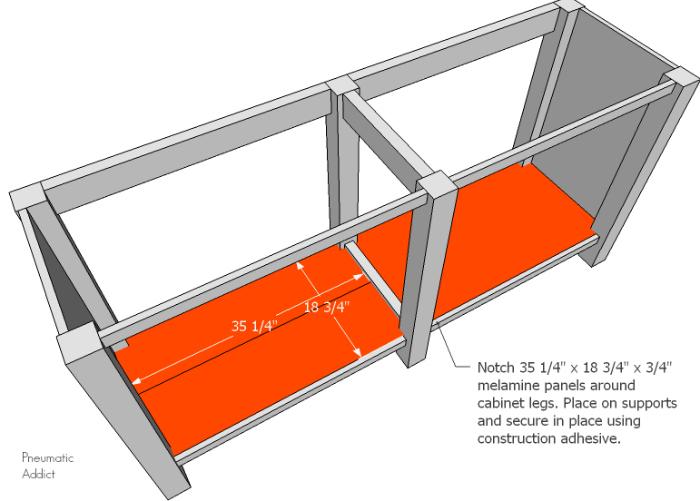
Shelf Supports
Measure the distance between cabinet legs and cut 3/4" x 3/4" shelf supports to length. Align the supports 3/4" below the top edge of the face rails, to allow for thickness of the shelves. Attach to cabinet frame using glue and 1-1/4" brads.
-
Cabinet Shelves
Use a table saw or Kreg Accu-Cut track system to cut 35 1/4" x 18 3/4" x 3/4" melamine shelving panels. Use a jigsaw to notch the panels around cabinet legs. Place on supports and secure in place using construction adhesive.
-
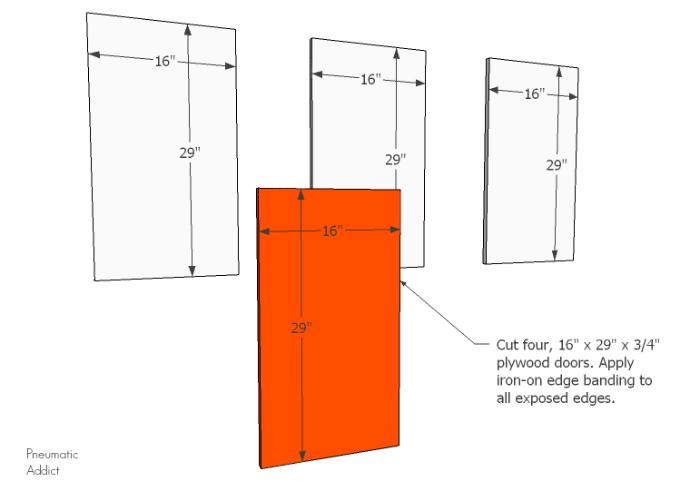
Cabinet Doors
Cut four, 16" x 29" x 3/4" plywood doors. Apply iron-on edge banding to all exposed edges.
-
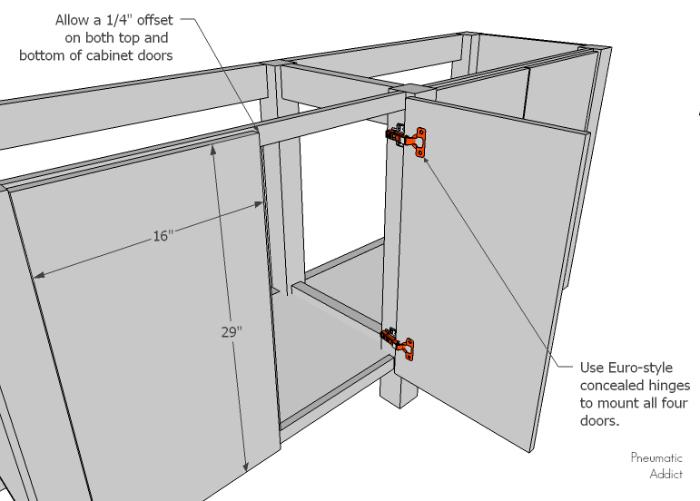
Hang Doors
Use Euro-style concealed hinges to mount all four doors. Choose hinges that are designed for frameless cabinets and inset doors. Allow a 1/4" offset on both top and bottom of cabinet doors.
-
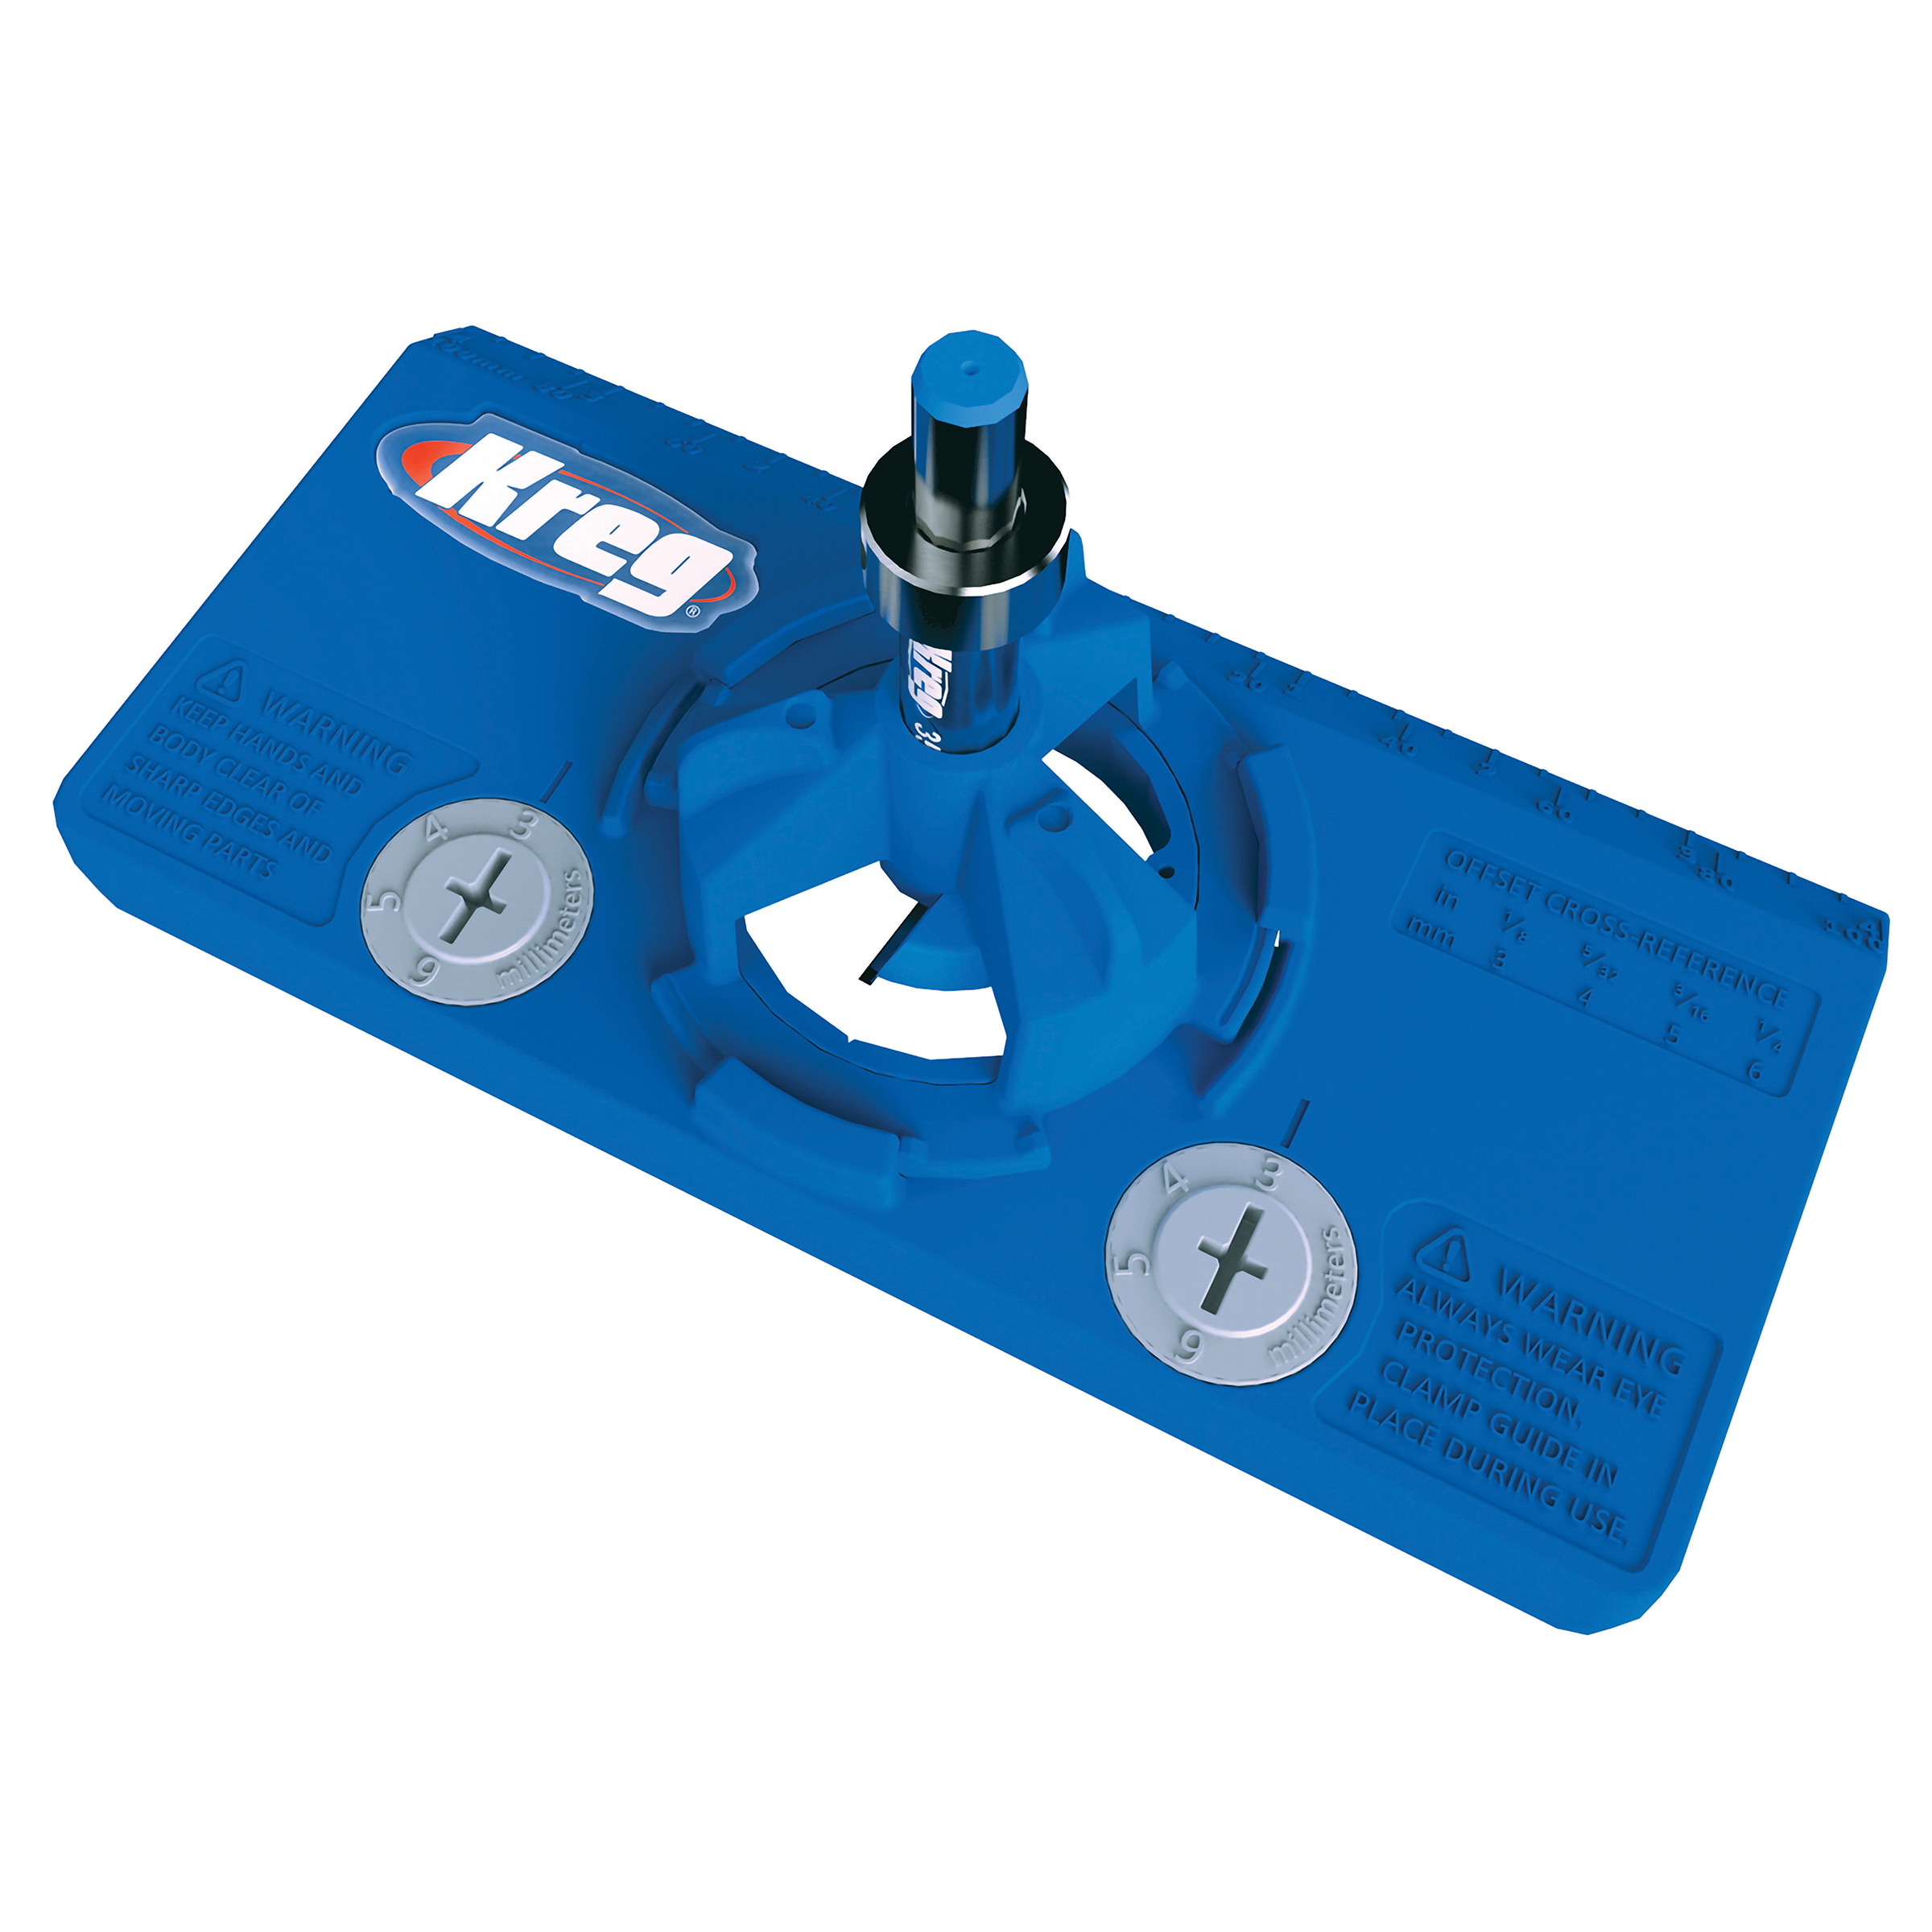
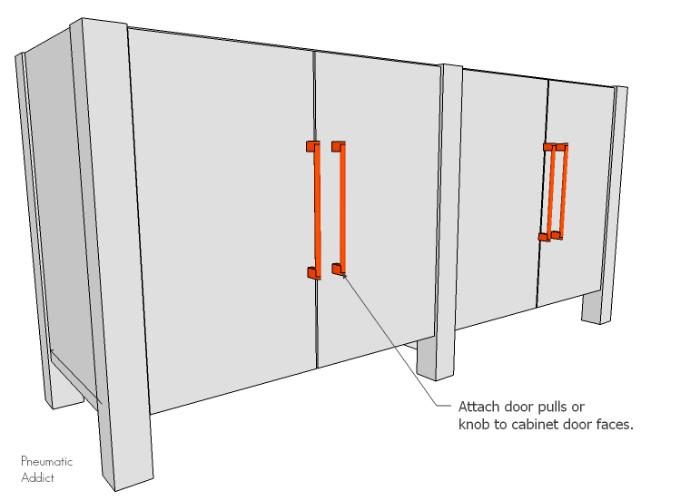
Cabinet Hardware
Attach door pulls or knob to cabinet door faces. The Kreg cabinet hardware jig makes drilling perfectly aligned holes simple.
-
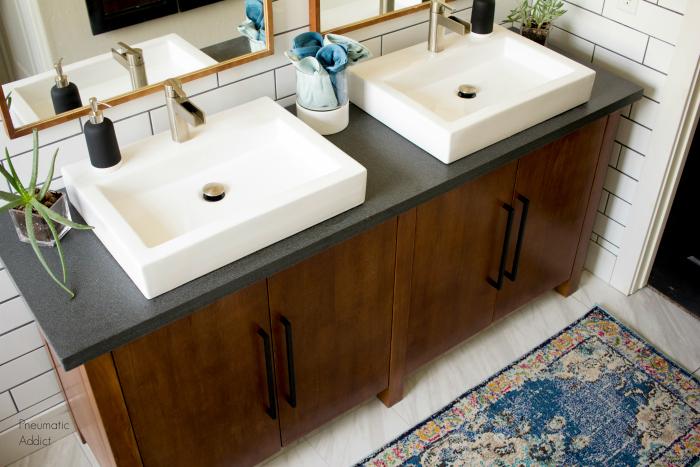
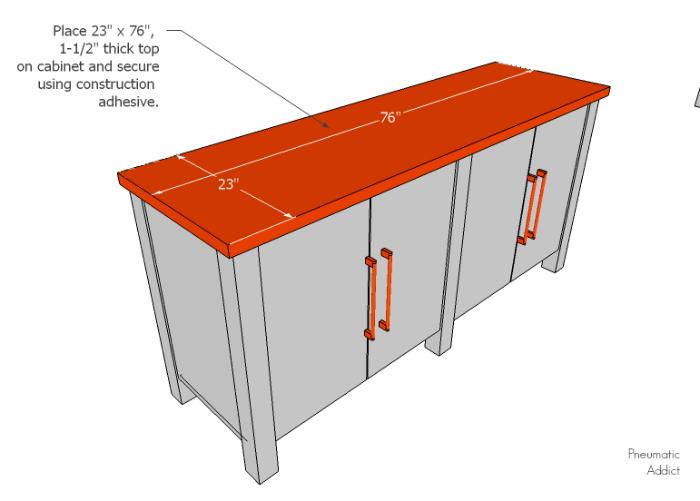
Countertop
Place 23" x 76", 1-1/2" thick top on cabinet and secure using construction adhesive.
-
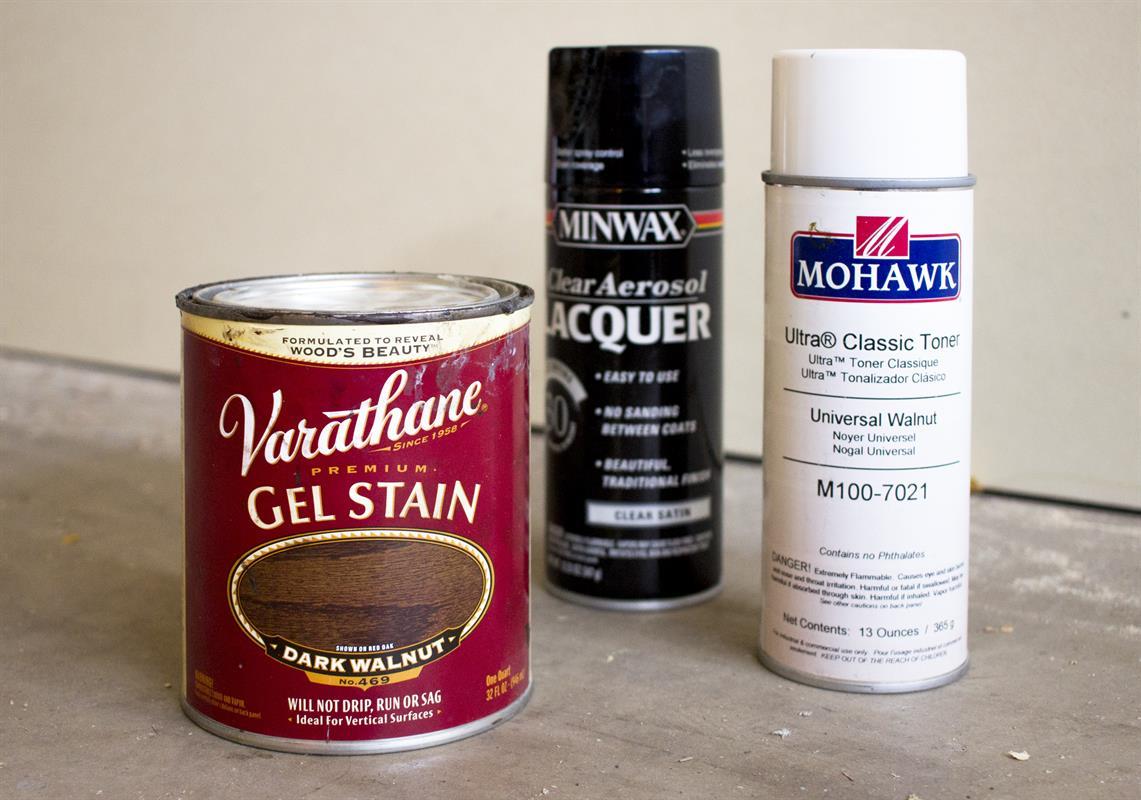
Apply Finish
Fill all holes with wood filler and allow to dry. When wood filler is completely dry, sand the project with progressively finer sandpaper, up to a 220-grit. Remove all residue and apply the paint or finish of your choice.
-
Get More Tips and Tricks
Head to www.PneumaticAddict.com for additional DIY tips, ideas, and free building plans.

-
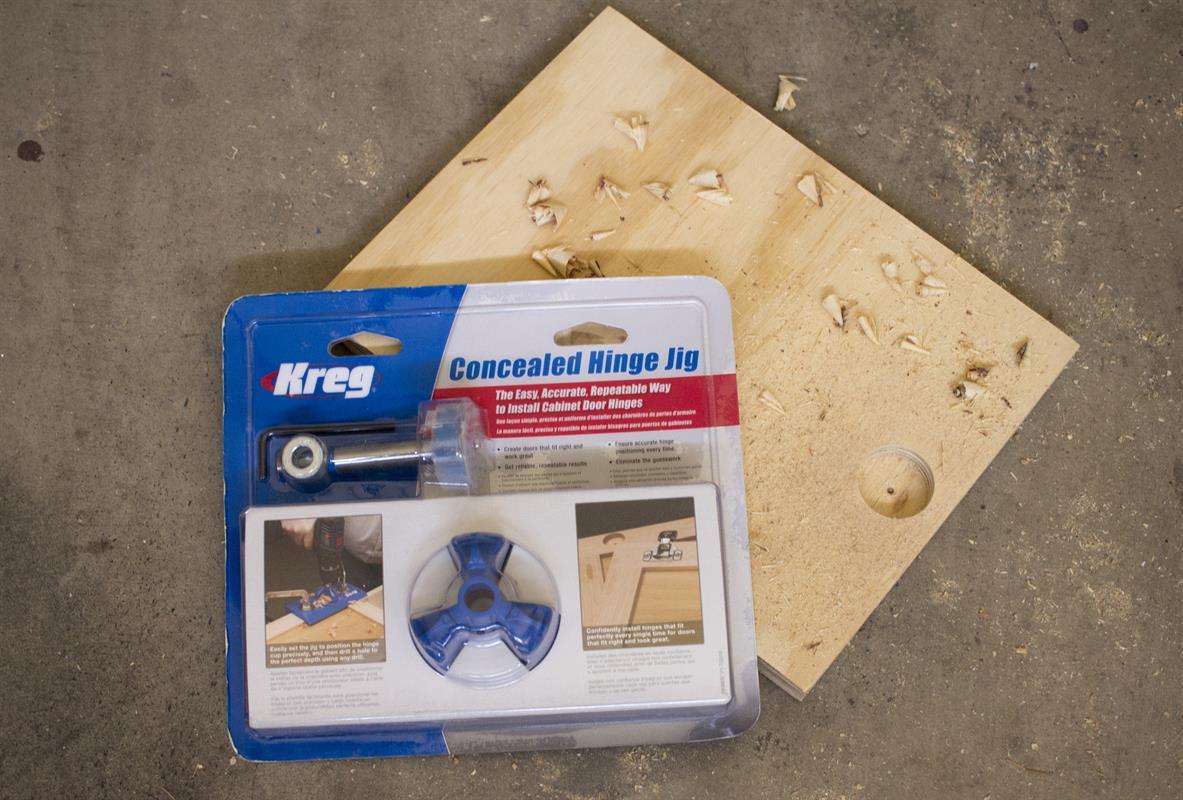
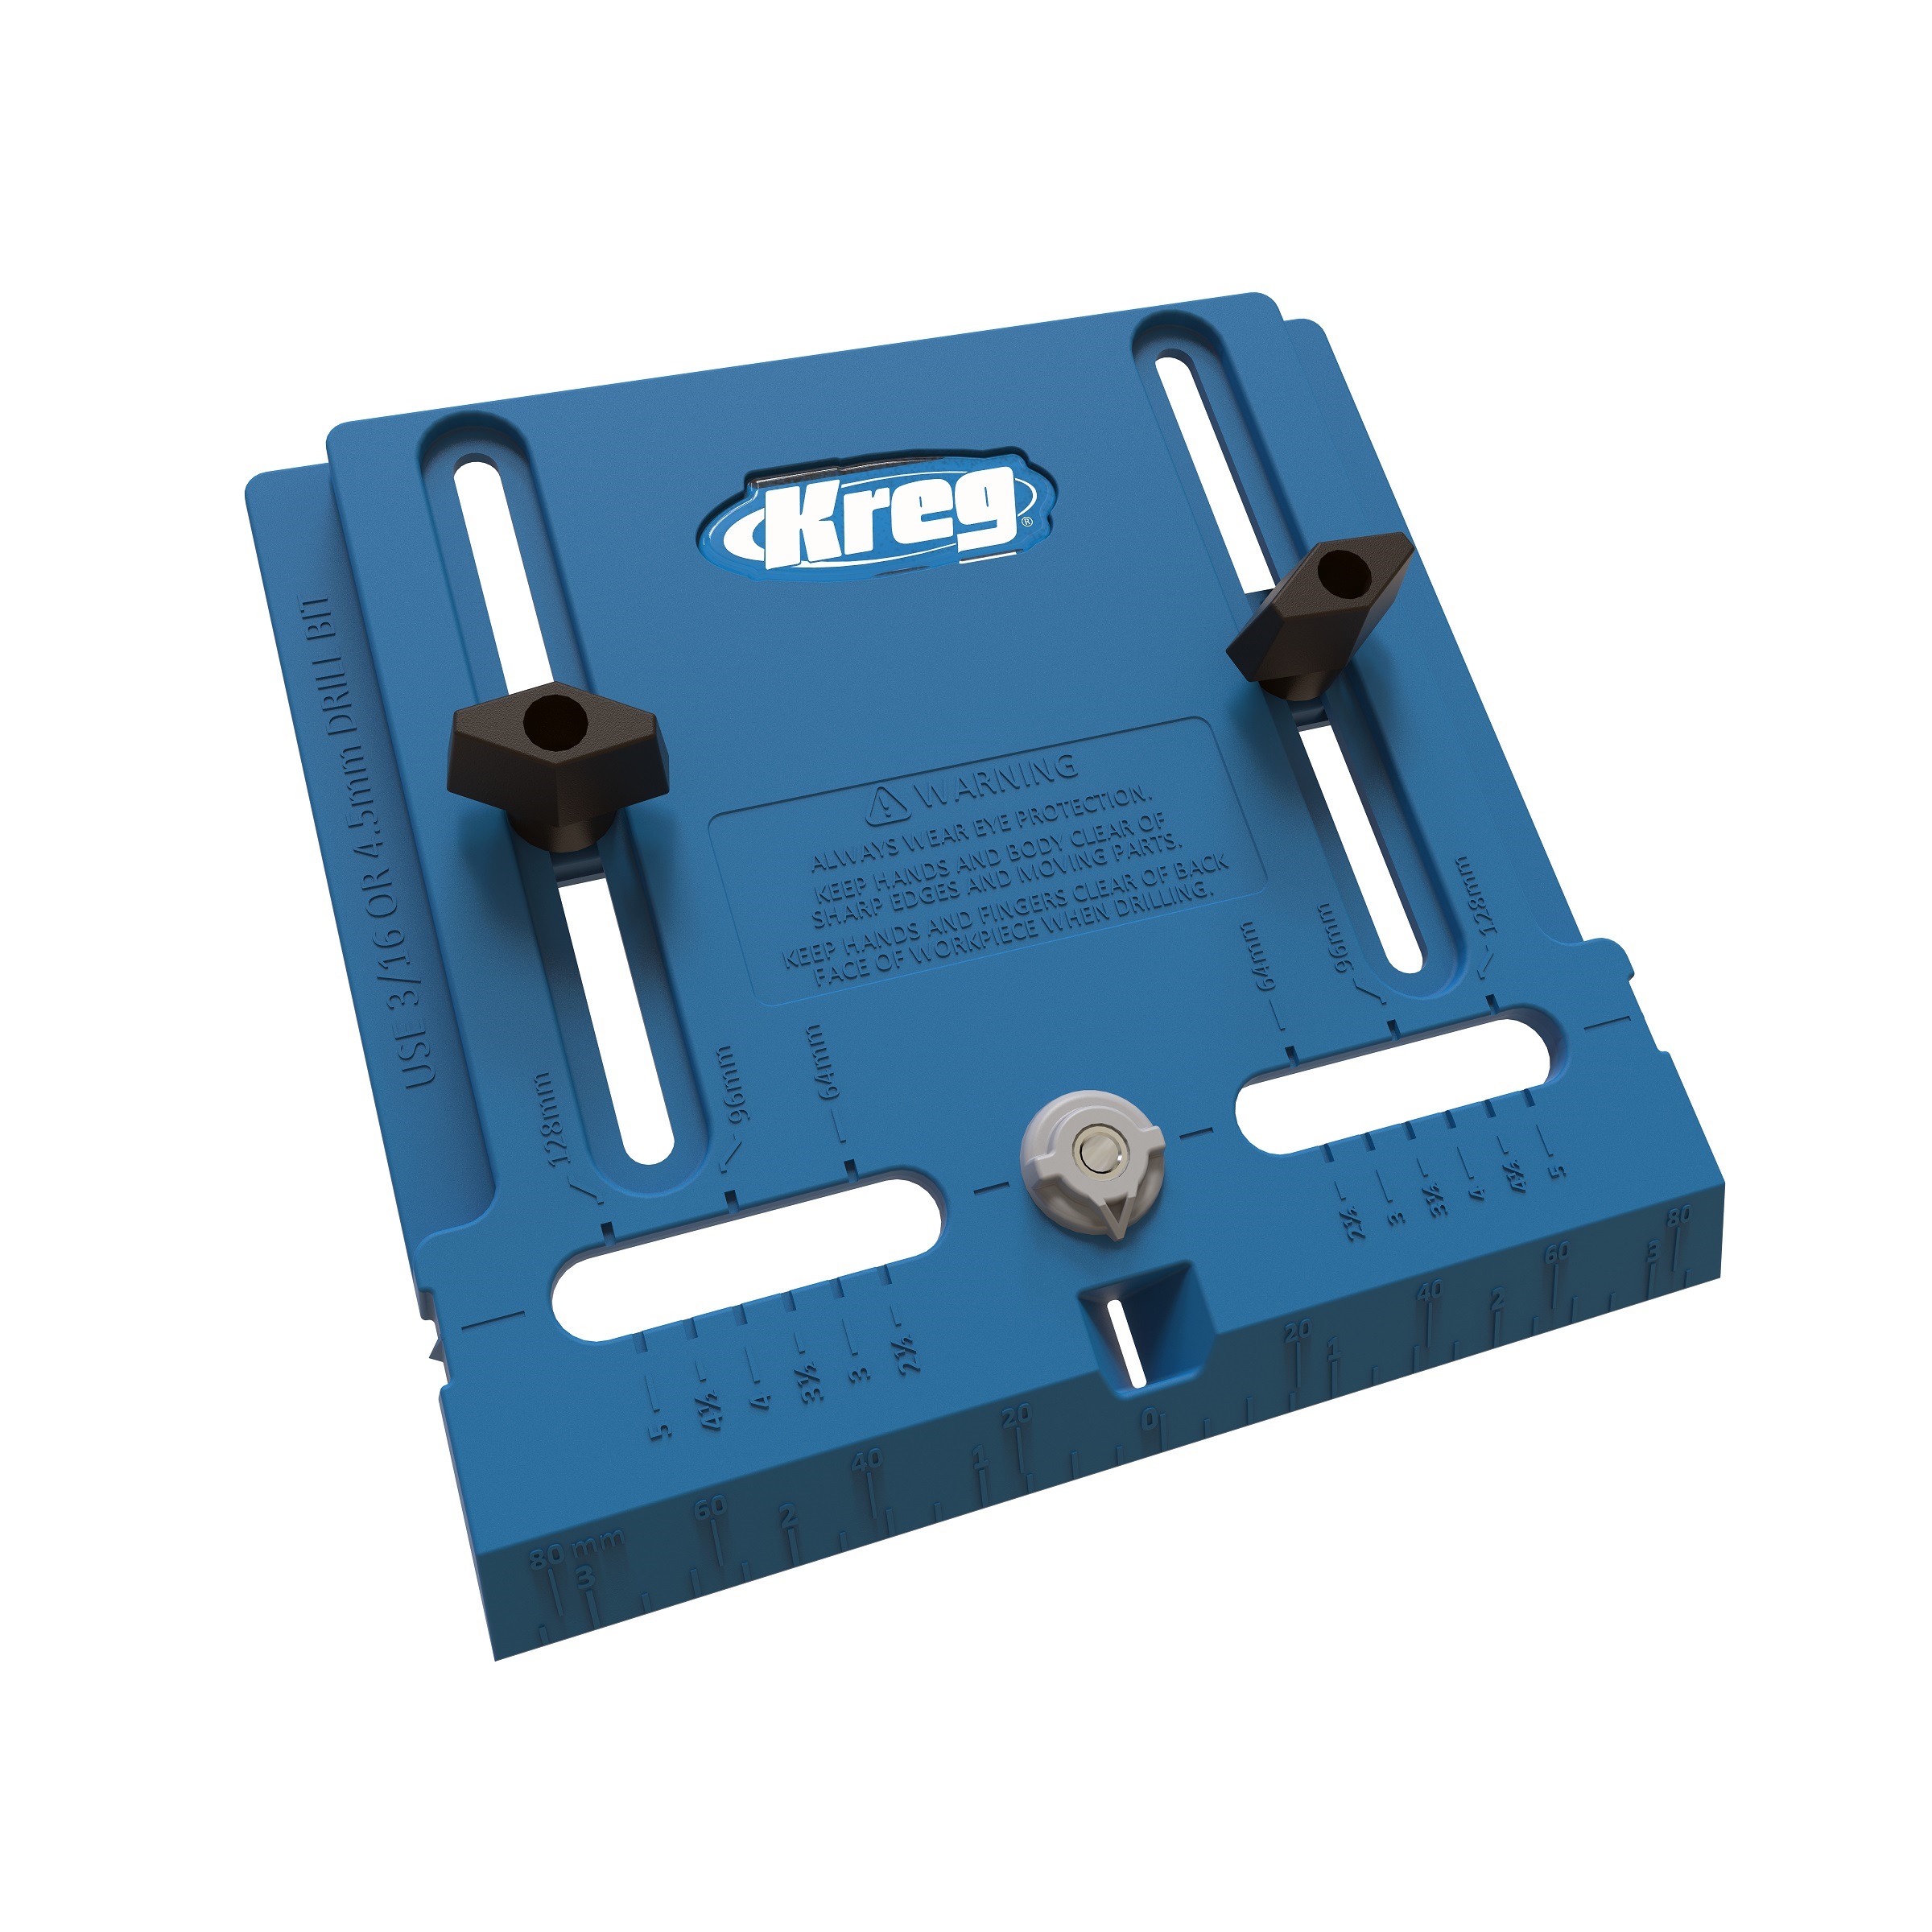
Drill Holes for Hinges
Non-mortise hinges may be used to mount cabinet doors. If using traditional concealed hinges, use the Kreg Concealed Hinge Jig kit to drill mortises and install perfectly aligned door hinges.