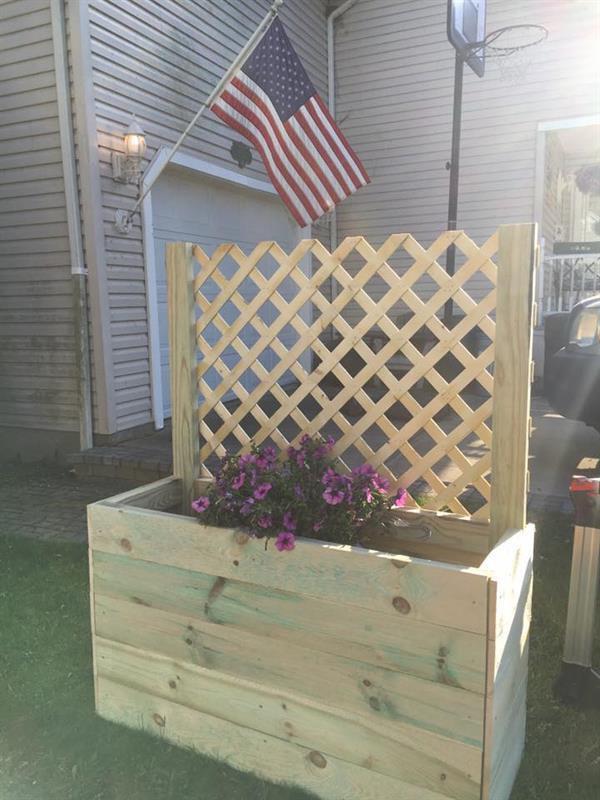
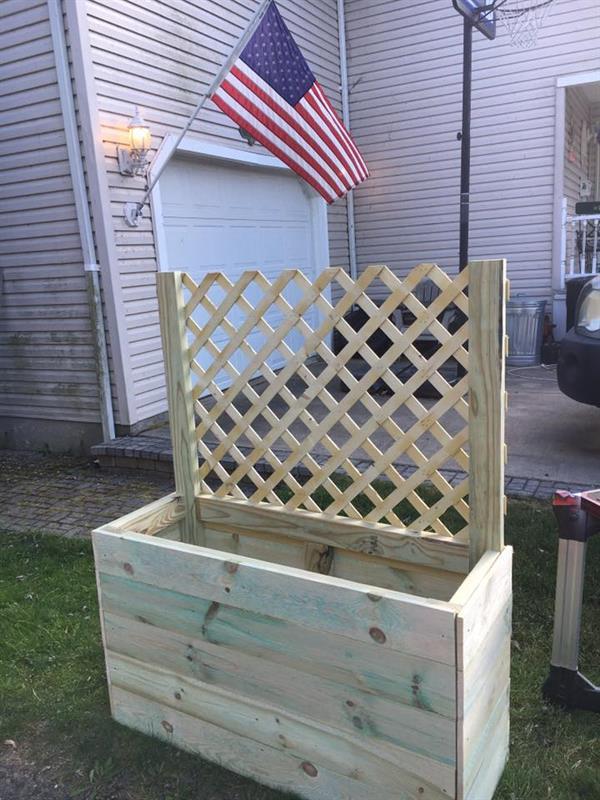
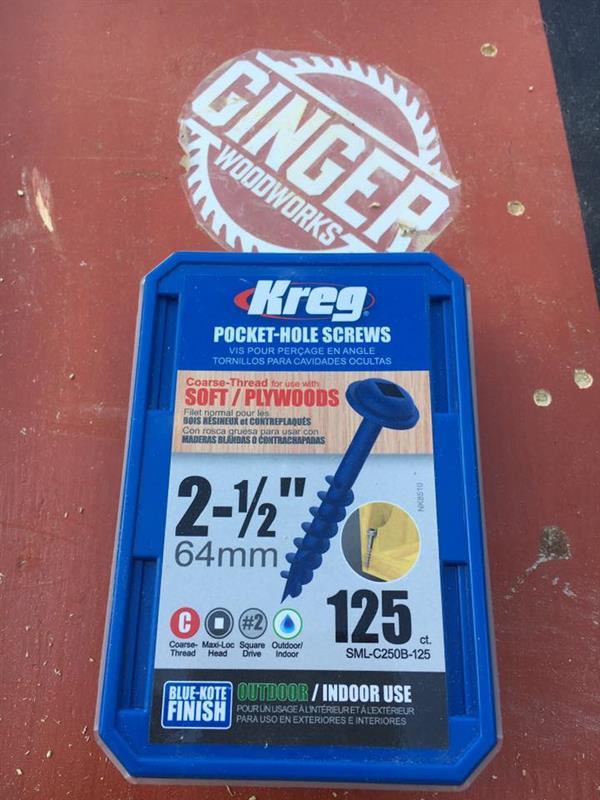


A Wonderful Garden planter with Lattice to grow your viney plants towards the sun! The plans utilize Kreg Jig Blue Kote screws which are for external use, as well as the Kreg Jig K4 System. Treated Lumber was used, however feel free to use Cedar or Painted Pine!
Tools
Kreg Tools

Other Tools
-
Circular Saw (cordless)

-
Miter Saw
-
Table Saw
-
Tape Measure
-
Impact Driver
-
Nail Gun
-
Shop Vacuum
Materials
Wood Products
- 4 Treated Lumber , 2x4 , 120"
- 1 Pressure Treated Lattice , 1/4" Thick , 32 1/4 by 48 inches wide
- 13 Pressure Treated Dog Earred posts , 1x6 , 72"
Hardware & Supplies
- 100 Kreg Jig Pocket Hole Screws
- 50 1 1/4 inch deck screws
- 100 18 gauge brad nails
Directions
-
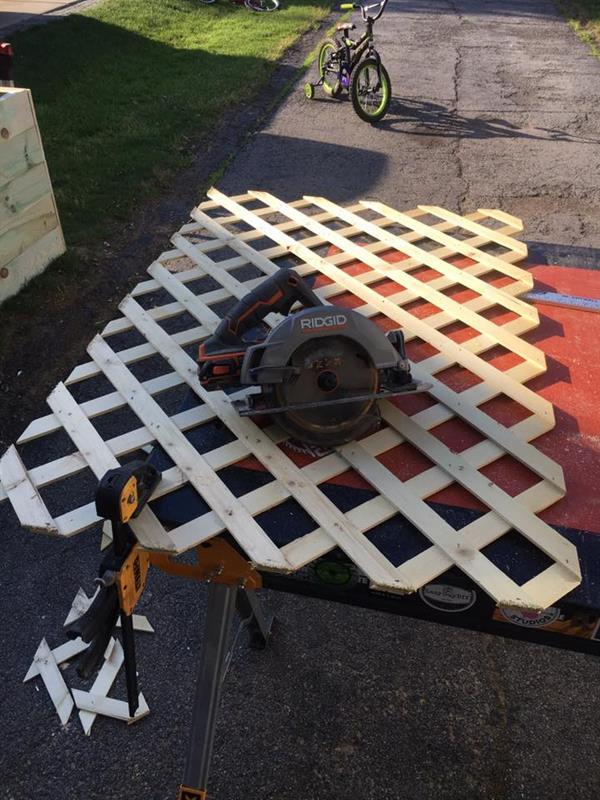
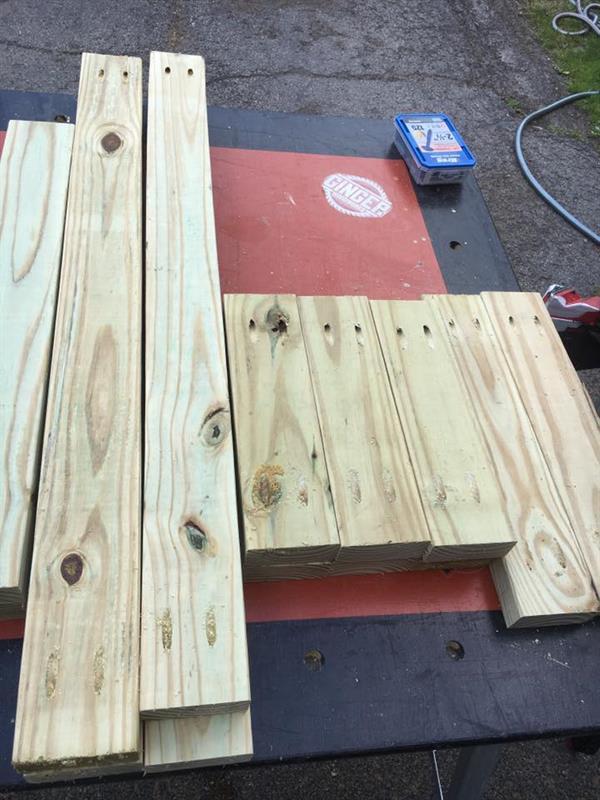
Cut wood
Using a Miter saw or Circular saw, cut the boards as follows.....
2 by 4 cut list:
2- 60 inches
4- 41 inches
2- 27.5 inches
6- 13.5 inches
2- 18 inchesDog Earred fence post cuts
13- 48 inches
12-17.5 inchesLattice
1 piece of lattice cut to 4 feet wide and 32 1/4 inches in height

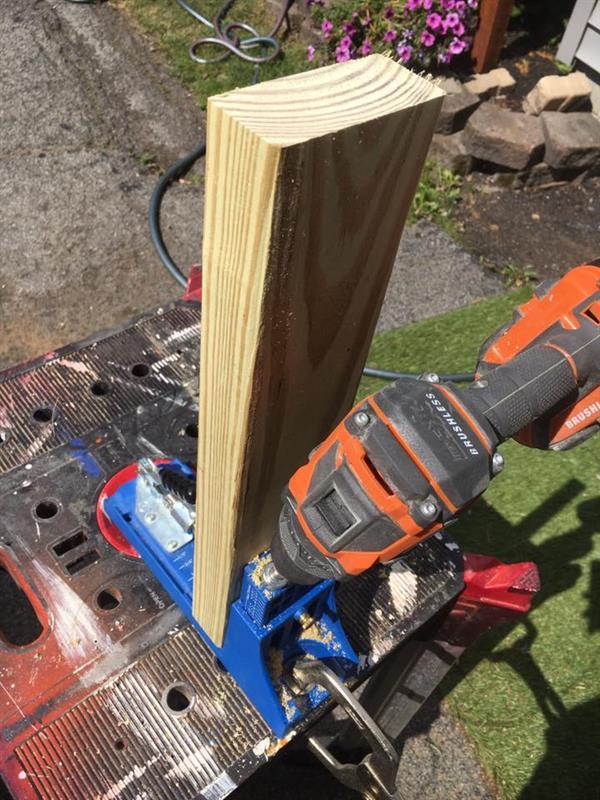
-
Pocket holes
Drill 2 pocket holes into the ends of the following board lengths
41 inch boards
13.5 inch boards
18 inch boards
-
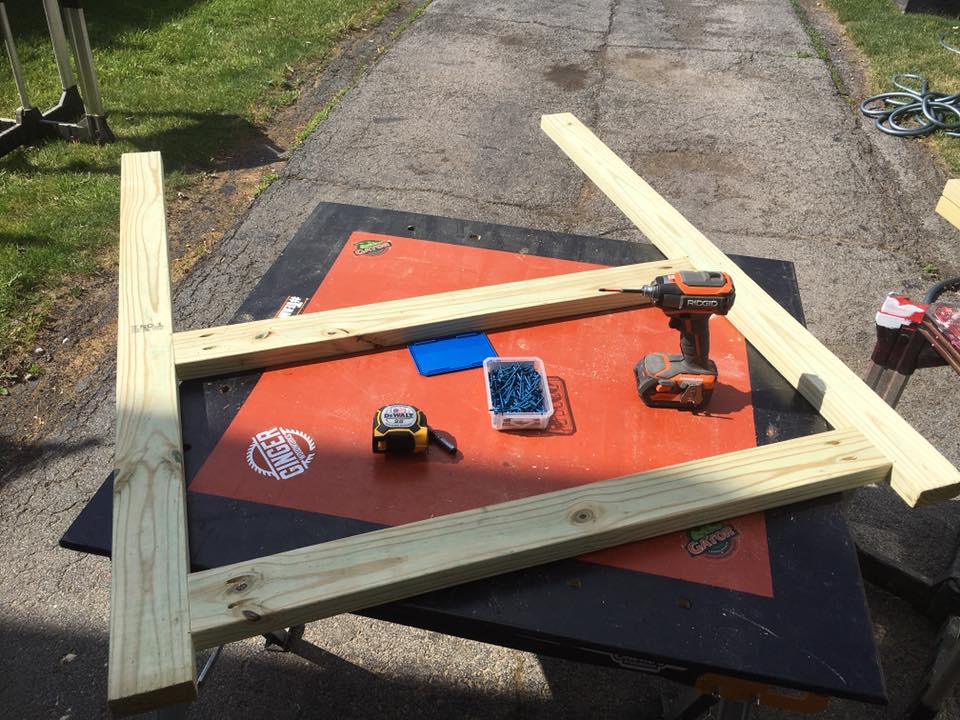
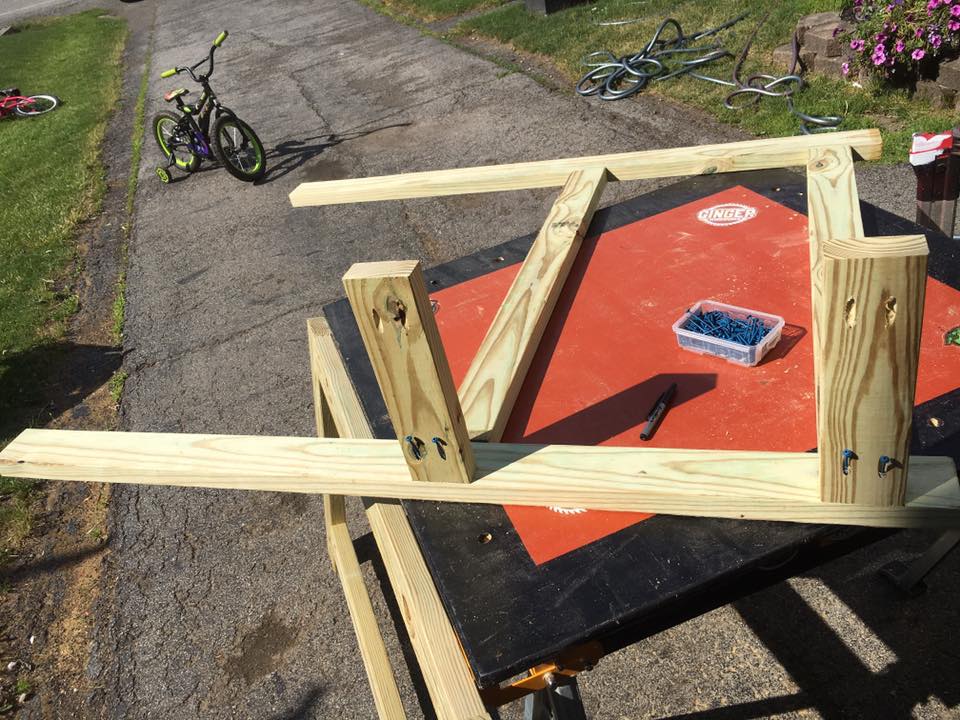
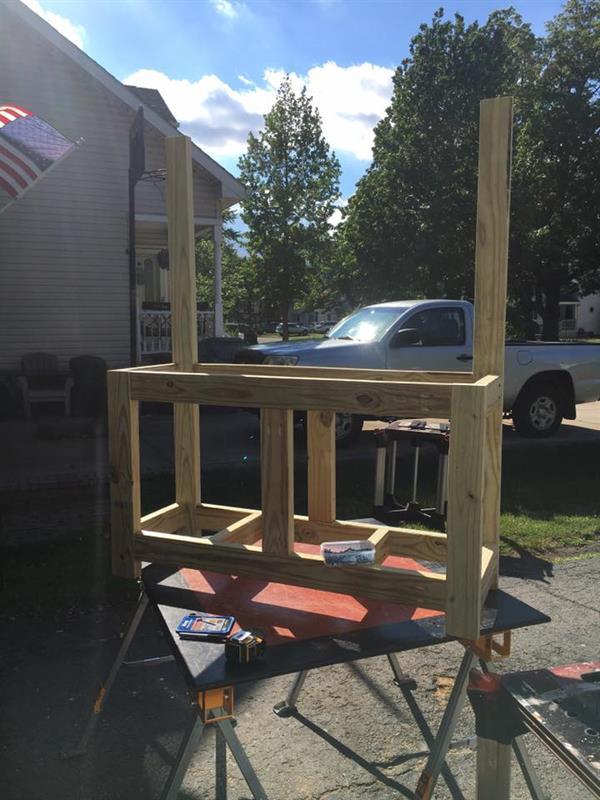
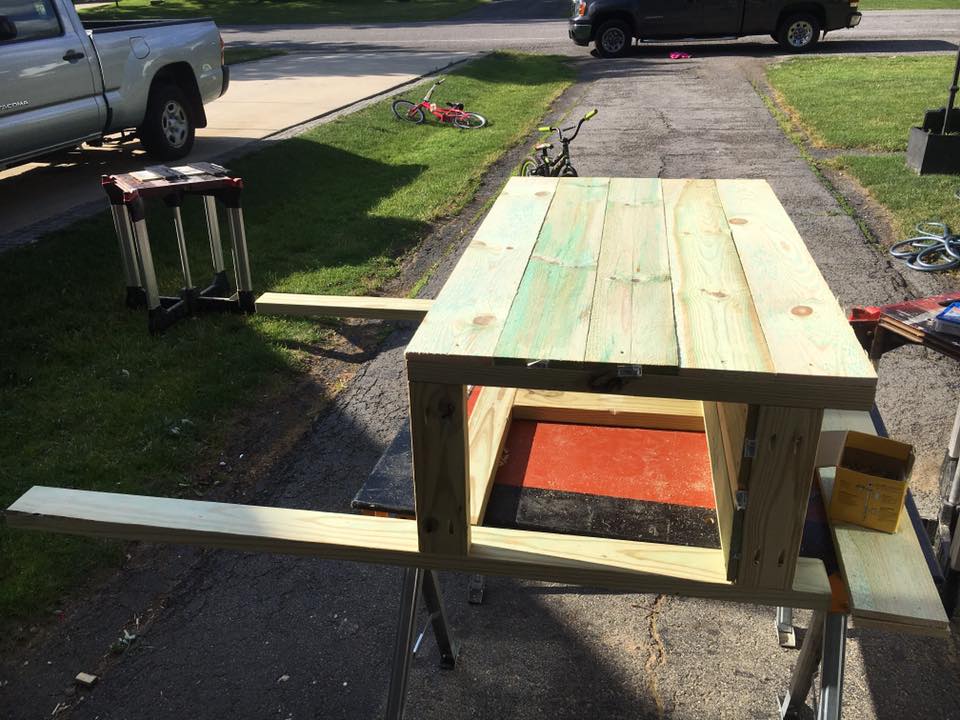
Assemble rear frame
Measure and mark on your 60 inch pieces 2.5 inches, and again at 27.5 inches.
attach 2 of your 41 inch boards with pocket screws above the 2.5 line and below the 27.5 inch line.
-
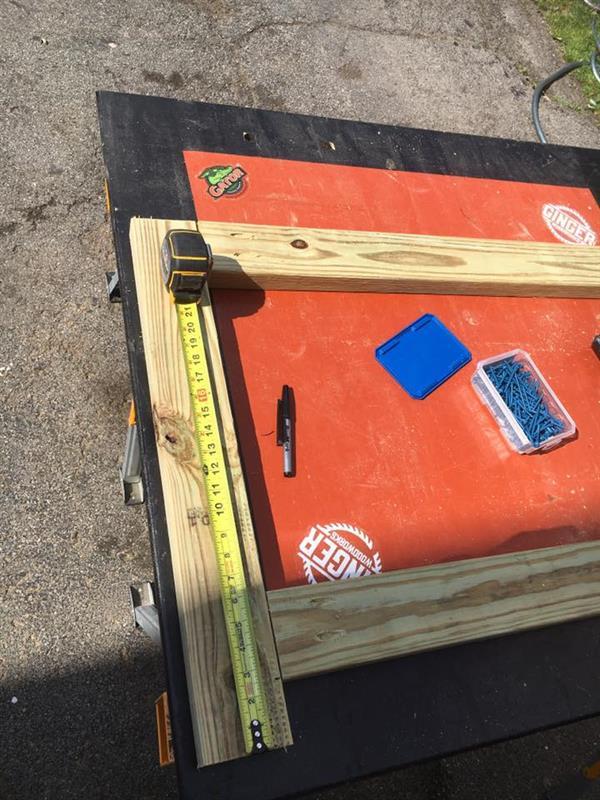
Assemble the front fram
Measure up 2.5 inches and mark that spot.
Using your 2- 27.5 inch boards, take the remaining 41 inch boards and again attach the 41 inch board using Kreg Jig Blue Kote screws to the 27.5 inch board above the 2.5 inch line and flush at the top of the 27.5 inch board
-
Connect the rear and front frames
Using 4 of the 13.5 inch boards with pre-drilled Pocket holes, above the 2.5 inch mark and below the 27.5 inch mark connect the rear and front frame.
-
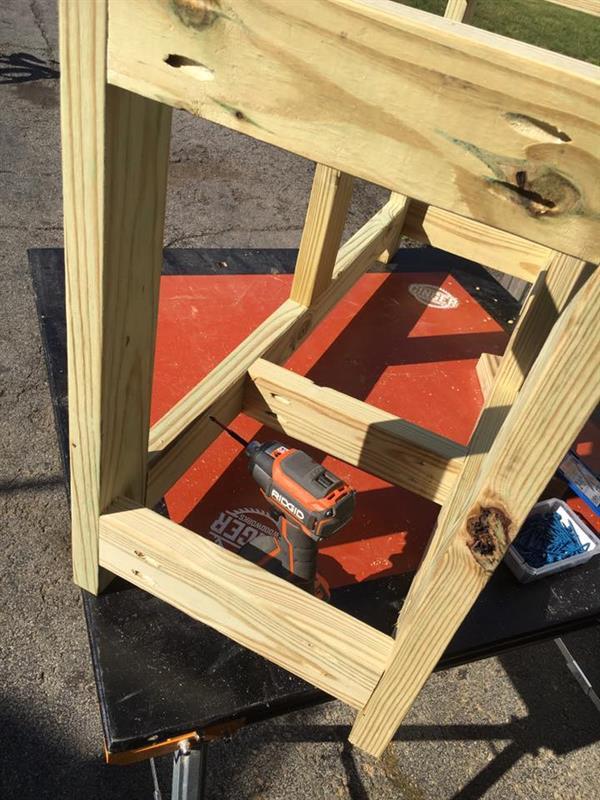
Add bottom braces
Use the last 2- 13.5 inch boards, centered at 16.5 inches from the left and right edges and attach them using pre-drilled pocket holes with Blue Kote screws.
-
attach front and rear braces
Using the 2- 18 inch boards, center them in the front and the rear of the frame. Attach them both with the pocket holes, using Kreg Jig, blue Kote pocket screws.
-
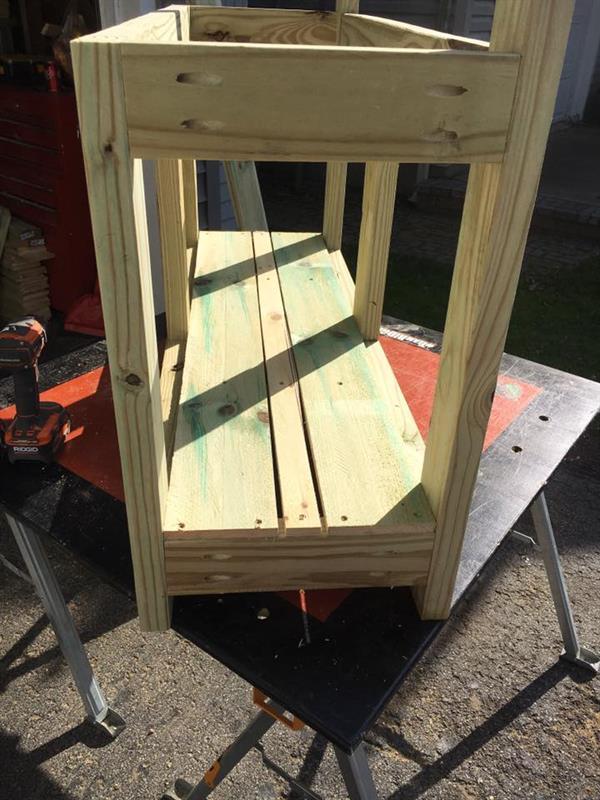
Lay the floor down
Using 2 of the 48 inch cut Dog Earred fence posts, and a 2 inch strip of another, secure them to the bottom using 1 1/4 inch deck screws. I leave a small gap in the center for drainage.
Note: you can raise the bed to do a "fake Floor" as well at whatever height you want buy adding the 13.5 floor joists at the height desired.
-
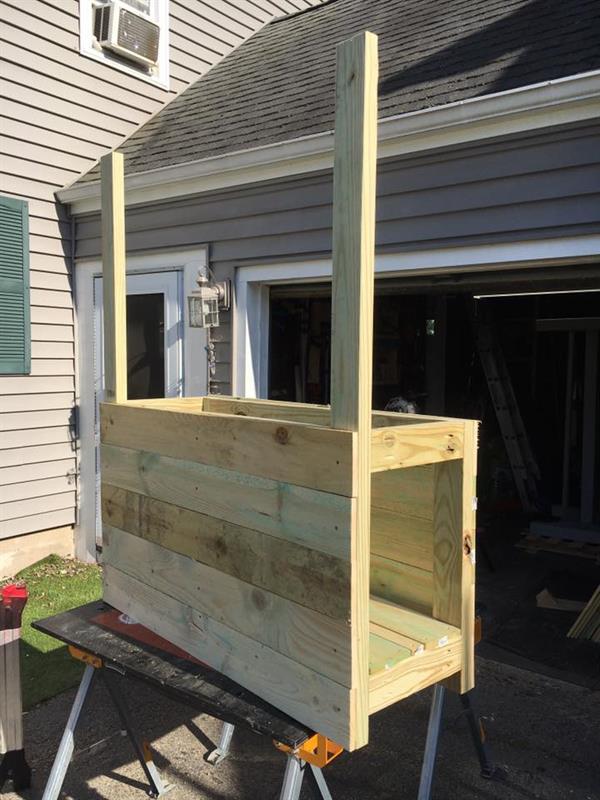
Cover Front and rear
Working up from the bottom to the top lip. Using 5 of the 48 inch cut Dog eared fence posts in the front and 5 in the rear attach them using 1 1/4 inch deck screws.
-
Cover sides
Using 5 of the 17.5 inch Dog Eared fence posts on each side, again working from the bottom to the top edge attach them to each side using 1 1/4 inch deck screws.
-
Lattice
Using an 18 inch brad nailer, attach the 48 wide by 32 1/4 high piece of lattice to the back side of the planter.